Upgrading Projects
This article shows how to use the Telerik Visual Studio Extension to upgrade a project that is already configured with Telerik UI for .NET MAUI.
Prerequisites
- Visual Studio 2022 or later with the .NET Multi-platform App UI (.NET MAUI) workload installed.
- The Telerik UI for .NET MAUI Visual Studio Extension installed and enabled.
- An open solution that contains one or more projects referencing Telerik UI for .NET MAUI.
Upgrade a Project
The Upgrade Project Wizard updates the Telerik UI for .NET MAUI version used by existing applications.
-
Open the application solution in Visual Studio.
-
Open the Upgrade Wizard in one of the following ways:
-
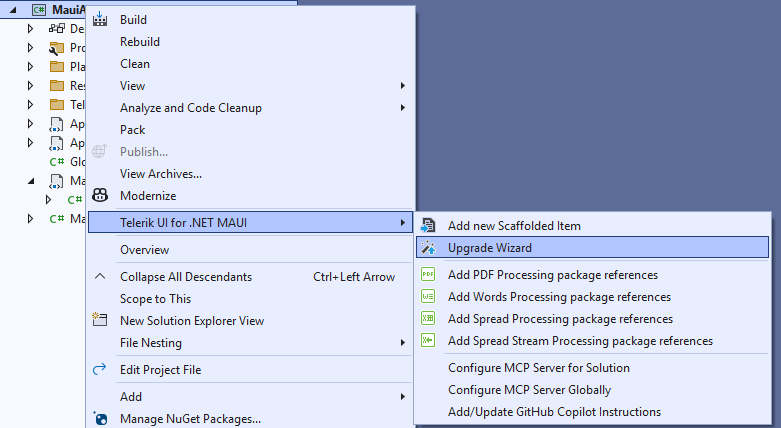
In Solution Explorer, right-click the project > Telerik UI for .NET MAUI > Upgrade Wizard.
-
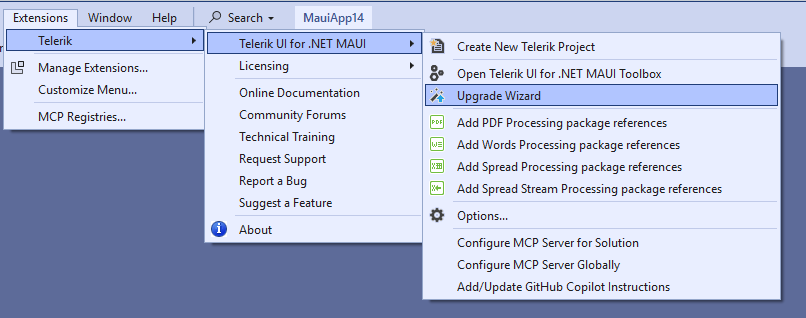
From the main menu, go to Extensions > Telerik > Telerik UI for .NET MAUI > Upgrade Wizard.
-
-
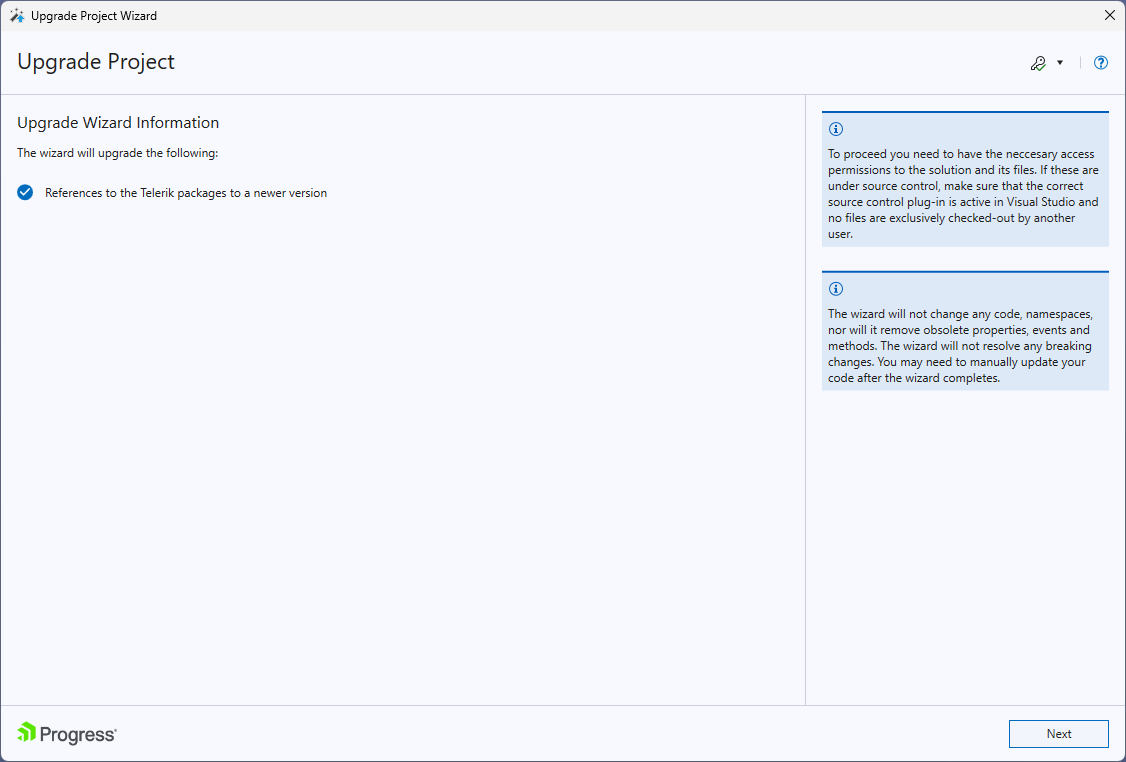
Review the introductory information, then select Next.
-
On the project selection page, select the projects to upgrade and choose the target Telerik UI for .NET MAUI version. Select Next.
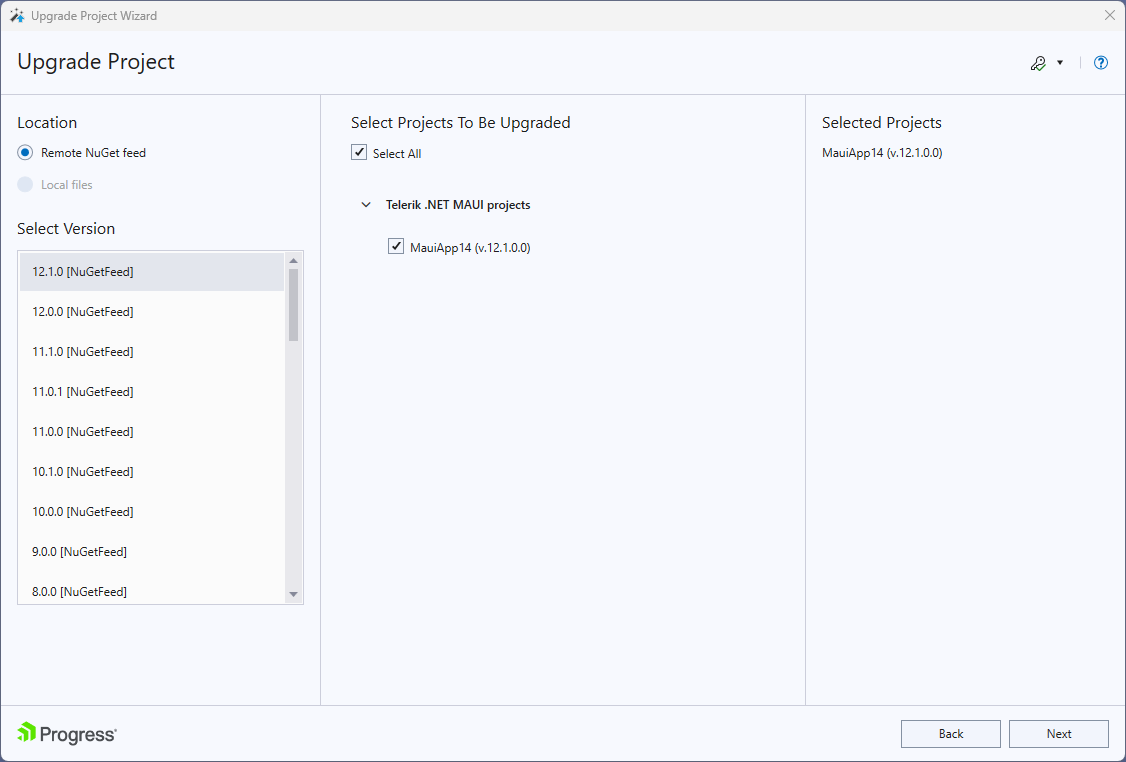
We recommend selecting all projects that reference Telerik UI for .NET MAUI and upgrading them to the same product version.
-
(Optional) Create a backup before upgrading:
- Enable Create a backup before upgrade.
- By default, a backup is created next to the project using the project name. To change the location or name, select Browse and choose a destination.
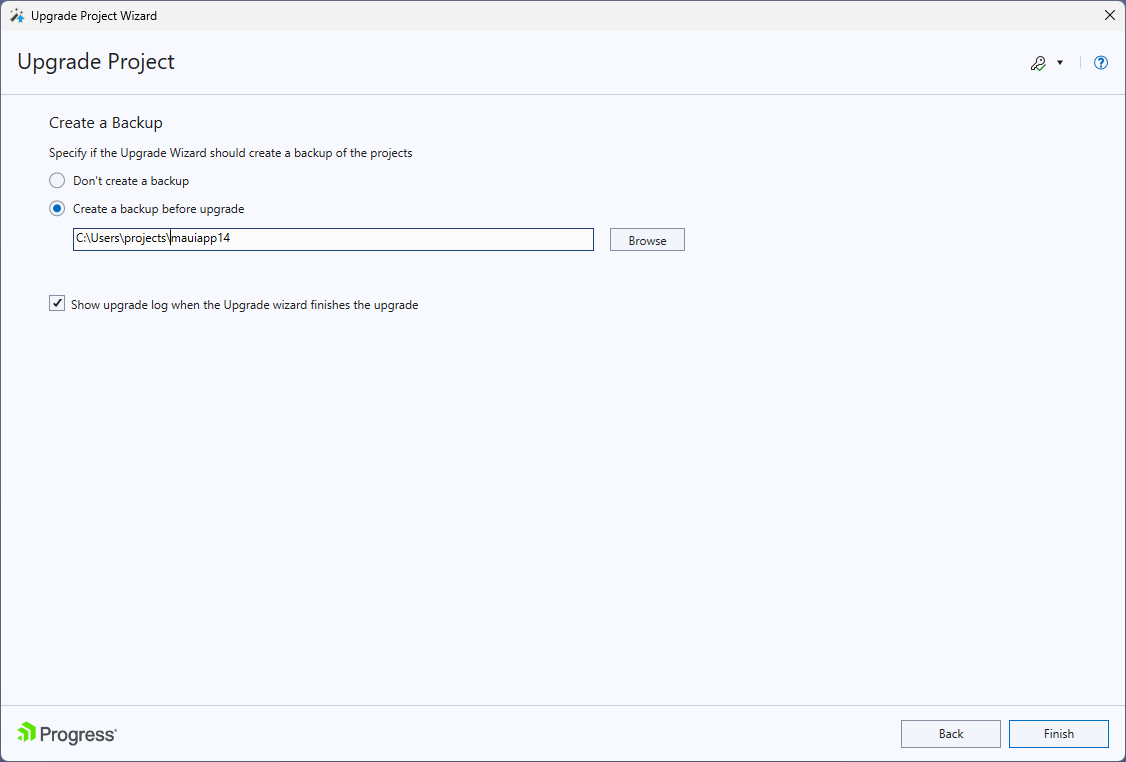
We recommend creating a backup before you upgrade.
-
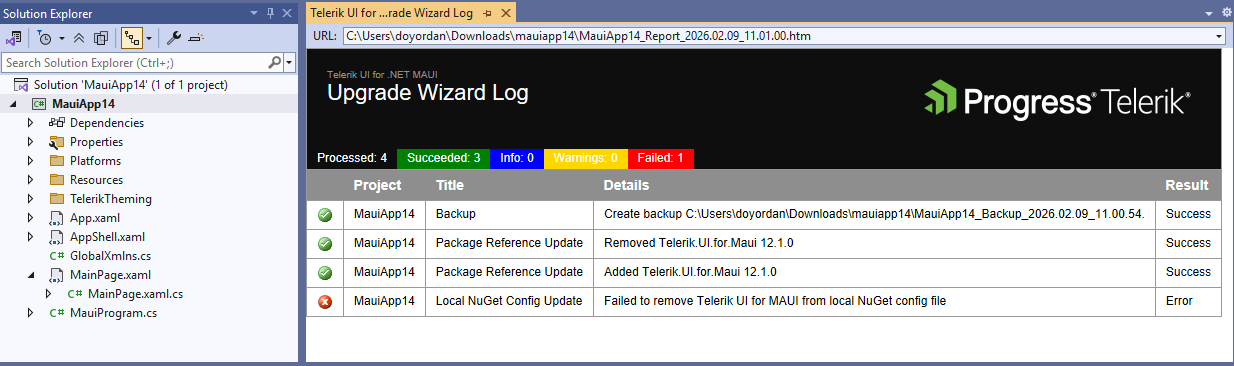
Select Finish to start the upgrade. When the process completes, review the summary page for the results and any actions taken.