
Smarter Text Editing in Kendo UI for jQuery: Introducing the New AI Prompt Feature

Summarize with AI:
With the new AI Prompt integration, the Kendo UI for jQuery Editor is now a smart writing assistant that can help your users write better, faster and with more confidence.
Modern web users have grown accustomed to intelligent interfaces that provide contextual assistance. As AI technology becomes more prevalent in everyday applications, users increasingly expect their editing tools to offer more than basic formatting; they want grammar suggestions, content improvements and writing assistance built right into their workflow.
The Progress Kendo UI for jQuery Editor has been a reliable WYSIWYG (what you see is what you get) component for rich text editing in web applications. With the recent addition of AI Prompt integration, developers can now offer users intelligent writing assistance directly within their editing interface, including real-time grammar correction, content suggestions and context-aware text improvements.
In this article, we’ll walk through setting up the Editor and then demonstrate how to implement the new AI-powered features that enhance the editing experience.
Kendo UI for jQuery Editor
Before we dive into the AI magic, let’s make sure we have the basics down. If you’re new to jQuery, it’s a classic JavaScript library that makes it easier to work with the DOM, handle events and build interactive webpages. Kendo UI for jQuery builds on top of this, giving you a suite of polished UI components, including the Editor.
1. The HTML Structure
First, let’s set up a simple HTML page. We’ll use CDN links, so we don’t need to install anything locally:
<!DOCTYPE html>
<html>
<head>
<title>Kendo UI Editor Example</title>
<!-- Kendo UI CSS -->
<link href="https://kendo.cdn.telerik.com/themes/11.0.2/default/default-main.css" rel="stylesheet" />
</head>
<body>
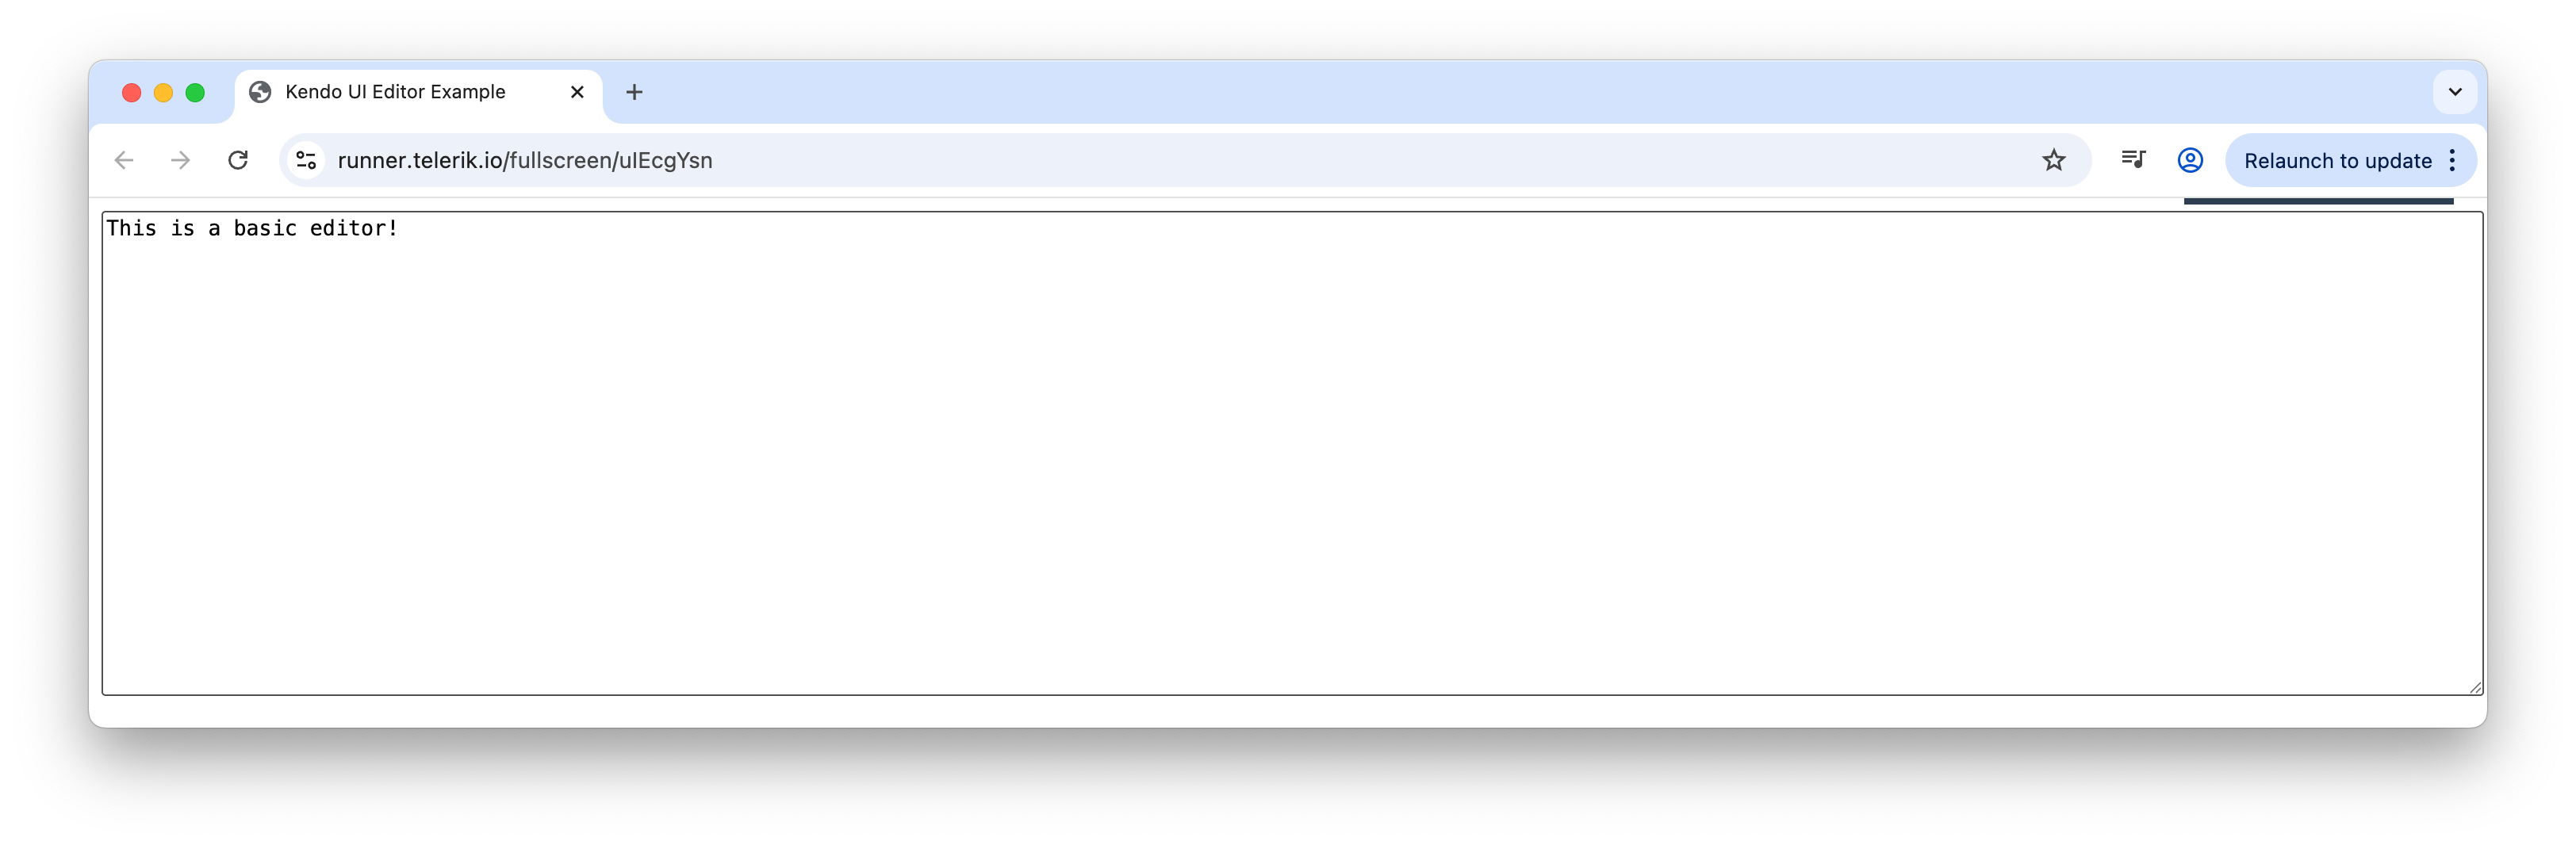
<textarea id="editor" rows="10" cols="30" style="width:100%; height:300px"></textarea>
<!-- jQuery -->
<script src="https://code.jquery.com/jquery-3.7.0.min.js"></script>
<!-- Kendo UI JS -->
<script src="https://kendo.cdn.telerik.com/2023.3.1010/js/kendo.all.min.js"></script>
</body>
</html>
We’re adding the Kendo UI theme stylesheet, the jQuery library and the complete Kendo UI JavaScript bundle. This gives us a basic page with a <textarea> that we’ll soon turn into a rich text editor.
2. Initializing the Editor with jQuery
Now, let’s bring our editor to life. We’ll use jQuery to select the textarea and initialize the Kendo UI Editor. Let’s add this script after our Kendo UI JS include:
<script>
$(document).ready(function() {
    $("#editor").kendoEditor({
        tools: [
            "undo", "redo",
            "formatting",
            "bold", "italic", "underline",
            "foreColor", "backColor",
            "insertUnorderedList", "insertOrderedList",
            "justifyLeft", "justifyCenter", "justifyRight",
            "createLink", "unlink",
            "insertImage",
            "tableWizard"
        ]
    });
});
</script>
Here’s what’s happening:
- We wait for the DOM to be ready (classic jQuery move!)
- We select the
#editortextarea and call.kendoEditor() - The
toolsarray defines which toolbar buttons are available
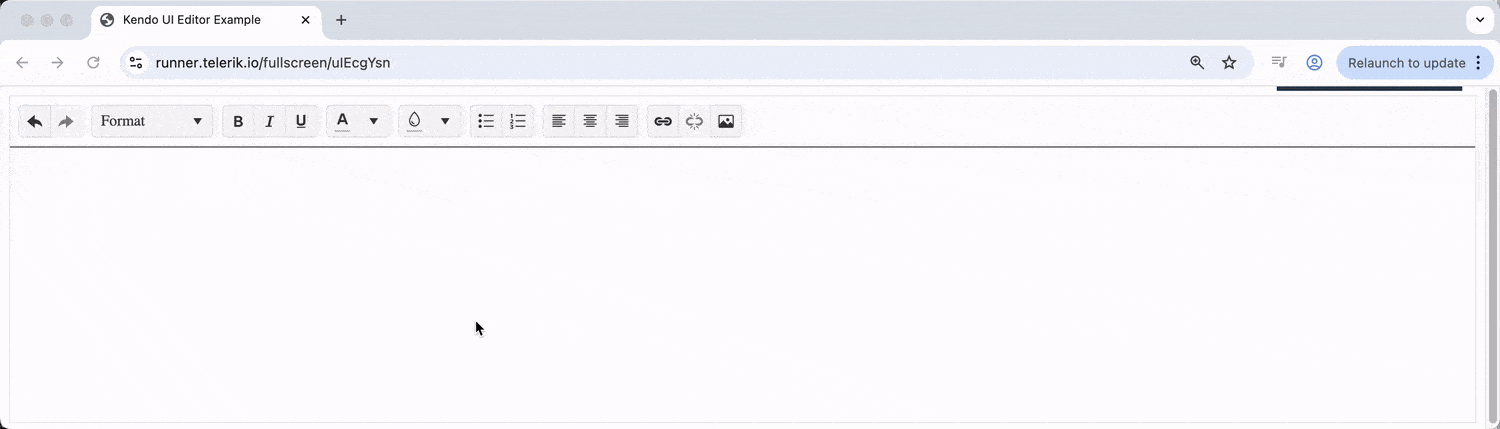
Just with this alone, we’ve got a fully functional, cross-browser rich text editor with formatting tools, lists, links, images and table support!
AI Integration: Your Intelligent Writing Assistant
Now, for the fun part: Let’s add some AI smarts to our editor! With the new AI Prompt feature, your users can get real-time grammar correction, content suggestions, autocompletion and more, all powered by advanced machine learning models.
We’ll build up the AI integration step by step so you can see exactly how each piece fits together.
1. Add DOMPurify for Safe AI Output
Since AI-generated content can include HTML, it’s a good idea to sanitize it before displaying. We’ll use DOMPurify for this and add it via CDN:
<script src="https://cdn.jsdelivr.net/npm/dompurify@3.2.5/dist/purify.min.js"></script>
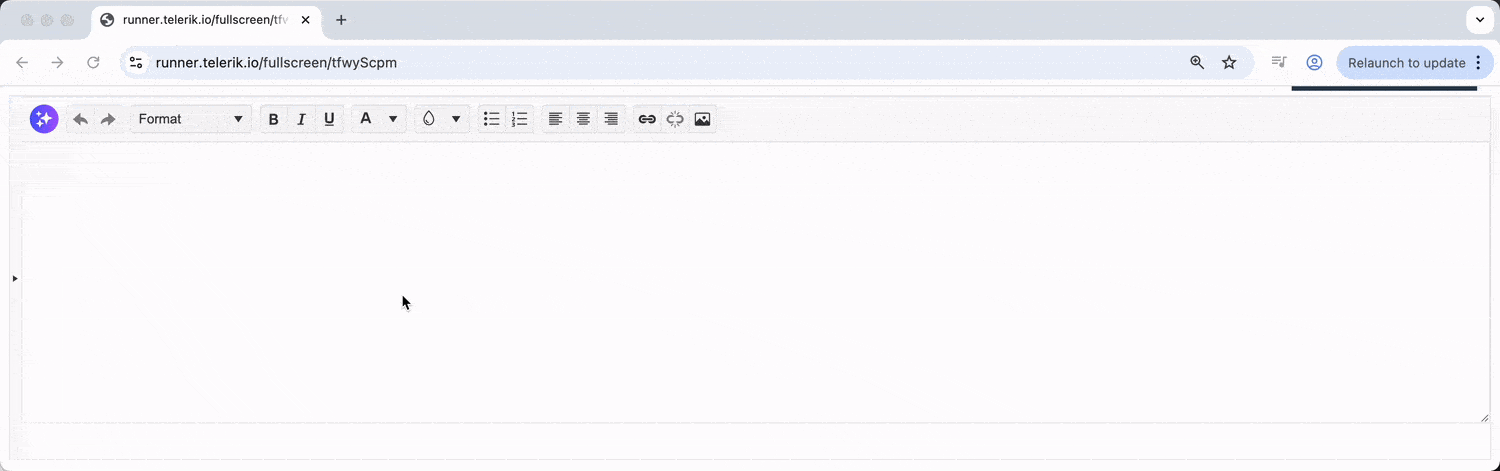
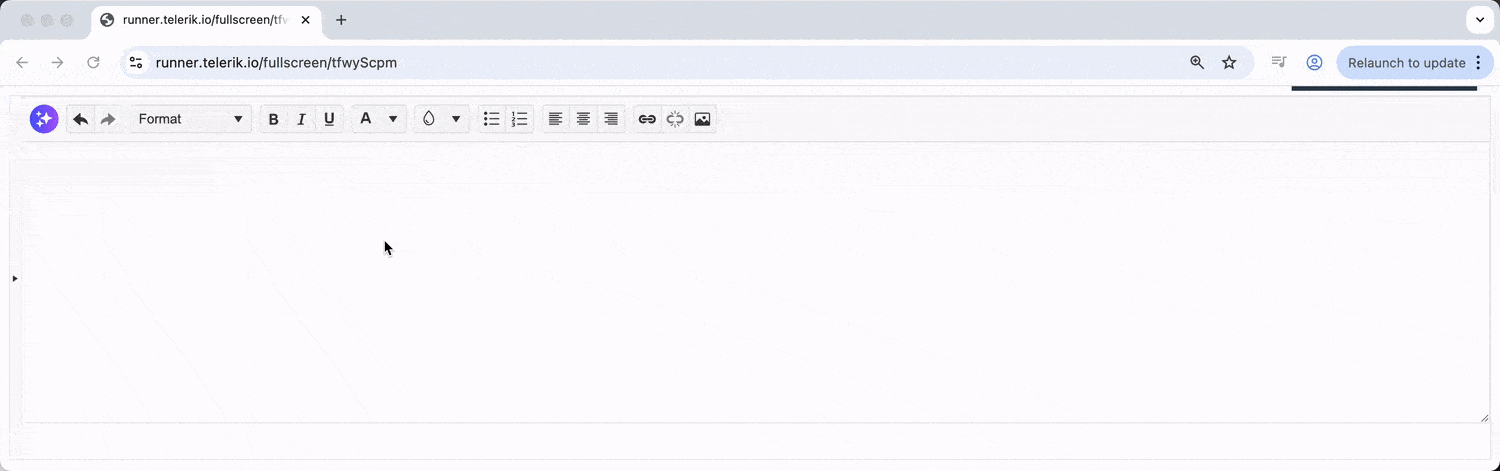
2. Add a Custom AI Toolbar Button
Let’s enhance our Editor toolbar with a custom button that toggles the AI Prompt pane. Here’s how we can add it to your existing Editor setup:
$("#editor").kendoEditor({
    tools: [
        {
          icon: "sparkles",
          rounded: "full",
          name: "toggle-ai-toggle",
          attributes: { "class": "k-button-toggle-ai-prompt" },
          exec: function(e) {
              var editor = $("#editor").data("kendoEditor");
              let aiPromptSplitter = editor.aiPromptSplitter;
              let aiPromptPane = aiPromptSplitter.element.find(".k-prompt.k-pane");
              aiPromptSplitter.toggle(aiPromptPane);
              let iconElement = $(e.target).closest(".k-button").find(".k-icon");

              // Toggle between two icons
              if (iconElement.hasClass("k-svg-i-sparkles")) {
                  kendo.ui.icon(iconElement, { icon: "chevron-left" });
              } else {
                  kendo.ui.icon(iconElement, { icon: "sparkles" });
              }
          }
      },
      // ...other tools
    ]
});
With this code, we’ll now see a sparkles toolbar button in our editor. The exec function will handle toggling the AI pane and switching icons, but it won’t work yet since we haven’t configured the AI integration.
3. Configure Basic AI Integration
Now, let’s add the basic AI configuration. We’ll specify the AI service endpoint and configure the AI pane:
$("#editor").kendoEditor({
    // ...previous config
    ai: {
        service: {
            url: '/kendo-ui/aichatcompletion',
            headers: {
                "X-Api-Key": "YOUR_API_KEY"
            }
        },
        aiPrompt: {
            showOutputSubtitleTooltip: true,
            encodedPromptOutputs: false,
            promptResponse: function(e) {
                let output = e.output.output;
                if (window.DOMPurify) {
                    e.output.output = DOMPurify.sanitize(output, { USE_PROFILES: { html: true } });
                }
            }
        },
        pane: {
            size: "400px",
            collapsible: true,
            collapsed: true
        }
    }
});
With this configuration, users can now click the sparkles button to open the AI pane and have free-form conversations with the AI about their content. They can ask questions, request improvements or get writing suggestions by typing directly into the AI prompt interface.
4. Add AI Commands for Common Tasks
Let’s enhance the AI integration with predefined commands that address common writing needs. We’ll add a commands array to our AI configuration:
$("#editor").kendoEditor({
    // ...previous config
    ai: {
        // ...previous service and aiPrompt config
        commands: [
            {
                id: "rewrite",
                text: "Rewrite",
                icon: "arrow-rotate-cw",
                prompt: (selection) => `Rewrite the selected text while preserving its original meaning and intent.\n\nSelected Text:\n${selection}`
            }
        ],
        // ...rest of config
    }
});
Now, users can select text and use predefined commands for common editing tasks. The rewrite command helps users refresh their content while maintaining the original meaning—perfect for improving clarity or finding different ways to express the same idea.
5. Enable Inline AI Prompts
Finally, we can even add an inline AI prompt feature by setting inlineAIPrompt: true:
$("#editor").kendoEditor({
    // ...previous config
    ai: {
        // ...previous config
        inlineAIPrompt: true,
        // ...rest of config
    }
});
With inline prompts enabled, users can simply select any text in the editor and instantly access AI suggestions without opening the dedicated pane. This creates a seamless, context-aware editing experience where AI assistance is available exactly when and where it’s needed.
In just a few steps, we’ve transformed a basic rich text editor into an intelligent writing assistant. The Kendo UI for jQuery Editor’s AI integration makes it remarkably straightforward to add advanced AI capabilities to your applications, from free-form AI conversations to predefined commands and inline prompts.
Of course, there’s much more you can configure: custom AI commands, advanced prompt templates, additional tone options, length adjustments, translation features and fine-tuned AI behavior settings. The foundation we’ve built here gives you a simple starting point to explore these advanced capabilities.
Wrap-up
The Kendo UI for jQuery Editor has always been a solid choice for building rich text experiences. With the new AI Prompt integration, it’s now a smart writing assistant that can help your users write better, faster and with more confidence.
Want to see it in action or dig deeper into the details? Check out the jQuery Editor AI Integration demo and documentation for live examples and source code. You can also experiment with the AI features yourself by trying them out in the Kendo UI Dojo, where you can test and modify the code examples in real time.
Or try it yourself, free for 30 days.

Hassan Djirdeh
Hassan is a senior frontend engineer and has helped build large production applications at-scale at organizations like Doordash, Instacart and Shopify. Hassan is also a published author and course instructor where he’s helped thousands of students learn in-depth frontend engineering skills like React, Vue, TypeScript, and GraphQL.
Related Posts
Comments
All articles
Topics
Web MobileMobile
Desktop
Design
Productivity
People
