How to Create a Gist Download Chrome Extension Using React

Summarize with AI:
A lot of tools are built to run in browsers today, as we spend most of our time there. Read on to learn how you can build a Chrome extension, the Github Gist Downloader, with React.
An extension is a software program that customizes the browsing experience. Using an extension, a user can customize browser functionalities to their needs. Extensions can be created using HTML, CSS and JavaScript.
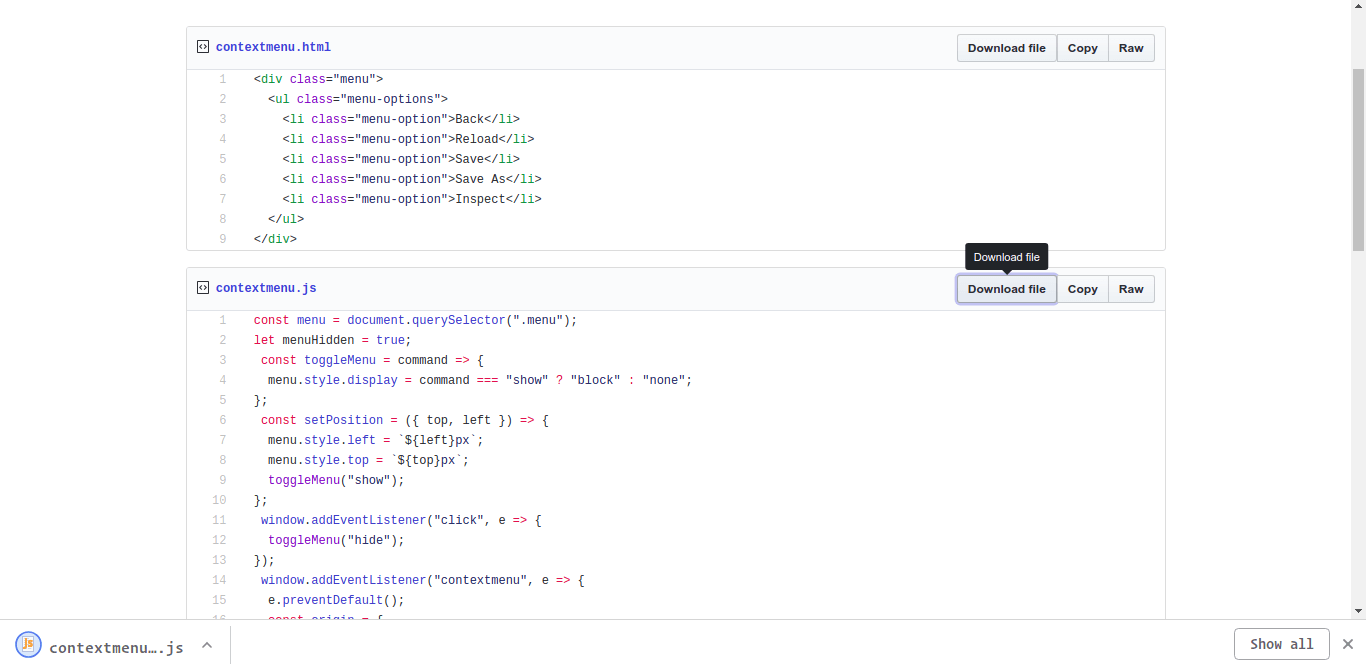
We'll be creating an extension for Chrome that will enable us to download code snippets we created on GitHub Gists. You can find a screenshot of the extension in action below:

Prerequisites
To follow this tutorial, a basic understanding of JavaScript and React is required. Please ensure that you have at least Node version 6 installed before you begin. We'll be using the following to create our extension:
- Parcel: A blazing fast, zero-configuration web application bundler
- React: A JavaScript library for building user interfaces
Creating Project Files and Installing Dependencies
In this step, we'll create the project folder and install the dependencies needed for the project.
Create a folder called gist-download. In the folder, create a file named package.json and copy the following code into it:
{
  "name": "Gist-downloader",
  "version": "0.1.0",
  "description": "Download code snippets on gists",
  "main": "src/js/main.js",
  "scripts": {
    "build": "parcel build src/js/main.js -d src/build/ -o main.js",
    "watch": "parcel watch src/js/main.js -d src/build/ -o main.js"
  },
  "dependencies": {
    "babel-preset-env": "^1.6.1",
    "babel-preset-react": "^6.24.1",
    "parcel-bundler": "^1.6.2",
    "prettier": "^1.14.3",
    "react": "^16.2.0",
    "react-dom": "^16.2.0"
  }
}
To install the dependencies, run $ yarn install or $ npm install in a terminal in the root folder of the project.
The next step is to create a manifest.json file in the root folder of your project. All Chrome extensions are required to have a manifest file. The manifest file simply describes the package's contents.
Copy the following code into the manifest.json file:
{
  "manifest_version": 2,
  "name": "Gist file downloader",
  "description": "An extension that can be used for downloading gist files.",
  "version": "1.0",

  "browser_action": {
    "default_icon": "icon.png"
  },

  "permissions": [
    "activeTab"
  ],

  "content_scripts": [
    {
      "matches": ["https://gist.github.com/*"],
      "js": ["src/build/main.js"],
      "run_at": "document_end"
    }
  ]
}
Note: All static files referenced here can be found in the demo repository here.
Chrome manifests are expected to have a manifest_version of 2.
The permissions property is an array of permissions our extension needs to run. The extension will need access to the current active tab.
The content_scripts array contains an object detailing the domains (matches) the extension should run on—the main js file. And the run_at property tells Chrome when it should run the extension. You can read more about the properties that are available on the manifest file here.
The final folder structure should look like this:
gist-downloader/
  src/
    js/
      components/
          download-button.js
        utils/
          index.js
        main.js
Inside your project folder, create the src folder to hold the project files. Inside the src folder, create a js folder. Finally, create a file called main.js in the src/js folder. This file will be the main entry file for the project.
Copy the following code into the main.js file. In the main.js file, we'll search for the .file_actions element, which resides in the header of each Gist file. We'll then render the application, which will be a simple download button as one of the file actions.
import React from "react";
import ReactDOM from "react-dom";

class App extends React.Component {
  render() {
    return <h1>The App</h1>
    // TODO: create a download button component and render here
  }
}

window.onload = () => {
  const fileActions = [
    ...document.body.querySelectorAll(".file .file-actions .BtnGroup")
  ];

  fileActions.forEach(action => {
    const containerEl = document.createElement("span");
    action.prepend(containerEl);
    ReactDOM.render(<App />, containerEl);
  });
};
The extension waits until the DOM content is loaded before in renders the application in the DOM. Using the document.querySelectorAll method, we'll get all elements with the .BtnGroup class existing within an element with a class file. This is to ensure the element selected is the one intended.
Using a forEach method, the fileActions array is looped through and within the callback function, a span element is created and prepended to the action element. Finally, the app is rendered within span element.
In the next step, we'll create the download button and walk through the steps of creating a file and downloading it.
Creating the Download Button Component
Gists are snippets, files, parts of files, and full applications shared with other people. They are basically repositories that can be cloned or forked.
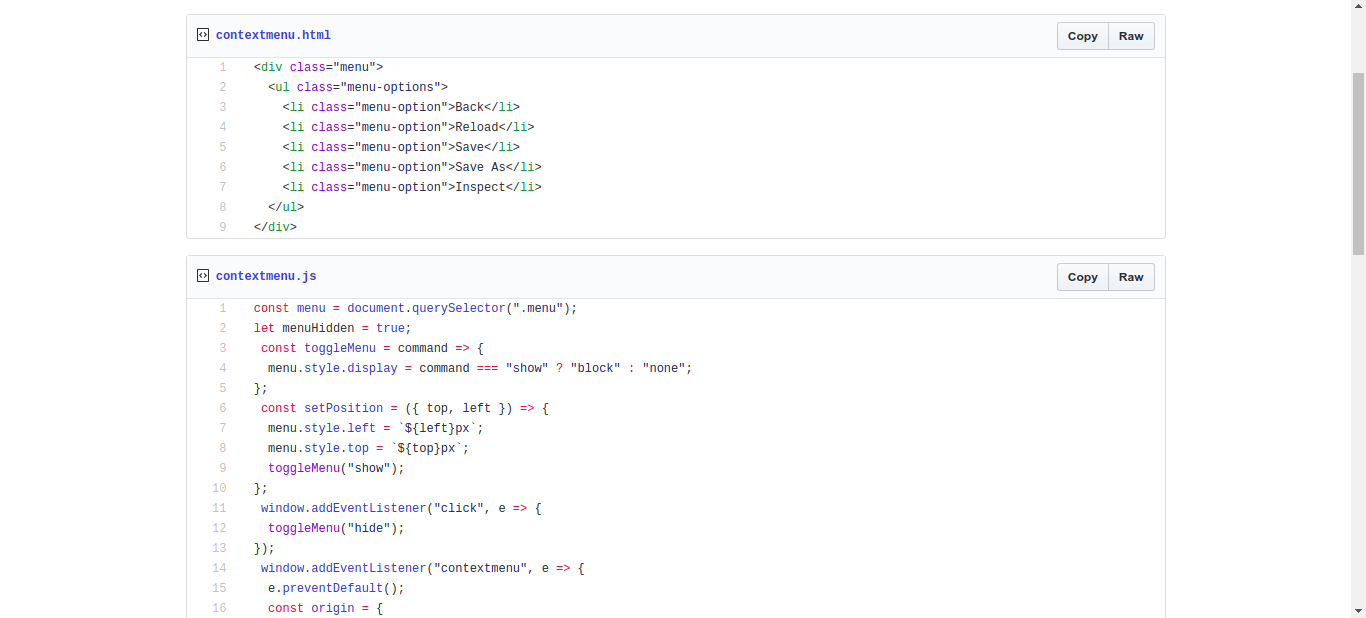
You'll find a screenshot of a Gist below:

In this tutorial, we'll be adding an extra action button to the file actions header. Create a folder named component in the src/js directory and then a file named download-button.js within the components folder.
In the download-button.js component, we'll create a button that, when clicked, will get the contents of the Gist and then curate a file with those contents. Finally, a download will be triggered for the created file.
Open the download-button.js file and copy the following code into it:
import React, { Fragment, Component } from "react";
import { download } from "../utils";

class DownloadButton extends Component {
  constructor() {
    super();
    this.onClick = this.onClick.bind(this);
  }

  onClick() {
    const fileTextArea = this.codeTextArea.querySelector('textarea');
    const fileContent = fileTextArea.value;
    const fileName = this.codeTextArea.querySelector(".gist-blob-name").innerText;
    download(fileName, fileContent);
  }

  get codeTextArea() {
    return this.button.parentElement.parentElement.parentElement
      .parentElement.parentElement;
  }

  render() {
    return (
      <Fragment>
        <button
className="btn btn-sm copy-pretty tooltipped tooltipped-n BtnGroup-item"
aria-label="Download the file"
onClick={this.onClick}
          ref={ref => (this.button = ref)}
        >
Download file
        </button>
      </Fragment>
    );
  }
}

export default DownloadButton;
In the component, the render method returns a button element. The reference to the element is obtained and a click event listener is set up. When the button is clicked, the codeTextArea getter method returns a textarea containing the textual contents of the Gist.
The chained parentElement is a crude way of ensuring that the textarea returned contains the Gist content requested for download. Next, the value of the textarea is assigned to the fileContent variable, and the name of the file is obtained from the text of an element with the class name gist-blob-name.
Finally the download function is called, with the fileName and fileContent as arguments. Next, we'll create an utils/index.js containing the download function.
Creating the Download Function
In the src/js directory, create a folder named utils and create an index.js file within the utils folder. Open the index.js file and copy the code below into it:
export const download = (filename, text) => {
  const element = document.createElement('a');
  element.setAttribute('href', 'data:text/plain;charset=utf-8,' + encodeURIComponent(text));
  element.setAttribute('download', filename);
  element.style.display = 'none';
  document.body.appendChild(element);
  element.click();
  document.body.removeChild(element);
};
First, we create an anchor element. Then we create the href attribute, encoding the text parameter as a UTF-8 character using the encodeURIComponent function. A download attribute is then set on the anchor element. The download attribute is required on an anchor element to trigger a download.
The filename param is then set as the value of the download attribute.
The element is hidden by setting the display to none before appending it to the document body. A click event is then triggered on the element as the element is removed from the DOM.
Now that the download button component has been created, let's go back to the main.js file and render it there. Open the main.js file and update it to include the DownloadButton element.
class App extends React.Component {
  render() {
    return <DownloadButton />;
  }
}
In the next step, we'll learn how to build the extension and add it to Chrome.
Building the Extension and Loading it on the Browser
In this section, we'll build our newly created extension and load it on the browser, seeing it in action for the first time. Open a terminal in the root folder of the project and run the following command to build the application:
$ npm buildThis command should create a build folder in the src directory with the main.js file within it.
In your Chrome browser:
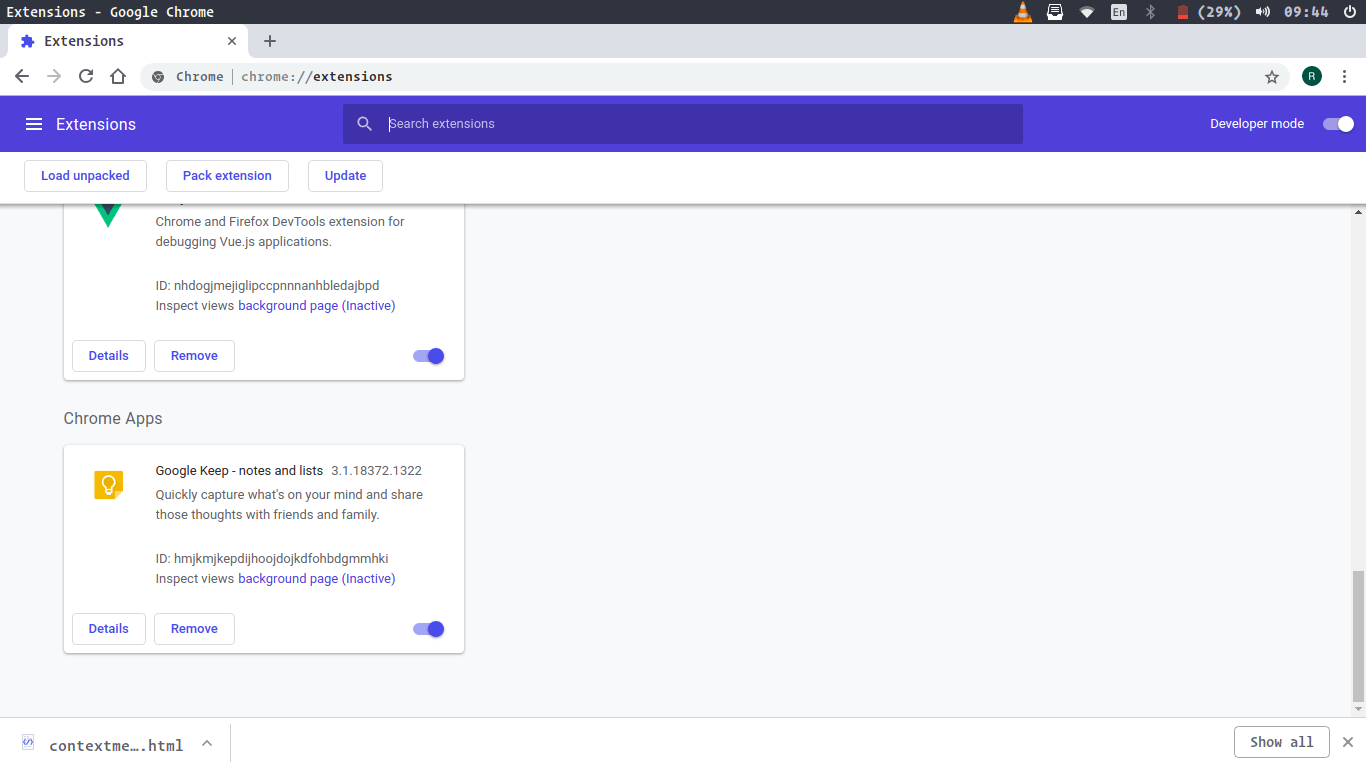
- visit the extensions page chrome://extensions/
- toggle the "Developer Mode" switch
- click the "Load unpacked" button and select your project folder

The extension should show up in your extensions list. When you visit any Gist page you'll see the download button show up, similar to the screenshot below:

Congratulations!! You've successfully created a Chrome extension. A click on the "download file" button should trigger a download for the named file. You can find the complete code on Github.
Want to learn more about React? Check out our All Things React page that has a wide range of info and pointers to React information—from hot topics and up-to-date info to how to get started and creating a compelling UI.

Christian Nwamba
Chris Nwamba is a Senior Developer Advocate at AWS focusing on AWS Amplify. He is also a teacher with years of experience building products and communities.
