How To Bind Any Component to Data in React: One-Way Binding

Summarize with AI:
This article will discuss data binding, types, how to utilize useState and useRef to bind data in React and more.
Data binding is the coupling and synchronization of two data sources; when data changes in an element, the bound element gets updated to reflect this change. Data binding is used for many reasons, such as linking an application’s user interface (UI) to the data it displays, for data entry, etc. It also allows the application user to manipulate the data represented in the web page elements without needing to use complicated programming or scripting processes.
Types of Data Binding
Here, we will cover the two ways of binding data in an application.
- One-way binding: this is an effortless way of implementing data binding. Data consumers are automatically updated when the source (provider) data changes, but not the other way around.
- Two-way binding: Two-way binding is where changes from the data consumer or data source (provider) automatically update the other.
Note: One-way data binding is the architecture React follows for data flow; therefore, the rest of this article will look at the different ways of implementing one-way data binding in React.
Project Setup
Before moving on to the rest of the article, let’s set up our React application. Go to your terminal and enter the following commands.
npx create-react-app react-bind-app
cd react-bind-app
npm start
Data Binding With useState
In the previous version, React class components were the only components that had state, but from React 16.6+, functional components started having state. Still, you must use React hooks to enable state in functional components. Here we will use the useState hook, bound to our JSX (JavaScript XML), and pass our data as props.
Replace the code in your App.js file in the src/ directory with the following code:
import React from "react";

const App = () => {
  const [formField, setFormField] = React.useState({
    username:"",
    password: ""
  })
  const formFieldHandler = (e)=>{
    let name = e.target.name
    let value = e.target.value
    setFormField({...formField, [name]:value})
  }
  return (
    <form
      onSubmit={(e)=>{
        e.preventDefault()
        console.log(formField)
      }}
      style={{
        marginTop: 50,
        display: "flex",
        flexDirection: "column"
      }}

    >
      <input
        type="text"
        name="username"
        value={formField.username}
        onChange={formFieldHandler}
        placeholder="Username"
        style={{
          padding: "10px 10px",
          width: "80%",
          maxWidth: 540,
          margin: "5px auto"
        }}
      />
      <input
        type="password"
        name="password"
        value={formField.password}
        onChange={formFieldHandler}
        placeholder="Password"
        style={{
          padding: "10px 10px",
          width: "80%",
          maxWidth: 540,
          margin: "5px auto"
        }}
      />
      <button
        style={{width: 200, padding: 10, margin: "15px auto"}}
      >Submit</button>
    </form>
  );
};
export default App
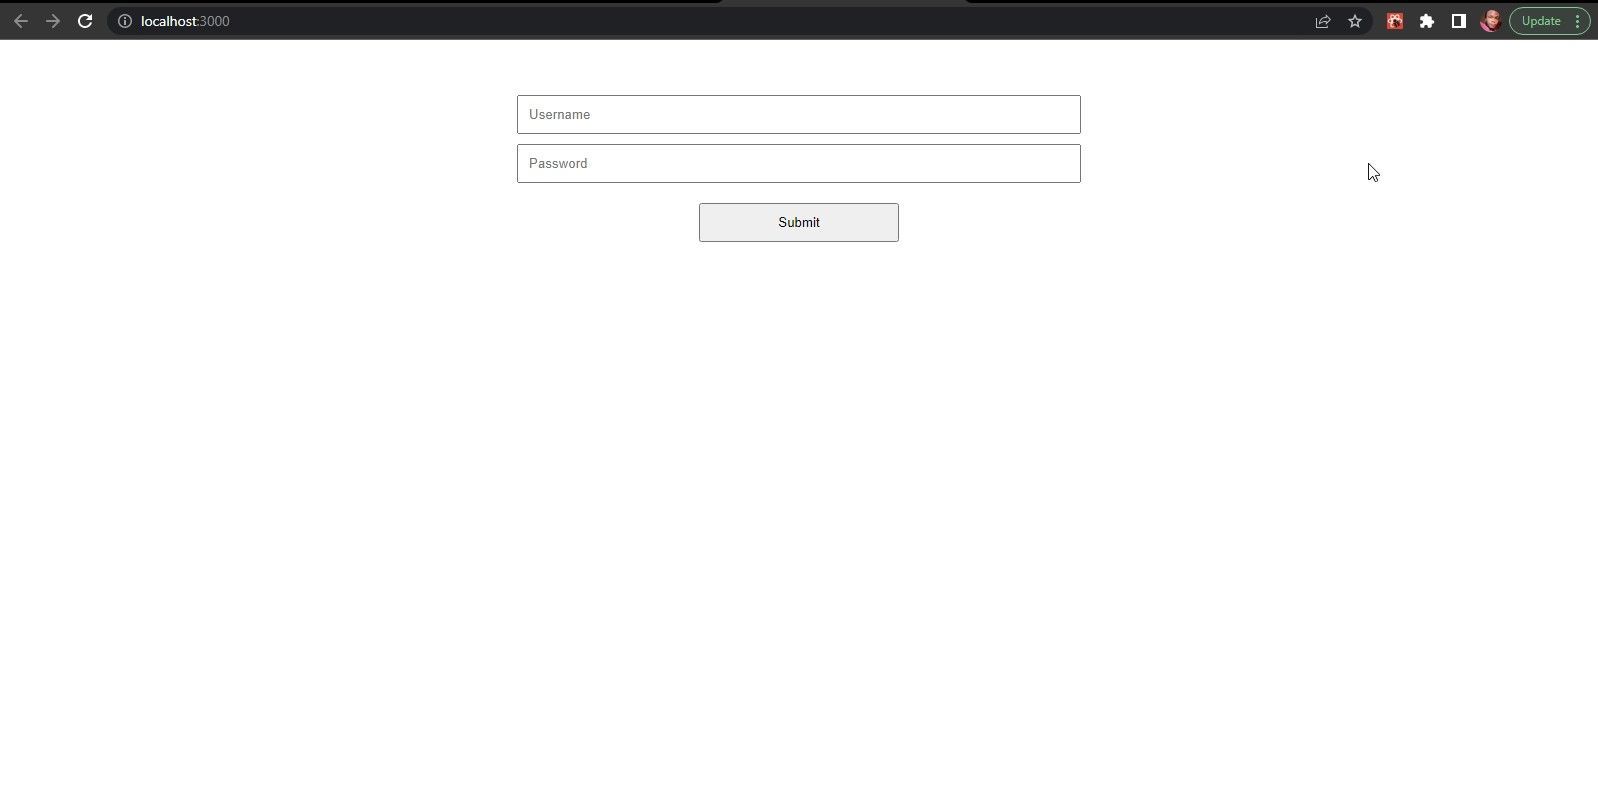
In the code above, we displayed a simple form application to demonstrate how data is bound in React. We first imported React from react to enable us to access the useState hook. Then we destructured the array of two values we
received from React.useState into formField and setFormField. The first value is a variable/field, and the second value is a function that we used in updating the first value (variable/field).
Next, we created a formFieldHandler; here, we implemented the logic for updating the formField, which involves simplifying the event object properties.
In the return section of the App function, we implemented our JSX. In the form JSX, we passed an onSubmit prop which prevents the browser from performing its default action when the form is submitted.
Then, in the input JSX, we bound the value props and the onChange props to the formfield properties, making the React component element (App function) the data provider and the React DOM element (form and input)
the data consumer. We also added a style prop for aesthetics.
Note: In the formFieldHandler, we used computed property when updating the formField, which involves using the input name attribute as the formField name property and the input value attribute as
the formField value property (e.target.name, e.target.value). Without this, React won’t know which property to update, and you won’t see the update in your browser.
Data Binding With useRef
useRef is a React hook used for persisting data between different renders. React useRef is used for implementing a reverse one-way data binding, where the data consumer updates the data provider automatically. useRef is used when you want the browser DOM as the source of truth and not your react-dom; this enables the user to access the DOM properties.
In the App.js file, replace the code with the code below.
import React from "react";
const App = () => {
  const appRef = React.useRef()
  const [filesName, setFilesName] = React.useState([])
  const fileUploadHandler = ()=>{
    appRef.current.click()
  }
  return (
    <div style={{margin: "30px auto", width: 450}}>
      <form onSubmit={(e)=>e.preventDefault()}>
        <input
          type="file"
          ref={appRef}
          style={{ display: "none" }}
          onChange={(e) => {
            let files = e.target.files
            for(let file of files){
              setFilesName((state)=>{
                return [...state, file.name]
              })
            }
          }}
          multiple={true}
        />
        <button
          onClick={fileUploadHandler}
          style={{margin: "20px auto", padding: "10px 20px"}}
        >
          upload file
        </button>
      </form>
      {filesName.map(
        (filename, index) => (
          <p key={index}>{filename}</p>
        )
      )}
    </div>

  );
};
export default App
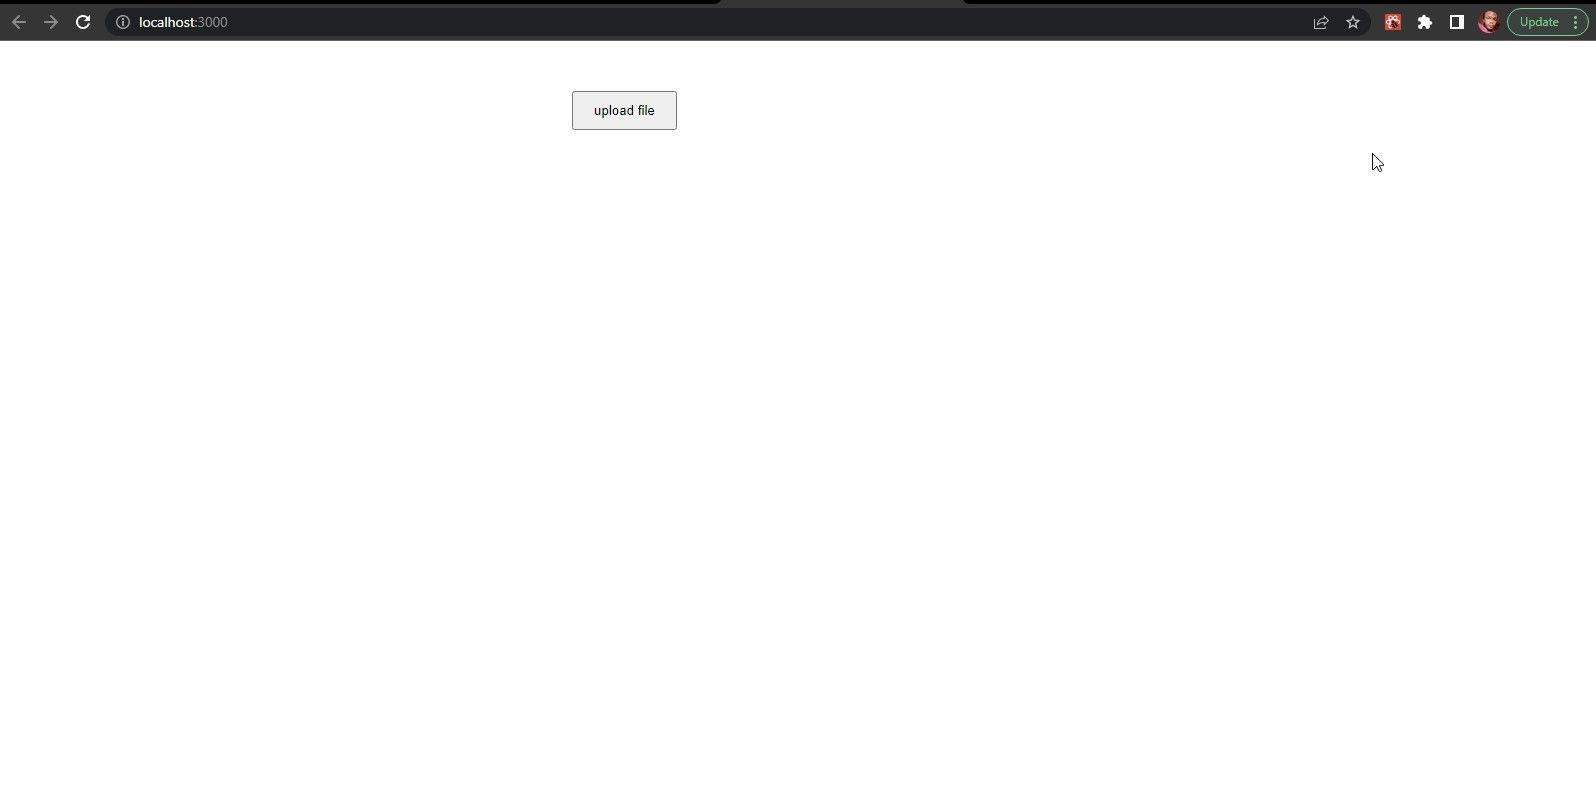
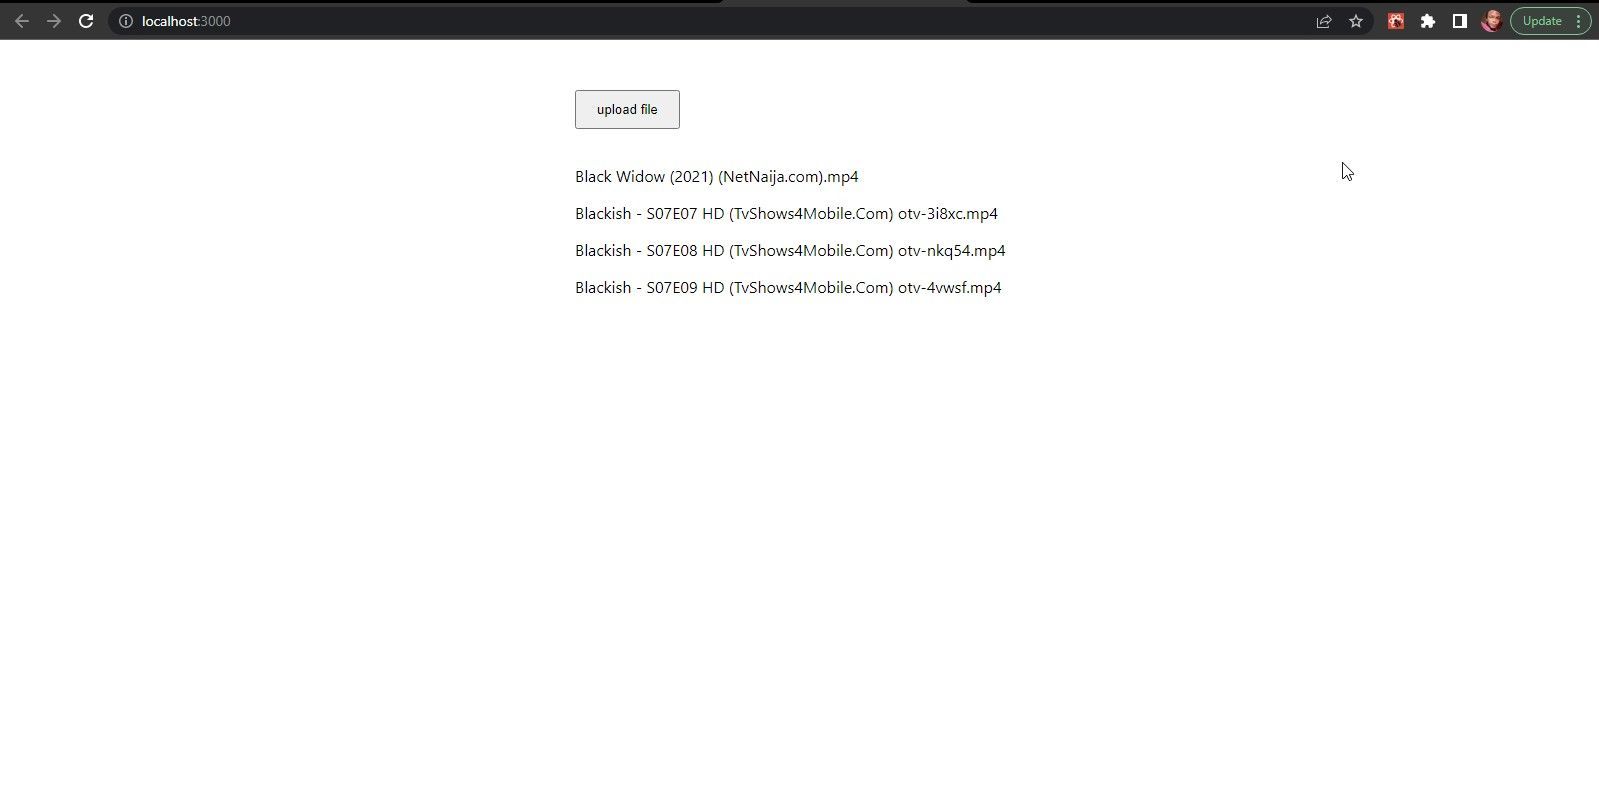
In the code above, we bound the appRef current property to the input JSX ref attribute to enable us to access the browser DOM properties. We passed an onChange prop to the input JSX to allow us to access the formFiles data from the event target files property and store it in the App function state (filesName, setFileName).
The fileUploadHandler function is called whenever the button JSX is clicked, which triggers a clicking event on the input JSX. This is done because we styled the input JSX to be hidden; this isn’t necessary, but modern designs, like
drag and drop, require this logic.
Note: The ref attribute is not a React prop and is handled separately from the React props because it works in reverse order from props.
The image above is a snapshot of React DevTools; as you can see, the ref hook is bound to the input JSX.
Why You Should Use useState Over useRef
In React, we have two types of form—an uncontrolled form and a controlled form. An uncontrolled form is a form that keeps its source of truth in the browser DOM and should be used in cases like file uploading, integrating a third-party API, etc. A controlled form is a form where the React component state acts as the source of truth.
Use useRef whenever the source of truth needs to be the DOM, and use useState when the source of truth can be a React component.
Data Binding With useReducer
The Flux architecture has been quite popular in React, and Redux has been the frontrunner in using Flux architecture for state management. However, in React 16.6+, React added the useReducer and useContext hooks to implement the Flux architecture
in React applications without using a library.
In your src/ directory, create a file store.js and paste the following code into the file.
export const storeData = {
  submit:false,
  formField:{username:"", password:""}
}
In the code above, we created a state object which we will use globally throughout the application. Although storeData is global to our application, it is still encapsulated, so only parts of our application we expose to the storeData can modify it.
In your src/ directory, create a reducer.js file and paste the following code into the file.
const reducer = (state, action)=>{
  switch(action.type){
  case "SUBMIT":
    return {
      ...state,
      submit:true,
      formField:{
        ...state.formField,
        [action.formField.name]:action.formField.value
      }
    }
  default:
    return state

  }
}
export default reducer
In the code above, we created a reducer function, which takes two arguments—the state of the storeData object and an action object dispatched from different parts of our application to initiate a change. In
the switch block, we created logic to handle the case where the type of action is “Submit” and to update the state.
Note: Always implement the reducer functions as a pure function (free of side effects).
Replace the code in your App.js file with the code below.
import React from "react";
import { storeData } from "./store.js";
import Form from "./Form.js";
import reducer from "./reducer.js";


export let AppContext = React.createContext()
AppContext.displayName = "App Context"


const App = () => {
  let [storeDataValue, dispatch] = React.useReducer(reducer, storeData)
  return (
    <AppContext.Provider
      value={{ storeDataValue, dispatch }}
    >
      <Form />
    </AppContext.Provider>

  );
};
export default App
We imported our reducer function, storeData object and Form component in the above code.
Next, we created an AppContext using React.createContext, which allows us access to the provider and displayName property, which helps during debugging. In the App function, we destructured the array
of two from useReducer, similar to our previous implementation of useState. Finally, we return our Form component (not created yet), wrapped by the AppContext provider, which takes a value prop meant
to be consumed by other parts of our application.
In your src/ directory, create a Form.js file and paste the following code into it.
import React from 'react'
import { AppContext } from './App.js'
const Form = () => {
  const {storeDataValue, dispatch} = React.useContext(AppContext)
  const {username, password} = storeDataValue.formField
  const formHandler = (e)=>{
    let {name, value} = e.target
    dispatch({type:"SUBMIT", formField:{name, value}})
  }
  return (
    <form
      onSubmit={
        (e)=>{
          e.preventDefault()
        }
      }
      style={
        {
          display: "flex",
          flexDirection: "column",
          justifyContent: "space-between",
          width: 400,
          height: 150,
          margin: "30px auto"
        }
      }
    >
      <input
        type="text"
        name="username"
        placeholder="username"
        value={username}
        onChange={formHandler}
        style={
          {
            padding: 10
          }
        }
      />
      <input
        type="text"
        name="password"
        placeholder="password"
        value={password}
        onChange={formHandler}
        style={
          {
            padding: 10
          }
        }
      />
      <button
        style={
          {
            padding: 15,
            width: 200,
            margin: "0 auto"
          }
        }
      >Submit</button>
    </form>
  )
}
export default Form
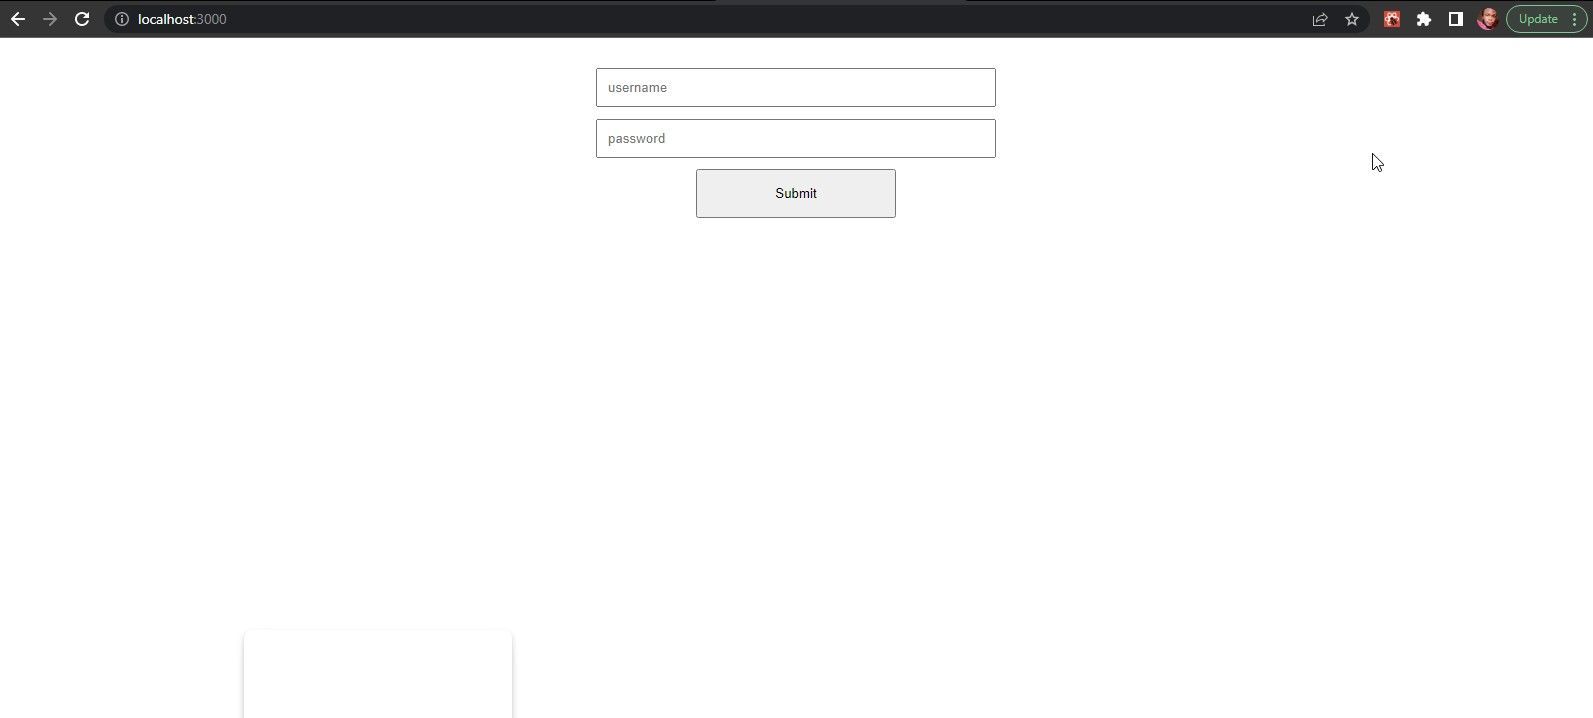
In the code above, the AppContext was imported into the Form.js file. We consumed the storeDataValue object and dispatch function from AppContext using React.useContext (works
the same as AppContext.Consumer).
Next, we created a formHandler which takes in the event object and dispatches an action to the reducer, which will update our storeData object. Next, we bound the value prop to storeDataValue.formField we got from
our AppContext.
The context provider is shown above as App Context because of the displayName property we defined earlier.
Building a Select Dropdown Form
Below is an application that demonstrates a select dropdown form. Create a Data.js file and paste the following code into the file.
const Data = ["Nigeria", "Ghana", "Germany", "France", "Argentina", "Brazil"]
export default Data
In the code above, we created an array of countries and exported them. Usually, data like this is obtained from your application endpoint or third-party API.
In your App.js file, replace the code with the following.
import React from "react";
import Data from "./Data.js"
const App = () => {
  const [countryState, setCountryState] = React.useState("")
  const countries = [...Data]
  return (
    <form
      style={
        {
          margin:"100px auto",
          width: 200
        }
      }
    >
      <select
        value={countryState}
        onChange={
          (e) => setCountryState(e.target.value)
        }
      >
        {
          countries.map((country, index)=>{
            return(
              <option
                key={index}
                value={country}
              >
                {country}
              </option>
            )
          })
        }
      </select>
    </form>


  );
};
export default App
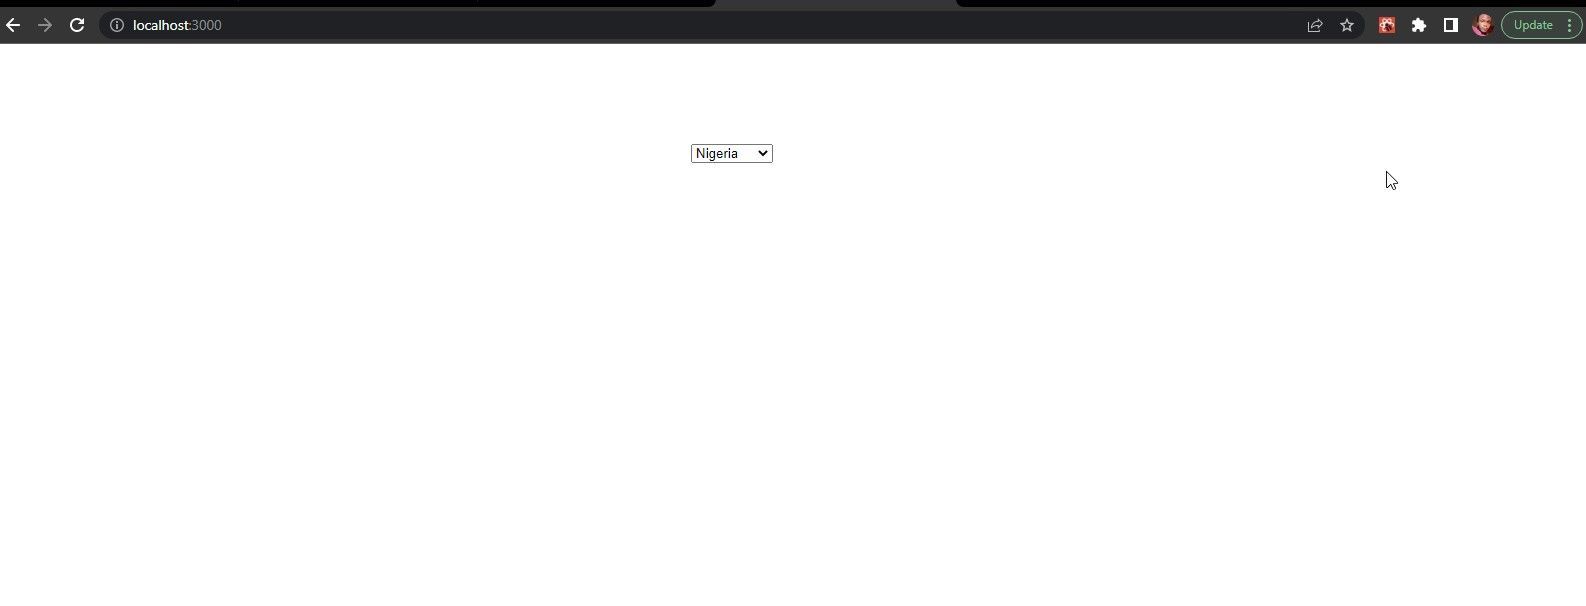
In the code above, we created a component state using React.useState and bound it to the value and onChange prop of the select JSX. Next, we mapped the countries to the option JSX value prop so we could select different countries.
To see more examples of binding React UI components to data, check out these demos in the KendoReact library documentation: React Multiselect Data Binding and React DropDown List Data Binding.
Conclusion
React uses a waterfall concept for delivering data from parent to child elements using props, but this could result in the need for prop drilling, where props are passed through intermediate components just to get to the component that uses the prop. That is why, for bigger applications, it is advised to use React context and reducer to mitigate prop drilling.

Chinedu Imoh
Chinedu is a tech enthusiast focused on full-stack JavaScript and Infrastructure engineering.

