
How Does Angular Compare to React?

Summarize with AI:
Learn how Angular and React compare when it comes to web development—including their distinct approaches, use cases and functionalities.
Angular and React are some of the most popular tools for building frontend web applications, but they take different approaches to development and have distinct philosophies. Angular is a full-fledged framework, while React is a library focused just on building user interfaces.
In today’s article, we’ll delve into how Angular and React compare, highlighting key differences, similarities and use cases for each. Specifically, we’ll look at these key areas:
- Fundamental principles
- Getting started
- Building the UI
- Handling forms
- Routing
- Which one should we use?
Fundamental principles
Angular: A Comprehensive Framework
The official Angular documentation explains Angular as a web framework that provides a broad suite of tools, APIs and libraries to simplify and streamline development workflow. In other words, Angular is designed as a complete solution for building scalable web applications.
Angular achieves this through its comprehensive ecosystem, which includes:
- Component-based architecture: Angular’s building blocks are components that help encapsulate both logic and presentation. This modularity allows for reusable and maintainable code, making it easier to manage large applications.
- TypeScript-based development: Angular encourages the use of TypeScript, a superset of JavaScript, which provides static typing. This can help catch errors early in development, enforce coding standards and improve the overall quality of the code.
- Two-way data binding: Angular’s two-way data binding automatically synchronizes data between the model and view components. This simplifies the development process by reducing the need for additional code to handle these updates.
- Angular CLI: The Angular Command Line Interface (CLI) is a powerful tool that helps automate many development tasks. It simplifies project initialization, component generation, builds, testing and deployment.
- Advanced routing and navigation: Angular provides a robust routing module that supports complex navigation scenarios, lazy loading and nested routes, which are essential for building SPAs.
The above suite of features and tools makes Angular a very good choice for developers and teams looking to build scalable, maintainable and high-performing web applications.
React: A Library for Building User Interfaces
React is a UI library for building responsive, interactive user interfaces. Unlike Angular’s all-in-one approach, React focuses on one thing and does it well: the view layer. This concentration has led to its widespread adoption for both simple and complex web applications alike. React’s core principles and features include:
- Component-based architecture: Similar to Angular, React also utilizes components as the fundamental building blocks of UIs. However, React’s components are more focused on rendering logic and often utilize a mix of JavaScript and JSX (JavaScript XML), a syntax extension that allows HTML to be written within JavaScript.
- Unidirectional data flow: React enforces a one-way data flow, which makes the state management more predictable. Components receive data as props and can only affect their children, ensuring a clear hierarchy and flow of data.
- JSX: React introduces JSX, which allows developers to write their components using a syntax that closely resembles HTML. This approach makes the code more readable and easier to write, especially for those familiar with HTML.
- Hooks: Introduced in React version 16.8, hooks are functions that let developers “hook into” React state and lifecycle features from function components. They provide a more direct API to React concepts like props, state, context, refs and lifecycle.
- Rich ecosystem: While React itself is focused on the UI, it’s supported by a vast ecosystem that includes libraries like Redux for state management, React Router for navigation and many more tools that extend its functionality for a complete development experience.
React’s design philosophy emphasizes simplicity and flexibility. It allows developers to choose the tools and libraries they want to use for aspects like state management and routing rather than being tied to a specific framework’s approach.
Getting Started
Getting Started with Angular
To begin with Angular, we typically start by setting up the Angular environment, which involves installing Node.js and the Angular CLI. The Angular CLI can be installed with:
npm install -g @angular/cli
Once installed, we can create a new Angular project using the Angular CLI with a command like:
ng new new-app
The above command creates a new Angular project with the specified name of the app (e.g., new-app). This process sets up the basic structure for an Angular application, including various configuration files, a source folder with a basic app component, and dependencies listed in a package.json file. The Angular CLI also automatically configures a build process using webpack and sets up a development server for the application.
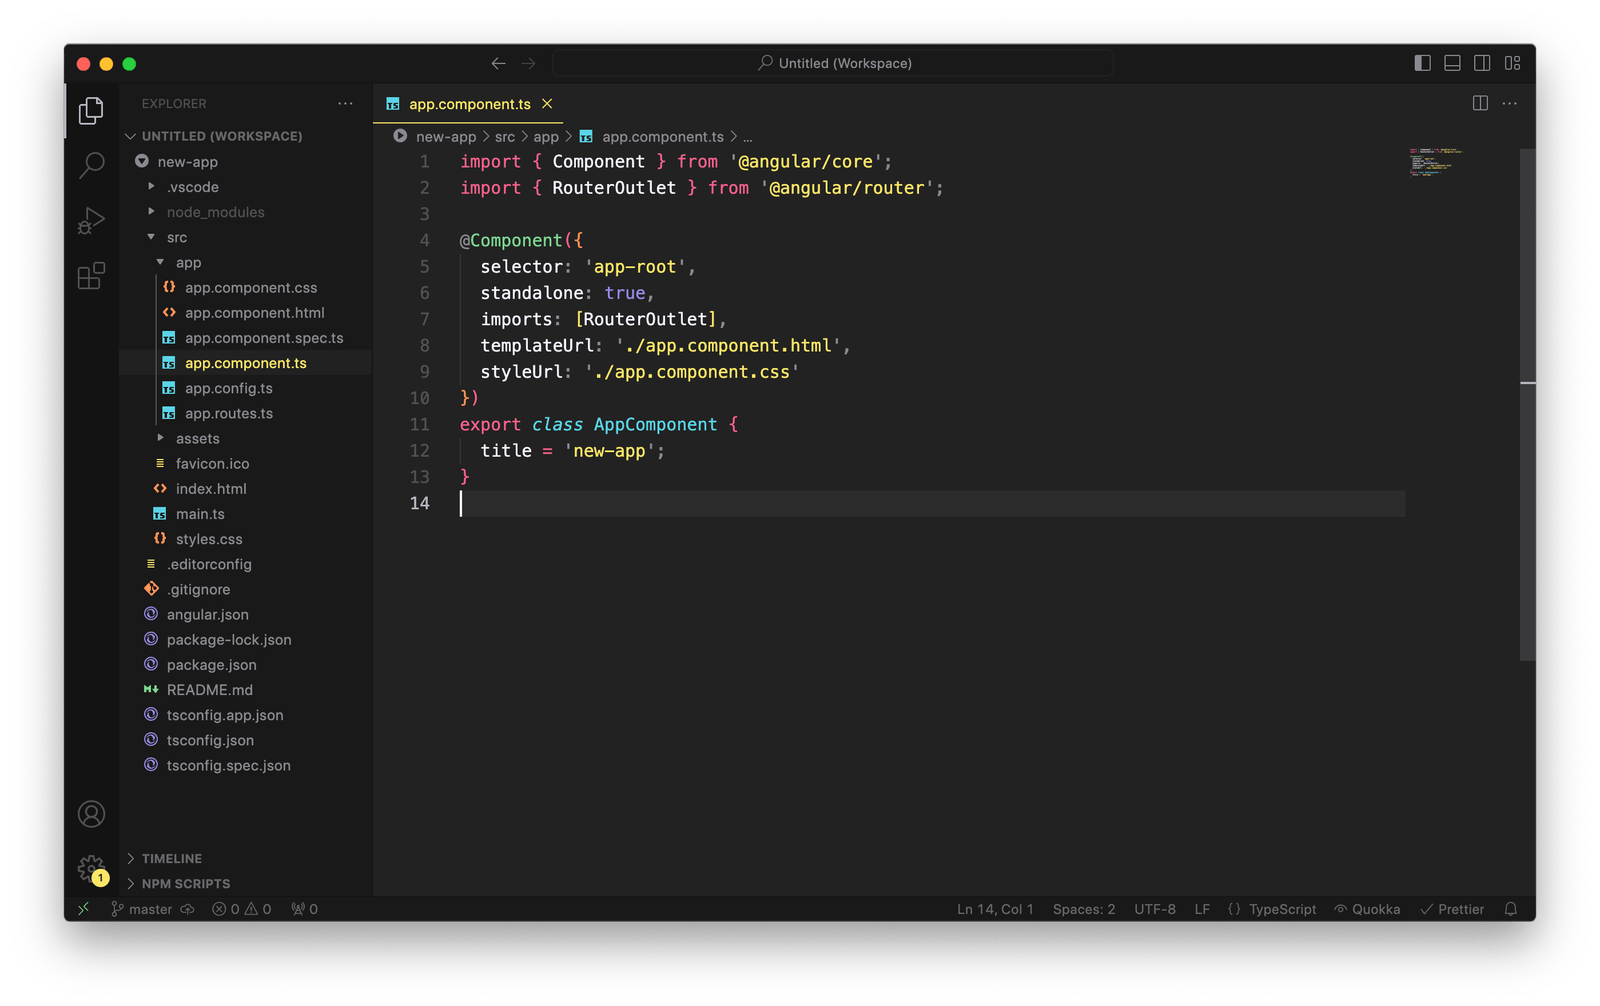
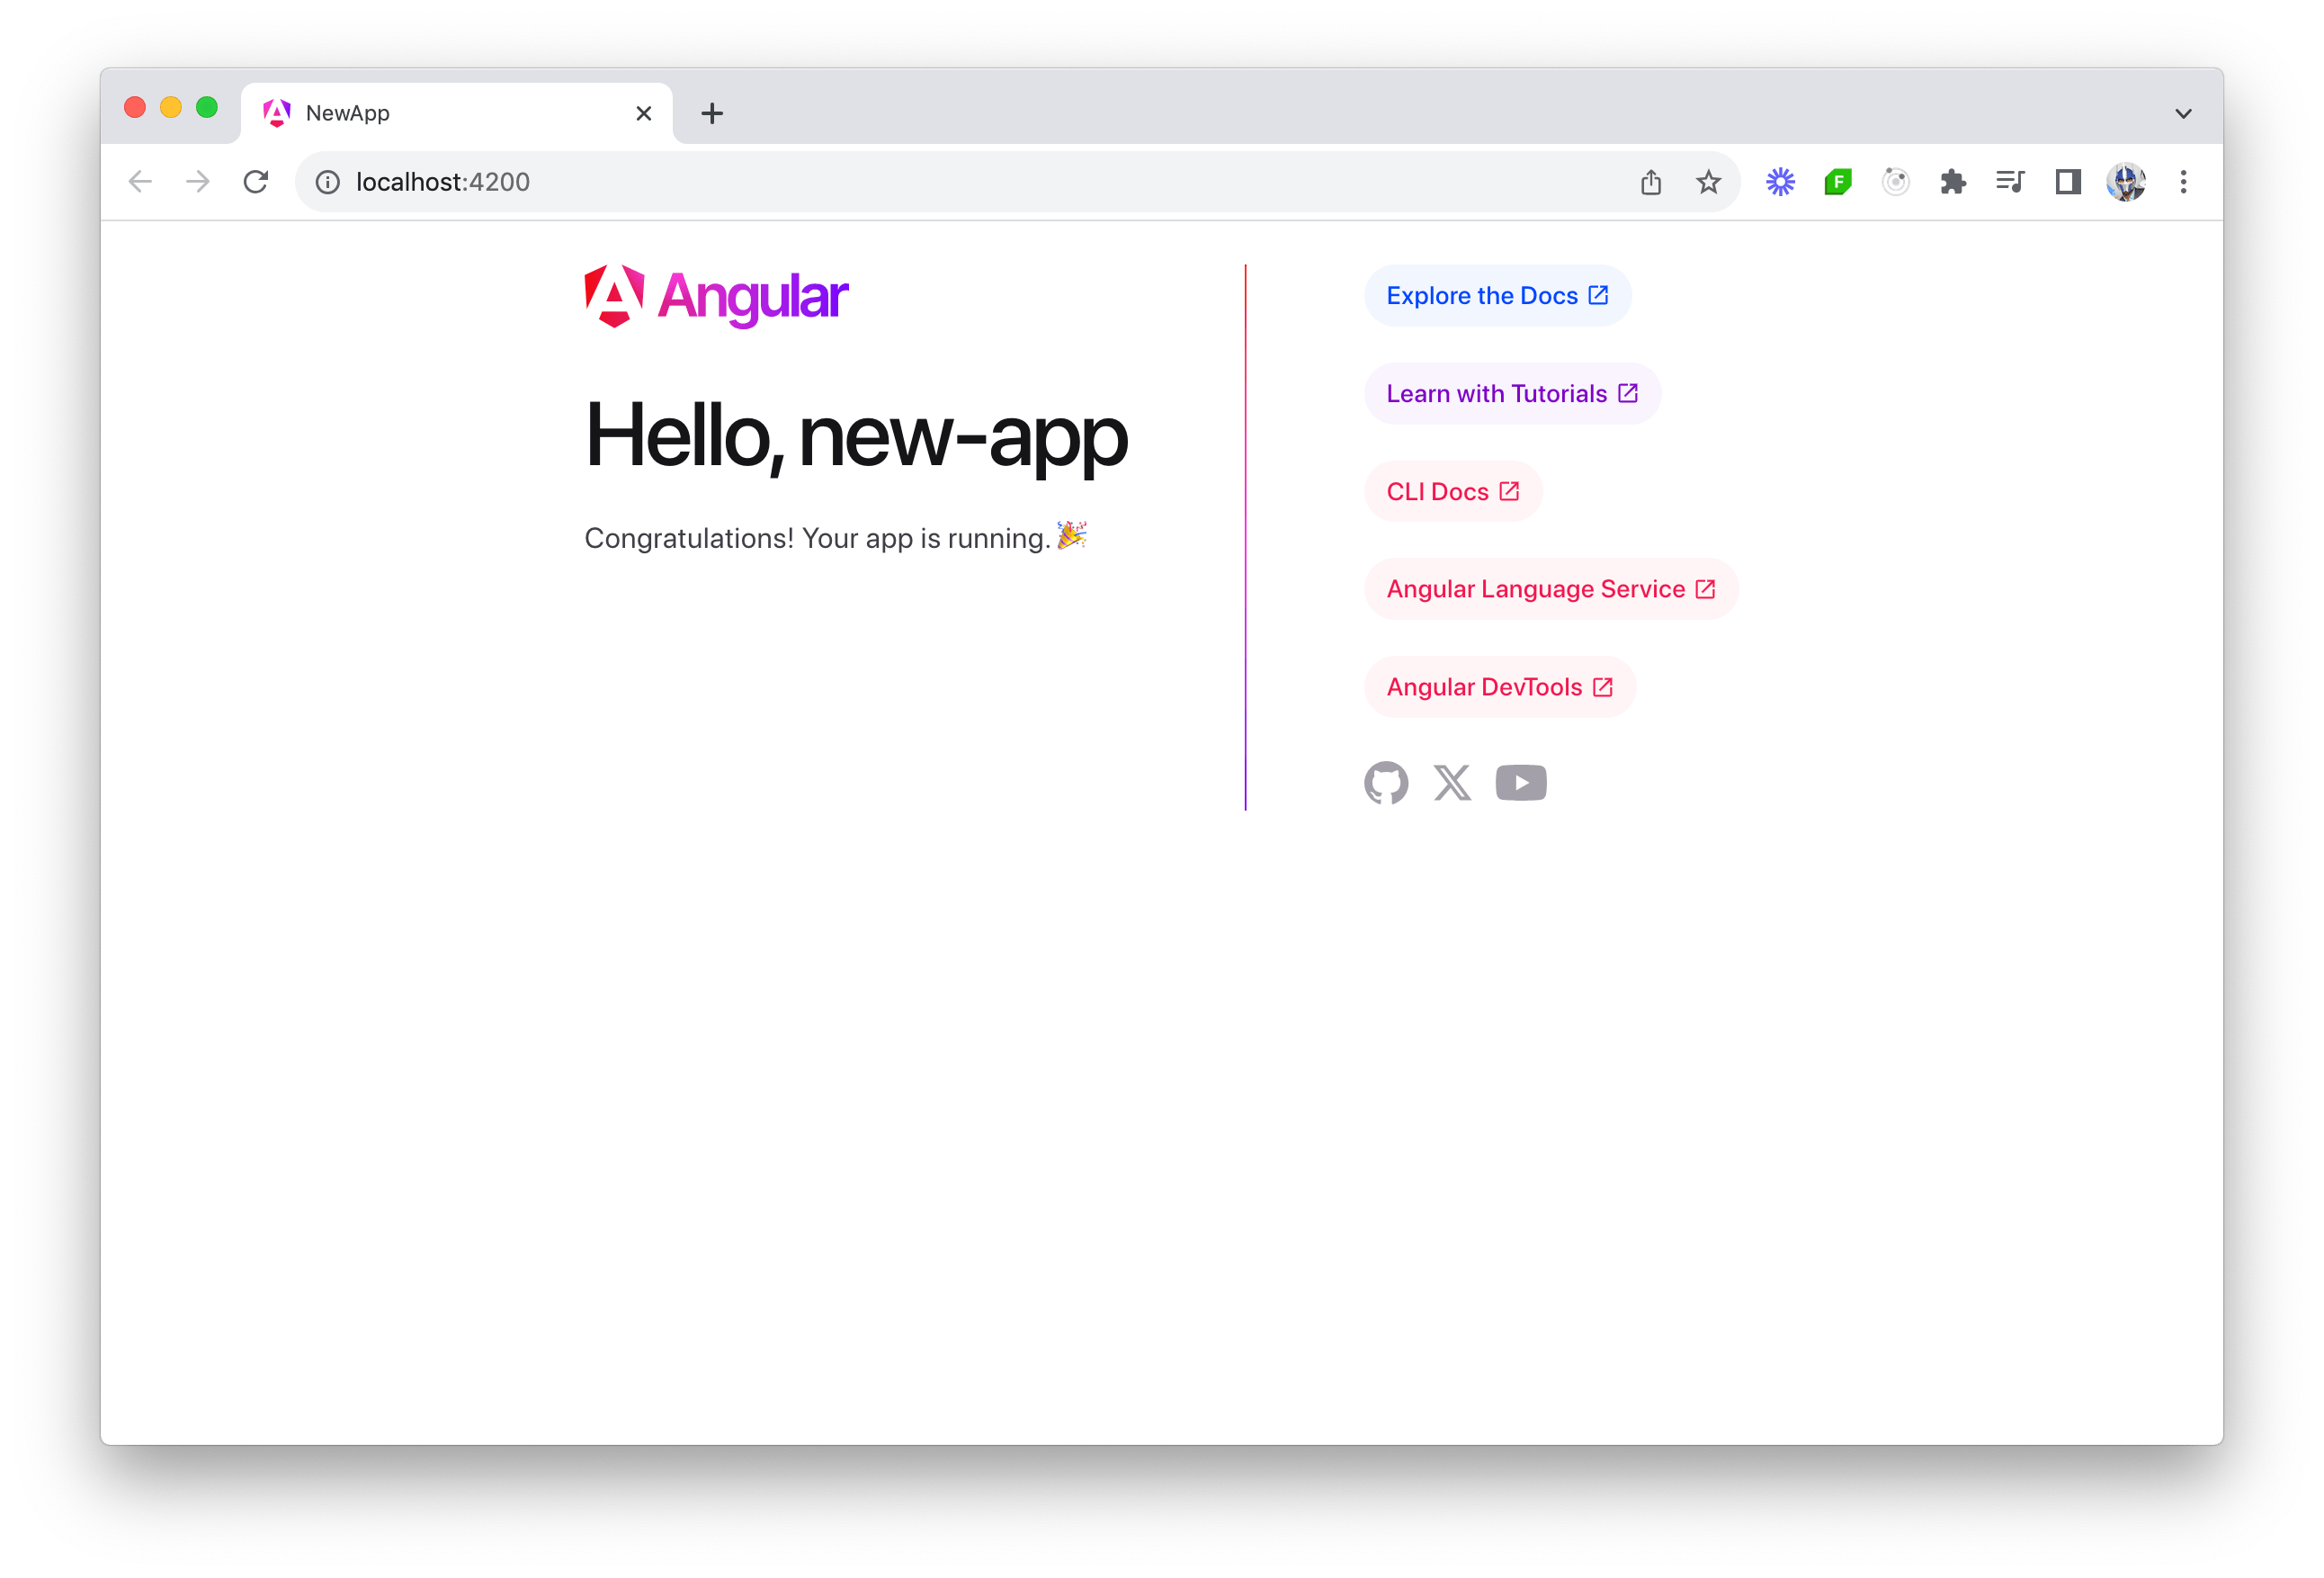
To run the newly created Angular application, we can run the following within the new project directory:
ng serve --open
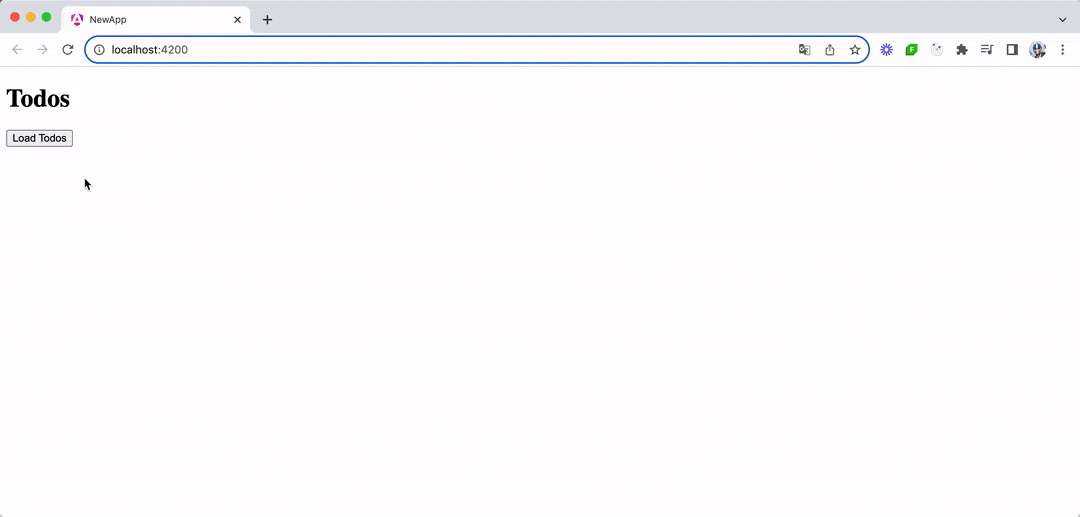
The above command compiles the application, starts a web server and opens the browser to http://localhost:4200 to view the generated application.
Getting Started with React
The React documentation suggests leveraging React-powered frameworks like Next.js or Remix to build and start a new React application. These frameworks provide a robust set of features for routing, server-side rendering, static site generation and more, significantly enhancing React’s capabilities.
In this article, we’ll create a new React project with the Next.js framework. First, we’ll create a new Next.js application by running the following command in our terminal:
npx create-next-app@latest react-next-app
During installation, we’ll see the following prompts:
What is your project named? my-app
Would you like to use TypeScript? No / Yes
Would you like to use ESLint? No / Yes
Would you like to use Tailwind CSS? No / Yes
Would you like to use `src/` directory? No / Yes
Would you like to use App Router? (recommended) No / Yes
Would you like to customize the default import alias (@/*)? No / Yes
What import alias would you like configured? @/*
The prompts guide the customization of the new Next.js project, allowing us to tailor the setup according to our preferences and project requirements. For example, we can choose to use TypeScript to enable type safety, opt for Tailwind CSS to facilitate UI development with utility-first styling, etc.
When installed, a new directory called react-next-app is created with a pre-configured Next.js project. It installs all necessary dependencies, including React and Next.js itself.
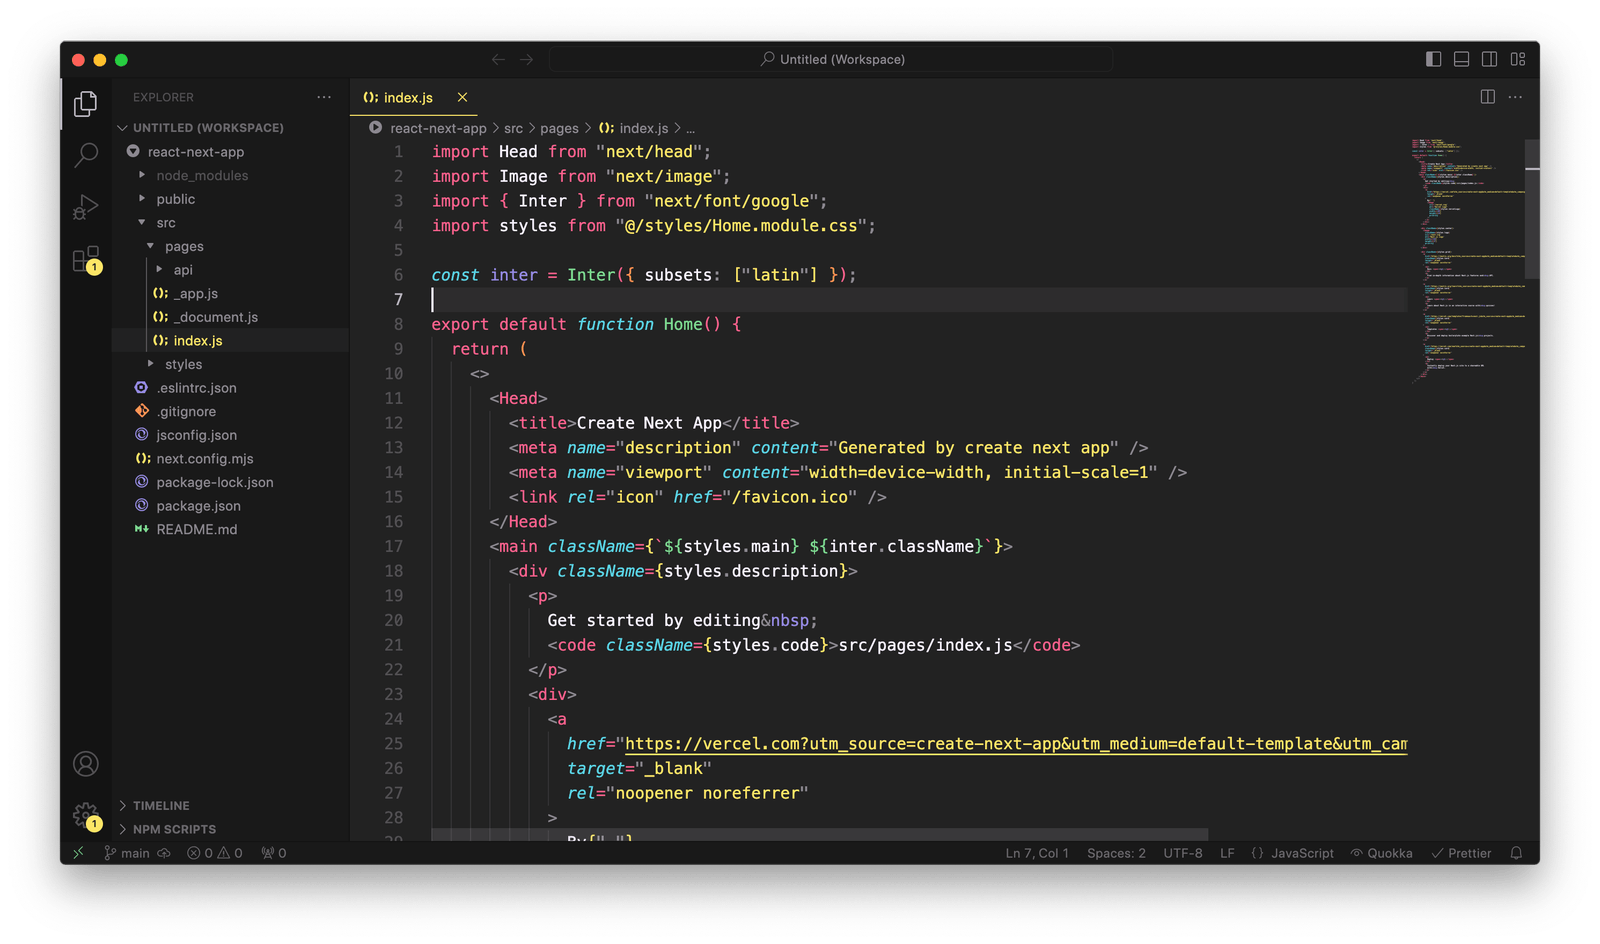
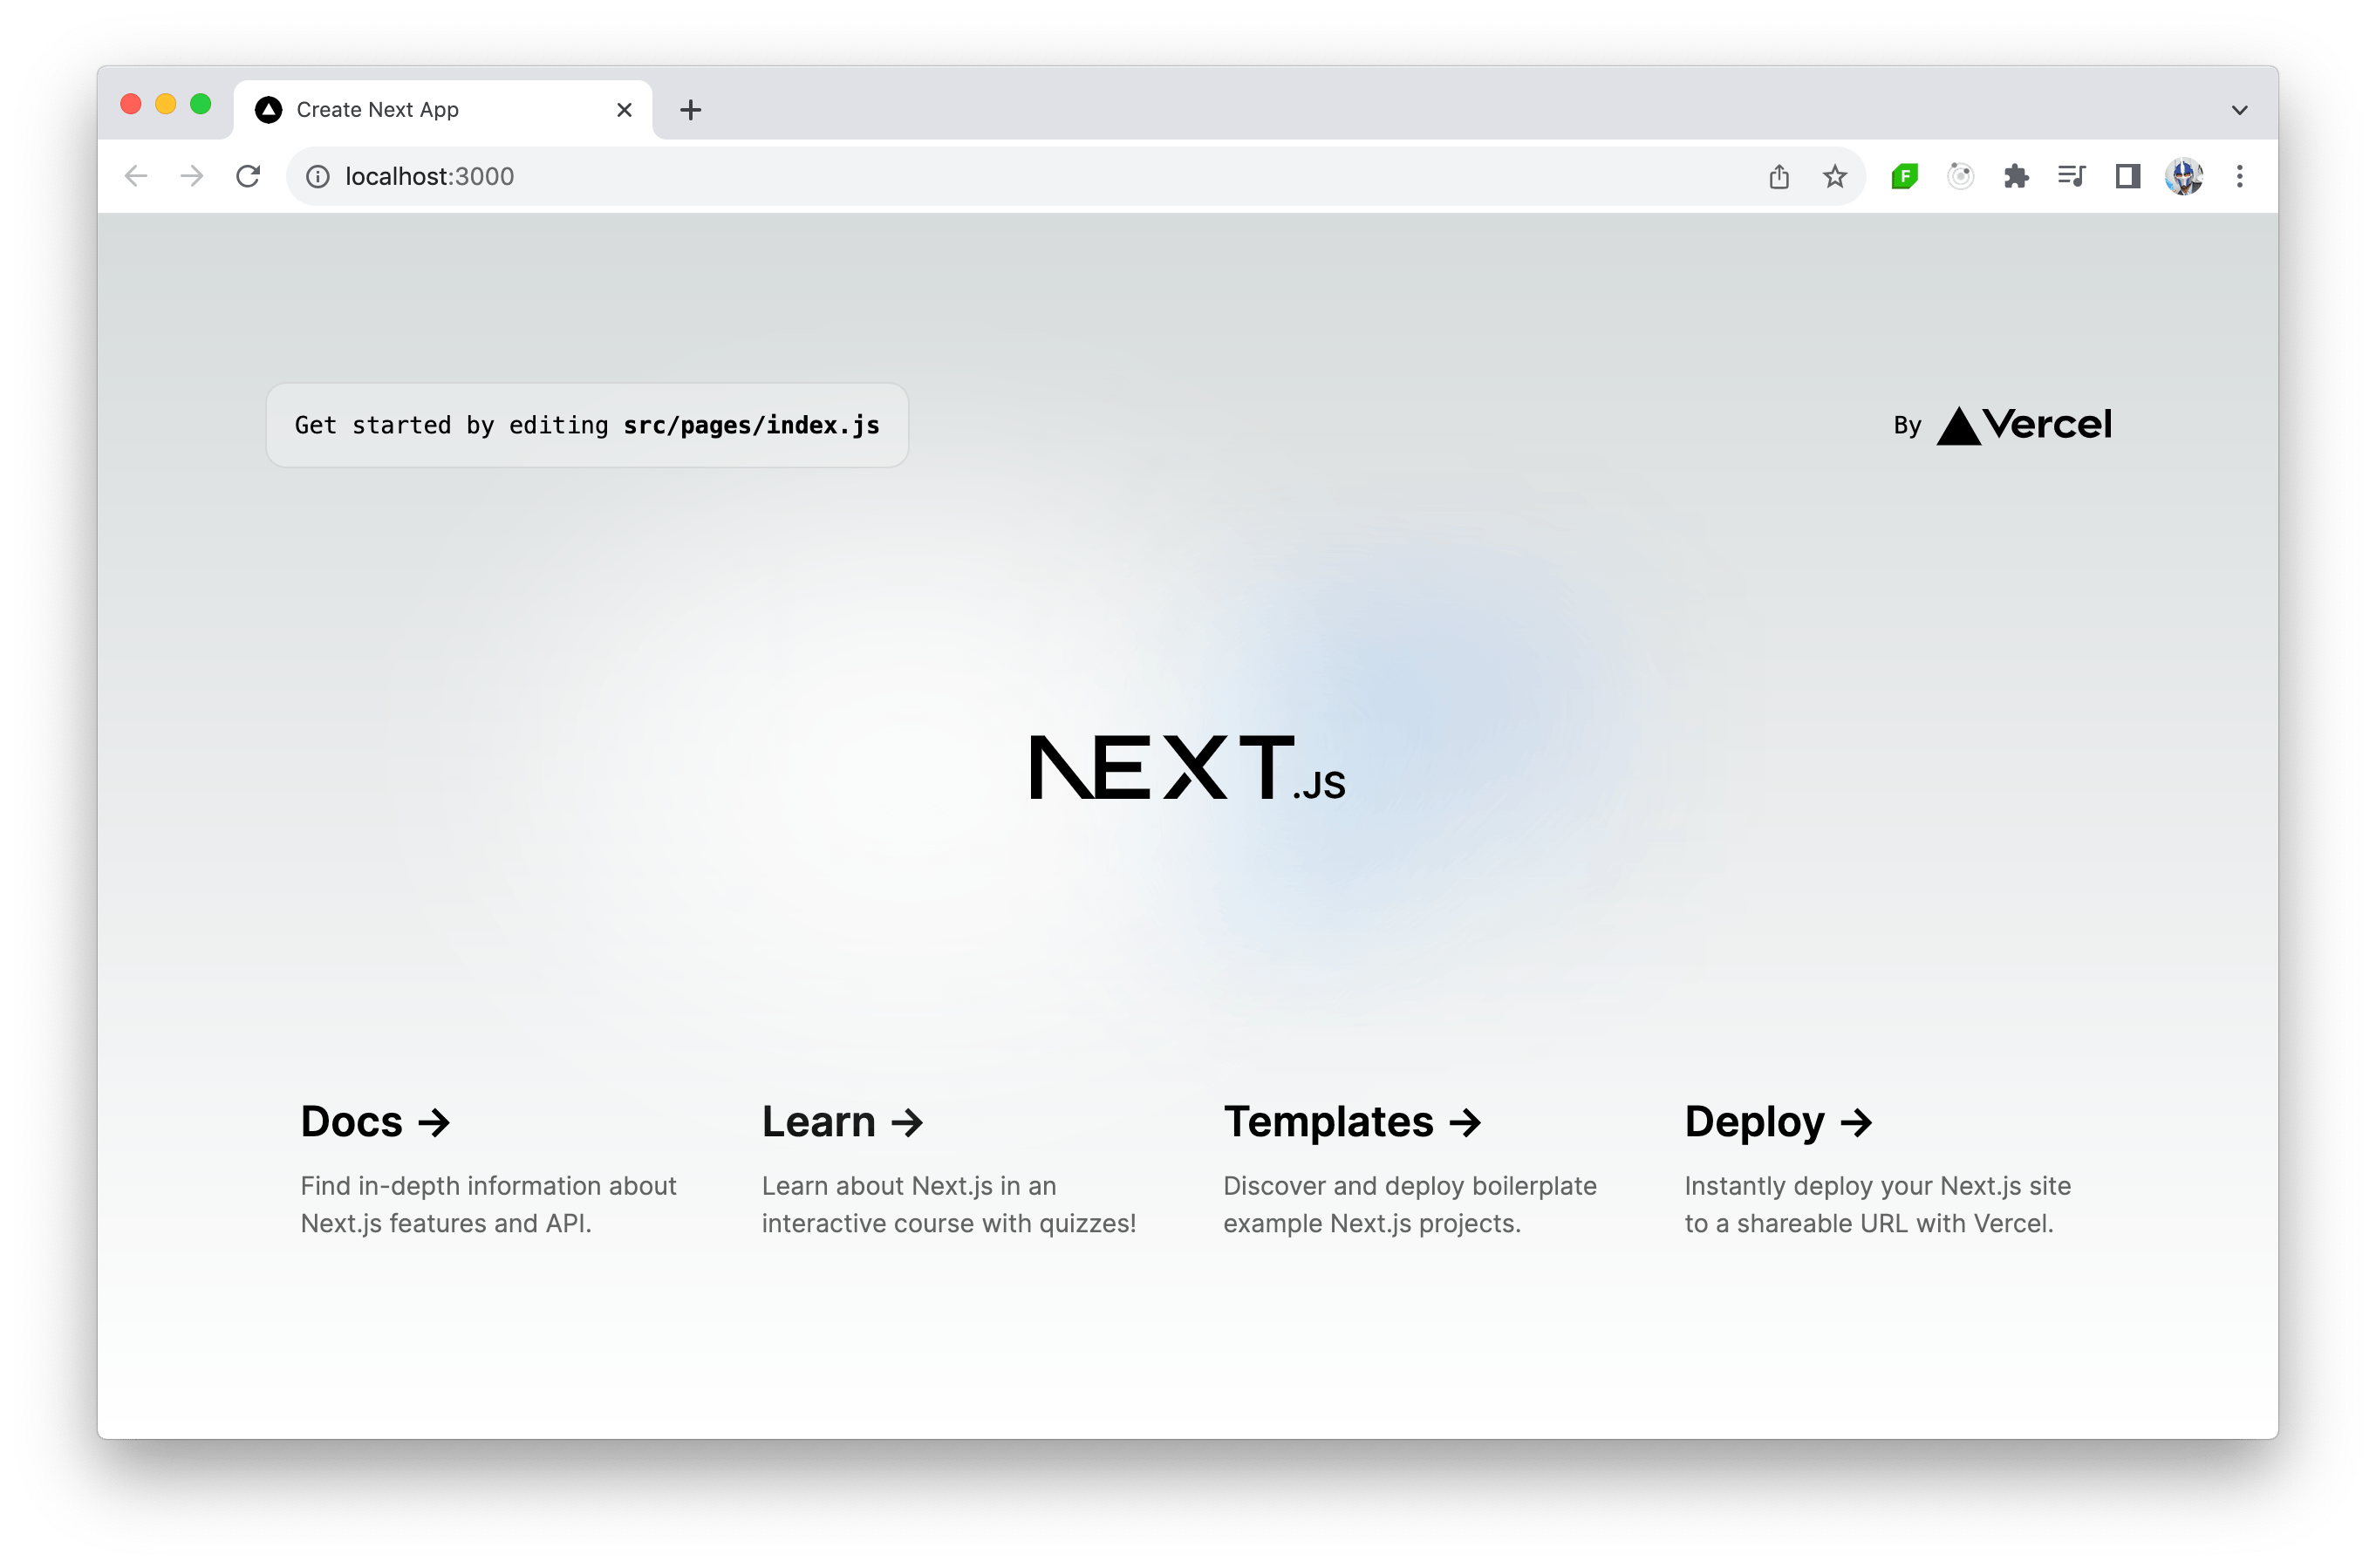
To run our Next.js application, we can use the following command:
yarn run dev
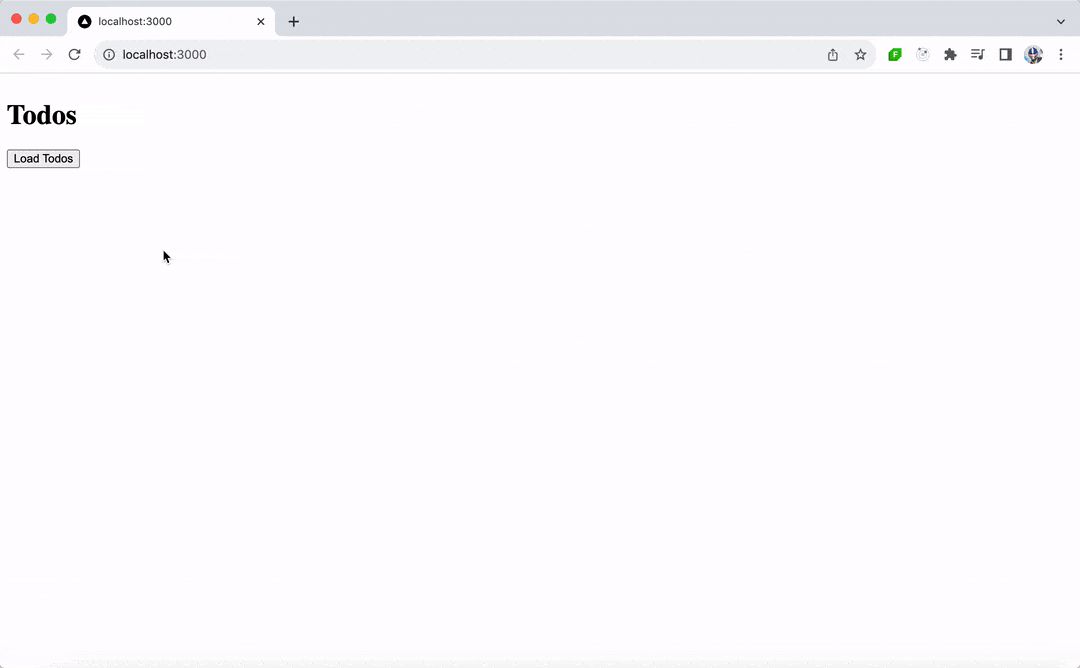
The above command launches the application on http://localhost:3000:
Building the UI
When it comes to coding and development, there’s a lot that can be covered, especially with a framework and library as diverse as Angular and React. To illustrate the core differences between them, let’s create a simple “Todos” application in both Angular and React.
This application will display a “Todos” heading and include a button that, when clicked, fetches data from the public https://dummyjson.com/todos API to display a list of todos.
Building the UI with Angular
In Angular, building a “Todos” interface will involve creating components and services, using TypeScript, and implementing data binding and state management. Let’s walk through this process step by step.
First, let’s understand the service part. In Angular, a service is a class with a specific purpose and responsibility—usually to fetch data or perform specific business logic. For our “Todos” app, we’ll create a TodoService that has a getTodos() function that uses Angular’s HttpClient to make a GET request to retrieve todos.
import { Injectable } from "@angular/core";
import { HttpClient } from "@angular/common/http";

@Injectable({
  providedIn: "root",
})
export class TodoService {
  constructor(private http: HttpClient) {}

  getTodos() {
    return this.http.get("https://dummyjson.com/todos");
  }
}
Above, we have the TodoService marked as @Injectable, which means it can be injected into components and other services.
Next, we’ll create a basic App class component in a main.ts file that will use the TodoService to load todos. The loadTodos() method in the component will call the service and subscribe to the observable returned by getTodos(), and when data is received, it updates a todos array.
import { Component } from "@angular/core";
import { CommonModule } from "@angular/common";
import { HttpClientModule } from "@angular/common/http";
import { TodoService } from "./todo.service";
import { bootstrapApplication } from "@angular/platform-browser";

// ...

export class App {
  todos: Array<{ todo: string }> = [];

  constructor(private todoService: TodoService) {}

  loadTodos() {
    this.todoService.getTodos().subscribe((data: any) => {
      this.todos = data.todos;
    });
  }
}

bootstrapApplication(App);
Lastly, we’ll add the @Component decorator to mark the class as an Angular component. In the @Component decorator definition, we’ll specify the component template to include a button to load todos and a list to display them.
import { Component } from "@angular/core";
import { CommonModule } from "@angular/common";
import { HttpClientModule } from "@angular/common/http";
import { TodoService } from "./todo.service";
import { bootstrapApplication } from "@angular/platform-browser";

@Component({
  selector: "app-root",
  standalone: true,
  imports: [CommonModule, HttpClientModule],
  providers: [TodoService],
  template: `
    <h1>Todos</h1>
    <button (click)="loadTodos()" style="margin-bottom: 5px">Load Todos</button>
    <div *ngFor="let todo of todos">
      {{ todo.todo }}
    </div>
  `,
})
export class App {
  todos: Array<{ todo: string }> = [];

  constructor(private todoService: TodoService) {}

  loadTodos() {
    this.todoService.getTodos().subscribe((data: any) => {
      this.todos = data.todos;
    });
  }
}

bootstrapApplication(App);
The above demonstrates Angular’s component-based architecture now integrated into our webpage, where UI and behavior are encapsulated in components. Components are self-contained units of functionality that represent a portion of the user interface. Each component is an independent block that includes both the logic and the views, meaning it contains its own HTML template, CSS styles and TypeScript code necessary to render a part of the page.
This modularity allows for easy reuse, testing and maintenance of each piece of the application, contributing to a more organized and efficient development process. Components also facilitate a clear separation of concerns, making Angular applications more scalable and easier to manage as they grow in complexity.
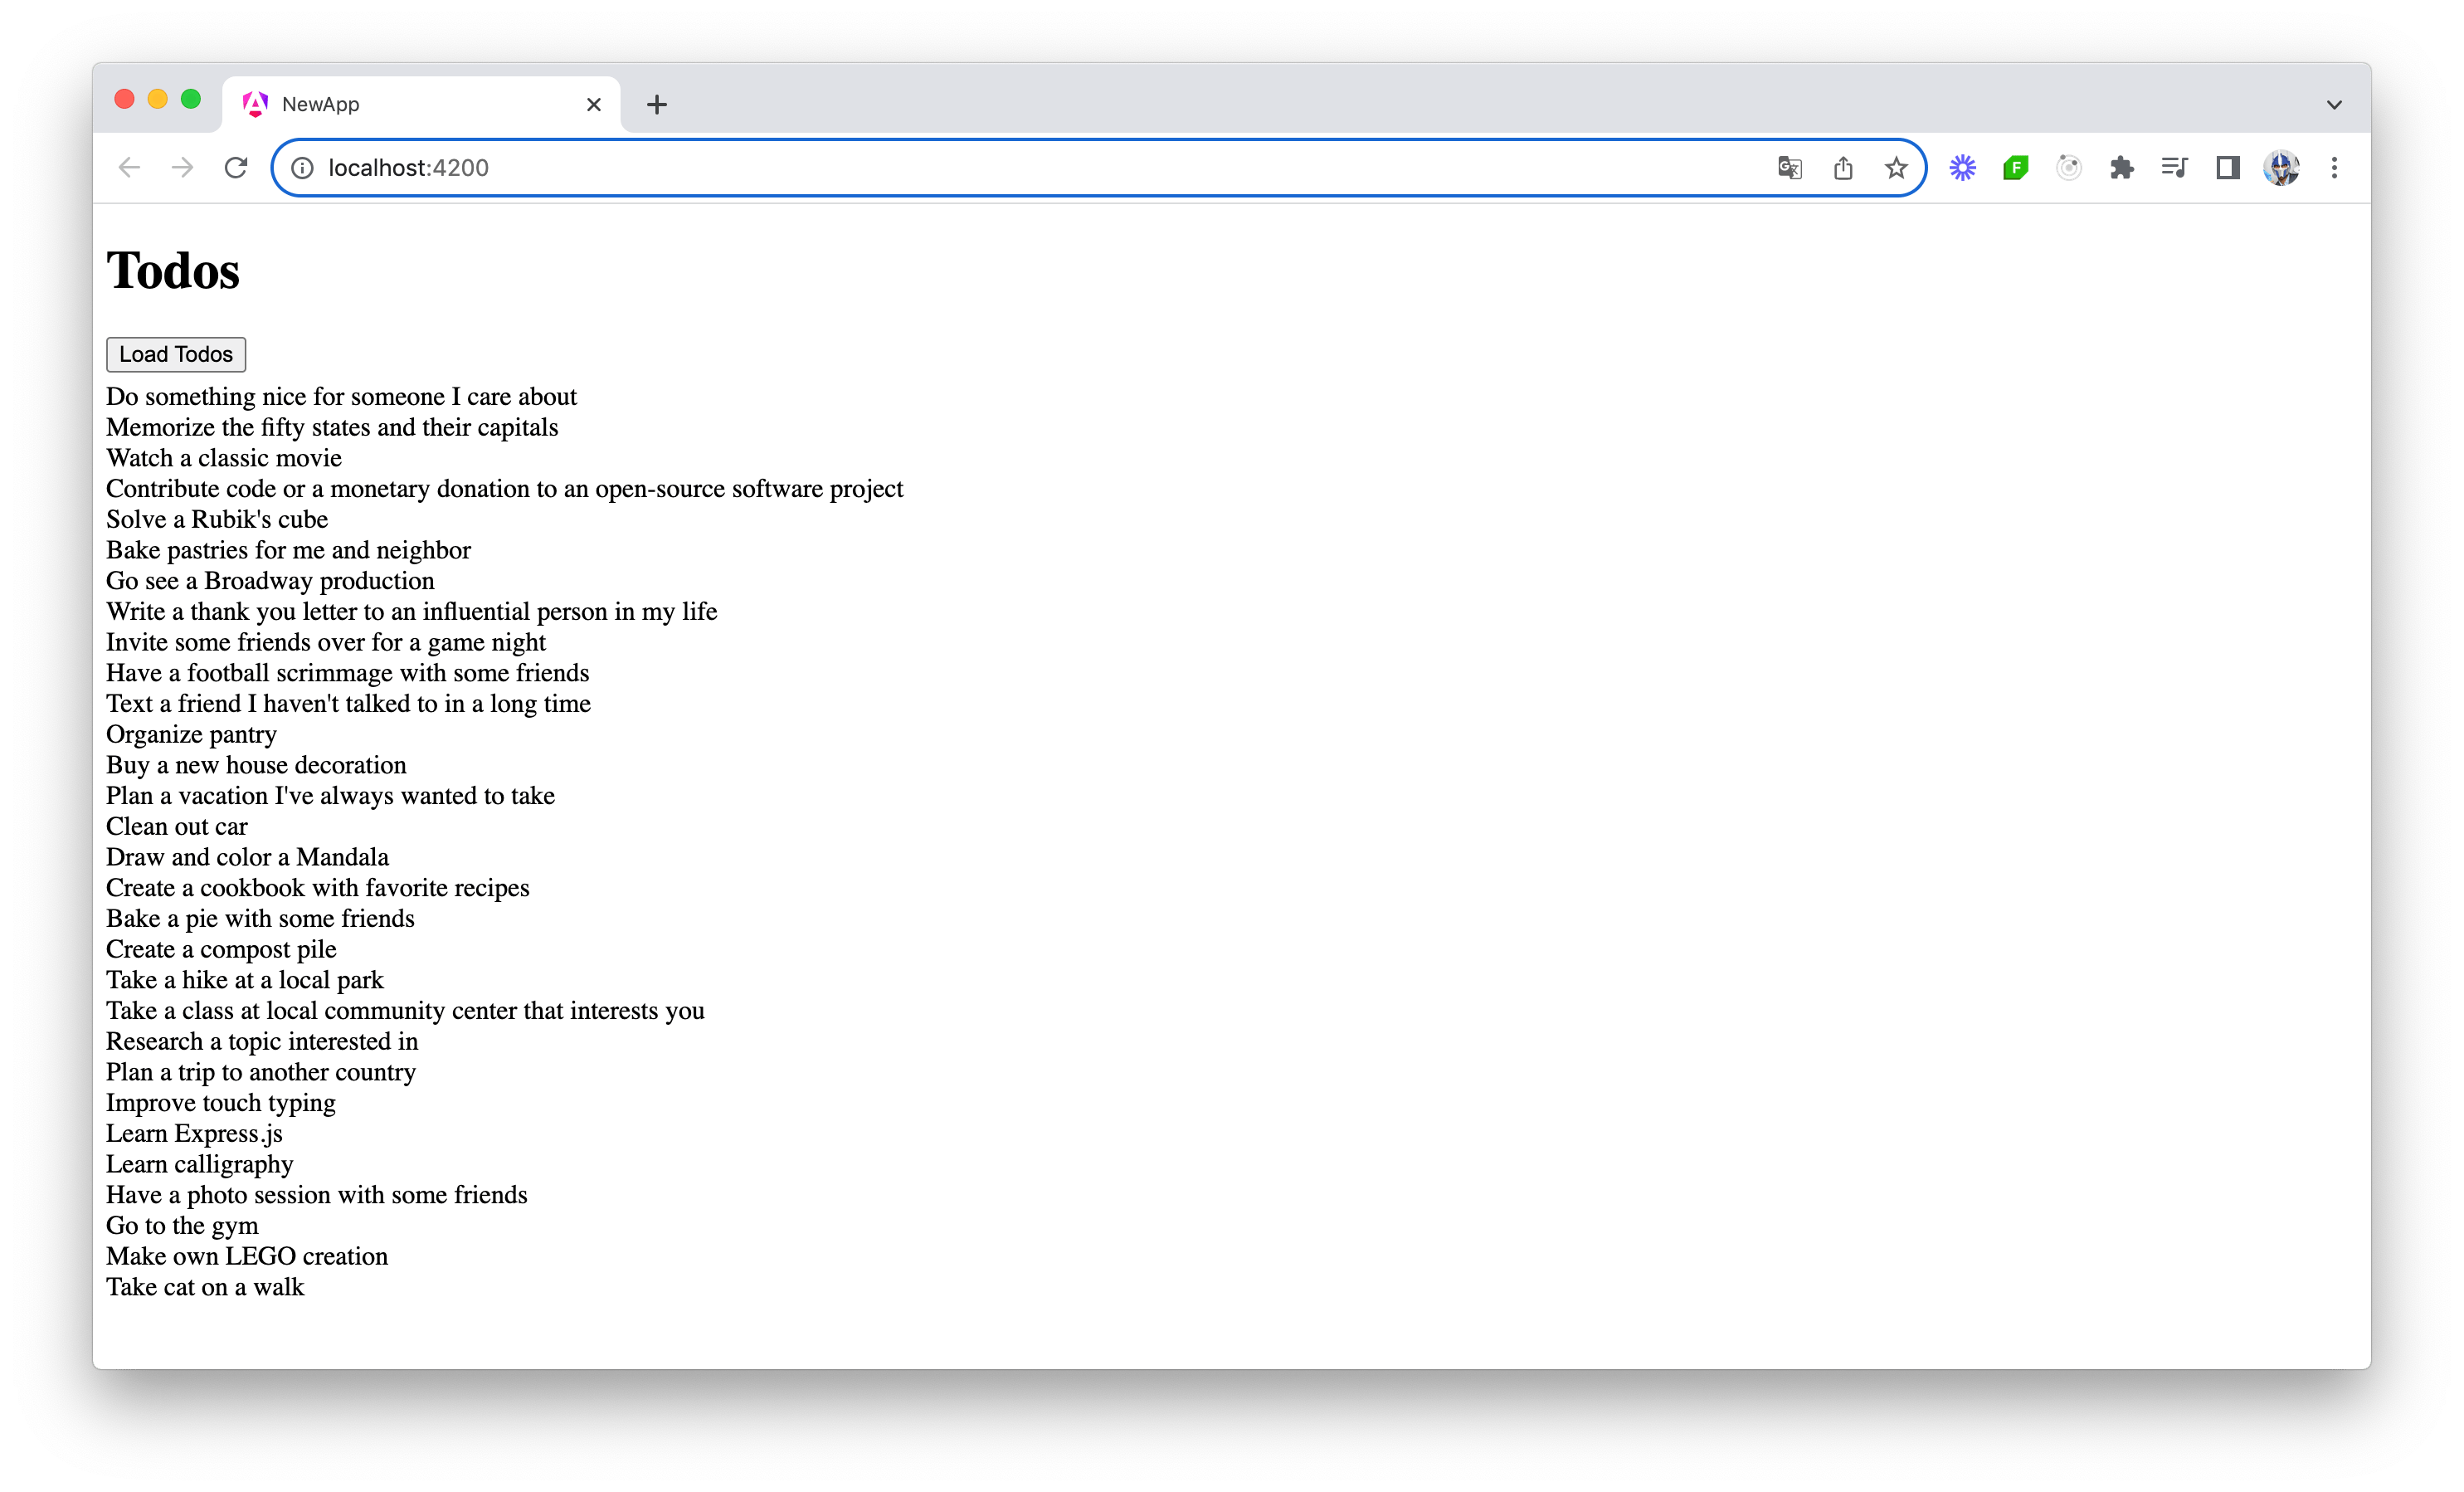
With the above code changes in place, our Angular application is now set up to display a “Todos” list. When the user clicks the “Load Todos” button, the application will call the TodoService to fetch todo items from https://dummyjson.com/todos. The fetched data is then displayed in a list format, with each todo item rendered through Angular’s *ngFor directive.
In summary, an Angular UI:
- Comprises one or more components
- Is typically written using TypeScript
- Leverages Angular’s core features like dependency injection and services
- Utilizes Angular’s powerful data-binding and directives
Building the UI with React
Building the UI with React involves a slightly different approach, focusing on the concept of components and state management using hooks for functional components. React’s development process emphasizes the composition of components and the use of JSX for templating. Let’s see how we can build the same “Todos” application using React.
It’s important to acknowledge that Next.js itself introduces several recommended practices and advanced features, such as the App Router, static site generation (SSG), server-side rendering (SSR) and more. In this article, we’ll focus on exploring React’s core functionality in building the UI, using Next.js merely as the starting point to streamline setup and routing.
First, we’ll set up the structure of our React application using Next.js, which simplifies the process with its file-based routing system and server-side rendering capabilities.
In React, everything is a component. We can start by creating a simple Todo component in JSX that will display individual todo items.
// components/Todo.js

function Todo({ todo }) {
  return <div>{todo.todo}</div>;
}

export default Todo;
React’s use of JSX allows for a seamless integration of JavaScript logic and markup, making it intuitive to work with components and state. In the above component, we define a functional component, Todo, that takes a todo object as a prop and renders the todo property of this object, which contains the todo’s title.
Next, we’ll create a TodoList component that fetches the todo items from the API and uses the Todo component to display them.
// components/TodoList.js
import React, { useState } from "react";
import Todo from "./Todo";

function TodoList() {
  const [todos, setTodos] = useState([]);

  const loadTodos = () => {
    fetch("https://dummyjson.com/todos")
      .then((response) => response.json())
      .then((data) => setTodos(data.todos));
  };

  return (
    <div>
      <h1>Todos</h1>
      <button onClick={loadTodos}>Load Todos</button>
      {todos.map((todo) => (
        <Todo key={todo.id} todo={todo} />
      ))}
    </div>
  );
}

export default TodoList;
In the above component, we introduce state management with the useState hook to keep track of the todos. The loadTodos function fetches the todos and updates the state, which triggers a re-render of the component to display the fetched todos. The todos are displayed only after the “Load Todos” button is clicked, thanks to the onClick event listener attached to the button.
With our Todo and TodoList components created, we can integrate them into our Next.js application. We’ll modify the pages/index.js file to render our TodoList component.
// pages/index.js
import TodoList from "../components/TodoList";

export default function Home() {
  return (
    <div>
      <TodoList />
    </div>
  );
}
The above demonstrates React’s component-based development, where UI construction is modular and each piece of the UI is encapsulated in its own component. Components can manage their state and effects, leading to a more intuitive and manageable codebase.
With the above code changes in place, our React application is now set up to display a “Todos” list. When the user clicks the “Load Todos” button, the application fetches the todo items from the API and dynamically updates the UI to display them.
Notice how building the UI in React involved significantly less boilerplate code compared to Angular. This highlights React’s more minimalist approach and the efficiency of using functional components and hooks for managing state and effects.
In summary, a React UI:
- Consists of reusable functional components
- Employs JSX for a seamless integration of markup and logic
- Utilizes hooks for state management and side effects in functional components
- Encourages a component-based architecture that makes the UI easy to reason about and maintain
Routing
To take our app a little further, we’ll implement routing to enhance the user experience. Routing is the ability to move between different parts of an application when a user enters a URL or clicks an element (like a link) within the application.
Our application will now have the added functionality of navigating to a detailed view of each todo item. When a user clicks on a todo from the list, the application will route to a new page displaying the title of that todo and its completed status.

Routing in Angular
Angular, being a full-fledged framework, includes a powerful and feature-rich routing library within its ecosystem. Angular’s Router enables developers to manage navigation from one view to the next as users perform application tasks.
To implement routing in the Angular version of our Todos application, we’ll leverage the Angular Routing library to define routes, capture parameters from the URL and navigate between components.
First, we’ll define the routes in the app.routes.ts file, where every route will map a URL path to a component. We’ll have one route for the list of todos (TodosComponent) and another for the todo detail view (TodoDetailComponent).
import { Routes } from "@angular/router";
import { TodosComponent } from "./todos.component";
import { TodoDetailComponent } from "./todo-detail.component";

export const routes: Routes = [
  { path: "", component: TodosComponent },
  { path: ":id", component: TodoDetailComponent },
];
After defining the routes, the next step is to import the RouterModule and register the routes with the root module of the application. With the latest Angular versions supporting standalone components, the routes are provided directly through the appConfig object in app.config.ts, leveraging provideRouter from @angular/router.
import { ApplicationConfig } from "@angular/core";
import { provideRouter } from "@angular/router";
import { routes } from "./app.routes";

export const appConfig: ApplicationConfig = {
  providers: [provideRouter(routes)],
};
To display the components based on the route, Angular uses the <router-outlet> directive. This acts as a placeholder that Angular dynamically fills based on the current route. We’ll have the App component template in main.ts include <router-outlet></router-outlet>, which is where the routed components will be rendered.
import { Component } from "@angular/core";
import { RouterModule } from "@angular/router";
import { bootstrapApplication } from "@angular/platform-browser";
import { appConfig } from "./app/app.config";

@Component({
  selector: "app-root",
  standalone: true,
  imports: [RouterModule],
  template: `<router-outlet></router-outlet>`,
})
export class App {}

bootstrapApplication(App, appConfig);
We’ll create the TodosComponent to be the page that lists the todos from the API when a button is clicked. This is the code we wrote earlier in the article. The main change we’ll now make is to have each todo item wrapped in an anchor tag (<a>), using the [routerLink] directive to generate a link to the todo detail view. This directive binds the link to the path specified, including the todo’s id.
// todos.component.ts
import { Component, OnInit } from "@angular/core";
import { CommonModule } from "@angular/common";
import { HttpClientModule } from "@angular/common/http";
import { TodoService } from "../todo.service";
import { RouterModule } from "@angular/router";

@Component({
  selector: "app-todos",
  standalone: true,
  imports: [CommonModule, HttpClientModule, RouterModule],
  providers: [TodoService],
  template: `
    <h1>Todos</h1>
    <button (click)="loadTodos()" style="margin-bottom: 5px">Load Todos</button>
    <ul>
      <li *ngFor="let todo of todos">
        <a [routerLink]="['/', todo.id]">{{ todo.todo }}</a>
      </li>
    </ul>
  `,
})
export class TodosComponent implements OnInit {
  todos: Array<{ id: string; todo: string }> = [];

  constructor(private todoService: TodoService) {}

  ngOnInit(): void {}

  loadTodos() {
    this.todoService.getTodos().subscribe((data: any) => {
      this.todos = data.todos;
    });
  }
}
Lastly, we’ll create the TodoDetailComponent, which will be responsible for showing the details of a todo when the relevant route of that todo is visited. In this component, we’ll access the current route’s parameters to fetch the todo’s details by using the ActivatedRoute service from @angular/router.
// todo-detail.component.ts
import { Component, OnInit } from "@angular/core";
import { CommonModule } from "@angular/common";
import { HttpClientModule } from "@angular/common/http";
import { ActivatedRoute } from "@angular/router";
import { TodoService } from "../todo.service";

@Component({
  selector: "app-todo-detail",
  template: `
    <div *ngIf="todo">
      <h2>{{ todo.todo }}</h2>
      <p>Completed: {{ todo.completed ? "Yes" : "No" }}</p>
    </div>
  `,
  standalone: true,
  imports: [CommonModule, HttpClientModule],
  providers: [TodoService],
})
export class TodoDetailComponent implements OnInit {
  todo: { id: string; todo: string; completed: boolean } = {
    id: "",
    todo: "",
    completed: false,
  };

  constructor(
    private route: ActivatedRoute,
    private todoService: TodoService
  ) {}

  ngOnInit(): void {
    const id = this.route.snapshot.params["id"];
    this.todoService.getTodo(id).subscribe((todo: any) => (this.todo = todo));
  }
}
The ngOnInit lifecycle hook in Angular is a critical function that gets called as soon as the component is initialized. For the TodoDetailComponent, ngOnInit is used to capture the route parameter (the id of the todo item) and fetch the corresponding todo details using the TodoService.
In TodoService, we’ll add the new getTodo method to fetch the details of a specific todo item by its id.
import { Injectable } from "@angular/core";
import { HttpClient } from "@angular/common/http";

@Injectable({
  providedIn: "root",
})
export class TodoService {
  // ...

  getTodo(id: number) {
    return this.http.get(`https://dummyjson.com/todos/${id}`);
  }
}
Our app has now been updated so that when a user clicks on a todo item in the list, they are taken to a URL corresponding to that todo’s ID, for example, /1. The new TodoDetailComponent component will fetch and display the todo’s details.
Angular’s approach to routing is declarative and integrated into its ecosystem and offers more advanced capabilities such as lazy loading for improved performance, route guards for securing routes, and path matching strategies for complex routing scenarios.
Routing in React/Next.js
In React, routing is not included in the core library, which is designed to be unopinionated and flexible. This means developers are free to use third-party routing libraries like React Router to create navigable single-page applications. React Router, among others, allows us to define routes and navigate between different components within the application.
When using Next.js, however, routing is a feature that’s built-in and easy to set up, thanks to its file-system-based routing mechanism.
To add routing to our todo application, we will make each todo item a link that navigates to a detail page when clicked. This detail page will fetch and display the information about the todo item using its unique identifier.
To add routing to our app, we’ll update our Todo component to wrap the todo item’s title in a Link component from Next.js.
// components/Todo.js
import Link from "next/link";

function Todo({ todo }) {
  return (
    <div>
      <Link href={`/${todo.id}`}>{todo.todo}</Link>
    </div>
  );
}

export default Todo;
When the todo title is clicked, the user will be redirected to a new /{todo.id} route that will reflect the details page for that specific todo. To create this details page, we’ll create a new file [id].js within the pages directory. Next.js allows us to create dynamic routes using file names with square brackets.
// pages/[id].js
import { useRouter } from "next/router";
import { useEffect, useState } from "react";
import TodoDetails from "../components/TodoDetails";

export default function Details() {
  const router = useRouter();
  const { id } = router.query;
  const [todo, setTodo] = useState(null);

  useEffect(() => {
    if (id) {
      fetch(`https://dummyjson.com/todos/${id}`)
        .then((response) => response.json())
        .then((data) => setTodo(data));
    }
  }, [id]);

  if (!todo) return <p>Loading...</p>;

  return <TodoDetails todo={todo} />;
}
The above code uses the useRouter hook from Next.js to access the dynamic route’s parameters. The useEffect hook then handles the fetching of the todo details once we have the id parameter. If the todo has not been fetched yet, we display a loading message.
Next, we’ll create the TodoDetails component to present the detailed information of a todo.
// components/TodoDetails.js

function TodoDetails({ todo }) {
  return (
    <div>
      <h1>Title: {todo.todo}</h1>
      <p>Completed: {todo.completed ? "Yes" : "No"}</p>
    </div>
  );
}

export default TodoDetails;
Now, when a user clicks on a todo item in the list, they are taken to a URL corresponding to that todo’s ID, for example, /1. The TodoDetails component will fetch and display the todo’s details.
Routing in React applications is handled differently compared to Angular, largely because React itself does not inherently include a routing system. Instead, routing functionality in React is achieved through the use of libraries such as React Router or by leveraging the built-in routing capabilities of frameworks like Next.js.
This design choice underscores React’s philosophy of being a lightweight, flexible library focused solely on building user interfaces, allowing developers the freedom to integrate only the functionalities they need for their specific project.
Which One Should We Use?
So all this brings us to the important question: which one should you choose? This will largely depend on the requirements of your project and your development goals.
Angular is a powerful, full-fledged framework suitable for building complex, large-scale web applications. It offers a broad range of features and a structured development approach, making it ideal for enterprise-level applications or projects where a comprehensive solution is needed. We encourage you to use Angular if you need a comprehensive solution and prefer an all-in-one solution for routing, state management and building components.
Angular Pros
- Well-established framework.
- Everything you need is included.
- TypeScript support is baked in and offers reliable type safety.
- You can build Angular apps for web, native desktop and native mobile.
Angular Cons
- TypeScript brings its own learning curve.
- Angular itself carries a steep learning curve.
- Angular’s docs, while comprehensive, are jam-packed with Angular-specific terminology and concepts which can be hard to digest and fully understand on first read.
React, on the other hand, is a flexible, component-based library focused on building user interfaces. It’s known for its simplicity and performance, and the freedom it offers developers to choose the tools and libraries they need to complete their projects.
React’s ecosystem is vast, with a wide array of libraries for routing (like React Router, Next.js Pages Router/App Router), state management (such as Redux or Context API), and more, allowing for highly customizable setups tailored to specific project needs.
React is particularly well-suited for developers looking for a lightweight, modular approach to building web applications, with the flexibility to scale up with additional features as needed.
React Pros
- Well-established and battle-tested component model.
- Frameworks like Next.js and Remix simplify the JS build process.
- “Light-touch” library—no “extras” like routers included (freedom to choose your own path!).
- JSX—keeps the parts of the UI that change together in one place.
- Freedom to plug in other JS libraries.
- A large existing JS library ecosystem to lean on.
React Cons
- JSX (if you don’t like it!).
- No built-in router, form handling, etc. (can slow things down as you have to plug the gaps with packages or your own solutions).
Ultimately, the choice between Angular and React strongly depends on your preference and the intended goals of your project. Both Angular and React have their unique strengths, and the best choice varies based on specific project requirements and developer expertise.
In the next article of the series, we’ll discuss how Angular compares to Vue, another popular frontend framework.
Read More Head-to-Head Comparisons
- Angular vs. jQuery
- Angular vs. Vue (coming soon)
- Blazor vs. Angular
- Blazor vs. React
- Blazor vs. Vue
Whichever framework you want to use, you can make development much easier with a professionally designed UI component library. Progress Kendo UI and Telerik have you covered! Try any flavor free for 30 days:
- Kendo UI for Angular
- Kendo UI for jQuery
- Kendo UI for Vue
- KendoReact
- Telerik UI for Blazor
- All of the above and more: Telerik DevCraft

Hassan Djirdeh
Hassan is a senior frontend engineer and has helped build large production applications at-scale at organizations like Doordash, Instacart and Shopify. Hassan is also a published author and course instructor where he’s helped thousands of students learn in-depth frontend engineering skills like React, Vue, TypeScript, and GraphQL.
Related Posts
Comments
All articles
Topics
Web MobileMobile
Desktop
Design
Productivity
People
