Generate and Share Screen Recordings with Media Capture API

Summarize with AI:
In this article, we will focus on building a Next.js application that allows screen recording and saves the content directly to the user's device.
The Media Capture and Stream API provides web developers with the necessary interfaces to interact with the user’s media devices, including the camera, microphone and screen. This article will focus on building a Next.js application that allows screen recording and saves the content directly to the user’s device. This functionality is made possible through the Screen Capture API, an extension of the Media Capture and Stream API.
Prerequisites
To follow along with this guide, it is expected that you have a basic understanding of React and TypeScript.
Project Setup
Run the command below to create a Next.js application:
npx create-next-app
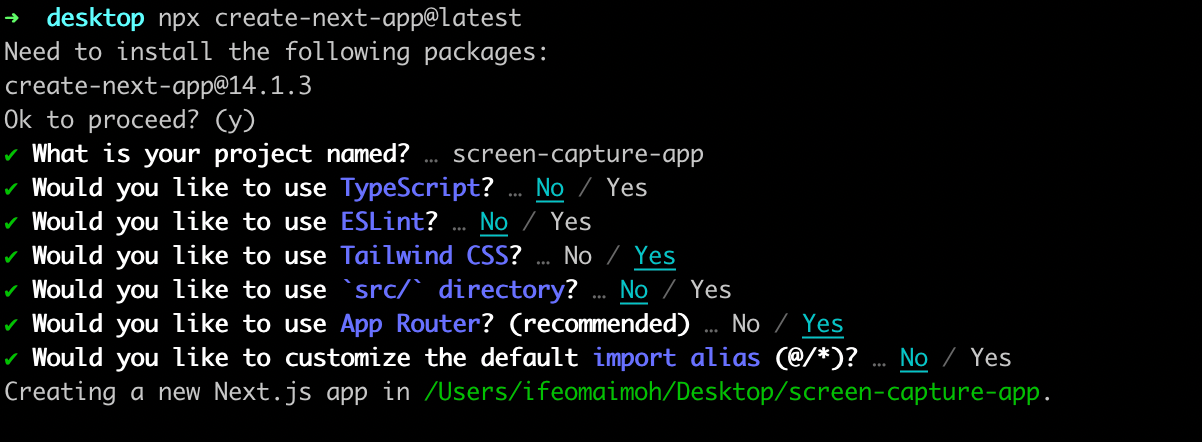
In the above prompt, we configured a Next.js application powered by TypeScript that uses most of the framework’s default settings; we chose to use Tailwind for styling purposes. The application lives in a folder named screen-capture-app.

Start your application by running the command below:
npm run dev
We will write all the logic in the root page of our app, specifically in the app/page.tsx file. Since we will use some state, let’s make the component in this file a client component by updating it with the “use client” string, as below.
"use client";
import { useRef, useState } from "react";
export default function Home() {
  return <></>;
}
How Screen Recording Works
The steps below explain the process required to record a user’s screen. As we go, we will update the app/page.tsx file by creating the variables and functions that the app will need. For now, let’s go through the process flow.
First, we need to request their permission to access the user’s screen. If the user permits us, we get access to a stream containing the video and/or audio data we need. To achieve this, we need to keep a variable to store this stream and a function to request access, as shown below:
const screenRecordingStream = (useRef < MediaStream) | (null > null);

const requestPermissionFromUserToAccessScreen = async () => {};
Next, the stream allows us to do several things, including real-time transmission over the network using WebRTC to remote consumers. In our case, we will use a media recorder to collect and store the media data from the stream.
const recordedData = useRef<Blob[]>([]);
const recorderRef = useRef<MediaRecorder | null>(null);
const collectVideoData = (ev: BlobEvent) => {}
Also, since we will be using a media recorder, we need to create a boolean that tells us whether the user is currently recording their screen. We also need functions to start and stop the recording.
const [isRecording, setIsRecording] = useState(false);

const startRecording = async () => {};
const stopRecording = async () => {};
To display the stream on the page, we will need a reference to an HTML video tag.
const videoRef = (useRef < HTMLVideoElement) | (null > null);
Once the user stops recording, we can perform some actions with the video data. We can upload it to a remote server or do video transcoding and filtering on the browser using a tool like ffmpeg.wasm, etc. In our case, we will provide an option for the user to download the file on their device. To do this, we will create a downloadVideo() function as shown below:
const downloadVideo = () => {};
The User Interface
Before we start implementing the steps in the previous section, let’s examine the UI and see how the application works.
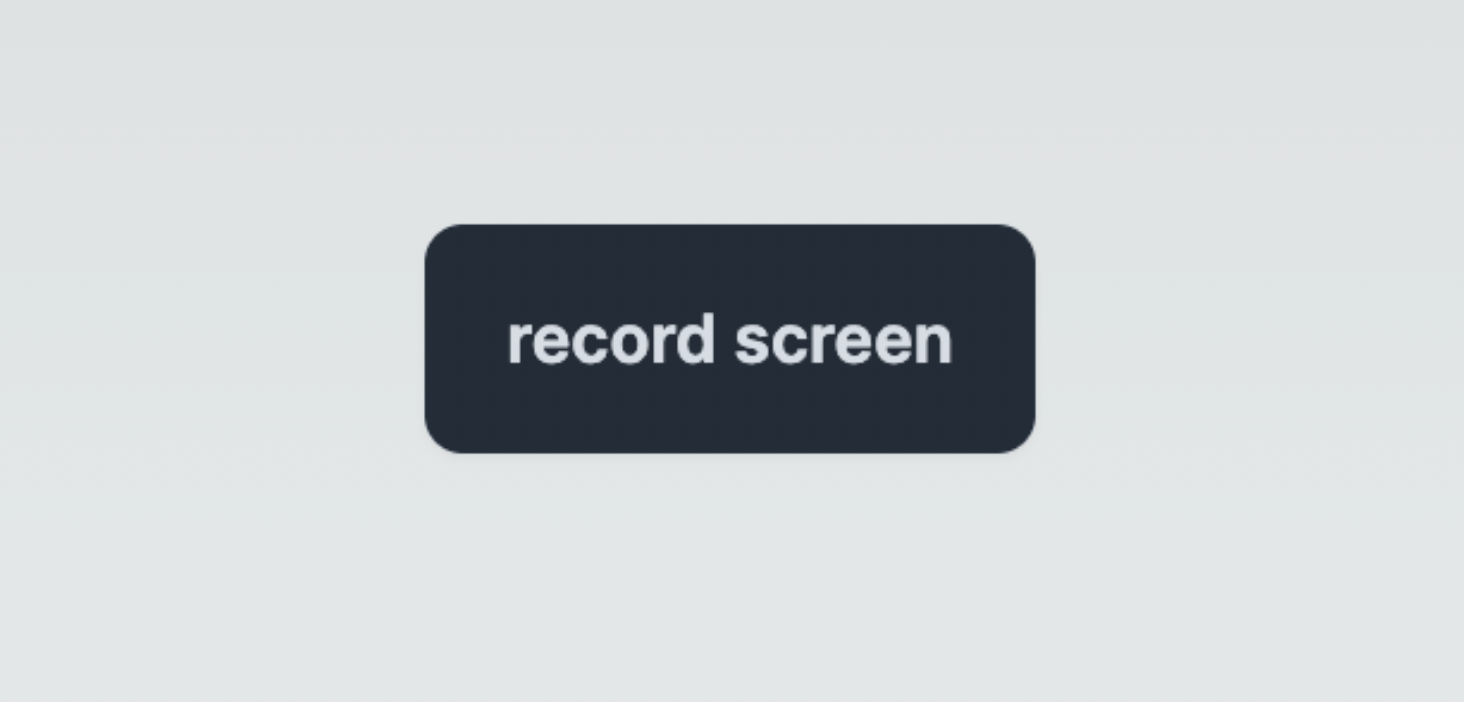
By default, the app displays a button that allows the user to start recording.

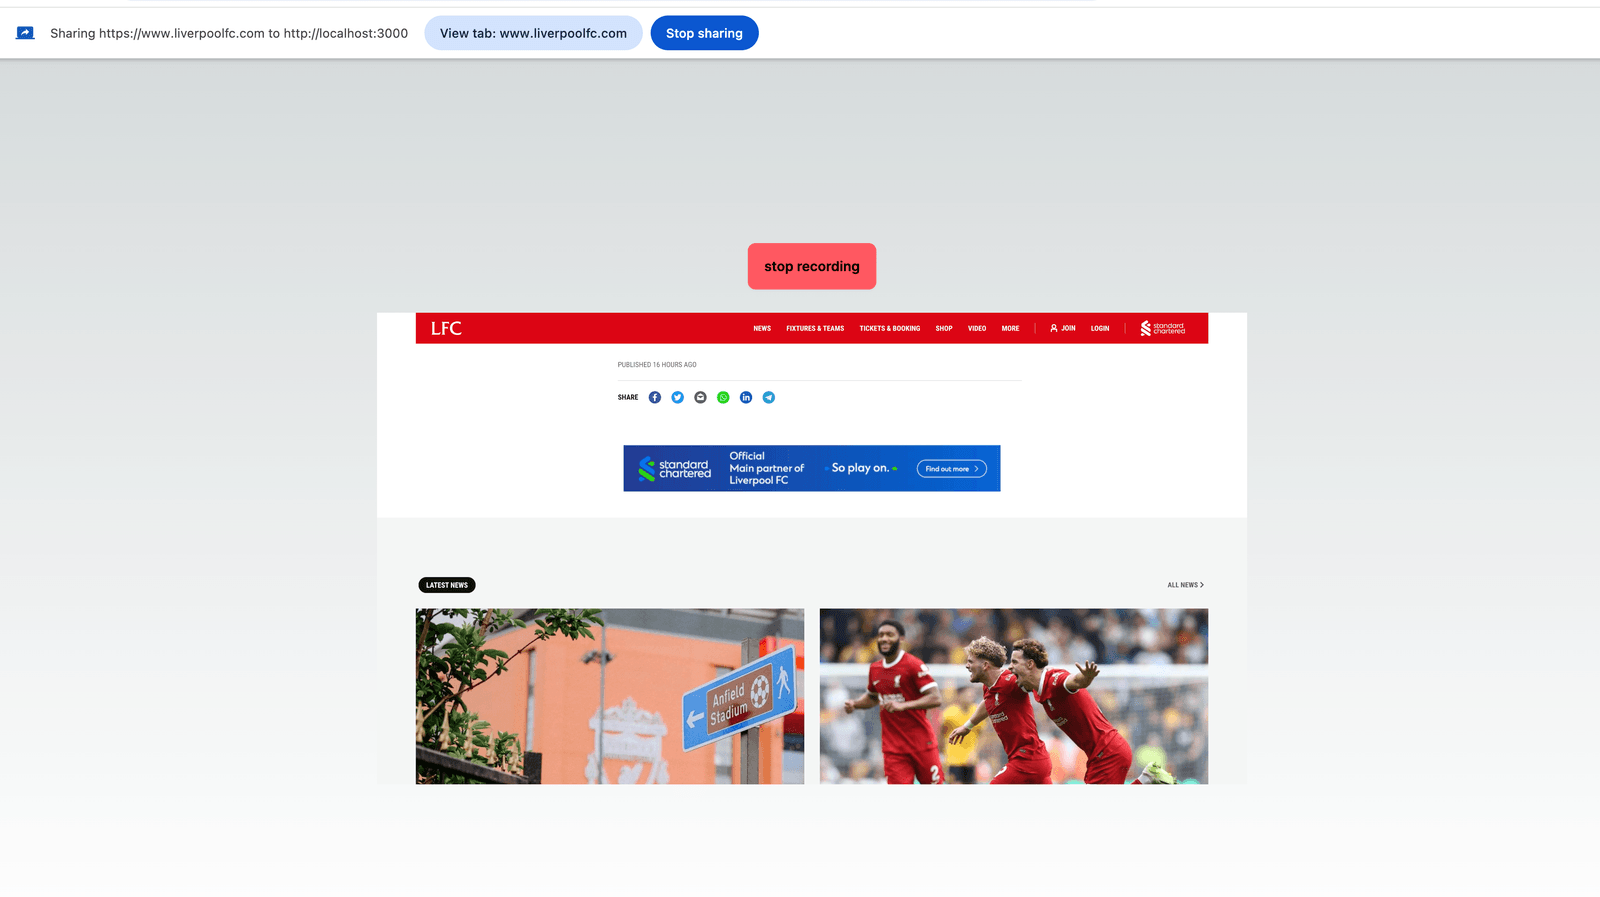
When the user starts recording their screen, a button is available to stop the recording. When they stop, the user is shown a video playback of the content from the current window or tab they have recorded.

When the user stops recording, they are presented with buttons to download the recorded video or start recording their screen again.

In the return statement of the Home component, the JSX looks like this:
export default function Home() {
    const [isRecording, setIsRecording] = useState(false);
    const recordedData = useRef<Blob[]>([]);
    const recorderRef = useRef<MediaRecorder | null>(null);
    const screenRecordingStream = useRef<MediaStream | null>(null);
    const videoRef = useRef<HTMLVideoElement | null>(null);

    const startRecording = async () => {
    };

    const requestPermissionFromUserToAccessScreen = async () => {
    };

    const collectVideoData = (ev: BlobEvent) => {
    };

    const stopRecording = async () => {
    };

    const downloadVideo = () => {
    };

    return (
        <main className='flex flex-col items-center gap-6 justify-center min-h-[100vh]'>
            <div className='mt-8'>
                {isRecording ? (
                    <>
                        <button onClick={stopRecording} className='btn btn-error'>
                            {" "}
                            stop recording
                        </button>
                    </>
                ) : (
                    <div className='flex gap-4 items-center'>
                        <button onClick={startRecording} className='btn btn-active btn-neutral'>
                            record screen
                        </button>
                        {recordedData.current.length ? (
                            <button onClick={downloadVideo} className='btn btn-active btn-neutral'>
                                download video
                            </button>
                        ) : null}
                    </div>
                )}
            </div>
            <video ref={videoRef} width={900} muted></video>
        </main>
    );
}
Accessing the User’s Screen’s Stream
Once again, all the code we will write will be in the src/page.tsx file. Add the following to the requestPermissionFromUserToAccessScreen function:
const requestPermissionFromUserToAccessScreen = async () => {
  const stream: MediaStream = await navigator.mediaDevices.getDisplayMedia({
    video: true,
    audio: {
      noiseSuppression: true,
    },
  });
  screenRecordingStream.current = stream;
  if (videoRef.current) {
    videoRef.current.srcObject = stream;
    videoRef.current.play();
  }
  return stream;
};
This function uses the Screen Capture API method called getDisplayMedia(). It is invoked with the requested options the browser should authorize for the stream.
In this case, we’ve asked the browser to check if it can enable noise suppression for the audio track and provide us with the video track.
Obviously, screen sharing is only useful when we can access the video content. So specifying {video: false} will cause the getDisplayMedia() call to fail.
When defining constraints, you can pass objects to the video and audio properties to fine-tune your request. For example, you can specify the video resolution and codec, the audio sample rate, echo cancellation, etc. The browser will ignore any unmanageable option or throw an error. For more information, see the docs.
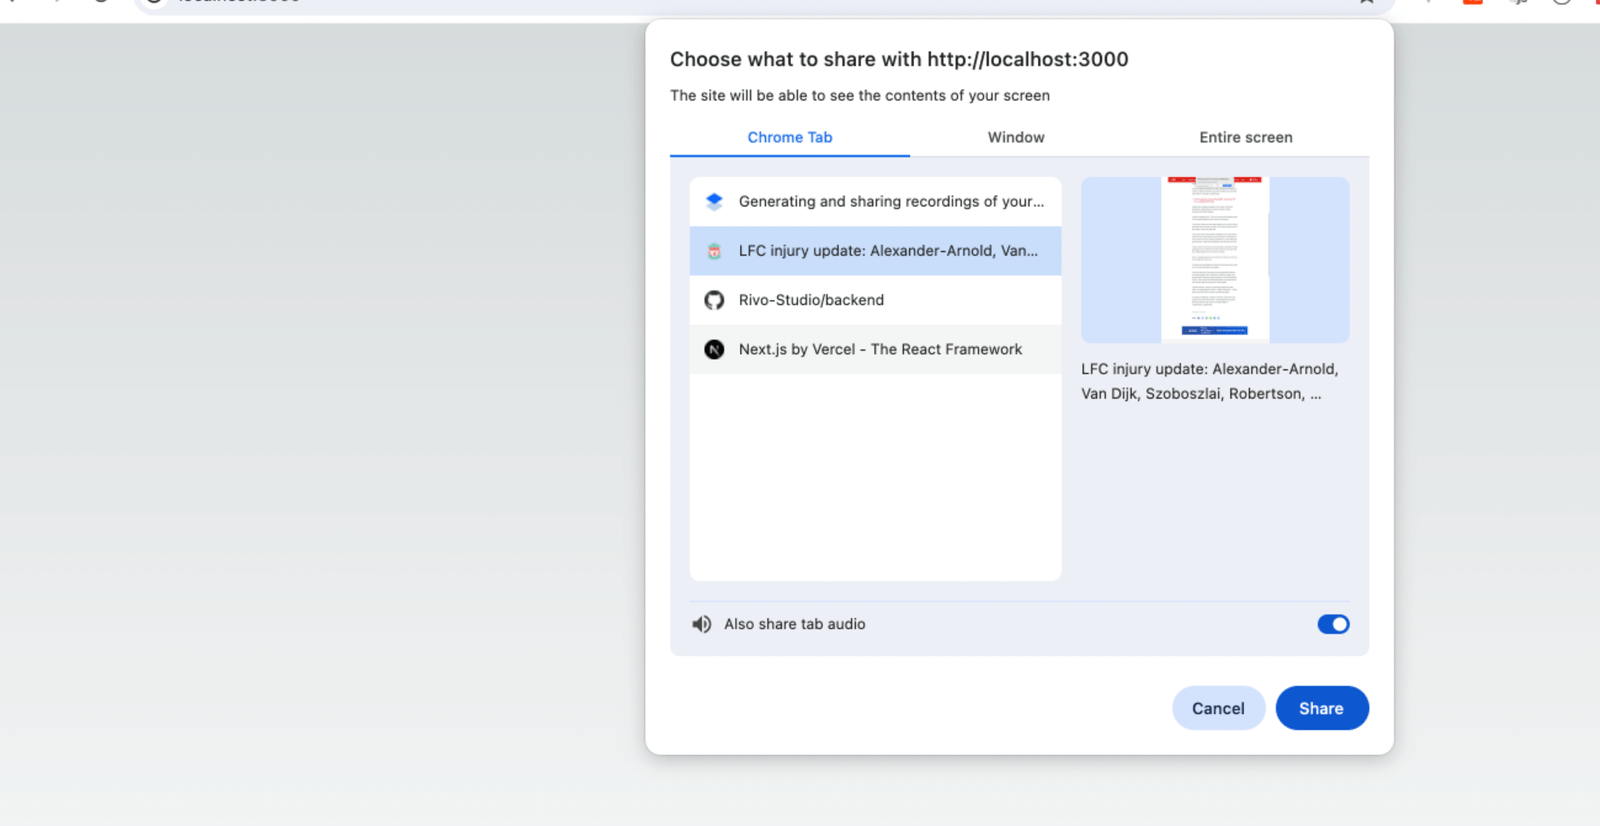
When the getDisplayMedia() function is called, a popup is displayed in the user’s browser so they can choose the tab or window they want to record.

As shown above, it is important to know that audio is only available if the user chooses to share a tab. Attempting to share a window or the entire screen won’t include the audio track.
Once the stream is obtained, it’s connected to the video HTML element through its srcObject property. This connection makes the rendered video element display the screen that the user is sharing.
Start Recording
Accessing the stream of a user screen is separate from the recording process. To begin the recording, let’s define the startRecording() function.
const startRecording = async () => {
  const stream = await requestPermissionFromUserToAccessScreen();
  recordedData.current = [];
  recorderRef.current = new MediaRecorder(stream);
  recorderRef.current.addEventListener("dataavailable", collectVideoData);
  recorderRef.current.addEventListener("stop", () => setIsRecording(false));
  recorderRef.current.addEventListener("start", () => setIsRecording(true));
  recorderRef.current.start(100);
};
After getting the stream from the screen, this function first clears any pre-existing recorded video data. Next, it creates an instance of the media recorder and feeds it the stream. The next three lines attach event listeners to the media recorder.
The dataavailable event is bound to a function called collectVideoData(). This function collects the blob chunks of data captured by the recorder and stores them in the recorderRef array, as shown below:
const collectVideoData = (ev: BlobEvent) => {
  recordedData.current.push(ev.data);
};
The start and stop events set the IsRecording state to true or false. When we call the start() method of the media instance, recording begins. Although this is optional, we passed a value of 100. This means that every 100 milliseconds, any captured data should be returned and consumed by the collectVideo() callback, fed to the dataavailable event mentioned above.
Stop Recording
Once the user stops recording, the stopRecording() function is called.
const stopRecording = async () => {
  const recorder = recorderRef.current;
  if (recorder && videoRef.current) {
    recorder.stop();
    screenRecordingStream.current?.getTracks().map((track) => {
      track.stop();
      return;
    });
    videoRef.current.srcObject = null;
  }
};
This function calls the stop() method on the media recorder to stop the recording process. It disconnects the user screen’s audio and video tracks by calling the stop() method on each track. This ensures that our webpage no longer receives any audio and video data.
Save Recording to User’s Device
When recorded data is available, the user is presented with a button to download the video data.
const downloadVideo = () => {
  const videoBlob = new Blob(recordedData.current, {
    type: recordedData.current[0].type,
  });
  const downloadURL = window.URL.createObjectURL(videoBlob);
  downloadFile(downloadURL, "my-video.mkv");
  window.URL.revokeObjectURL(downloadURL);
};
This function combines all the blob chunks into one blob, with a MIME type equivalent to that of one of the smaller blobs. Next, it creates a reference to the blob by calling the createObjectURL() method. It then triggers the downloadFile() function, passing it the blob reference and the name for the downloaded file on the user’s system. In this case, we named it my-video.mkv.
const downloadFile = async (URL: string, filename: string) => {
  var dlAnchorElem = document.createElement("a");
  document.body.appendChild(dlAnchorElem);
  dlAnchorElem.setAttribute("href", URL);
  dlAnchorElem.setAttribute("download", filename);
  dlAnchorElem.click();
};
The downloadFile() function programmatically creates an HTML anchor tag that points to the blob reference URL fed to it. It sets the download attribute on the anchor tag to the desired filename and then programmatically triggers a click event on the anchor tag to download the file on the user’s device.
Conclusion
Screen sharing is important for improving collaboration and problem-solving across various fields. This guide provides an easy way to incorporate screen recording into our applications.


