
Exploring State Management Solutions Beyond Redux and MobX

Summarize with AI:
State management is a crucial aspect of working with React, and choosing a suitable state management tool is paramount. In this post, we will state management solutions beyond Redux and MobX.
A state in a React component is encapsulated data, i.e., private data that alters the behavior of a component at a given point in the application’s runtime. In React, two design pattern concepts are used to propagate changes across your application: the observer pattern and the state pattern. These patterns are part of the popular 23 Gang of Four design patterns in the book Design Patterns: Elements of Reusable Object-Oriented Software.
The state design pattern is a type of behavioral pattern that allows an object to change its behavior when its internal state changes. Meanwhile, the observer design pattern is a type of behavioral pattern in which one object, known as the observer, listens for changes in another object, referred to as the observable. The observer gets notified when changes occur in the observable, which is essentially how React DOM and React components behave.
For complex state management, React tools like useReducer, Redux, MobX, etc., are employed, and they all adhere to the Flux architecture, as shown below.

The image depicts the unidirectional flow of data in a typical Flux architecture.
Prerequisites
- Knowledge of React and React Hooks is required.
- Knowledge of JavaScript and ES6 syntax is required.
- Understanding how to install dependencies using npm is necessary.
- Basic knowledge of state management is not required.
Project Setup
We will create a ReactJS project in which we will showcase examples of state management, including MobX, Redux, Zustand, Recoil and Jotai.
To scaffold a React project, please open your terminal and type the following commands:
npm create vite
// Follow the commands to scaffold for a react, javascript
cd [project name]
npm install
npm run dev
Copy the address shown in your terminal and head to your browser, then paste the URL. You should see a default page like this.
State Management in React
In exploring state management, we will create multiple variations of the popular counter application.
Hooks
- useState
The useState hook allows for the addition of state management to functional components in React. The useState hook makes it easy to handle state management in functional components without the need for class components.
In your project, navigate to the src directory and make the following code changes in the App.jsx file.
import { useState } from 'react';
import './App.css';
function App() {
  const [count, setCount] = useState(0);
  return (
    <>
      <h1>Counter App</h1>
      <div className='card'>
        <button onClick={() => setCount((count) => count + 1)}>
          click on me to increase - {count}
        </button>
      </div>
    </>
  );
}
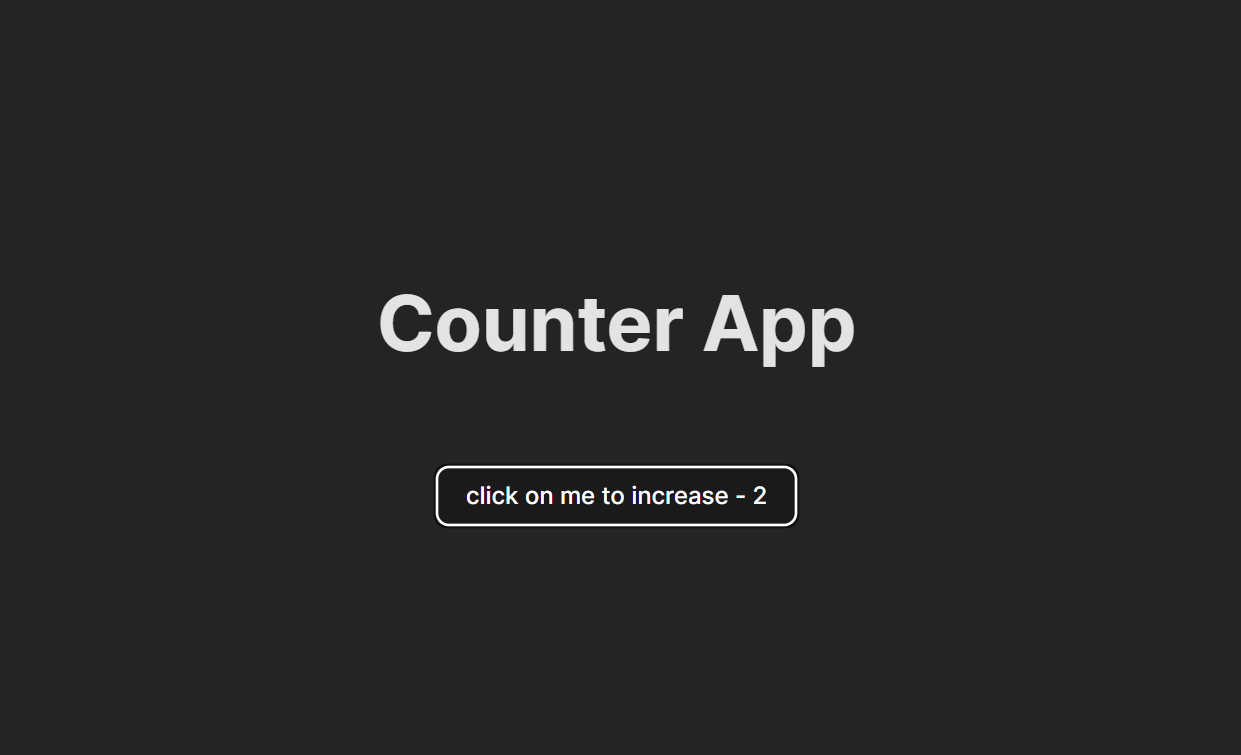
In the code above, we added a useState hook to the App function, and then we created a button that changes the count state by calling setCount when the button is clicked, thereby altering the behavior of the App component.
- useReducer
The useReducer hook was introduced as a way to manage more complex states in a React application. So, when you find yourself keeping track of multiple pieces of state that rely on complex logic in your application, useReducer may be useful.
In your project, go to the src directory and make the following code changes below to the App.jsx file.
import React, { useReducer } from 'react';

// Define the reducer function
const counterReducer = (state, action) => {
  switch (action.type) {
    case 'INCREMENT':
      return { count: state.count + 1 };
    case 'DECREMENT':
      return { count: state.count - 1 };
    default:
      return state;
  }
};

const CounterApp = () => {
  // Initialize the state using useReducer
  const [state, dispatch] = useReducer(counterReducer, { count: 0 });

  return (
    <div>
      <h1>Counter App</h1>
      <p>Count: {state.count}</p>
      <button onClick={() => dispatch({ type: 'INCREMENT' })}>Increment</button>
      <button onClick={() => dispatch({ type: 'DECREMENT' })}>Decrement</button>
    </div>
  );
};

export default CounterApp;
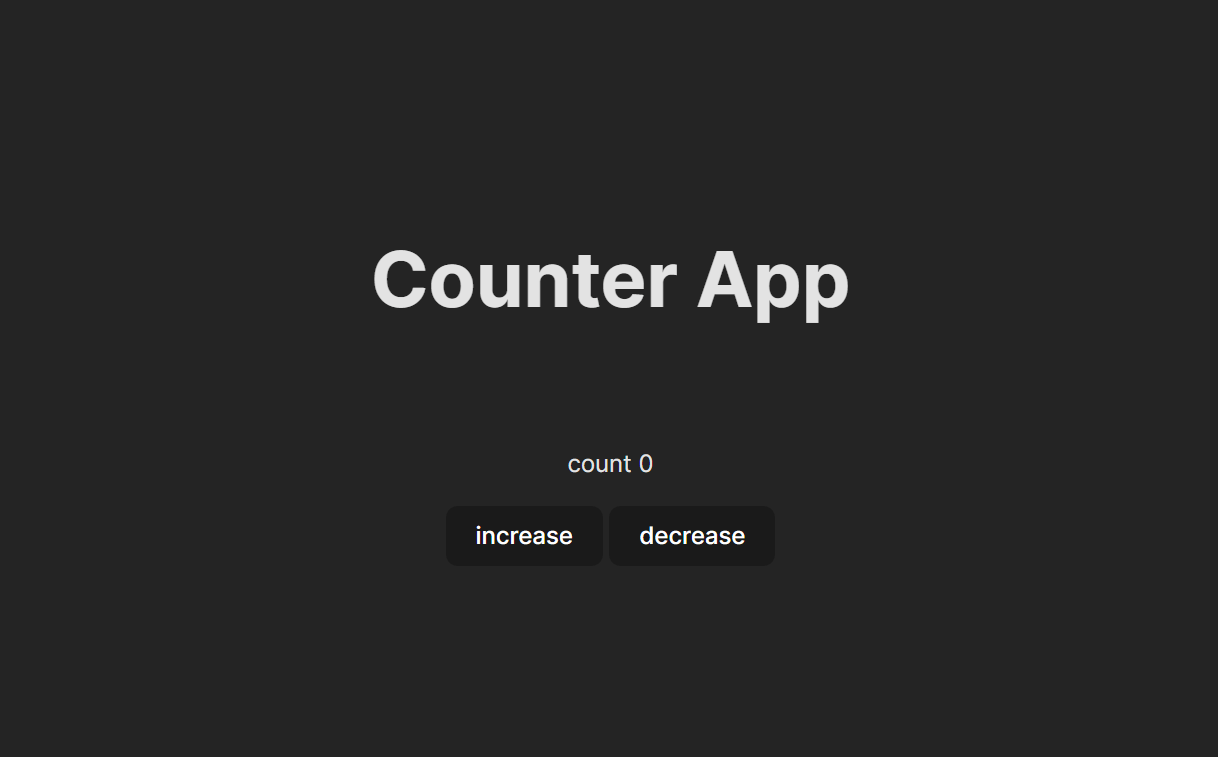
In the code above, we have created a counterReducer function that takes two parameters: state and action. Within the counter function, we utilize a switch statement to check each case of the action type, returning a new value that will serve as the updated state for the useReducer’s state value. Subsequently, we developed a CounterApp component using the useReducer hook, which requires two values: the previously defined counterReducer and a counter object that stores the state.
The useReducer function provides the current state whenever an action is dispatched, as well as a dispatch function for dispatching actions to the reducer function. Finally, we link the dispatch function to two different buttons, each associated with a distinct action type, one for increment and one for decrement.
From here on out, the UI won’t change; all we’ll be doing is applying different state management tools to this same application.
Redux
Redux is a popular state management tool in the React ecosystem; it follows the Flux architecture and also comes with additional tooling for optimization.
In your terminal, execute the following commands to install Redux and React-Redux dependencies.
npm install redux react-redux
In your project, navigate to the “src” directory and make the following code changes to the App.jsx file below.
import { useSelector, useDispatch } from 'react-redux';
import './App.css';

// Actions
const increment = () => ({
  type: 'INCREMENT',
});
const decrement = () => ({
  type: 'DECREMENT',
});

function App() {
  const count = useSelector((state) => state.count);
  const dispatch = useDispatch();
  return (
    <>
      <h1>Counter App</h1>
      <div className='card'>
        count {count}
        <div>
          <br />
          <button onClick={() => dispatch(increment())}>Increment</button>
          <span> </span>
          <button onClick={() => dispatch(decrement())}>Decrement</button>
        </div>
      </div>
    </>
  );
}
export default App;
In the code above, we first import useSelector and useDispatch from react-redux. Next, we create the decrement and increment functions that return an object with a key set to type and a value set to DECREMENT and INCREMENT, respectively, which will be dispatched, thereby making changes to the store and updating the view.
In the App function, we call useSelector to select the data from the store, which is count, and useDispatch to obtain the dispatch function used for updating. Finally, we attach the increment and decrement functions we created earlier to the dispatch function obtained from the useDispatch hook. We then pass the dispatch function into the individual buttons that handle the increment and decrement of the count variable.
In your project, navigate to the src directory and make the following code changes to the main.jsx file.
import React from 'react';
import ReactDOM from 'react-dom/client';
import { legacy_createStore } from 'redux';
import { Provider } from 'react-redux';
import App from './App.jsx';
import './index.css';

// Reducer
const initialState = {
  count: 0,
};
const counterReducer = (state = initialState, action) => {
  switch (action.type) {
    case 'INCREMENT':
      return { count: state.count + 1 };
    case 'DECREMENT':
      return { count: state.count - 1 };
    default:
      return state;
  }
};
const store = legacy_createStore(counterReducer);
ReactDOM.createRoot(document.getElementById('root')).render(
  <React.StrictMode>
    <Provider store={store}>
      <App />
    </Provider>
  </React.StrictMode>
In the code above, we imported the createStore and Provider from Redux and React-Redux. We created the reducer function, which handles the logic related to each dispatched action.
Next, we initialized the state, which will be set during the initial rendering. Within the reducer, we implemented a switch case that handles the individual logic for each case, namely increment and decrement. Since the reducer is a pure function (always adhere to pure function best practices for reducers), the logic for each case is predictable, resulting in the return of an object with isolated changes.
Finally, we created the store and passed it to the Provider component, which wraps our root App component.
MobX
MobX is another state management tool that allows you to manage your application state outside of a user interface framework (MobX is framework-agnostic).
In your terminal, execute the following commands to install the MobX and MobX-React dependencies.
npm install mobx mobx-react
In your project, navigate to the ‘src’ directory and make the following code changes in the App.jsx file below.
import React from 'react';
import ReactDOM from 'react-dom/client';
import { makeAutoObservable } from 'mobx';
import './App.css';

class CounterStore {
  count = 0;
  constructor() {
    makeAutoObservable(this);
  }
  increment = () => {
    this.count++;
  };
  decrement = () => {
    this.count--;
  };
}
const counterStore = new CounterStore();
import App from './App.jsx';
import './index.css';
ReactDOM.createRoot(document.getElementById('root')).render(
  <React.StrictMode>
    <App counter={counterStore} />
  </React.StrictMode>
)
We imported makeAutoObservable from MobX, and then we created the CounterStore class with a counter property. We also created the methods increment and decrement. We called makeAutoObservable in the CounterStore constructor to make it observable. Next, we created a counterStore object and passed it into the App component.
In your project, go to the src directory and make the following code changes in the main.jsx file.
import { observer } from 'mobx-react-lite';
const App = observer(({ counter }) => {
  return (
    <>
      <h1>Counter App</h1>
      <div className='card'>
        count {counter.count}
        <div>
          <br />
          <button onClick={counter.increment}>Increment</button>
          <span> </span>
          <button onClick={counter.decrement}>Decrement</button>
        </div>
      </div>
    </>
  );
});
export default App;
We imported the observer from mobx-react-lite. Then, we called the observer and passed a function to it containing our App component JSX, thereby making it an observer of an observable, e.g., the counterStore we created earlier. In the function passed to the observer, we destructured the counter props we passed in earlier and attached the increment and decrement properties to the increment and decrement buttons, respectively.
Other State Management Solutions
- Zustand
Zustand is a minimalistic state management tool that has a comfortable API based on hooks. To install the Zustand dependency, execute the following command in your terminal:
npm install zustand
In your project, navigate to the src directory and make the following code changes in the App.jsx file below.
import { create } from 'zustand';
const useStore = create((set) => ({
  count: 0,
  increment: () => set((state) => ({ count: state.count + 1 })),
  decrement: () => set((state) => ({ count: state.count - 1 })),
}));
const App = () => {
  const { count, increment, decrement } = useStore();
  return (
    <>
      <h1>Counter App</h1>
      <div className='card'>
        count {count}
        <div>
          <br />
          <button onClick={increment}>Increment</button>
          <span> </span>
          <button onClick={decrement}>Decrement</button>
        </div>
      </div>
    </>
  );
};
export default App;
We imported create from Zustand, and then we created a useStore variable that references the function returned from the create function call. A function is passed into the create function, which returns an object as its parameter. This function takes a parameter called set, which we use to create our increment and decrement methods, containing the logic for increasing and decreasing the counter property.
Next, we created an App function that calls the useStore function and destructures count, increment and decrement from it. Finally, we attached the decrement and increment functions to their respective buttons for increasing and decreasing the counter value.
In your project, go to the src directory and make the following code changes below in the main.jsx file.
import React from 'react';
import ReactDOM from 'react-dom/client';
import './App.css';
import App from './App.jsx';
import './index.css';
ReactDOM.createRoot(document.getElementById('root')).render(
  <React.StrictMode>
    <App />
  </React.StrictMode>
);
In the code above, we reverted to the default code of the main.jsx file.
- Recoil
The Recoil state management tool is used to manage complex state that can’t be achieved with React alone.
In your terminal, execute the following commands to install the Recoil dependency.
npm install recoil
In your project, navigate to the src directory and make the following code changes in the App.jsx file below.
import { atom, useRecoilValue, useRecoilState } from 'recoil';
import './App.css';

const counterState = atom({
  key: 'counterState', // unique ID (with respect to other atoms/selectors)
  default: 0, // default value (can be any valid JavaScript value)
});

const App = () => {
  const count = useRecoilValue(counterState);
  const [countState, setCountState] = useRecoilState(counterState);
  const increment = () => {
    setCountState(countState + 1);
  };
  const decrement = () => {
    setCountState(countState - 1);
  };

  return (
    <>
      <h1>Counter App</h1>
      <div className='card'>
        count {count}
        <div>
          <br />
          <button onClick={increment}>Increment</button>
          <span> </span>
          <button onClick={decrement}>Decrement</button>
        </div>
      </div>
    </>
  );
};
export default App
We imported the atom, useRecoilValue and useRecoilState from Recoil. Next, we created a counterState variable to hold the state we will be altering. We then defined an App function that calls useRecoilValue with the counterState we created earlier, which returns the count value. We also called useRecoilState with the counterState variable, which returns the counterState and setCounterState.
Subsequently, we created increment and decrement functions that call setCounterState with the logic for the desired changes. Finally, we attached the increment and decrement functions to their respective buttons for increasing and decreasing the counter.
It’s worth noting that useRecoilState is used for reading and writing atoms, while useRecoilValue is used for reading atoms only. Therefore, if components need to read an atom without writing to it, they should use useRecoilValue.
In your project, navigate to the src directory and make the following code changes in the main.jsx file.
import React from 'react';
import ReactDOM from 'react-dom';
import { RecoilRoot } from 'recoil';
import App from './App';

ReactDOM.render(
  <RecoilRoot>
    <React.StrictMode>
      <App />
    </React.StrictMode>
  </RecoilRoot>,
 document.getElementById('root')
);
In this code, we imported the RecoilRoot, which provides the context in which atoms have values, and then wrapped it around our root App component.
- Jotai
Jotai is a TypeScript-oriented state management tool with a very minimalistic API.
In your terminal, execute the following commands to install the Jotai dependency.
npm install jotai
In your project, navigate to the src directory and make the following code changes in the main.jsx file below.
import React from 'react';
import { Provider } from 'jotai';
import ReactDOM from 'react-dom/client';
import App from './App.jsx';
import './index.css';
    ReactDOM.createRoot(document.getElementById('root')).render(
  <Provider>
    <React.StrictMode>
      <App />
    </React.StrictMode>
  </Provider>
);
In the code above, we imported Provider from Jotai, which provides context from which component sub-tree atom values are available. We then wrapped our root App component with it.
In your project, go to the src directory and make the following code changes in the App.jsx file.
import { atom, useAtom } from 'jotai';
import './App.css';

const counterAtom = atom(0);

const App = () => {
  const [count, setCount] = useAtom(counterAtom);
  const increment = () => {
   setCount(count + 1);
  };
  const decrement = () => {
    setCount(count - 1);
  };
  return (
    <>
      <h1>Counter App</h1>
      <div className='card'>
        count {count}
        <div>
         <br />
          <button onClick={increment}>Increment</button>
          <span> </span>
          <button onClick={decrement}>Decrement</button>
        </div>
      </div>
    </>
  );
};
export default App;
In the code above, we created our counterAtom variable, which holds our atom value. Next, we created an App function that calls the useAtom function, which takes counterAtom as its value and returns a variable for reading the atom value and a function for altering its value.
Subsequently, we created the decrement and increment functions with the logic for decreasing and increasing the count value. Finally, we attached the functions to their respective buttons for increasing and decreasing the count value.
Conclusion
The React ecosystem offers a wide range of options for implementing state management, ranging from the simple useState hook to more complex solutions like Redux. However, the primary focus of every developer is choosing the right tool for their project. This decision should be based on your familiarity with the tool, its learning curve and its scalability. Ultimately, when it comes to state management in your project, the React ecosystem has you covered.

Chinedu Imoh
Chinedu is a tech enthusiast focused on full-stack JavaScript and Infrastructure engineering.
Related Posts
Comments
All articles
Topics
Web MobileMobile
Desktop
Design
Productivity
People
