
Adding Intelligent Chatbots to React Projects

Summarize with AI:
The KendoReact Conversational UI and AI Prompt components can help you build AI-powered chat experiences with ease. Here’s how.
Whether you’re building a customer support portal, a productivity tool or a social platform, chatbots are becoming increasingly important for delivering instant, personalized experiences. If you’re used to using React to build your web projects, how do you add a sophisticated, AI-powered chat interface to your React project?
In this article, we’ll walk through how to add a chatbot to your React project using the Progress KendoReact Conversational UI suite. We’ll start with the basics, then take things up a notch by introducing the new AI Prompt component, which makes integrating AI-powered conversations easier than ever.
Getting Started: Conversational UI in React
The KendoReact Chat component is purpose-built for React developers who want to add chat interfaces without having to reinvent the wheel. It handles message rendering, user avatars, attachments, quick actions and more, right out of the box.
The KendoReact Chat component is distributed through the @progress/kendo-react-conversational-ui package and can be imported directly:
import { Chat } from "@progress/kendo-react-conversational-ui";
With the Chat component now imported, here’s a simple example of setting up a basic chat interface:
import React, { useState } from "react";
import { Chat } from "@progress/kendo-react-conversational-ui";

const user = {
  id: 1,
  avatarUrl:
    "https://demos.telerik.com/kendo-react-ui/assets/dropdowns/contacts/RICSU.jpg",
  avatarAltText: "User Avatar",
};

const bot = { id: 0 };

const initialMessages = [
  {
    author: bot,
    text: "Hello! I'm your assistant bot. How can I help you today?",
    timestamp: new Date(),
  },
];

const App = () => {
  const [messages, setMessages] = useState(initialMessages);

  const addNewMessage = (event) => {
    const userMessage = event.message;
    const botResponse = {
      author: bot,
      text: `You said: "${userMessage.text}"`,
      timestamp: new Date(),
    };

    setMessages([...messages, userMessage]);
    setTimeout(() => setMessages((prev) => [...prev, botResponse]), 1000);
  };

  return (
    <Chat
      user={user}
      messages={messages}
      onMessageSend={addNewMessage}
      placeholder="Type your message..."
      width={400}
    />
  );
};

export default App;
The above sets up a chat interface using the Chat component, where messages are managed through state. User inputs trigger a function to display the user’s message and a delayed bot response. When running the above, we’ll see a basic chat interface where the bot responds statically to user messages (i.e., it just repeats “You said {user’s message}” repeatedly). Messages the user sends appear on the right, while those from the bot are displayed on the left.
Enhancing the Experience with Quick Actions
One of the cool features of KendoReact Chat is its support for suggested actions. Suggested actions provide users with quick response options, making interactions faster and more intuitive.
import React, { useState } from "react";
import { Chat } from "@progress/kendo-react-conversational-ui";

const user = {
  id: 1,
  avatarUrl:
    "https://demos.telerik.com/kendo-react-ui/assets/dropdowns/contacts/RICSU.jpg",
  avatarAltText: "User Avatar",
};

const bot = { id: 0 };

const initialMessages = [
  {
    author: bot,
    text: "How can I assist you?",
    // adding suggested actions
    suggestedActions: [
      { type: "reply", value: "Tell me a joke" },
      { type: "reply", value: "What’s the weather?" },
    ],
  },
];

const App = () => {
  const [messages, setMessages] = useState(initialMessages);
  const addNewMessage = (event) => {
    // ...
  };

  const onActionExecute = (event) => {
    const action = event.action.value;
    const botResponse = {
      author: bot,
      text: `You selected: "${action}"`,
      timestamp: new Date(),
    };
    setMessages([...messages, botResponse]);
  };

  return (
    <Chat
      user={user}
      messages={messages}
      onMessageSend={addNewMessage}
      onActionExecute={onActionExecute}
      placeholder="Type your message..."
      width={400}
    />
  );
};

export default App;
With the above change, the suggested actions of “Tell me a joke” and “What’s the weather?” are now presented to the user right after the initial message of “How can I assist you?” When the user clicks one of these actions, it becomes a submitted message.
Taking It Further: AI-Powered Conversations
A static chatbot is nice, but an intelligent one is a lot more helpful. By connecting our chat interface to an AI service (like OpenAI’s GPT models), we can deliver dynamic, context-aware responses that feel more conversational.
KendoReact’s Chat component makes it easy to integrate with AI APIs. Here’s how we can connect to OpenAI to create an intelligent chatbot:
Setting Up OpenAI Integration
First, we’ll need to obtain an API key from OpenAI. Once we have our key, we can create a function to communicate with OpenAI’s API:
const fetchAIResponse = async (userMessage) => {
  const API_KEY = "YOUR_OPENAI_API_KEY"; // Replace with your API key
  const API_URL = "https://api.openai.com/v1/chat/completions";

  try {
    const response = await fetch(API_URL, {
      method: "POST",
      headers: {
        Authorization: `Bearer ${API_KEY}`,
        "Content-Type": "application/json",
      },
      body: JSON.stringify({
        model: "gpt-4",
        messages: [{ role: "user", content: userMessage }],
      }),
    });

    const data = await response.json();
    return data.choices[0].message.content;
  } catch (error) {
    console.error("Error fetching AI response:", error);
    return "I'm sorry, but I couldn't process that request.";
  }
};
We’re utilizing OpenAI’s /v1/chat/completions endpoint to generate an AI-powered response. This endpoint enables us to send user messages to the model and receive a contextual reply.
Building the AI-Powered Chat Interface
Now, we can integrate this AI functionality into our chat component:
import React, { useState } from "react";
import { Chat } from "@progress/kendo-react-conversational-ui";

const user = {
  id: 1,
  avatarUrl:
    "https://demos.telerik.com/kendo-react-ui/assets/dropdowns/contacts/RICSU.jpg",
  avatarAltText: "User Avatar",
};

const bot = { id: 0 };

const initialMessages = [
  {
    author: bot,
    text: "Hello! I'm your AI assistant. How can I help you today?",
    timestamp: new Date(),
  },
];

const App = () => {
  const [messages, setMessages] = useState(initialMessages);

  const addNewMessage = async (event) => {
    const userMessage = event.message;
    setMessages((prev) => [...prev, userMessage]);

    const botText = await fetchAIResponse(userMessage.text);

    const botResponse = {
      author: bot,
      text: botText,
      timestamp: new Date(),
    };

    setMessages((prev) => [...prev, botResponse]);
  };

  return (
    <Chat
      user={user}
      messages={messages}
      onMessageSend={addNewMessage}
      placeholder="Type your message..."
      width={400}
    />
  );
};

export default App;
With these changes, the chat interface will interact dynamically with OpenAI’s API, generating intelligent responses based on user input!
The KendoReact Chat component handles the UI complexity while OpenAI provides the intelligence, creating a seamless conversational experience for users.
Combining Chat and AI Prompt
While integrating AI directly into chat is powerful, managing prompts, responses and user commands can get complex. That’s why KendoReact introduced the React AI Prompt component—a purpose-built UI for interacting with AI models that works seamlessly alongside the Chat component.
The KendoReact AIPrompt component offers a structured approach to interacting with AI models. It enables users to write and submit prompts, execute predefined commands, and view and interact with AI-generated outputs.
Setting Up the Components
The AI Prompt sub-components are distributed through the same @progress/kendo-react-conversational-ui package:
import {
  AIPrompt,
  AIPromptView,
  AIPromptOutputView,
  AIPromptCommandsView,
} from "@progress/kendo-react-conversational-ui";
Each AI Prompt component serves a specific purpose:
- AIPrompt: The main container for AI interaction.
- AIPromptView: The UI where users enter their prompts,
- AIPromptOutputView: Displays AI-generated responses.
- AIPromptCommandsView: Provides predefined commands to modify AI-generated text.
Building the Combined Interface
Let’s build this step by step. First, we’ll set up the necessary state management:
import React, { useState } from "react";
import {
  Chat,
  AIPrompt,
  AIPromptView,
  AIPromptOutputView,
  AIPromptCommandsView,
} from "@progress/kendo-react-conversational-ui";

const user = {
  id: 1,
  avatarUrl: "https://demos.telerik.com/kendo-react-ui/assets/dropdowns/contacts/RICSU.jpg",
  avatarAltText: "User Avatar",
};

const bot = { id: 0 };

const App = () => {
  // Chat state
  const [chatMessages, setChatMessages] = useState([
    {
      author: bot,
      text: "Welcome! Use the AI Prompt for advanced interactions or chat with me directly.",
      timestamp: new Date(),
    },
  ]);

  // AI Prompt state
  const [activeView, setActiveView] = useState("prompt");
  const [outputs, setOutputs] = useState([]);
  const [loading, setLoading] = useState(false);

  // ... handler functions will go here
};
Next, we’ll add the chat message handler:
const handleChatMessage = (event) => {
  const userMessage = event.message;
  setChatMessages((prev) => [...prev, userMessage]);

  const botResponse = {
    author: bot,
    text: `I received: "${userMessage.text}". Try the AI Prompt for more advanced features!`,
    timestamp: new Date(),
  };

  setTimeout(() => {
    setChatMessages((prev) => [...prev, botResponse]);
  }, 1000);
};
Then, we’ll add the AI Prompt request handler:
const handlePromptRequest = async (prompt) => {
  if (!prompt || loading) return;
  setLoading(true);

  // Show placeholder while waiting
  setOutputs([
    {
      id: outputs.length + 1,
      title: prompt,
      responseContent: "Thinking...",
    },
    ...outputs,
  ]);

  try {
    const API_KEY = "YOUR_OPENAI_API_KEY";
    const API_URL = "https://api.openai.com/v1/chat/completions";

    const response = await fetch(API_URL, {
      method: "POST",
      headers: {
        Authorization: `Bearer ${API_KEY}`,
        "Content-Type": "application/json",
      },
      body: JSON.stringify({
        model: "gpt-4",
        messages: [{ role: "user", content: prompt }],
      }),
    });

    const data = await response.json();
    const aiResponse = data.choices[0]?.message?.content || "Unable to process request.";

    // Replace "Thinking..." with actual AI response
    setOutputs((prevOutputs) =>
      prevOutputs.map((output, index) =>
        index === 0 ? { ...output, responseContent: aiResponse } : output
      )
    );
  } catch (error) {
    setOutputs([
      {
        id: outputs.length + 1,
        title: prompt,
        responseContent: "Error processing request.",
      },
      ...outputs,
    ]);
  } finally {
    setLoading(false);
    setActiveView("output");
  }
};
Finally, we’ll set-up the return method:
return (
  <div style={{ display: "flex", gap: "20px", padding: "20px" }}>
    <div>
      <h3>Chat Interface</h3>
      <Chat
        user={user}
        messages={chatMessages}
        onMessageSend={handleChatMessage}
        placeholder="Type your message..."
        width={400}
        height={300}
      />
    </div>

    <div>
      <h3>AI Prompt</h3>
      <AIPrompt
        style={{ width: "400px", height: "400px" }}
        activeView={activeView}
        onActiveViewChange={setActiveView}
        onPromptRequest={handlePromptRequest}
        disabled={loading}
      >
        <AIPromptView
          promptSuggestions={["Out of office", "Write a LinkedIn post"]}
        />
        <AIPromptOutputView
          outputs={outputs}
          showOutputRating={true}
        />
        <AIPromptCommandsView
          commands={[
            { id: "1", text: "Simplify", disabled: loading },
            { id: "2", text: "Expand", disabled: loading },
          ]}
        />
      </AIPrompt>
    </div>
  </div>
);
The above component will create a side-by-side layout featuring both a traditional chat interface and an AI Prompt component. With this setup, users can enter their prompts using the AI Prompt interface or select from quick suggestions provided within the component.
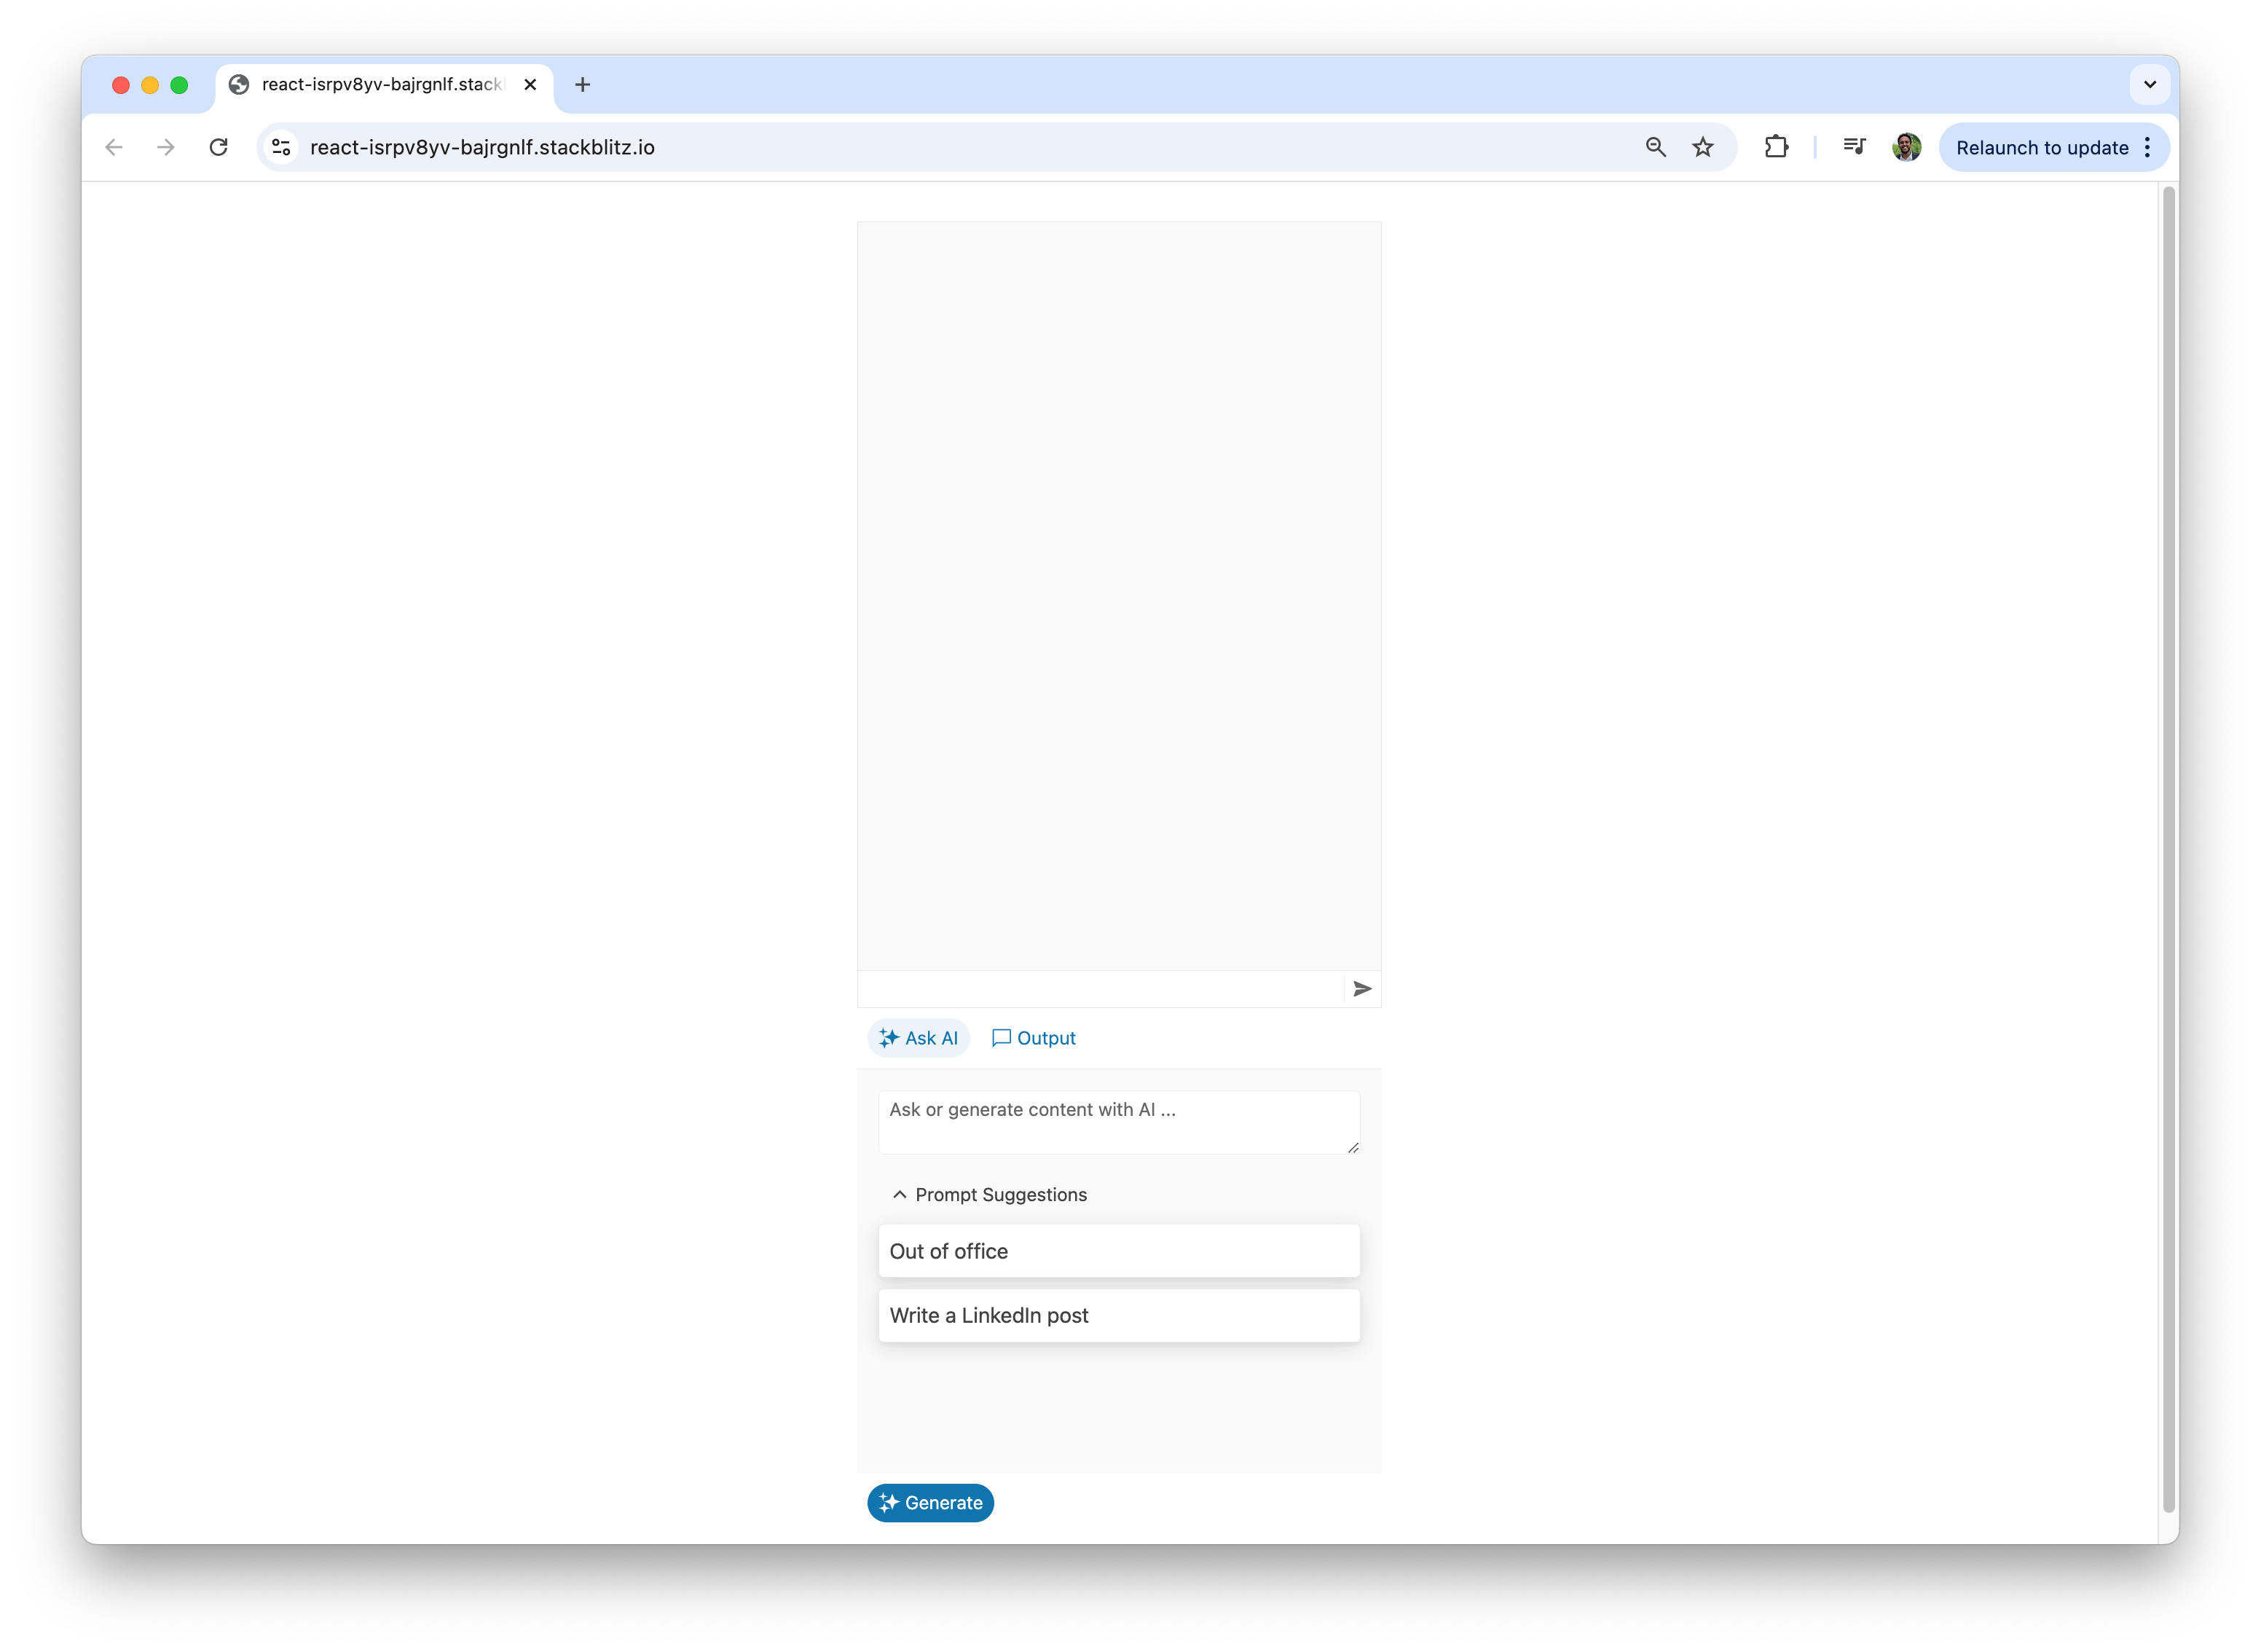
Users can also view the AI-generated responses in the “AIPromptOutputView” and interact with the content through various commands.
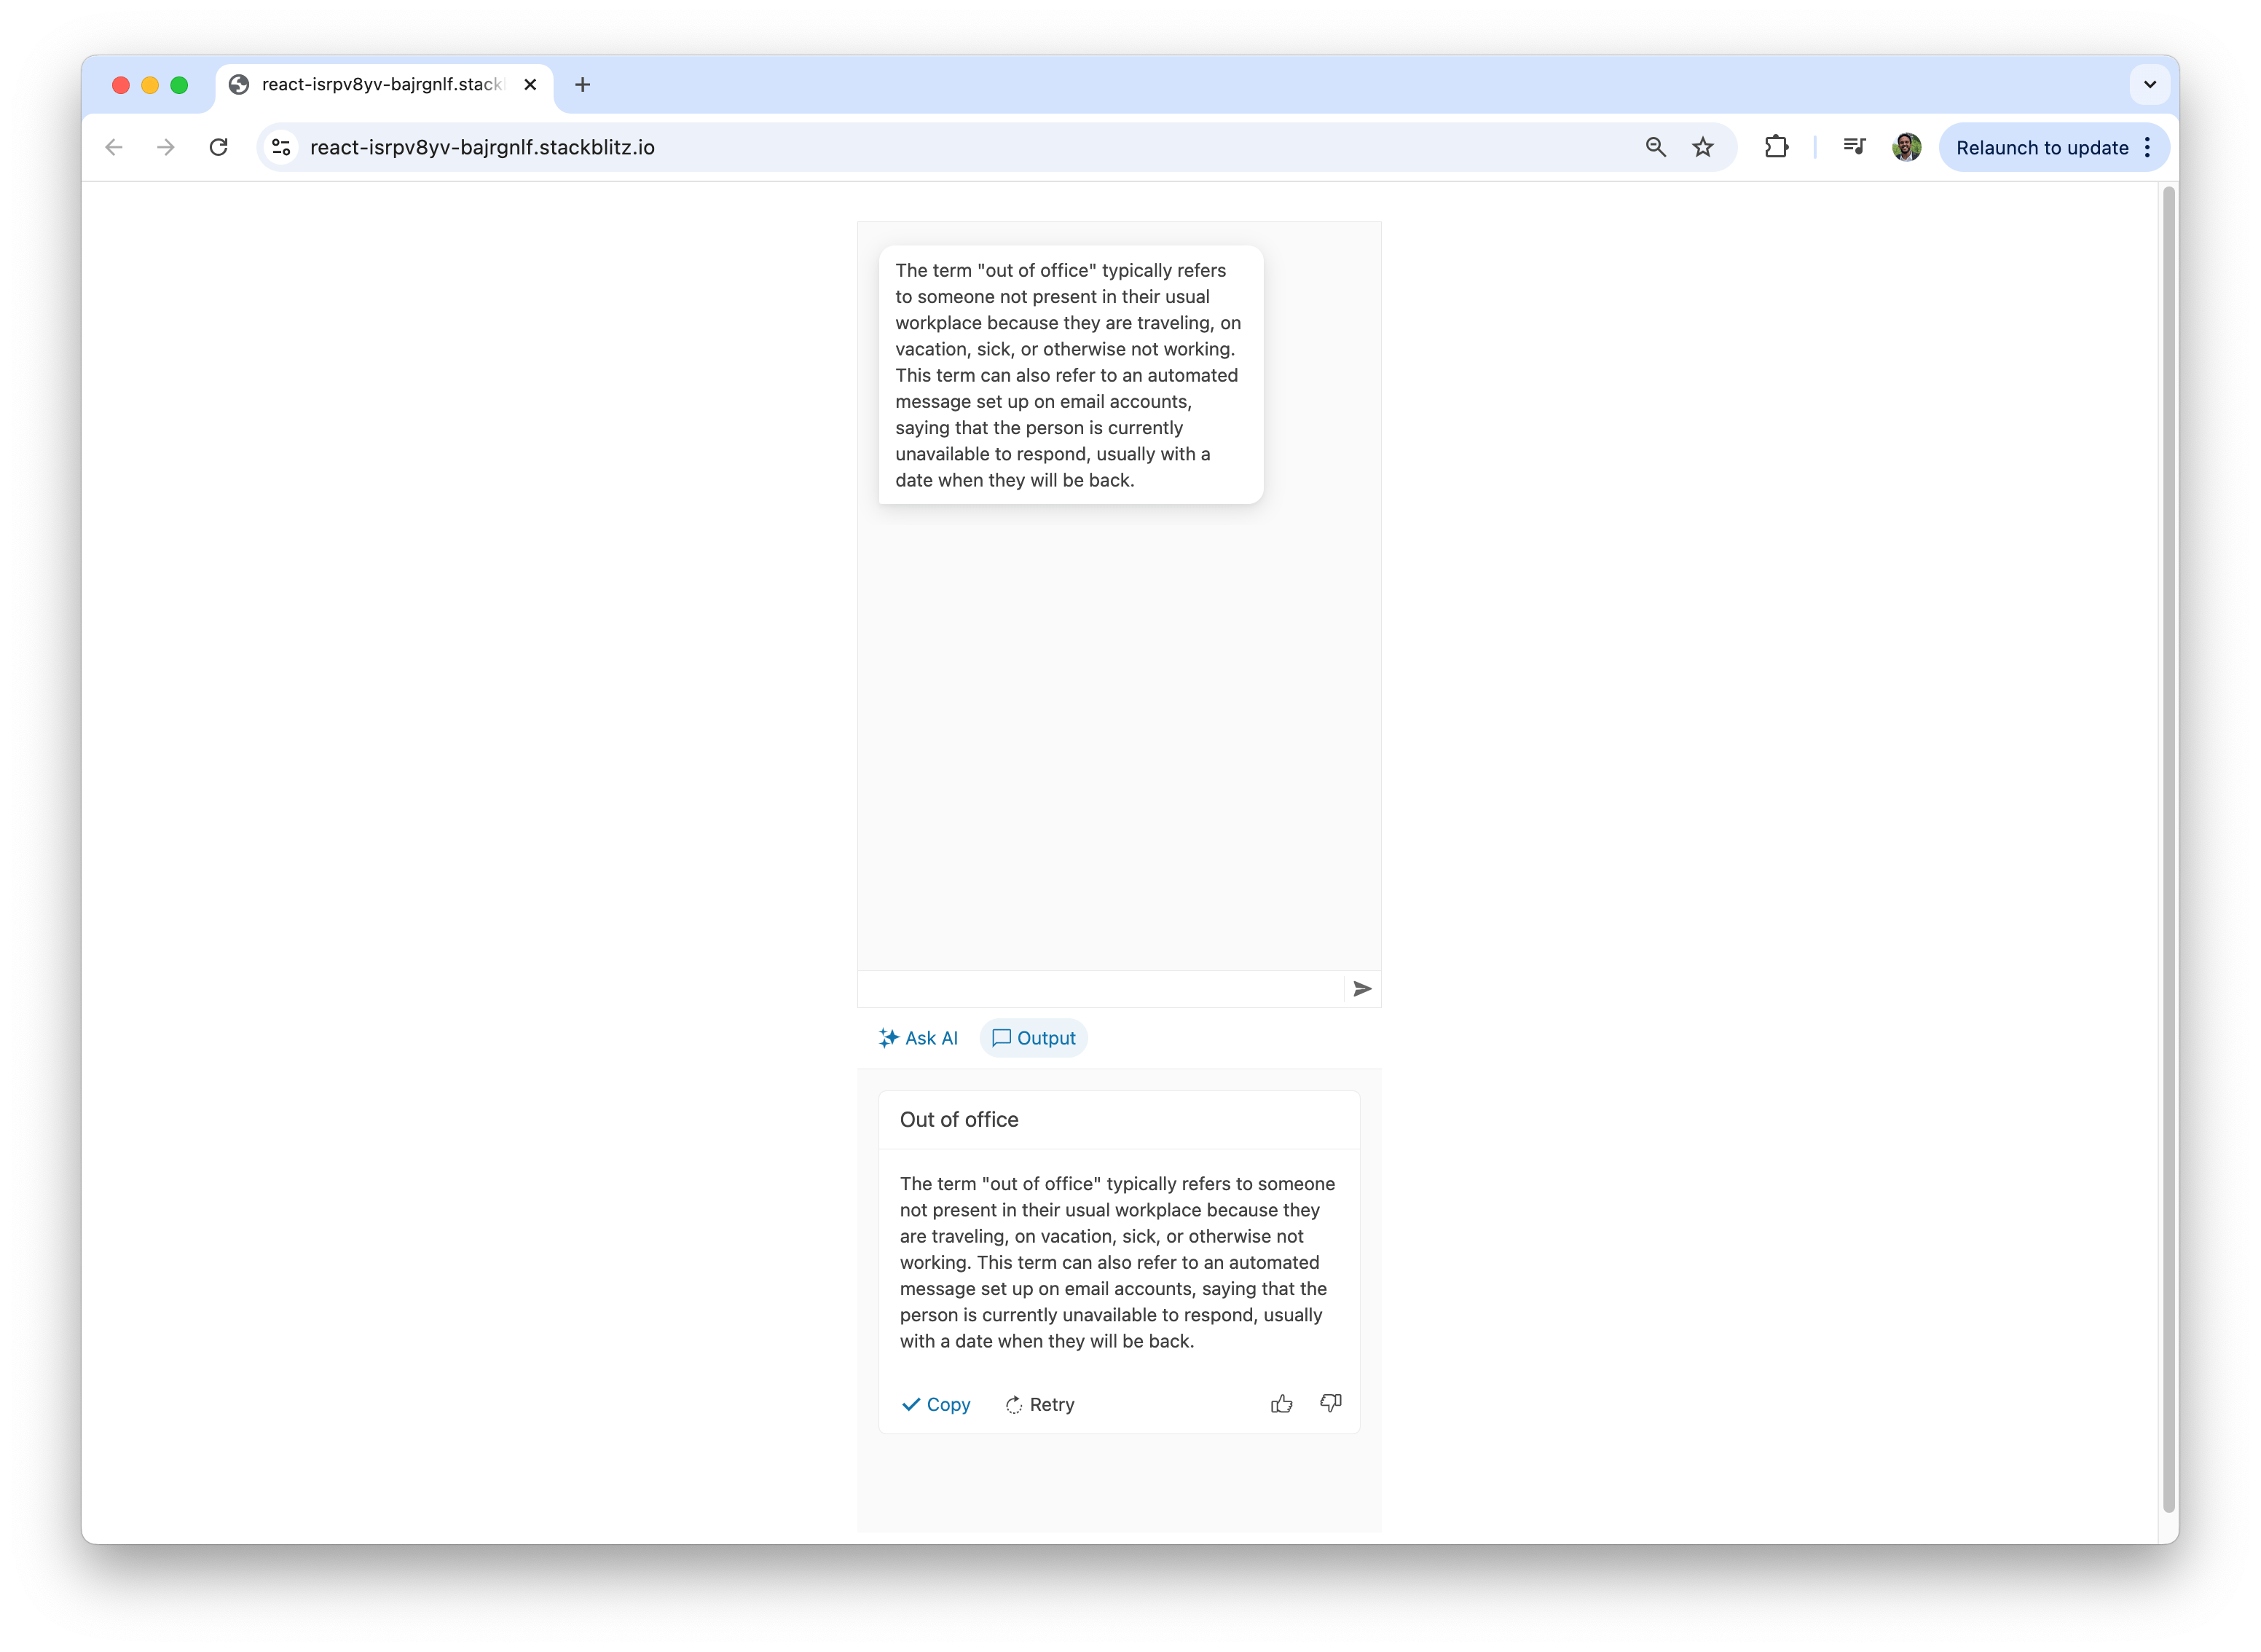
Here’s how quick suggestions streamline the user experience by providing easy-to-access, commonly used inputs.

Lastly, users can type a custom prompt directly into the “AIPromptView” for more personalized interactions.

How easy was that? With just a few components and minimal setup, KendoReact does all the heavy lifting. The KendoReact components handle the UI complexity, state management and user interactions, while we focus on integrating AI and building the conversational logic that matters most.
Wrapping Up
The KendoReact Conversational UI and AI Prompt components can deliver sophisticated, AI-powered chat experiences without the complexity of building everything from scratch.
The React AI Prompt component shines when we need structured AI interactions, content generation workflows or command-based text refinement. Combined with the Chat component’s conversational abilities, these tools provide everything needed to build intuitive chat interfaces.
Ready to Get Started?
Visit KendoReact Chat documentation for further information, and explore the AI Prompt component documentation to see all the advanced features and customization options available.

Hassan Djirdeh
Hassan is a senior frontend engineer and has helped build large production applications at-scale at organizations like Doordash, Instacart and Shopify. Hassan is also a published author and course instructor where he’s helped thousands of students learn in-depth frontend engineering skills like React, Vue, TypeScript, and GraphQL.
Related Posts
Comments
All articles
Topics
Web MobileMobile
Desktop
Design
Productivity
People
