Installing Telerik UI for WPF
The Telerik UI for WPF suite is distributed with multiple installation methods that can be used according to the developer's needs.
The recommended methods are using the Telerik CLI and the NuGet packages
Telerik UI for WPF is distributed via NuGet packages, allowing easier installation and maintenance.
To install the product:
-
Open any terminal and install the Telerik CLI.
dotnet tool install -g Telerik.CLI -
Call the
telerik setup wpfcommand in the terminal.telerik setup wpf -
Use the NuGet Package Manager to install the needed Telerik packages in your project. For example,
Telerik.UI.for.Wpf.AllControls.Xaml.<PackageReference Include="Telerik.UI.for.Wpf.AllControls.Xaml" Version="*" />
The .msi installer installs the suite on your computer to a folder named Progress in your Program Files, automatically creating the necessary virtual folders and projects.
To install the product:
-
Download the
Telerik_UI_for_WPF_[version]_[license].msifile from the Telerik UI for WPF download page. -
Run the installer and follow the instructions.
The MSI installation will not overwrite previous Telerik UI for WPF installations, unless it is of the same version.
In the installation directory (default:
C:\Program Files (x86)\Progress\Telerik UI for WPF [version]) you will see the following folders:\Binaries\Binaries.NoXaml\LicenseAgreements\Themes.Implicit\VSExtensions
-
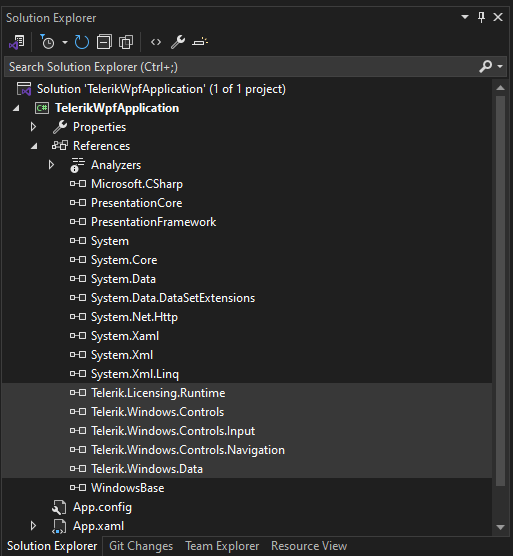
Use the Visual Studio's Reference Manager to browse and reference the Telerik dlls in your WPF project.
-
C#
[assembly: global::Telerik.Licensing.EvidenceAttribute("your-WPF-script-key-here")]
Telerik provides a .zip file containing the files distributed with Telerik UI for WPF.
To install the product:
-
Download the
Telerik_UI_for_WPF_[version]_[license]_Dlls.zipfile from the Telerik UI for WPF download page. -
Extract the contents of the
.zipfile in a location of your choice.The archive contains the following folders:
\Binaries\Binaries.NoXaml\LicenseAgreements\Themes.Implicit\VSExtensions
-
Use the Visual Studio's Reference Manager to browse and reference the Telerik dlls in your WPF project.
-
C#
[assembly: global::Telerik.Licensing.EvidenceAttribute("your-WPF-script-key-here")]
The UI for WPF product can be installed also via the Telerik UI for WPF Extension for Visual Studio (VSX). The extension installs also a project template in Visual Studio that allows easier creation of Telerik WPF projects.
-
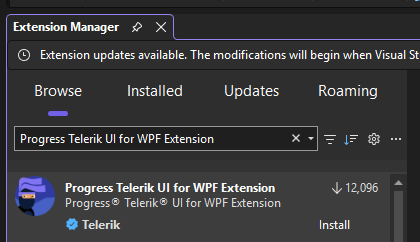
To get the extension, you can either install product via the .msi installer or use the Extensions menu in Visual Studio to download the extension from the marketplace ("Progress Telerik UI for WPF Extension").
-
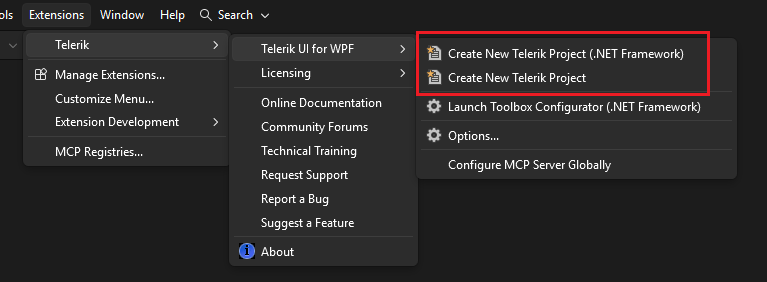
In Visual Studio use the Telerik WPF Application project template to create a WPF project.
-
Follow the Create New Project Wizard to setup the project.
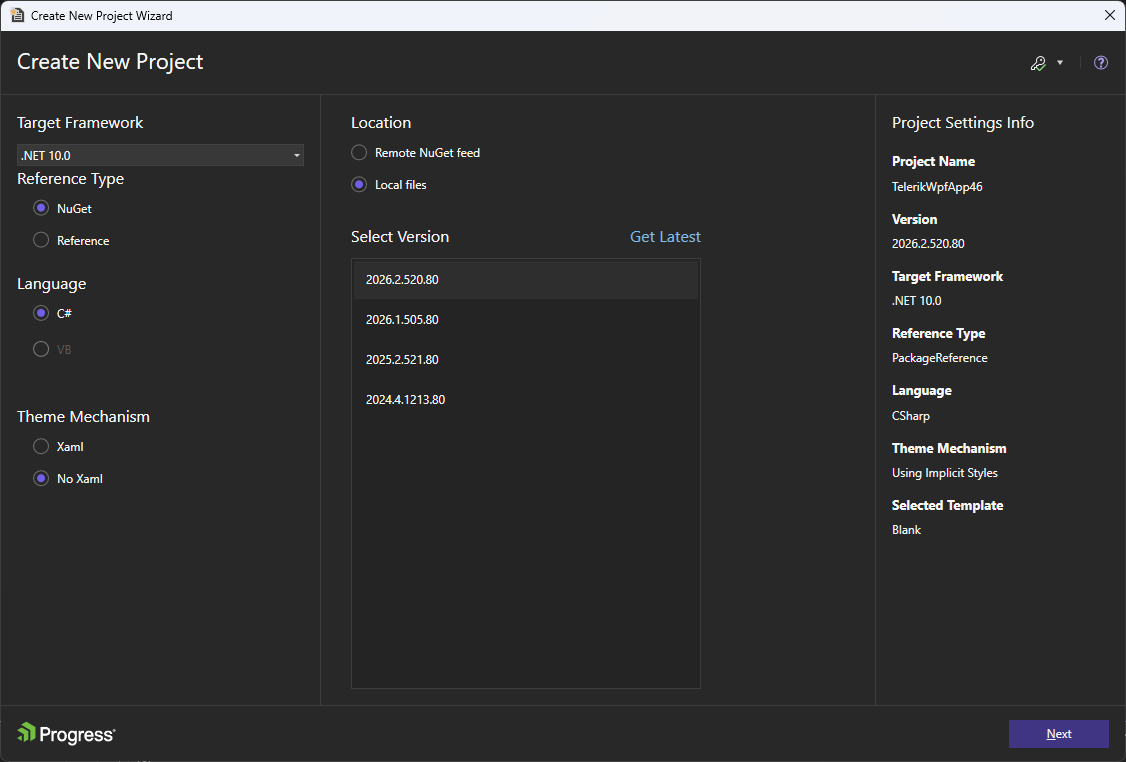
-
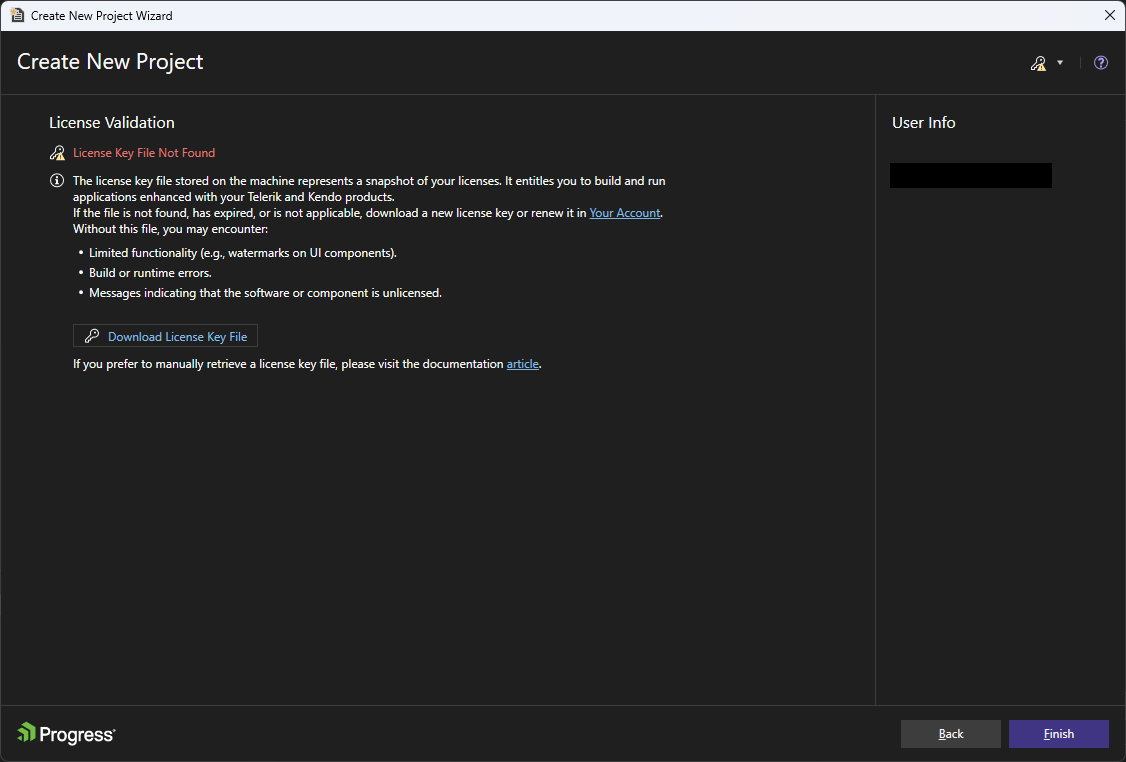
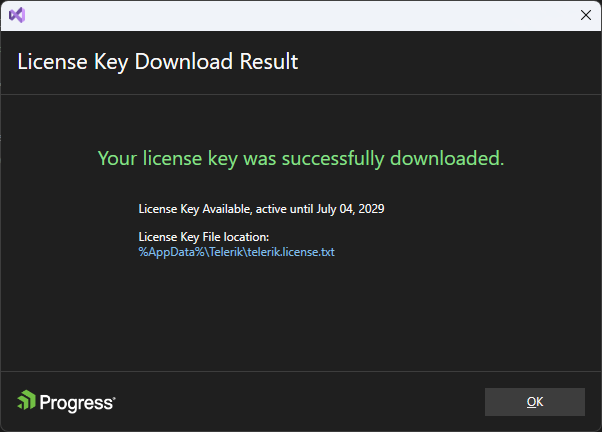
In case you haven't installed a license key already, you can download one using the License Validation screen.
License validation screen (license not found)
License validation screen (successfully downloaded a license)
If you have a license key already installed the License Validation screen will be skipped.
You can further configure the project using the Project Configuration Wizard. You can do that by going to the Extensions > Telerik > Telerik UI for WPF > Configure Project menu in Visual Studio. When you open the wizard you can select the controls you are going to use from the list (or search them in the search box). Once you have selected them, click Finish. This will add the required dlls and references to your project.
Adding references to the charting controls
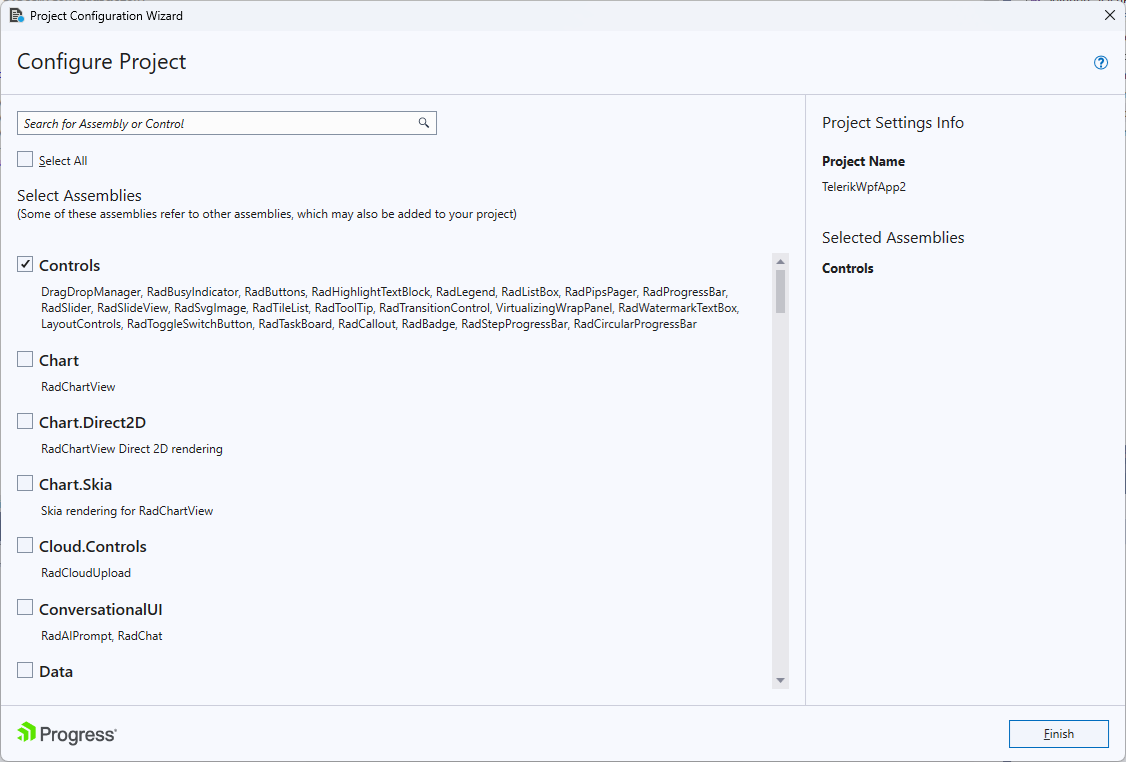
This step is optional and you will only need it if you use controls that are not defined in Telerik.Windows.Controls.dll.
The Telerik UI for WPF controls can also be installed via the Progress Control Panel.

To install the product:
-
Download the Progress Control Panel
-
Run the downloaded
.exefile. -
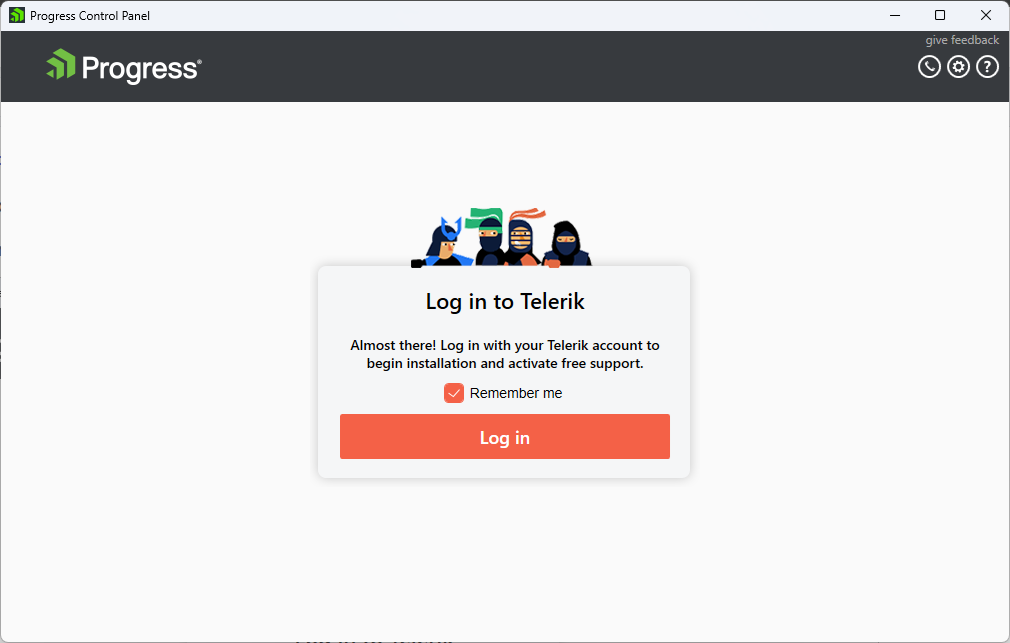
On the login screen use your Telerik account credentials.
-
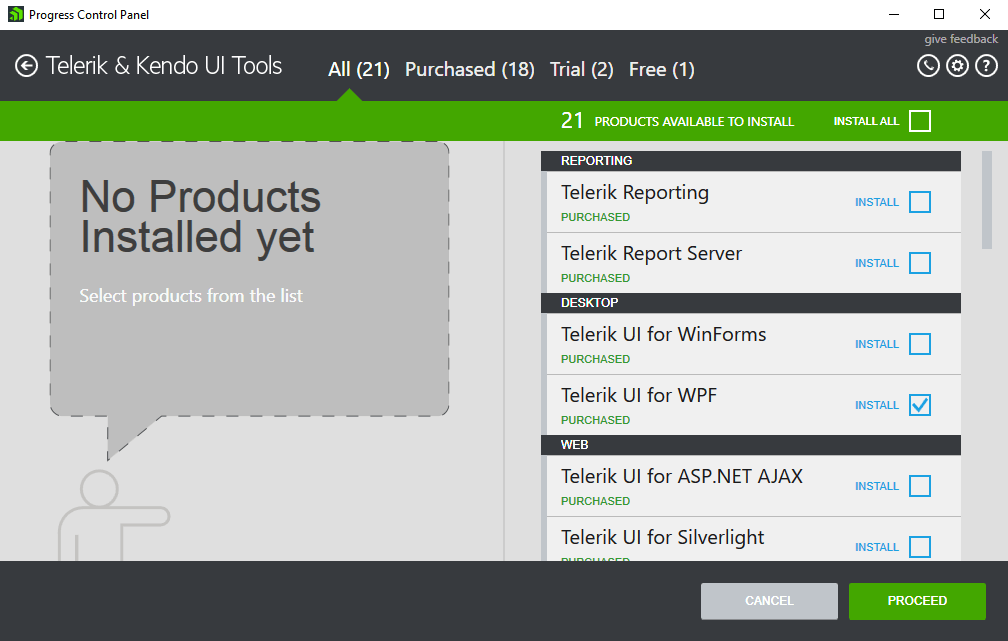
Select the Telerik UI for WPF product in the products list on click Proceed.
-
Follow the screens to configure the installation.
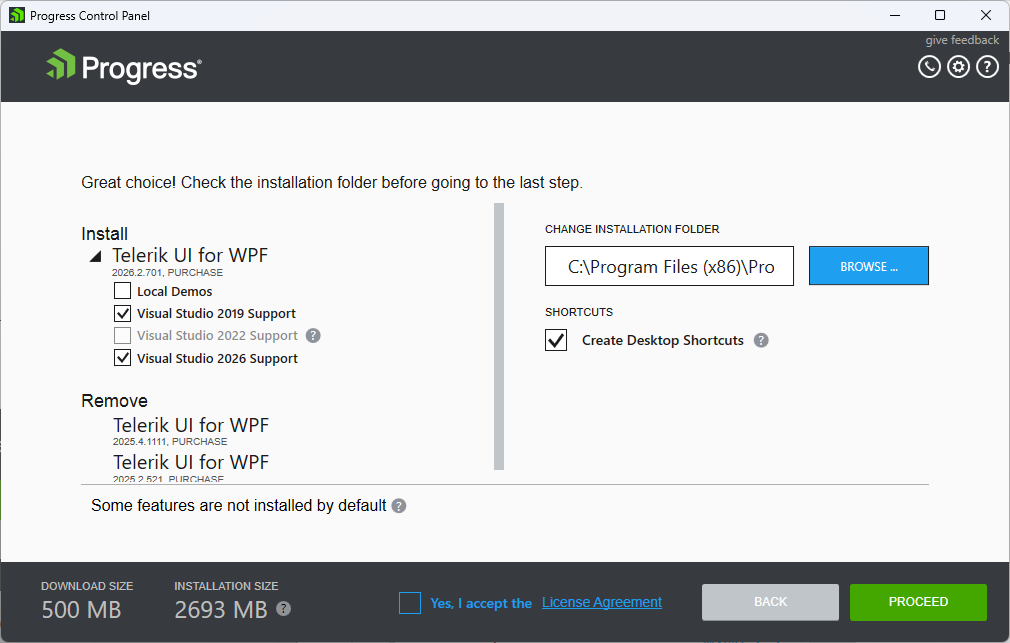
The Progress Control Panel will download the necessary files for installation and then install them to the location you selected.
The installation directory contains following folders:
\Binaries\Binaries.NoXaml\LicenseAgreements\Themes.Implicit\VSExtensions
Add Telerik Controls in the Project
For this example we will use RadGridView.
-
Open the WPF project with the Telerik references in Visual Studio.
-
To use RadGridView install the
Telerik.Windows.Controls.GridView.for.Wpf.Xamlnuget package, or reference the following assemblies:Telerik.Windows.ControlsTelerik.Windows.Controls.GridViewTelerik.Windows.Controls.InputTelerik.Windows.Data
-
Define a basic model for the items in the data grid.
C#public class Profile { public int ID { get; set; } public string Name { get; set; } public DateTime Date { get; set; } public bool IsChecked { get; set; } } -
Populate a collection with the model.
C#public MainWindow() { this.InitializeComponent(); var source = new ObservableCollection<Profile>(); DateTime date = DateTime.Now; for (int i = 0; i < 10; i++) { source.Add(new Profile() { ID = i, Name = "Item" + i, Date = date, IsChecked = i % 2 == 0 }); date = date.AddDays(7); } gridView.ItemsSource = source; } -
Add
RadGridViewin the XAML.XAML<Grid xmlns:telerik="http://schemas.telerik.com/2008/xaml/presentation"> <telerik:RadGridView x:Name="gridView" GroupRenderMode="Flag" AutoGenerateColumns="False"> <telerik:RadGridView.Columns> <telerik:GridViewDataColumn DataMemberBinding="{Binding ID}"/> <telerik:GridViewDataColumn DataMemberBinding="{Binding Name}" /> <telerik:GridViewDataColumn DataMemberBinding="{Binding Date}" /> <telerik:GridViewDataColumn DataMemberBinding="{Binding IsChecked}" /> </telerik:RadGridView.Columns> </telerik:RadGridView> </Grid> -
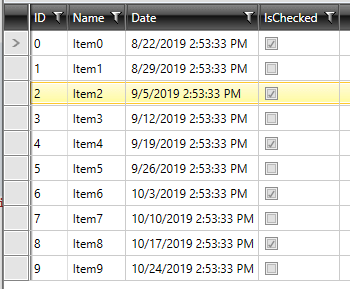
Run the project and you should see something like this: