New to Telerik UI for WinForms? Start a free 30-day trial
Events and Customization
Updated on May 7, 2026
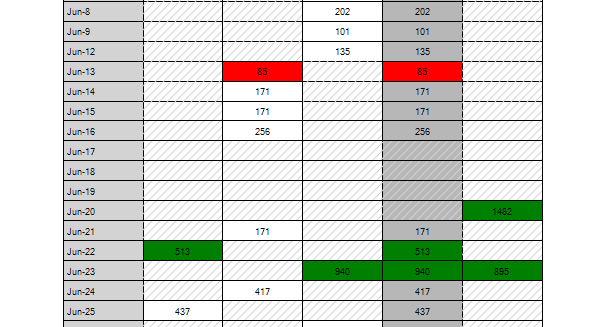
RadPivotGrid exposes two events which you can use to format the appearance and add custom painting to your printed cells: the PrintElementFormatting and the PrintElementPaint events. The following sample demonstrates how you can mark in red the cells with value that is less than 100 and in green the cells with value greater than 500. Additionally, the cells that do not contain any value are grayed out with a hatch brush.
Figure 1: Formatting Print Cells
Formatting Print Cells
C#
private void radPivotGrid1_PrintElementFormatting(object sender, Telerik.WinControls.UI.PrintElementEventArgs e)
{
    PivotCellPrintElement cell = e.PrintElement as PivotCellPrintElement;
    if (cell != null && cell.Value != null && (Convert.ToDouble(cell.Value)) < 100)
    {
        cell.BackColor = Color.Red;
    }

    if (cell != null && cell.Value != null && (Convert.ToDouble(cell.Value)) > 500)
    {
        cell.BackColor = Color.Green;
    }
}

private void radPivotGrid1_PrintElementPaint(object sender, PrintElementPaintEventArgs e)
{
    PivotCellPrintElement cell = e.PrintElement as PivotCellPrintElement;
    if (cell != null && cell.Value == null)
    {
        Brush b = new HatchBrush(HatchStyle.BackwardDiagonal, Color.LightGray, Color.Transparent);
        e.Graphics.FillRectangle(b, e.Bounds);
    }
}