Getting Started with the WebForms AsyncUpload
This tutorial will walk you through creating a Web page that uses RadAsyncUpload control. It shows how to
- Use RadAsyncUpload to upload files.
Getting Started
-
Create a new page and add a RadAsyncUpload control to it.
-
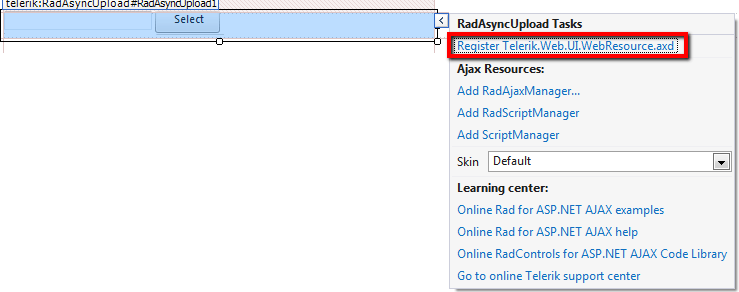
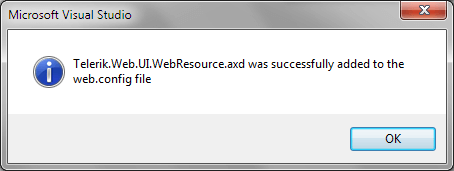
Click the Smart Tag of the RadAsyncUpload control to add Telerik.Web.UI.WebResource.axd handler in the web.config file:

-
Adding the RadScriptManager to the page will also automatically register the Telerik.Web.UI.WebResource.axd handler in the web.config file. This handler is used by both RadScriptManager and RadAsyncUpload:

-
Set the TargetFolder property to the folder where you want the files to be automatically uploaded after the PostBack (ex. App_Data/UploadedFiles).
The files are automatically and asynchronously uploaded to the folder specified by the TemporaryFolder property but are copied to the TargetFolder after the postback on the page.
By default the TemporaryFolder property is set to the App_Data/RadUploadTemp folder. The files are uploaded with randomly generated unique names.
<telerik:RadAsyncUpload RenderMode="Lightweight" ID="RadAsyncUpload1" TargetFolder="uploads" runat="server"></telerik:RadAsyncUpload> - Finally, add a simple RadButton or an asp.net Button on the page that will postback. Press F5 from the keyboard to build and run the application. Now you need to select a file that will be uploaded. You will see the loading image indicating that the file is uploaded asynchronously. During the upload the page is interactive to the user. After clicking on the postback button - the file is saved to the TargetFolder.