Vue Basics: How to Use Vue Router

Summarize with AI:
Learn how to set up a SPA with Vue Router and the first steps to controlling routing within our application.
An extremely important part of building a single-page application (SPA) is having the ability to control the flow of your user within the pages of the app.
Seamlessly integrated in the Vue framework, we have the solution of Vue Router. Vue Router allows us to control the flow of user navigation within pages of our app, avoid the unseemly “full page reloads” that are typical of a non-SPA page and even set up guards for particular routes.
Within this article, we will explore setting up an app with Vue Router and the first steps to controlling routing within our application.
Installing Vue Router
If you are setting up a new Vue app, you will have the option to add Vue Router to the starting template when going through the wizard. This is the easiest way to accomplish installing Vue Router on a fresh application.

If you want to add Vue Router to your existing app, first install the package using either npm or yarn.
npm install vue-router@4

// OR

yarn add vue-router@4
Creating a Router Instance
Our app needs something to control our user’s navigation—this is called a router instance. Vue Router has two main components:
- Router - The “brain,” it controls navigation and helps us direct the user to other pages
- Route(s) - An object containing the information of the current route a user is visiting
A common practice is to create the router in a router.js file, so we’ll add that to the root of our app.
router.js
import { createWebHistory, createRouter } from 'vue-router'

import HelloWorld from './components/HelloWorld.vue'
import GoodbyeWorld from './components/GoodbyeWorld.vue'

const routes = [
  { path: "/", name: "home", component: HelloWorld },
  { path: "/goodbye", name: "goodbye", component: GoodbyeWorld },
];

export const router = createRouter({
  history: createWebHistory(),
  routes,
})
Let’s split this up and take a look at what’s happening here.
First, we import createWebHistory and createRouter from our vue-router package. createWebHistory is a history mode, which controls how Vue Router will create routes for us.
Vue Router has several different history modes, but 99% of the time you will be using createWebHistory which creates normal-looking routes that look like: mySite.com/this/is/my/url.
Next, we import our components. Some people like separating these into a views folder for organization purposes, but these will be the main entry points of your application to each of the “pages.” We’ve created two dummy components here, HelloWorld and GoodbyeWorld. Each of them contains only a message saying either Hello or Goodbye, so no underlying logic within them.
As a third step we declare a routes array. This array contains a collection of objects. Each of these objects is a RouteRecord, which we use to describe the routes that we will add to our application. For every page or view in your app, you will add one of these.
Notice the first record:
{ path: '/', name: 'home', component: HelloWorld },
We are setting the path to / which means this will be our home route, when our user visits our website mysite.com this route will be shown. We also declare that the component for this route is HelloWorld. I have also added a name for this route, this is a custom string and can be whatever you want. I chose home as this will be our home route.
Notice the second route:
{ path: '/goodbye', name: 'goodbye', component: GoodbyeWorld }
Here we declare that the path for this route is /goodbye, this means that Vue Router will try to match the browser URL to this path. When the user visits mysite.com/goodbye, either by a link within our webpage or by directly typing it into the browser URL box, Vue Router will load up the component GoodbyeWorld and show it to our users. This route will have name “goodbye.”
Finally, we create the router using the createRouter function, and we pass it a single parameter as configuration object with our history mode and the routes array we created.
Note that the router constant is being exported so that we can use it in the next step.
Telling Vue to Use Vue Router
Vue by default will not know to use Vue Router. We have to go where our app is being mounted and tell it to use our new router.
By default, Vue apps are mounted on main.js files. When you open it, you should see that’s where your app is being created and mounted.
We will make a few changes here:
main.js
import { createApp } from "vue";
import { router } from "./router";
import App from "./App.vue";

const app = createApp(App);
app.use(router);

app.mount("#app");
The first thing to notice is that we are importing router from our router.js file that we created a bit ago.
Afterward, we call the use method on our app instance, and pass it the router. Finally, after the router has been added to the app, we proceed with mounting the app as usual.
That’s it! Now your app is ready to use Vue Router under the hood.
Displaying Our Views
The first thing we need to do to be able to display to the user the components that we defined in our routes is set up a RouterView. RouterView is a special component that Vue Router uses to inject the current view (based on the current URL) so that the user can see its content.
The most common place to add this component is our App.vue file, since this is the entry point of our application.
App.js
<template>
  <img alt="Vue logo" src="./assets/logo.png" />
  <router-view />
</template>
Our App.vue file now simply contains a Vue logo that will display in all routes. Note this—it’s important to understand that anything not placed within the views in our router will be displayed on every single page. Headers and footers are a good example for this desired behavior.
Next, we add the router-view component. You don’t need to import it or declare it in your components options in the App.vue file—it was automatically be imported globally when we added it with app.use(router).
If you visit your application’s homepage now, you should see the HelloWorld component greeting you.

Adding Basic Navigation
Now that we have our routes set up and Vue Router all hooked up and ready to go on our app, we need to add some links so that our user can navigate back and forth between them.
App.vue
<template>
  <nav>
    <ul>
      <li>
        <router-link :to="{ name: 'home' }">Home</router-link>
      </li>
      <li>
        <router-link :to="{ name: 'goodbye' }">Goodbye</router-link>
      </li>
    </ul>
  </nav>

  <img alt="Vue logo" src="./assets/logo.png" />
  <router-view />
</template>
I’ve added a ul with our two links. You’ll notice immediately that I didn’t use a links, but rather a special Vue Router component, the RouterLink. Once again we don’t have to import this since it was automatically imported globally for us.
RouterLink has a very important prop that we need to use to tell it which route it should point us to, called to. This prop can take either a string or an object, which means we can also write the simplified version as follows.
<router-link to="home">Home</router-link>
I personally would recommend that you get used to using the longer object declaration as I did on the first example. Soon enough you will find yourself having to use params, for example, which will require the object format to be used. It’s already a good time to make yourself comfortable with the more complex, but more powerful API.
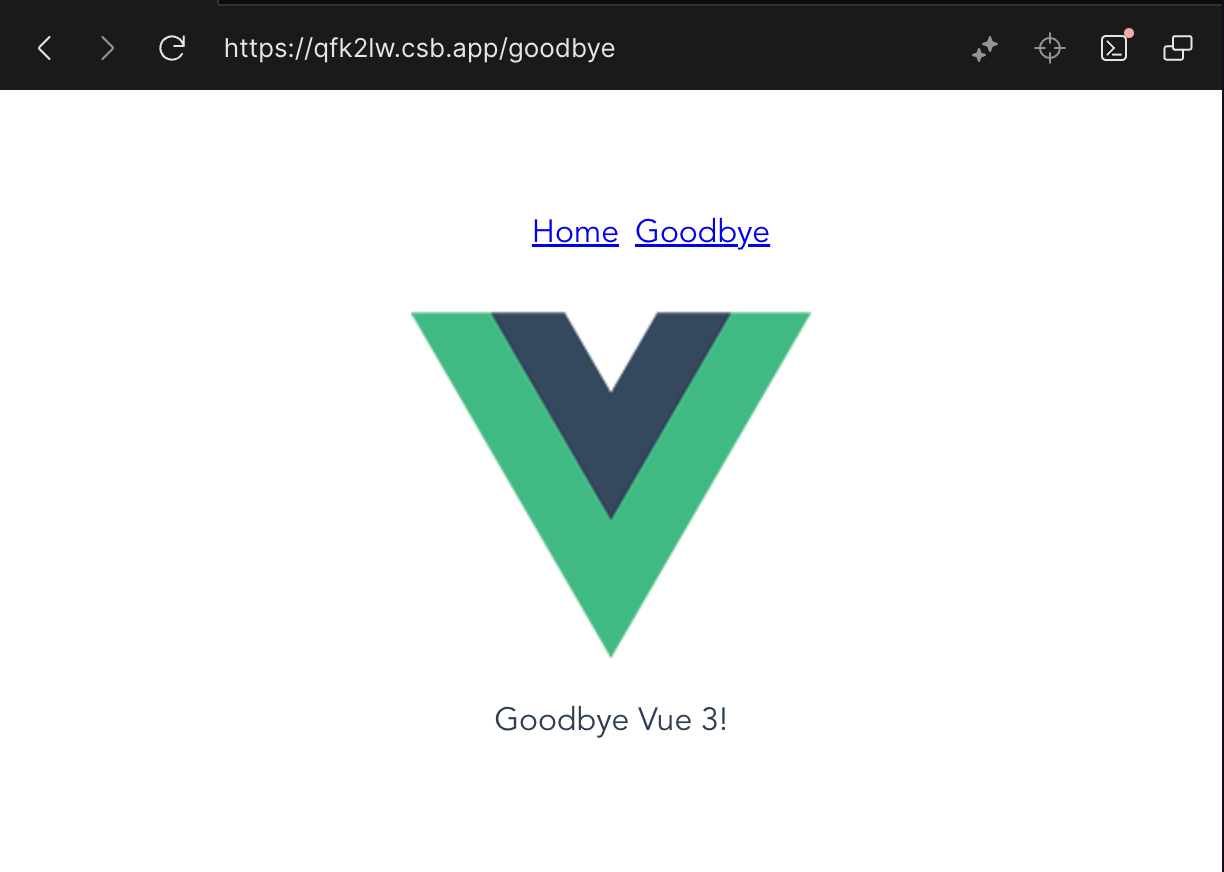
Clicking on the Goodbye link will correctly navigate us to the goodbye route. Notice the URL on the browser bar. 🎉

Wrapping Up
This only begins to scratch the power of Vue Router and what we can do with it. I recommend taking a deep dive into their documentation—it is well written and chock-full of examples of how to accomplish typical routing scenarios.
Happy routing!

Marina Mosti
Marina Mosti is a frontend web developer with over 18 years of experience in the field. She enjoys mentoring other women on JavaScript and her favorite framework, Vue, as well as writing articles and tutorials for the community. In her spare time, she enjoys playing bass, drums and video games.

