Getting Started with the Document Picture-in-Picture API

Summarize with AI:
Explore the Document Picture-in-Picture API in detail and how we can use it in a simple web app written with plain HTML, CSS and JavaScript.
Have you ever wondered how web applications can create floating content? Well, this is thanks to the Document Picture-in-Picture (PIP) API. The essence of this API is to enhance user experience. It allows users to opt in to consume web content via a floating window from a website they visit while being able to navigate through other browser tabs or applications on their device.
In this guide, we will explore this API in detail. We will start by looking at its origin, how it works and how we can use it in a simple web app written with plain HTML, CSS and JavaScript.
The Picture-in-Picture API vs. the Document Picture-in-Picture API
The Picture-in-Picture API is the predecessor of the better and more enhanced Document Picture-in-Picture API. Even though they are always on top of floating windows, the former had a huge limitation, which is the fact that the floating window, when created, could only contain one HTML video element (<video></video>), and lacked customization for styling and appearance to suit the developer’s needs.
The new Document Picture-in-Picture API allows the developer to create a floating window, and they can customize the contents of this window to suit their needs.
The Window open() function
While the Floating PIP window created by the Document Picture-in-Picture API might sound like something new, it is not. It is based on a prevalent idea that we are used to when building everyday web applications—the fact that a browsing context, i.e., a window or a tab, can create another browsing context. Simply put, a Window A with Tab A can create a new Window B and/or Tab B.
The simplest form of this is an anchor tag that can be placed on a page and, when clicked, create a new tab or overrides the current one.
The Document Picture-in-Picture API is based on the more advanced window.open() function that does the same thing by allowing us to create new browsing contexts in code programmatically. We have several options when calling this function; in typical cases, we call this function to do the following:
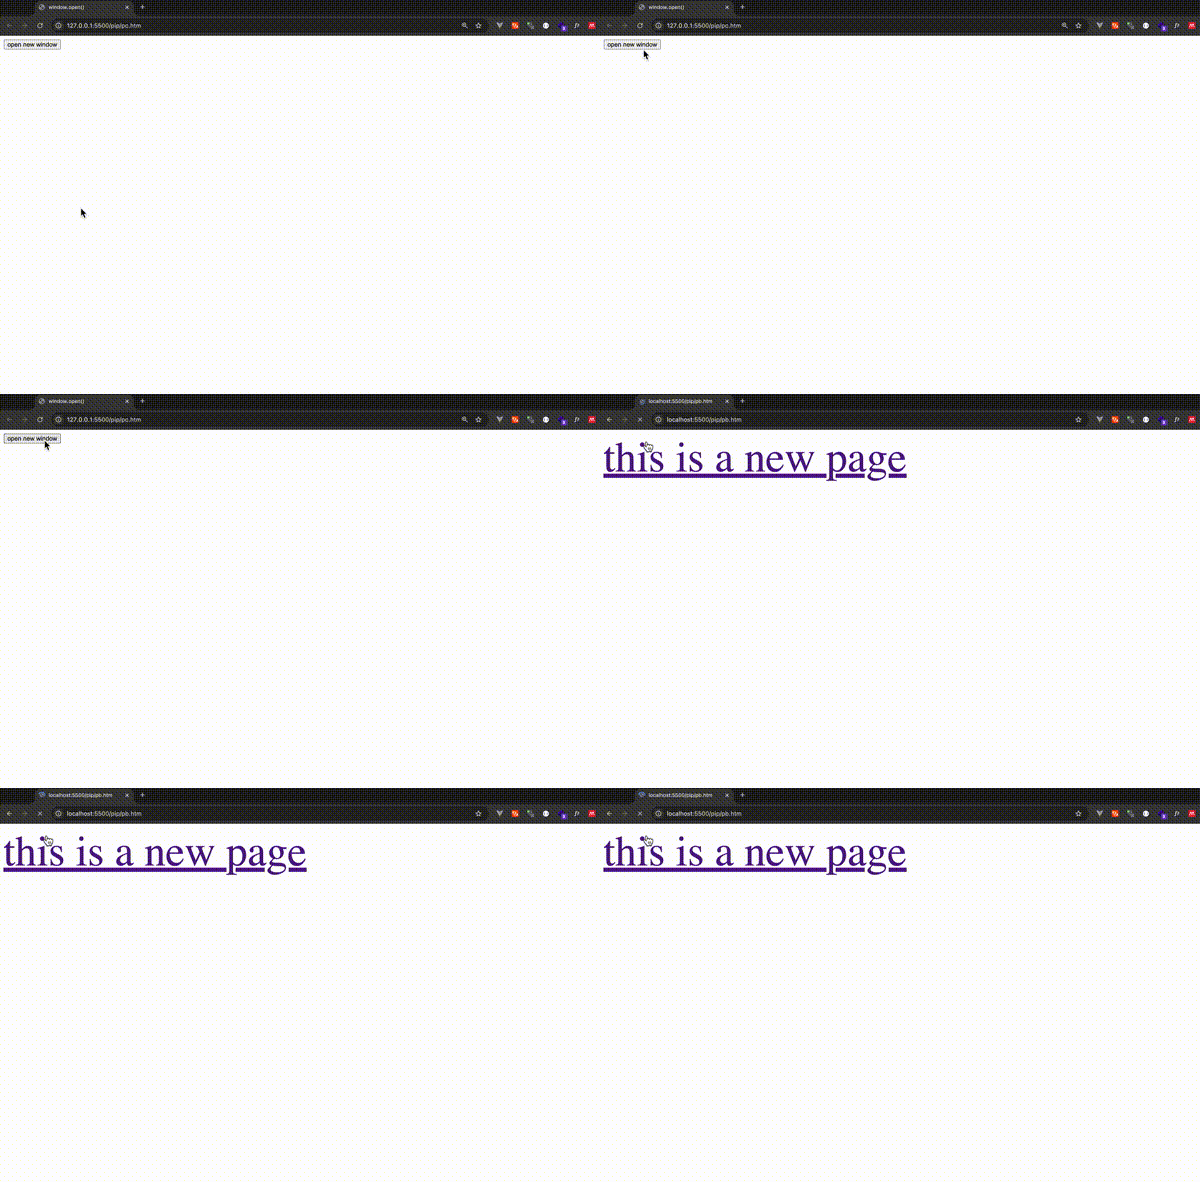
- Create a new browsing context to override the old one, as shown below.
<body>
  <button id="btn">open new window</button>
  <script>
    btn.addEventListener("click", () => {
      window.open("http://localhost:5500/pip/pb.htm", "_self");
    });
  </script>
</body>
In the example above, we override the current tab with some new content, something we do when doing regular navigation with anchor tags.
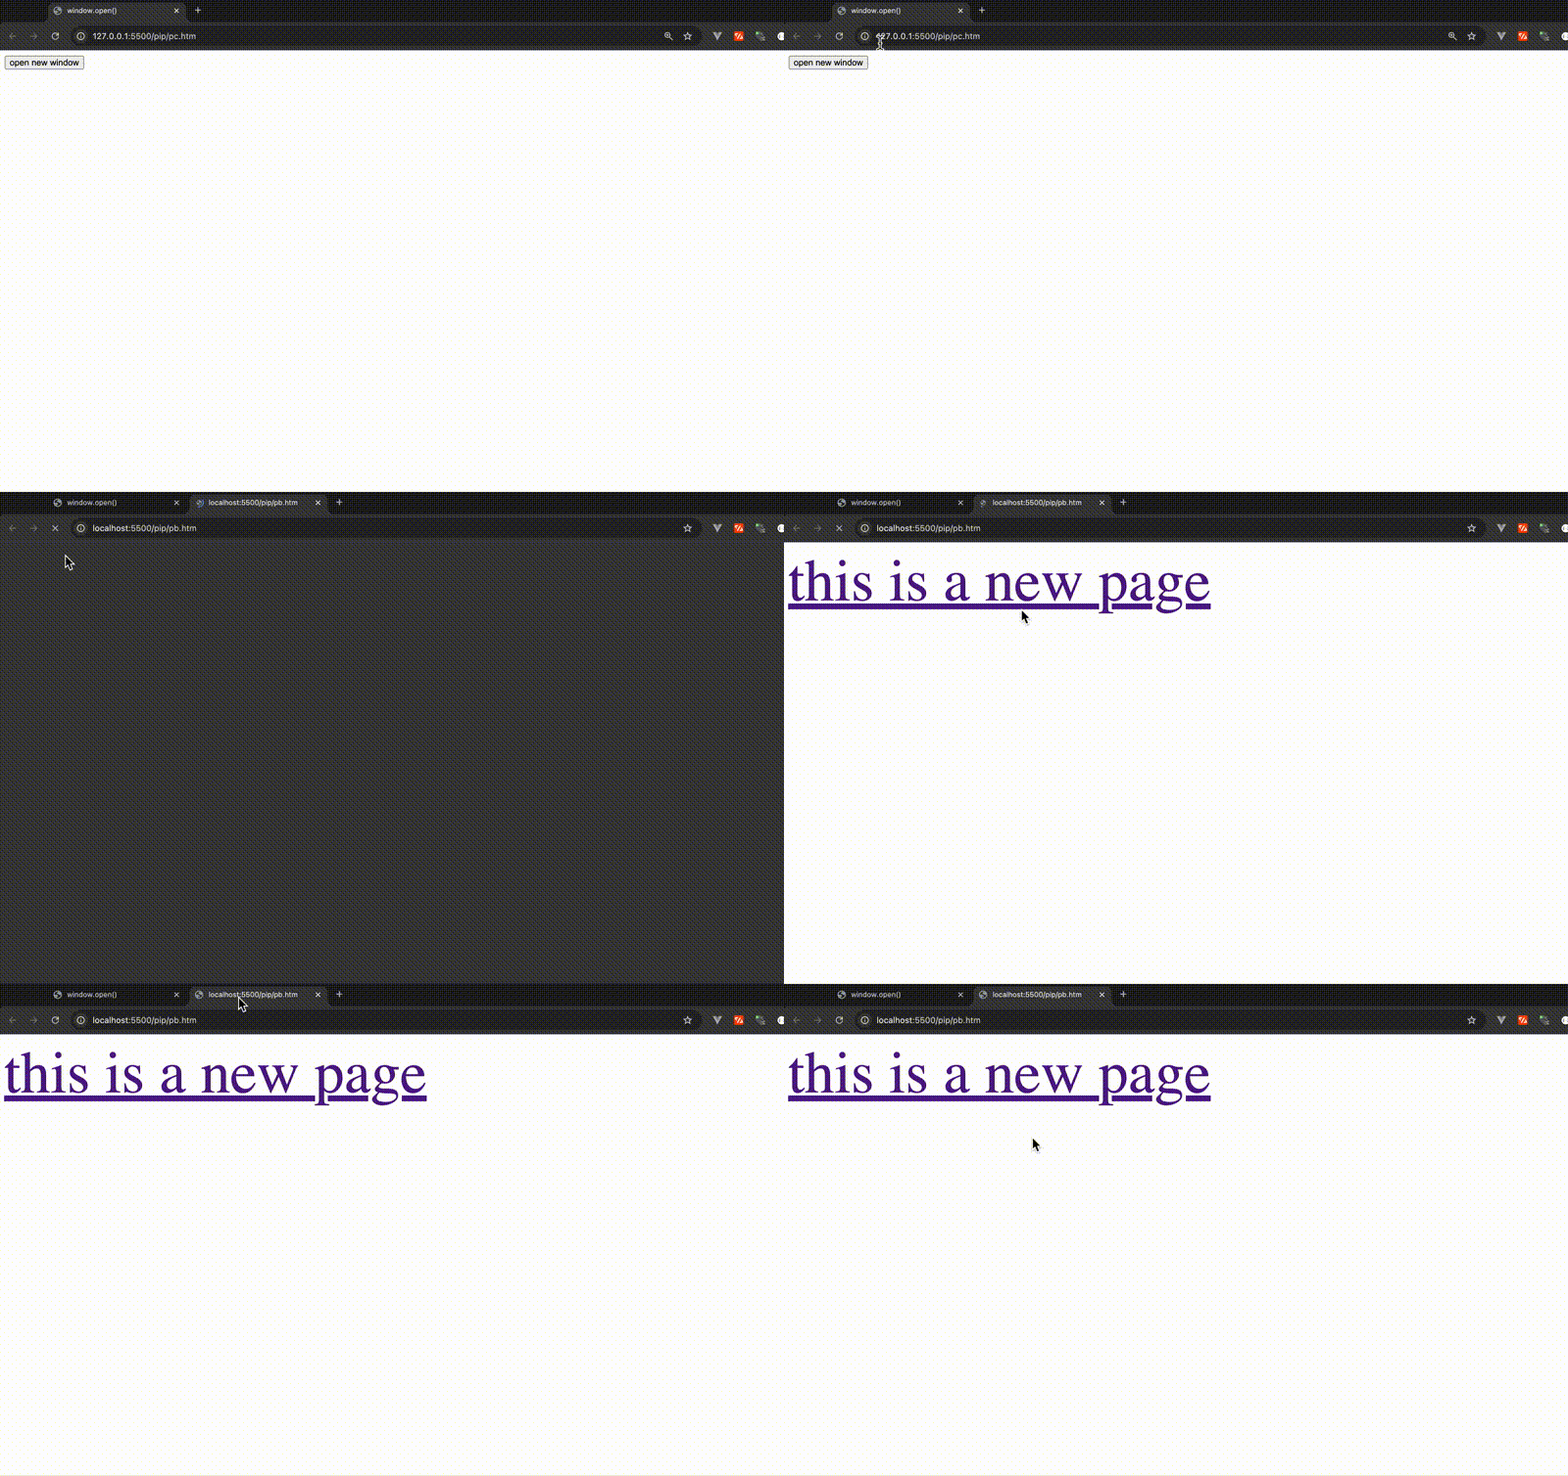
- Create a new tab and add it to the current window.
- Create a new window separate from the one we are currently browsing in, and this is what the Document PIP window is—with some differences, though, as we will see. The page that opens the new window may also manipulate the contents of the new window and add new content or style it, as shown below.
<h1 style="font-size: 100px">this will create a new window</h1>
<button id="btn">
  open <b> new window/tab</b> and chage its background color
</button>
<script>
  btn.addEventListener("click", () => {
    const newWindow = window.open(
      "http://127.0.0.1:5500/pip/page2.htm",
      "_blank",
      "width=800,height=500,popup=true,status=false,scrollbars=false,location=false"
    );
    setTimeout(() => {
      console.log(newWindow);
      newWindow.document.documentElement.style.backgroundColor = "red";
    }, 3000);
  });
</script>
In the above example, the script in the page creates a new window with a tab holding a page loaded from http://127.0.0.1:5500/pip/page2.htm. Because the new page is from the same site, the opening window can access the window object of the new page and, in our case, trivially change its background color to red after 3 seconds.
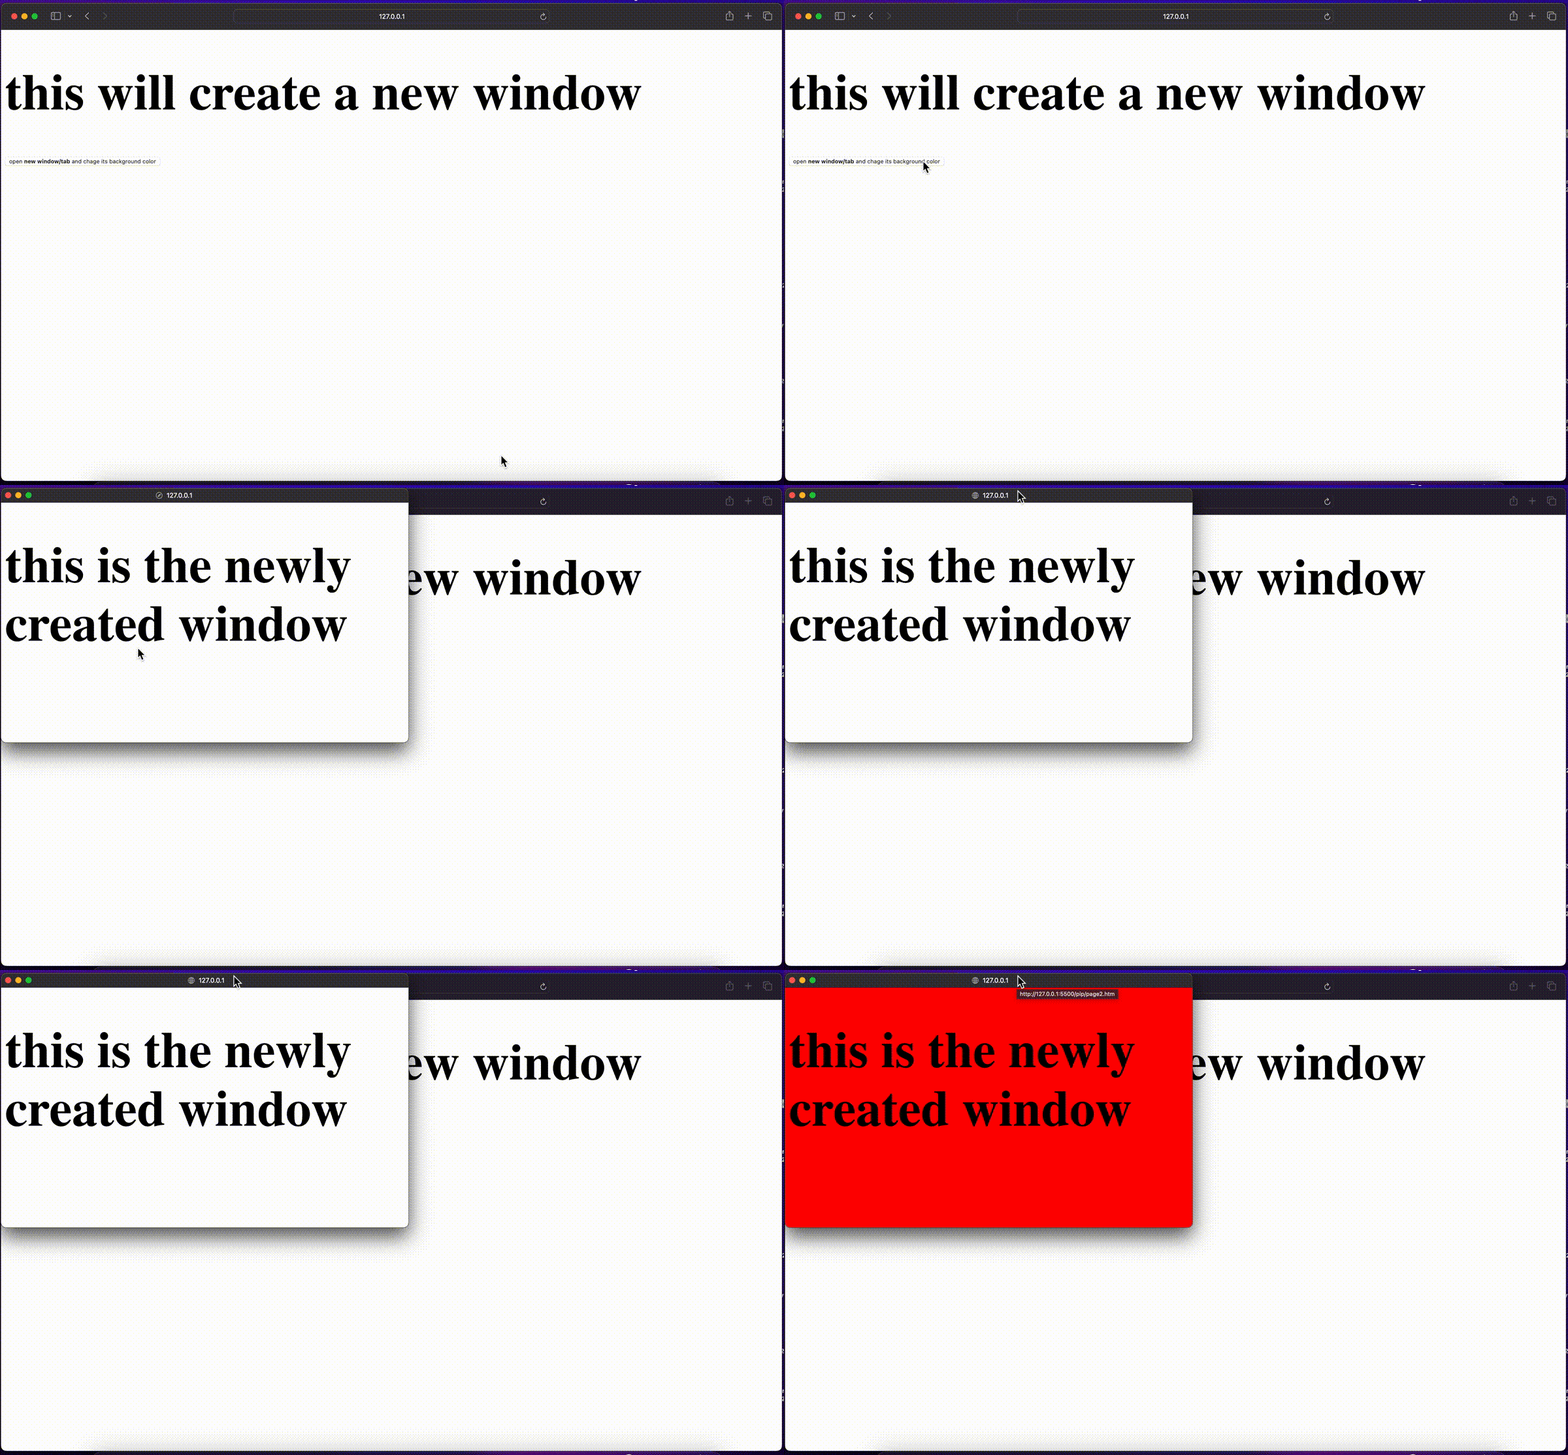
I tested in Safari; you can test in other browsers like Chrome or Firefox and just get a new tab displayed instead of a new window. These browsers sometimes choose to treat tabs as windows.
The Document Picture-in-Picture API has some key differences from the Window.open function:
- The newly created window floats on top of the user’s browser in a separate window.
- The floating window does not have an address bar. It already holds the same address as the opener (same origin) and cannot be navigated like a regular browser window.
- Closing the page that created the floating window also closes the floating PIP window.
- The page/tab that created the PIP window cannot specify where the floating window will appear. This is for security reasons; the browser makes this decision.
- Only one PIP floating window can be active for one tab at once, so if a user has the PIP floating widow created on Tab A in their browser and they open Tab B and create another PIP window, the one created by A is closed, and the new one on B is opened.
The document PIP API can be accessed via the window.documentPictureInPicture object. This object holds the necessary properties to create the floating window and manipulate its contents.
What We Will Be Building
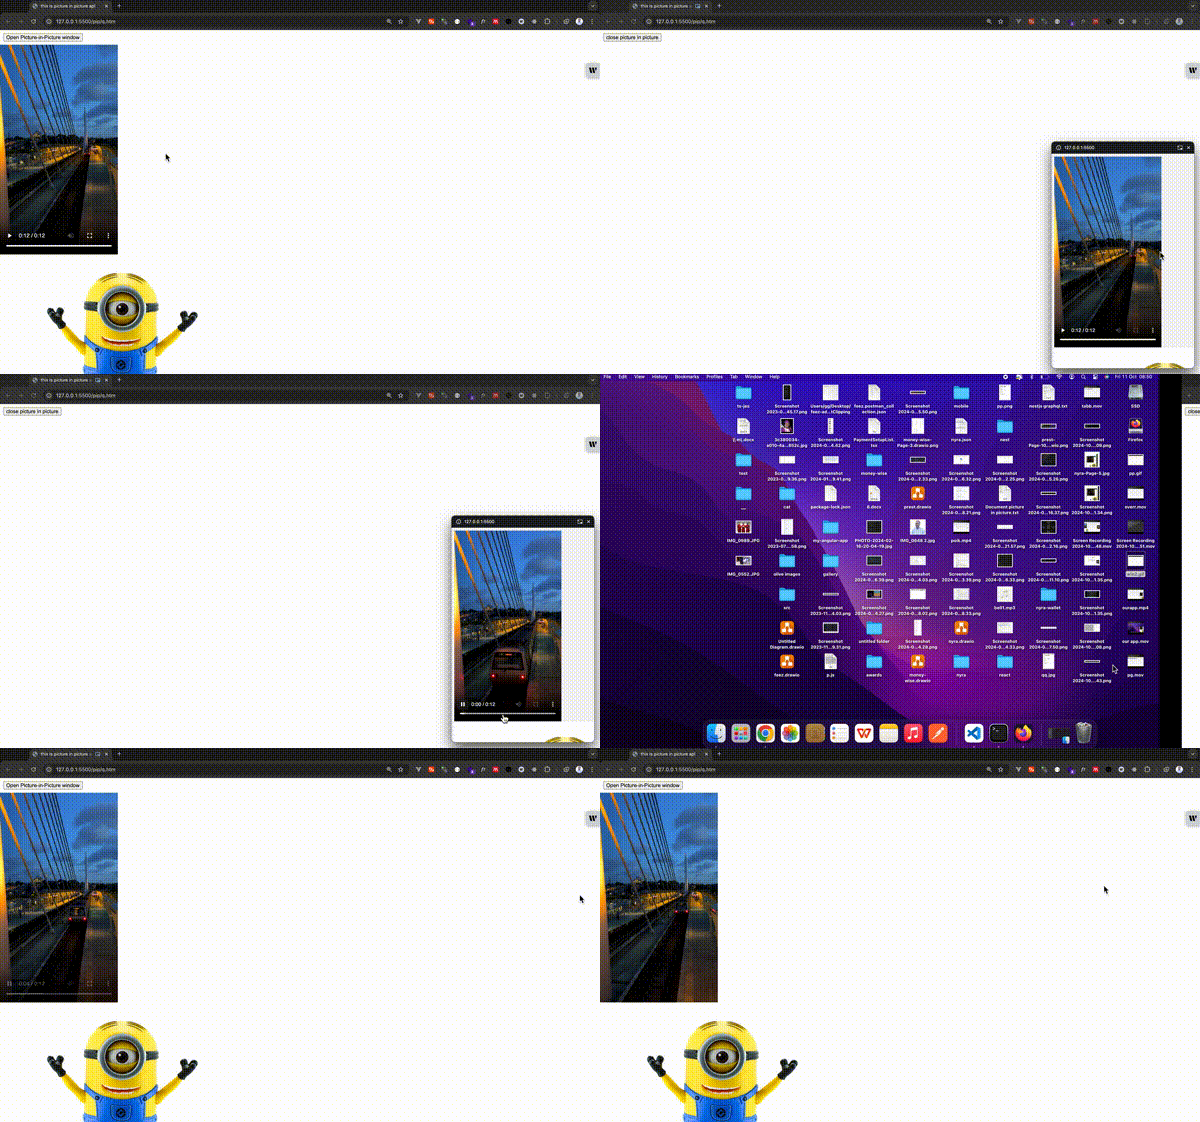
As shown above, in our mini app, we have a button that, when clicked, creates the PIP window and inserts the image and video elements inside it. When we close the PIP window, the contents are restored to the parent window.
All the code we will be writing will be in one HTML file. Run the following command in your terminal to create the working directory:
mkdir test
cd test
touch index.html
Let’s now update the index.html file with the basic markup we will be needing.
<!DOCTYPE html>
<html>
  <head>
    <meta charset="UTF-8" />
    <meta name="viewport" content="width=device-width, initial-scale=1.0" />
    <link href="" rel="stylesheet" />
    <title>this is Picture-in-Picture api</title>
  </head>
  <body>
    <div id="playerContainer">
      <div id="player">
        <video
          id="video"
          width="300"
          src="https://videos.pexels.com/video-files/26711048/11990794_1440_2560_60fps.mp4"
          controls
        ></video>
      </div>
      <img
        src="https://media.istockphoto.com/id/474935824/photo/minions-toy-isolated-on-white-background.jpg?s=612x612&w=0&k=20&c=Hnb9mpoc6-_669mnUHGdH6_sOziBFTdvtzV0efW64IA="
        alt=""
        id="img"
      />
    </div>
    <button id="pipToggleButton">Open Picture-in-Picture window</button>
    <button id="hideBtn" style="display: none">close Picture-in-Picture</button>
    <script></script>
  </body>
</html>
Notice that we assigned IDs to most of the HTML elements. This means we will be able to use these IDs as variables in our script.
If you view this file in your browser, it should look like this:
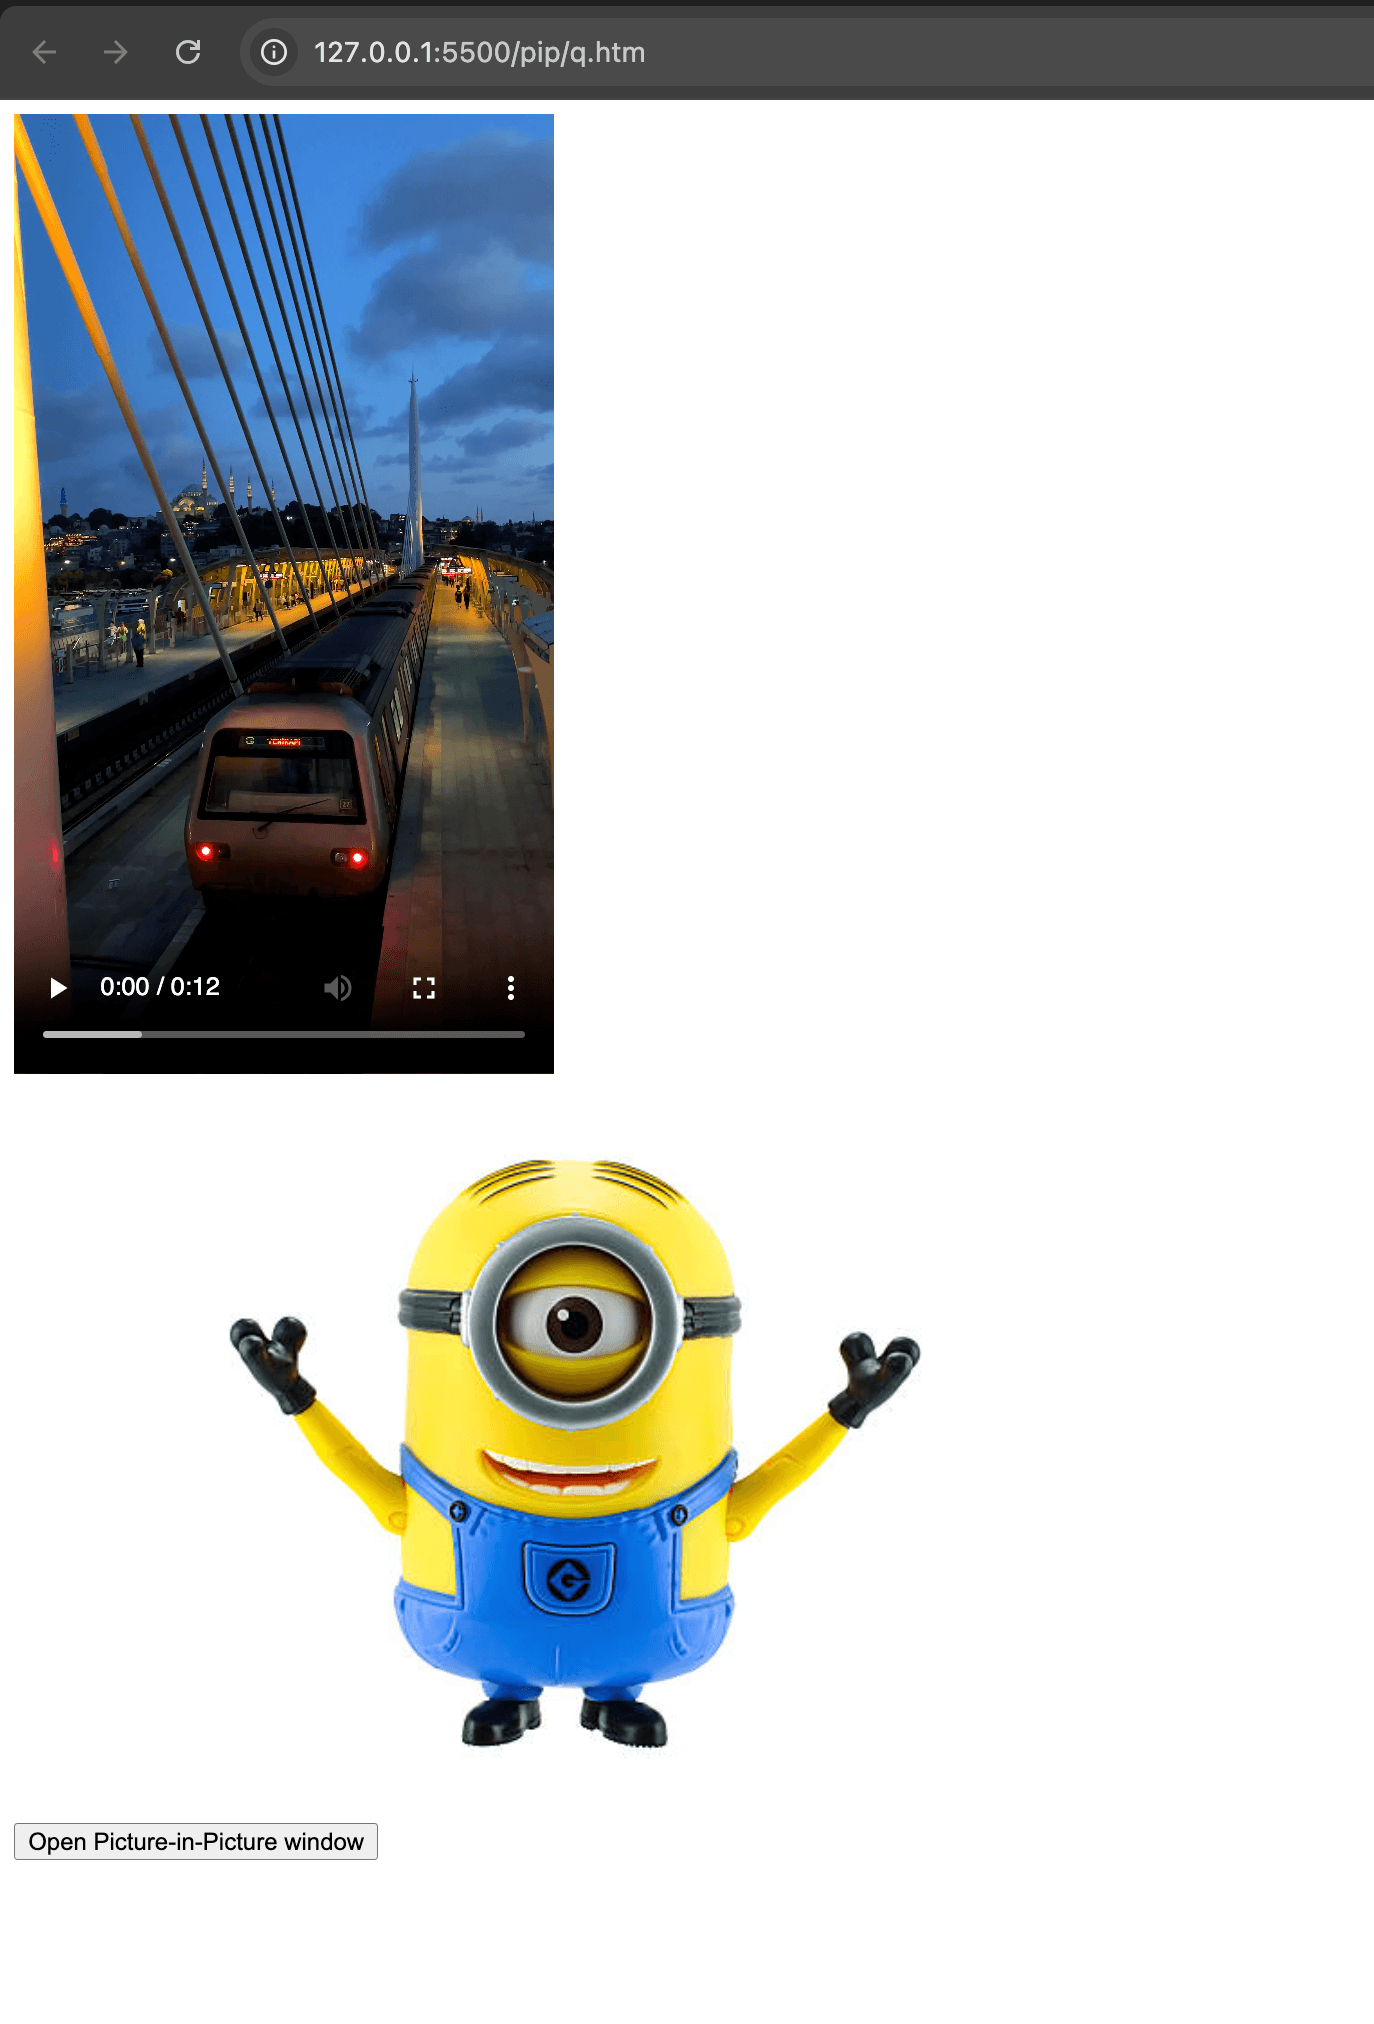
Our script tags are empty for now. In the next few sections, we will update its contents incrementally.
Creating the Picture-in-Picture Window
let pipWindow;
pipToggleButton.addEventListener("click", async () => {
  // Open a Picture-in-Picture window.
  if (!("documentPictureInPicture" in window)) {
    return;
  }
  pipWindow = await window.documentPictureInPicture.requestWindow({
    width: 400,
    height: 600,
  });
});
When a click event happens on the button, for safety measures, we check if the browser supports the document PIP API; we then invoke the window.documentPictureInPicture.requestWindow() function to try to display the PIP window. This function accepts several options, and we specified the dimensions of the window we want.
If the promise is resolved successfully, we get two things: First, the PIP window is shown, and then we get a reference to the new window object. We stored this reference in a variable called pipWindow.
The dimensions of the PIP window are limited again for security reasons to prevent an attacker from deceiving the user from interacting with malicious content in the new window. So, specifying a large value that exceeds the maximum allowed dimensions will not work.
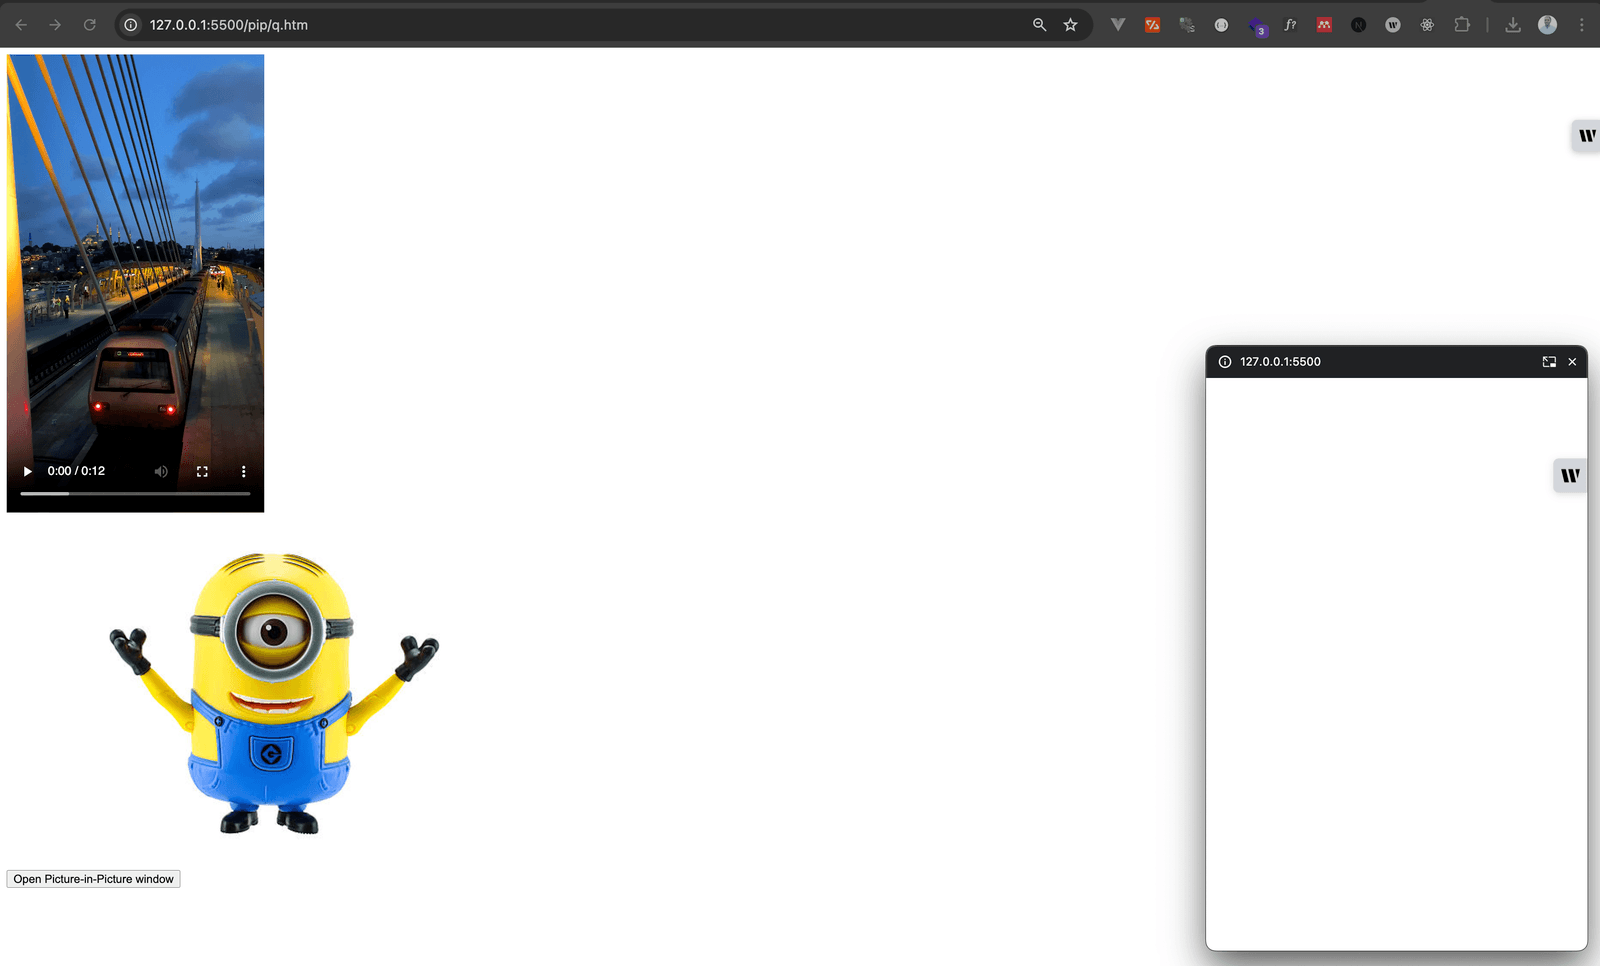
When we click the button in the browser, we should see the PIP window displayed as shown below. Also, notice that this window stays floating even though we minimize our browser. We also see this window while using other apps on our device.
Putting Things in the PIP Window
Let’s update the contents of the click event handler.
// Move the player and the image to the Picture-in-Picture window.
pipWindow.document.body.append(player);
pipWindow.document.body.append(img);
pipWindow.document.documentElement.style.overflowX = "hidden";
pipWindow.document.body.style.backgroundColor = "gray";
pipToggleButton.style.display = "none";
hideBtn.style.display = "inline-block";
For now, our PIP window is empty. To make it useful, we need to populate it with some content. The window can be populated with any content you typically have on a regular webpage, including markup, scripts and CSS.
In our case, we added our video and image elements into the window’s body using the regular DOM node’s append() function.
We also toggled the styles of our buttons to only display the button that closes the window.
We can also style this window and its contents as we please. In our case, we just changed the background color. Looking at our page, it should look like this:
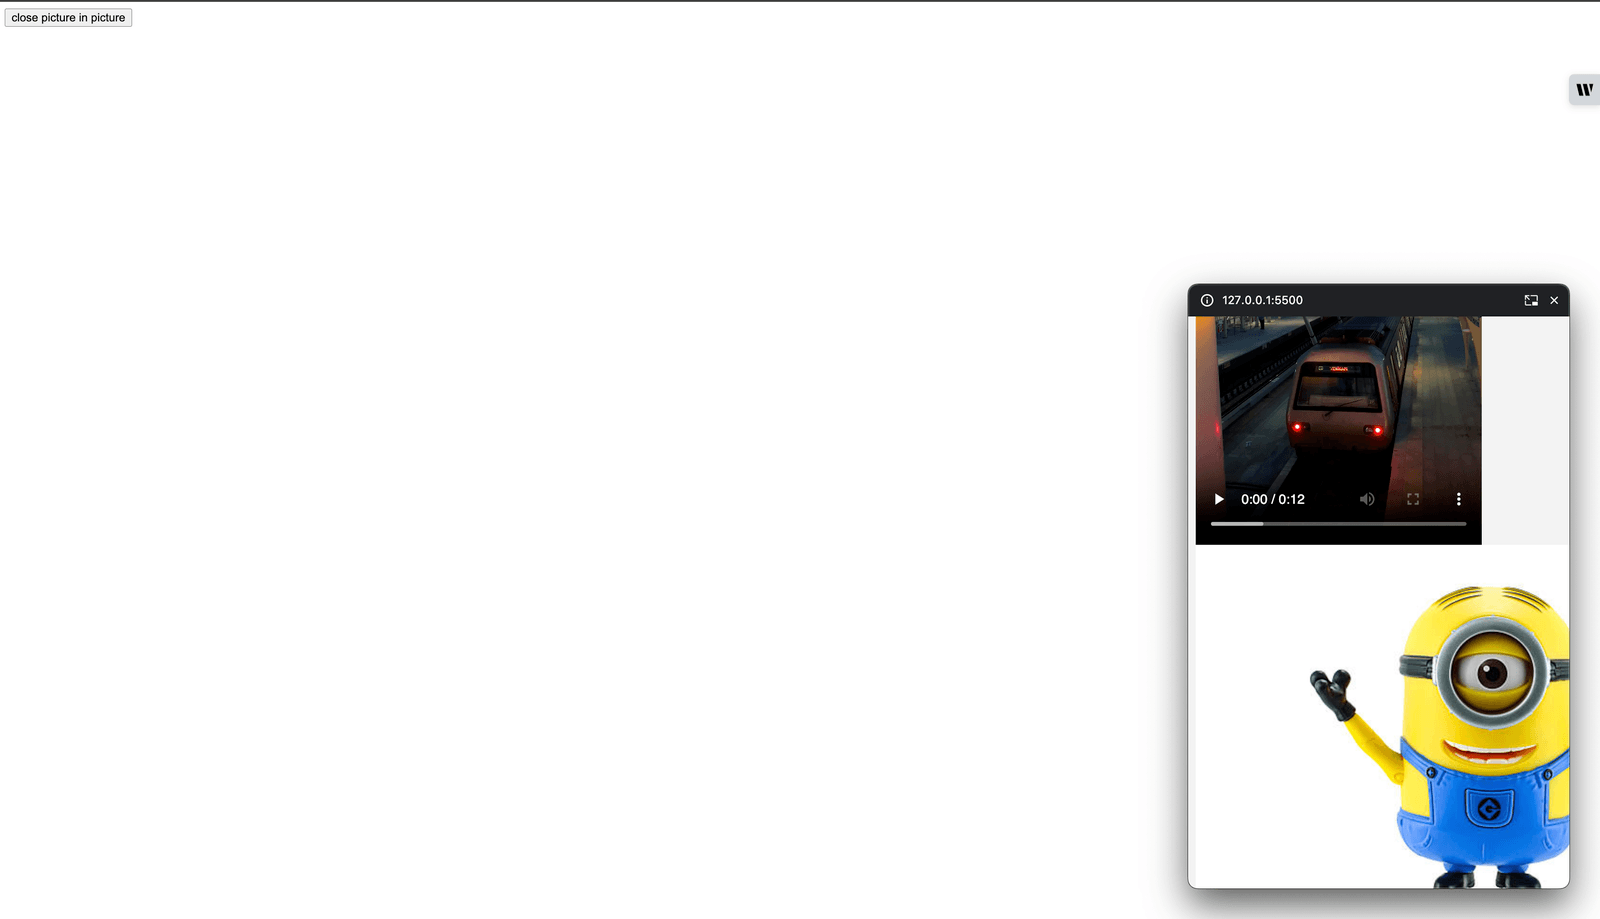
Notice that we only moved them to the new window, so the old window no longer has them. We did not clone the nodes to so that, when they eventually close the PIP window, the state of the nodes is preserved without altering the user’s experience. For example, if we were to clone the video node and put it in the PIP window, this would mean we are dealing with two video nodes; if the user closes the PIP window, playback will need to be restarted on the main window because the two video nodes are distinct.
Closing and Exiting the Picture-in-Picture Window
There are two ways to close the PIP window. The first is by clicking on one of its controls, and the other is doing it programmatically by calling the PIP window’s close() method.
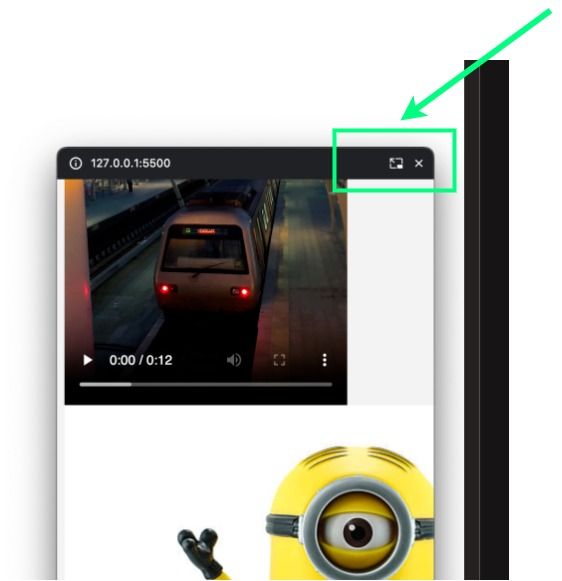
Irrespective of which method we choose when we close the PIP window, typically, we want to bring some or all of its contents back to the window that created it. Let’s go ahead and do that
pipWindow.addEventListener("pagehide", () => {
  const allElementsInPipWindow = pipWindow.window.document.body.children;
  window.document.documentElement.append(...allElementsInPipWindow);
  hideBtn.style.display = "none";
  pipToggleButton.style.display = "inline-block";
  return;
});
hideBtn.addEventListener("click", () => {
  window.documentPictureInPicture.window.close();
  // we can also call pipWindow.close()
  hideBtn.style.display = "none";
});
The PIP window has a pagehide event that allows us to do some cleanup. When it gets closed, we register a callback that starts by retrieving all the nodes we added to its body and then appending it back to the parent window.
We also register a click event listener on the close button to call the PIP window’s close() method to programmatically close the window.
Conclusion
The Document PIP API makes it possible to build rich highly interactive applications. This guide shows us how to use this API and the idea behind it; hopefully, going forward, we can use this API in our favorite frameworks to build amazing things.

Christian Nwamba
Chris Nwamba is a Senior Developer Advocate at AWS focusing on AWS Amplify. He is also a teacher with years of experience building products and communities.

