Bars are Now Open with the New Barcode for WinUI

Summarize with AI:
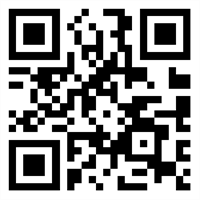
Barcodes are everywhere—from your plane ticket to the last package you got delivered, barcodes play an important role in our everyday lives. They do so through their ability to display data in a machine-readable format and make it easy to process this information.
For example, I wouldn't be able to pass a subtle message, if it were not for the Telerik QR Barcode for WinUI on the right.
The R1 2021 release of the Telerik UI for WinUI suite provides 25 different one- and two-dimensional barcodes including the most popular QR code and Data Matrix. The barcodes can be easily customized and styled to provide the desired look and feel your application requires.
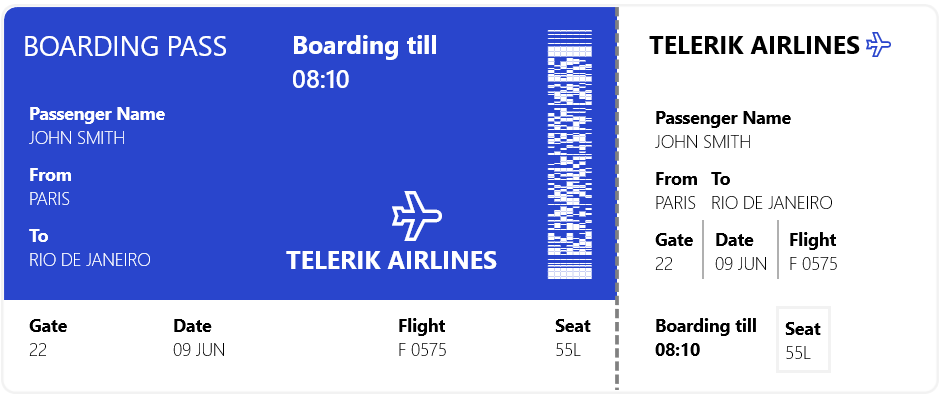
One-Dimensional Barcodes
One dimensional (1D) barcodes are made up of lines and spaces of various widths that create specific patterns. Their linear format makes them better suited for smaller amounts of information since larger values would make the barcode too wide to display properly on a screen or printed page. Examples of such barcodes include EAN13, EAN8, UPC-A, UPC-E and Code39 displayed below:
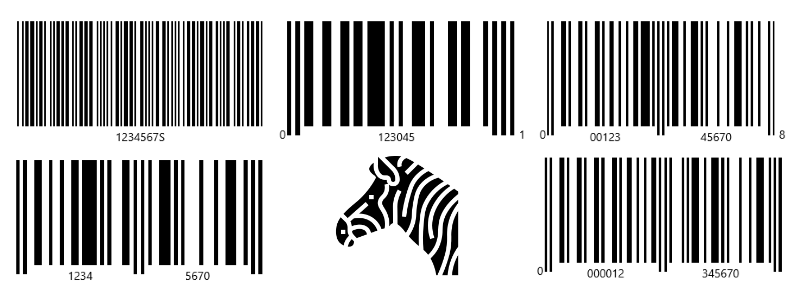
Ooops, accidentally added a zebra there... We don't have that type of barcode... yet!
Two-Dimensional Barcodes
Two-dimensional (2D) barcodes, typically have patterns, squares, dots, hexagons and other geometric patterns. They are able to maintain a relatively small size while holding much more data than linear 1D barcodes. Such barcodes provided by the Telerik WinUI suite are the Data Matrix, PDF417, and QR Code.

All of these can hold hundreds and sometimes thousands of characters.
Customization
Once you set the Symbology property of the RadBarcode control to one of the available 25+ types you can then further customize the displayed barcode through the properties the symbology provides.
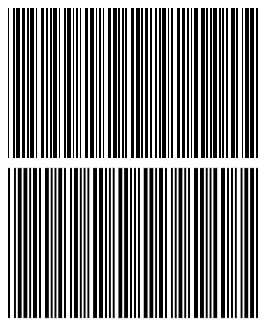
All symbologies inherit from the SymbologyBase class which exposes the AutoChecksum, Module and SizingMode properties. I will not go into details what all of these control but rather I will show you what difference it can make when setting different values for them.
Please refer to the barcodes on the right. Don't see a difference? You may want to consult your eye doctor if that is the case.
Although they look pretty similar, the two barcodes have subtle distinctions which may be important to the particular screen reader which processes them.
Here's the code snippet behind the two barcodes, for your reference:
<StackPanel>
    <telerikDataViz:RadBarcode Margin="5" Width="250" Height="150" Value="58000106" Foreground="Black"
                        HorizontalAlignment="Center" VerticalAlignment="Center">
        <telerikDataViz:RadBarcode.Symbology>
            <telerikDataViz:Code39 ShowText="False" />
        </telerikDataViz:RadBarcode.Symbology>
    </telerikDataViz:RadBarcode>
    <telerikDataViz:RadBarcode Margin="5" Width="250" Height="150" Value="58000106" Foreground="Black"
                        HorizontalAlignment="Center" VerticalAlignment="Center">
        <telerikDataViz:RadBarcode.Symbology>
            <telerikDataViz:Code39 ShowText="False" SizingMode="Manual" Module="4" AutoChecksum="False" />
        </telerikDataViz:RadBarcode.Symbology>
    </telerikDataViz:RadBarcode>
</StackPanel>
As you can notice, the difference between the two barcodes is only in the three properties I mentioned earlier.
The difference can become even more drastic when changing the additional properties provided by the specific symbology type, so you may want to familiarize yourself with the purpose of these properties and experiment with different values until you achieve the desired result. The online documentation of the control is a good starting point for doing so.
Styling and Appearance
Apart from customizing the symbology, you can also style the RadBarcode itself using the well-known native properties such as Foreground and Background, HorizontalAlignment and VerticalAlignment, Width and Height etc.
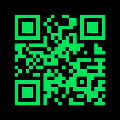
On the right you can see an example of a customized QR barcode which would be suitable for a dark-themed application following the Progress brand guidelines shown on a small screen.
If you're curios, here's the code required to display this QR code:
<telerikDataViz:RadBarcode Width="120" Height="120" Value="TELERIK WINUI ROCKS!"
                          Background="Black" Foreground="#00E45C"
                          HorizontalAlignment="Center" VerticalAlignment="Center">
    <telerikDataViz:RadBarcode.Symbology>
        <telerikDataViz:QRCode />
    </telerikDataViz:RadBarcode.Symbology>
</telerikDataViz:RadBarcode>
Share Your Feedback
To sum up, the RadBarcode can be a great addition to your WinUI controls stack and can easily be customized and styled to fit inside any application. So do not waste any more time and give it a try before it goes into quarantine!
Delivering stellar products can only happen with your help. We invite you to become a collaborator—share your feedback (see the Contact Us section below) and help us shape the future of Telerik UI for WinUI. Suggest or recommend anything you’re missing, and we’ll use your input to add amazing new components and APIs to the roadmap.
During the experimental phase, Telerik UI for WinUI will be a free trial, and we hope you will continue sharing your use cases, experience and roadblocks with us.
Contact Us
If you have any questions or suggestions, don’t hesitate to contact us. You can drop us a line @ TelerikWinUI@progress.com, post on our forum, propose improvements in our feedback portal, or just reach out in the comments below. Feel free to check out our documentation to learn more about what the control can do. If you're new to Telerik UI for WinUI, you can check out the suite here or jump right into development via the button bellow.
Try Telerik UI for WinUI Preview Now!

Dilyan Traykov
Dilyan Traykov was a technical support engineer on the Telerik UI for WPF & Silverlight team.
