
10 Tips to Increase your Productivity when Coding in Vue.js

Summarize with AI:
Check out the top 10 tips that helped increase my productivity when developing apps with Vue.js. Share your own favorite tip in the comments.
Vue.js is a fast-growing JavaScript framework backed up by a strong community since 2014. Along the years, good practices and shortcuts have emerged to ship faster and maintain a better codebase. Today, I’m sharing with you 10 tips that helped increase my productivity and that I’m sure will do the same for you.
Tip #1: Use Comments to Separate Each Section in Your Single File Components
I found that adding a comment before my <template>, <script> and <style> sections helps me go from section to section in my vue.js file faster, instead of trying to find that <style> section every time I want to style an element. Here is how I do it:
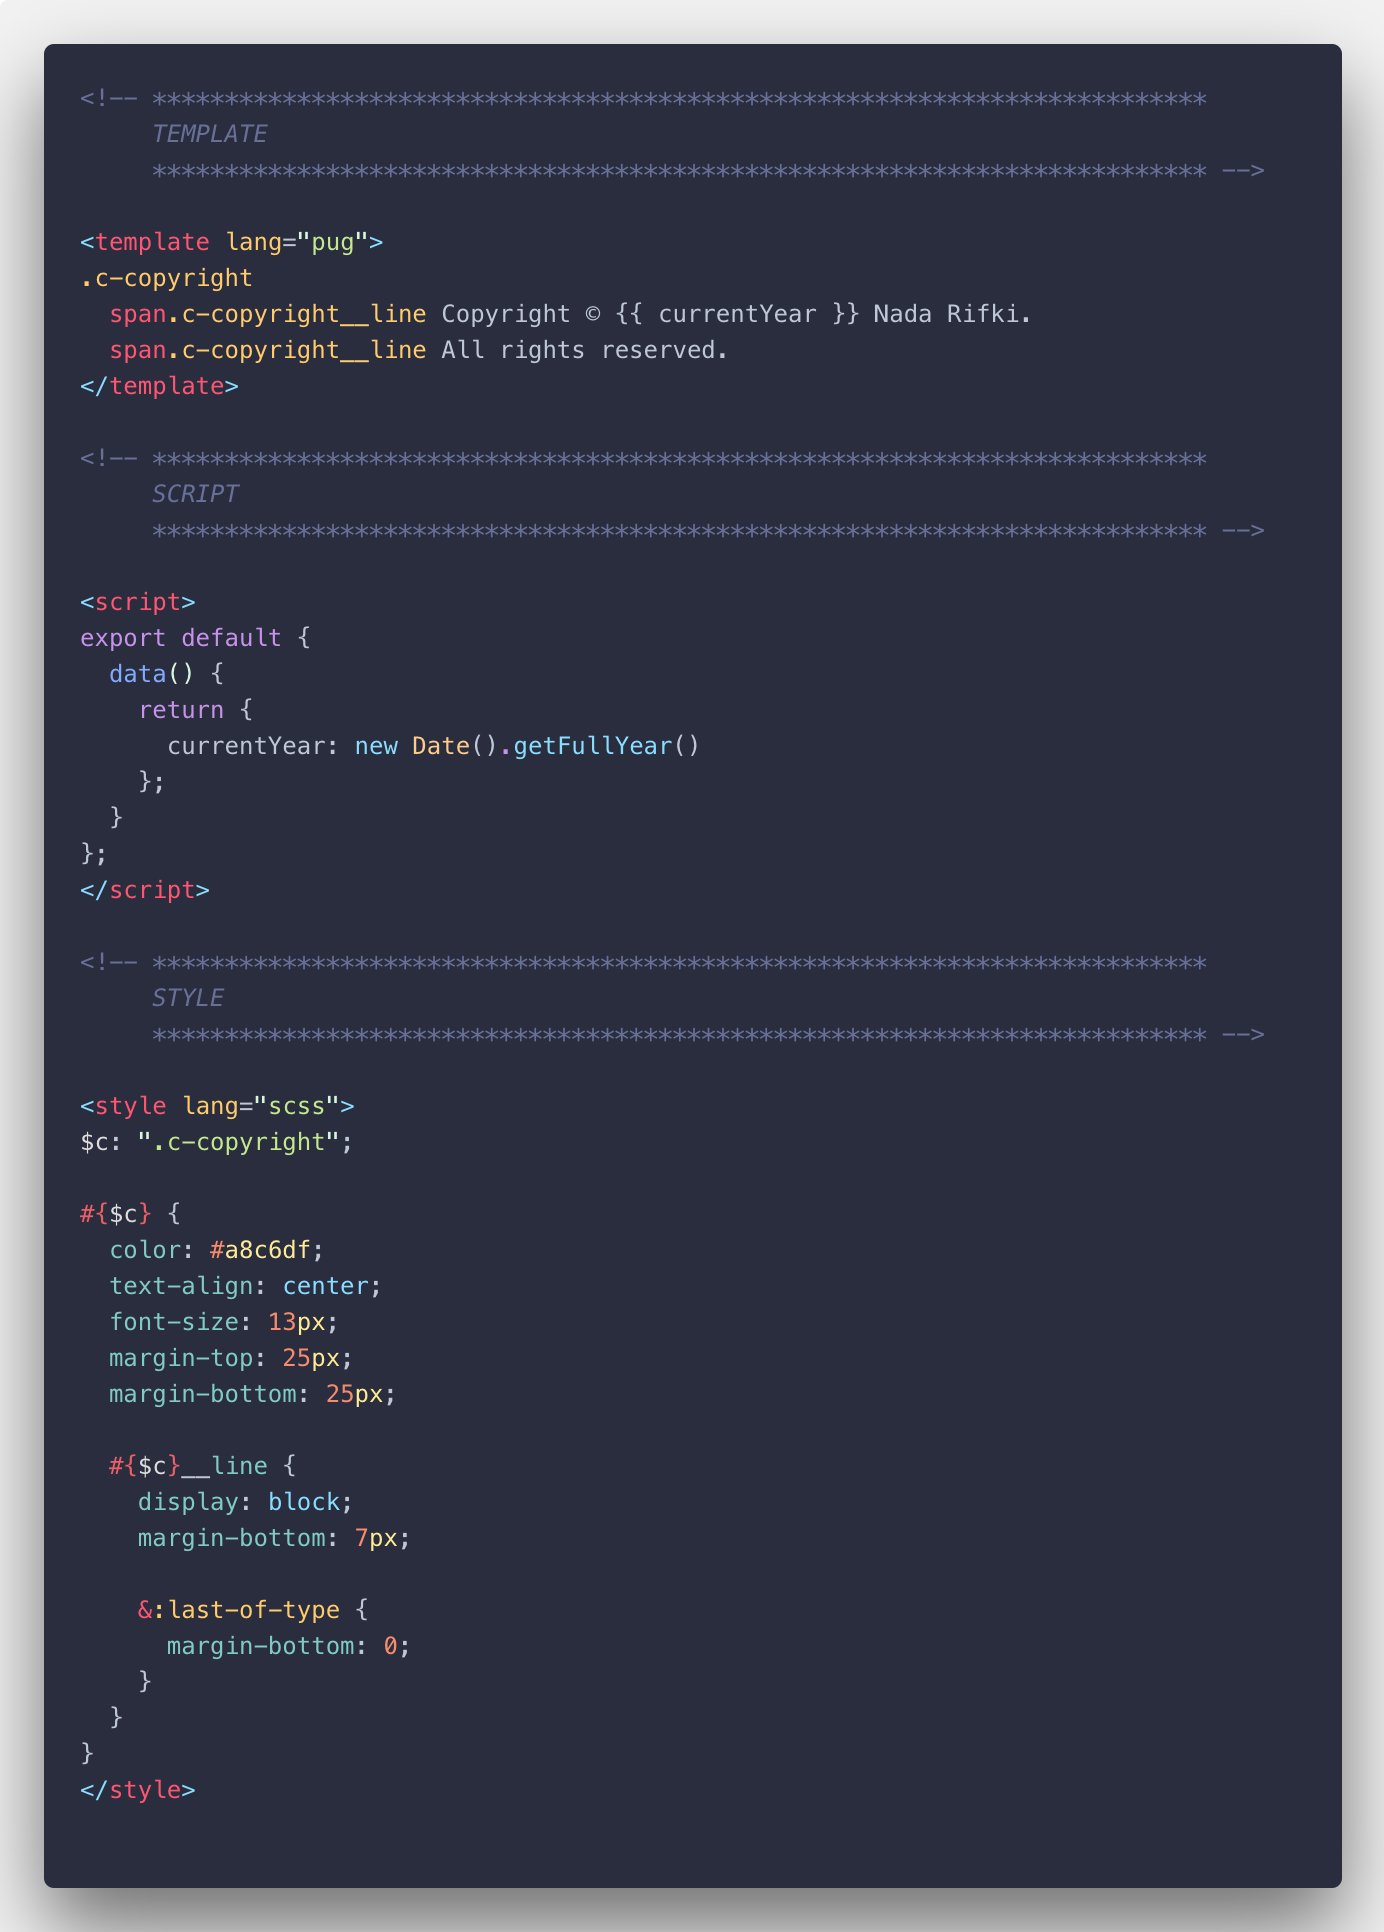
The seconds I gain from this simple hack add up to a lot when I’m working on a project. Just the fact that I’m not breaking my flow of thought/code is a plus for me in terms of focus and productivity.
<!-- *************************************************************************
	TEMPLATE
	************************************************************************* -->

<template></template>

<!-- *************************************************************************
	SCRIPT
	************************************************************************* -->

<script></script>

<!-- *************************************************************************
	STYLE
	************************************************************************* -->

<style></style>
Tip #2: Break the main.js File into Several Files
Our main.js file is what runs EVERYTHING — it’s the file where you import and initialize vue.js to use it in your project. We call it the entry file of your application.
It’s also where we import the plugins, API, filters, directives, global configurations, and other global settings that we need to run our project with.
So, you guessed it, this file can easily get cluttered and reach in a middle-sized project easily more than 300 lines.
It becomes not just a headache to find what you need to edit when you need it, but also to maintain in the long run. Because let’s face it: you don’t touch a file for a month, and you forget what it is made of.
That’s why the best way to structure your main.js file is by creating a folder in /src (we called it here bootstrap but you can choose a different name) where you’ll divide it into different files (like plugins.js or config.js for instance).
Here is how you can import them in your main.js file:
/**************************************************************************
	* IMPORTS
	***************************************************************************/

// NPM: MAIN
import Vue from "vue";

// PROJECT: MAIN
import App from "@/App.vue";
import router from "@/router";
import store from "@/store";

// PROJECT: OTHER
import "@/bootstrap/api";
import "@/bootstrap/config";
import "@/bootstrap/directives";
import "@/bootstrap/filters";
import "@/bootstrap/globals";
import "@/bootstrap/plugins";

/**************************************************************************
	* VUE INSTANCE
	 ***************************************************************************/

new Vue({
  router,
  store,
  render: h => h(App)
}).$mount("#app");
Now, if we want to see all the plugins our app is using, we just have to open bootstrap/plugins.js. Better right? 😇
Tip #3: Import Your External Stylesheets in App.vue
At some point in your programming life, you’ve found some slick animation and you just copied the code into your assets and used it in your code.
That’s okay if it’s just one bit of code or if you’re planning to add/modify a library’s features.
However, if you’re going to use intensively, let’s say, an animation library throughout your project, PLEASE avoid copying the stylesheets in your assets folder instead of installing the library.
Why? Simply because if a new feature is added or if a bug is resolved, this code won’t be updated. You’ll basically have an obsolete library sitting in your code.
So next time you’ll be using a library, don’t just copy what you need — install it and import the stylesheet from its node module folder into your App.vue file so node can update it as it’s supposed to.
Tip #4: Avoid Mixing the Imports Coming From npm and the Ones From Your Project
The reason is quite simple: when someone else takes over your code (or just you when you get back to your code months later), what’s related to the project and what’s coming from external libraries should be spotted with one glance.
So be clever and do it the right way, this way:
<!-- *************************************************************************

SCRIPT

************************************************************************* -->

<script>
// NPM
import { mapState } from  "vuex";

// PROJECT
import  AuthFormJoin  from  "@/components/auth/AuthFormJoin";
import  AuthFormLogin  from  "@/components/auth/AuthFormLogin";
</script>

<!-- *************************************************************************
     STYLE
	************************************************************************* -->

<style lang="scss">
// NPM
@import "../node_modules/normalize.css/normalize.css";
@import "../node_modules/vue2-animate/dist/vue2-animate.min.css";

// PROJECT
@import "./assets/utilities/utilities.colors";
</style>
Tip #5: Use CSSComb to Organize Properties in the Right Order
Um… No, I’m not done talking about clear code. I know that each one of us has our own way of writing CSS code, but doing so will leave you steps behind when working with somebody else or a team on a project.
That’s why I use CSS Comb. I installed the extension on VSCode and every time I start a new project I set a .csscomb.json file in its root.
This .csscomb.json file includes a configuration that transforms your CSS code and your teammate’s into one single format whenever you run the extension.
You can use my CSS Comb configuration below, or configure your own just by choosing the way you want your CSS code to look.
Tip #6: Avoid Importing Colors and Other Global SASS Mixins in Every File
Importing all your SASS assets in one file and being able to use them throughout your project is, of course, way less clutter and just better than having to figure out which assets to import in every single one of your files.
In a pure Vue.js project, it’s possible and all you have to do is go to your vue.config.js and do you like I did here:
module.exports = {
	css: {
		loaderOptions: {
			sass: {
				data: [
					// Global variables, site-wide settings, config switches, etc
					"@/assets/settings/_settings.colors.scss",

					// Site-wide mixins and functions
					"@/assets/tools/_tools.mq.scss"
				 ],
			 }
		 }
	 }
}
Tip #7: Make All Your Base Components Global to Avoid Having to Import Them Over and Over Again
Very often we find ourselves writing the import code for frequently used components in most of our files. What I suggest instead of having to write this every time is:
import BaseButton from  './BaseButton.vue'
import BaseIcon from  './BaseIcon.vue'
import BaseInput from  './BaseInput.vue'

export  default {
components: {
		BaseButton,
		BaseIcon,
		BaseInput
	}
}
You could globally register only those very common base components with a few lines of code (that you copy and paste into your src/main.js file from here below) so you can use those base components in your vue.js files without having to import them every time.
import Vue from  'vue'
import upperFirst from  'lodash/upperFirst'
import camelCase from  'lodash/camelCase'

const requireComponent = require.context(
	// The relative path of the components folder
	'./components',
	// Whether or not to look in subfolders
	false,
	// The regular expression used to match base component filenames
	/Base[A-Z]\w+\.(vue|js)$/
)

requireComponent.keys().forEach(fileName => {
	// Get component config
	const componentConfig = requireComponent(fileName)

	// Get PascalCase name of component
	const componentName = upperFirst(
		camelCase(
			// Strip the leading `./` and extension from the filename
			fileName.replace(/^\.\/(.*)\.\w+$/, '$1')
		)
	)

	// Register component globally
	Vue.component(
		componentName,
		// Look for the component options on `.default`, which will
		// exist if the component was exported with `export default`,
		// otherwise fall back to module's root.
		componentConfig.default || componentConfig
	)
})
Tip #8: In Your HTML Tags, Use the Vue.js Shorthands
If you’ve been using Vue.js, you’re probably familiar with v-bind: and v-on: — in every single vue.js file you’ve got those. 🙂 So if you’re writing them a lot you must be using the @ and : shorthands. If not, start doing so right NOW:
<!-- V-BIND  -->
<!-- full syntax -->
<a v-bind:href="url"> ... </a>
<!-- shorthand -->
<a :href="url"> ... </a>

<!-- V-ON  -->
<!-- full syntax -->
<a v-on:click="doSomething"> ... </a>
<!-- shorthand -->
<a @click="doSomething"> ... </a>
Tip #9: Switch to Pug for Better Readability
I don’t know why I don’t see this more often in people’s codebase, but I really think that Pug (formerly Jade) is a gift that came from programmers’ heaven.
It’s just that I find the way that HTML tags are written to be cluttery and making the structure hard to visualize and distinguish when you have a long file, without mentioning the extra seconds you lose (which really pile up) opening and closing those tags and which simply break your flow.
So, you can imagine the joy and serenity I felt when I discovered and started using Pug. My code transformed from this: 😒
<header class="c-the-header">
	<div class="c-the-header__information">
		<dm-icon
			class="c-the-header__icon"
			name="info"
		>
			First time here?
		</dm-icon>

		<span
			class="c-the-header__link"
			@click="onOpenCrisp"
		>
		Tell us what you think. 👋
		</span>
	</div>

	<transition-group
		enter-active-class="u-animated u-fade-in u-ms250"
		leave-active-class="u-animated u-fade-out u-ms250"
	>
		<auth-form-join
			v-show="showJoin && !isLoggedIn"
			@exit="onAuthFormExit('showJoin')"
			@logoClick="onAuthFormExit('showJoin')"
			@success="showJoin = false"
			:isPopup="true"
			key="join"
		></auth-form-join>
	</transition-group>
</header>
Into this:
header.c-the-header
	.c-the-header__information
		dm-icon(
			name="info"
			class="c-the-header__icon"
		)
		| First time here?

		span.c-the-header__link(
			@click="onOpenCrisp"
		) Tell us what you think.

		| 👋

	transition-group(
		enter-active-class="u-animated u-fade-in u-ms250"
		leave-active-class="u-animated u-fade-out u-ms250"
	)
		auth-form-join(
			v-show="showJoin && !isLoggedIn"
			@exit="onAuthFormExit('showJoin')"
			@logoClick="onAuthFormExit('showJoin')"
			@success="showJoin = false"
			:isPopup="true"
			key="join"
		)
All you have to do is install it using $ npm install -D pug pug-plain-loader and add it like this to your template in your vue.js file <template lang="pug"></template>.
You can also use this online convertor to switch your code from HTML to Pug.
Tip #10: Use Prettier and Formatting Toggle on VS Code to Reindent Your Code
We’ve talked about CSS Comb and how you need in a team to have a homogeneous code.
But let’s go a step further and give you and your teammates a way to reach a common code style throughout your project without having to get emotional about how one writes code and how the other criticizes it.
What I do is use Prettier. It’s an opinionated code formatter that supports the main languages and frameworks we use as web developers. It’s simple to install — all you have to do is npm install --global prettier in your terminal and voilà.
What happens after that is that whenever you save your code, it automatically formats its style. So, for instance, if you had:
foo(reallyLongArg(), omgSoManyParameters(), IShouldRefactorThis(), isThereSeriouslyAnotherOne());
It will become:
foo(
	  reallyLongArg(),
	  omgSoManyParameters(),
	  IShouldRefactorThis(),
	  isThereSeriouslyAnotherOne()
);
I also use formatting on VS Code so if I want to switch Prettier off with one click I can.

BONUS: Avoid Reinventing the Wheel and Wasting Your Time — Keep an Eye on New Packages Released by the Community
Be it a junior developer or an experienced one, we all need and use open-source packages. Our lives as developers would be so exhausting without them and just fueled by coffee more than they already are.
Lucky for us, Vue.js has a growing community that comes up every day with awesome new packages. That’s why I keep an eye on what’s new on Vue.js Examples and Made With Vue.js.
Also don’t forget that Telerik provides you with Kendo UI, a very comprehensive UI component library for PWAs that allows you to build quality Vue.js apps way faster than average.
For More Info on Vue:
Want to learn about creating great user interfaces with Vue? Check out Kendo UI for Vue, our complete UI component library that allows you to quickly build high-quality, responsive apps. It includes all the components you’ll need, from grids and charts to schedulers and dials.

Nada Rifki
Nada is a JavaScript developer who likes to play with UI components to create interfaces with great UX. She specializes in Vue/Nuxt, and loves sharing anything and everything that could help her fellow frontend web developers. Nada also dabbles in digital marketing, dance and Chinese. You can reach her on Twitter @RifkiNada or visit her website, nadarifki.com.