Setting Up the Telerik NuGet Source in NuGet.Config
An alternative way to configure your system to use the Telerik NuGet server is to directly edit the nuget.config file. This approach is useful if you don't have Visual Studio installed.
You can also install
Telerik.UI.for.Mauidirectly from the public NuGet.org registry without any additional configuration. The steps below are only needed if you prefer to use the authenticated Telerik NuGet server.
To configure the Telerik NuGet server as a package source directly in the nuget.config file, perform the following steps:
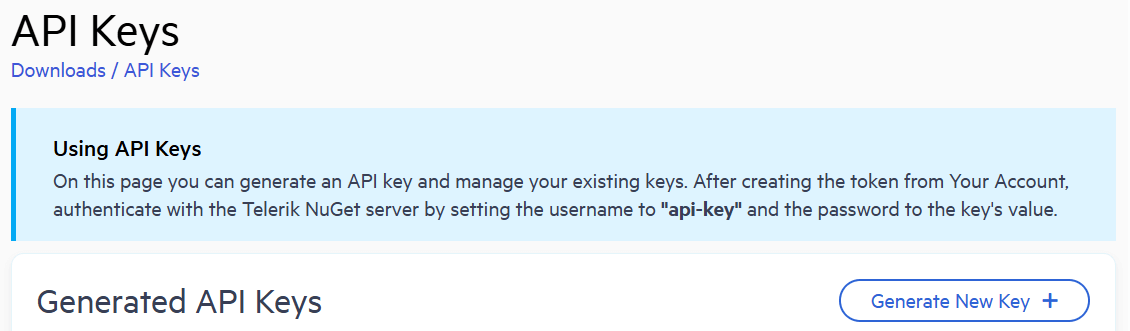
Generate an API Key
As the Telerik NuGet server requires authentication, the first step is to obtain an API key that you will use instead of a password. Using an API key instead of a password is a more secure approach, especially when working with .NET CLI or the NuGet.Config file.
-
Go to the API Keys page in your Telerik account.
-
Click Generate New Key +.
-
In the Key Note field, add a note that describes the API key.
-
Click Generate Key.
-
Select Copy and Close. Once you close the window, you can no longer copy the generated key. For security reasons, the API Keys page displays only a portion of the key.
-
Store the generated NuGet API key as you will need it in the next steps. Whenever you need to authenticate your system with the Telerik NuGet server, use
api-keyas the username and your generated API key as the password.
API keys expire after two years. Telerik will send you an email when a key is about to expire, but we recommend that you set your own calendar reminder with information about where you used that key: file paths, project links, AzDO and GitHub Action variable names, and so on.
Edit the NuGet.Config File
-
Go to the
NuGet.Configfile:- On Windows, open the
%AppData%\NuGet\NuGet.Configfile. - On Mac, open either the
~/.config/NuGet/NuGet.Configor~/.nuget/NuGet/NuGet.Configfile (varies by tooling).
If the file doesn't exist on your machine, create it by running the
dotnet new nugetconfigcommand in the terminal. For more information about the command, see Microsoft's docs. - On Windows, open the
-
In the
nuget.configfile, add the Telerik feed by inserting the line<add key="MyTelerikFeed" value="https://nuget.telerik.com/v3/index.json" protocolVersion="3"/>in thepackageSourcessection. -
In the
packageSourceCredentialssection, add the generated NuGet API key. Useapi-keyas a value for the user name.xml<configuration> <packageSources> <clear/> <add key="nuget.org" value="https://api.nuget.org/v3/index.json" protocolVersion="3" /> <add key="MyTelerikFeed" value="https://nuget.telerik.com/v3/index.json" protocolVersion="3"/> </packageSources> <packageSourceCredentials> <MyTelerikFeed> <add key="Username" value="api-key" /> <add key="ClearTextPassword" value="%MY_API_KEY%" /> </MyTelerikFeed> </packageSourceCredentials> </configuration>
Securing Your API Key
Never hard-code NuGet API keys in a NuGet.Config file in a GitHub repository, Docker image, or any location that may be accessed by unauthorized parties. A NuGet API key is valuable and bad actors can use it to access the NuGet packages that are licensed under your account. A credentials abuse can lead to a review of the affected Telerik account.
For more details about the NuGet.Config file, see the following Microsoft resources: