Meet the .NET Upgrade Assistant, Your .NET 5 Moving Company

Summarize with AI:
The .NET Upgrade Assistant is a global command-line tool that guides you through migrating your .NET Framework apps to .NET 5, automating several painful steps along the way. In this post, we review the tool by migrating an ASP.NET MVC app.
Moving is just the worst.
You have to rent a truck, hope it’ll hold all your things, beg friends and family to help, and feel the pain for days after the move. And during the move, you tell yourself: “Someday, I’ll hire someone to take all this stress off my hands. Imagine what I could be doing instead of all this tedious work!” The next time you move, you hire a moving company, and it’s incredible. The movers handle all the heavy lifting while you focus on breaking in your new home.
This is the promise of the .NET Upgrade Assistant, a global command-line tool that helps you migrate your .NET Framework apps to .NET 5. If .NET Framework is the sturdy home that’s showing its age and getting harder to repair and .NET 5 is a modern, efficient home built with state-of-the-art materials, the .NET Upgrade Assistant is the moving company that makes your life easier.
Let’s be clear: the .NET Upgrade Assistant is not a magic wand. You’ll likely need to do some manual work as you migrate. However, the tool can do most of your heavy lifting and allow you to focus on what’s important.
What exactly does the .NET Upgrade Assistant do? In prerelease, it’s a guided tool that leads you through your migration.
It performs the following tasks:
- Adds analyzers that assist with upgrading
- Determines which projects to upgrade and in what order
- Updates your project file to the SDK format
- Re-targets your projects to .NET 5
- Updates NuGet package dependencies to versions compatible with .NET 5, and removes transitive dependencies present in
packages.config - Makes C# updates to replace .NET Framework patterns with their .NET 5 equivalents
- Where appropriate, adds common template files
The .NET Upgrade Assistant allows you to migrate from the following .NET Framework application types:
- Windows Forms
- WPF
- ASP.NET MVC apps
- Console apps
- Class libraries
We’re going to evaluate the .NET Upgrade Assistant by migrating a legacy ASP.NET MVC app, eShopLegacyMVCSolution, which runs .NET Framework 4.7.2. I’ve borrowed this from the repository for the Microsoft e-book, Modernize existing .NET applications with Azure cloud and Windows containers, by Cesar de la Torre. My daveabrock/UpgradeAssistantDemo repository contains both the legacy solution and my upgraded solution. As a bonus, you can review my commit history to see how the code changes after each step.
Before You Start
Before you start using the Upgrade Assistant, make sure you’re familiar with Microsoft’s porting documentation and understand the migration limitations, especially when deciding to migrate ASP.NET applications. Additionally, you can use the .NET Portability Analyzer tool to understand which dependencies support .NET 5. It’s like calling the moving company first to find out what they can and cannot move and how long it might take.
Before you install the .NET Upgrade Assistant, you must ensure you install the following:
- Visual Studio 2019 16.8 or later (Visual Studio is required because the tool uses MSBuild to work with project files)
- The .NET 5 SDK
The tool also depends on the try-convert tool to convert project files to the SDK style. You must have version 0.7.212201 or later to use the Upgrade Assistant.
From a terminal, run the following to install the .NET Upgrade Assistant. (It’s a global tool, so you can run the command anywhere.)
dotnet tool install -g try-convert
If you have try-convert installed but need to upgrade to a newer version, execute the following:
dotnet tool update -g try-convert
Install the .NET Upgrade Assistant
We’re now ready to install the .NET Upgrade Assistant. To do so, execute the following from a terminal:
dotnet tool install -g upgrade-assistant
After installing the .NET Upgrade Assistant, run it by navigating to the folder where your solution exists and entering the following command.
upgrade-assistant <MySolution.sln>
Use the Upgrade Assistant to Migrate to .NET 5
To get started, I’ll run the following command from my terminal. (The default command should work, but, if needed, you can pass other flags like --verbose.)
upgrade-assistant eShopDotNet5MVC.sln
The tool executes and shows me the steps it will perform. For each step in the process, I can apply the next step in the process, skip it, see details or configure logging. Most of the time, you’ll want to select Apply next step. To save some time, you can press Enter to do this.
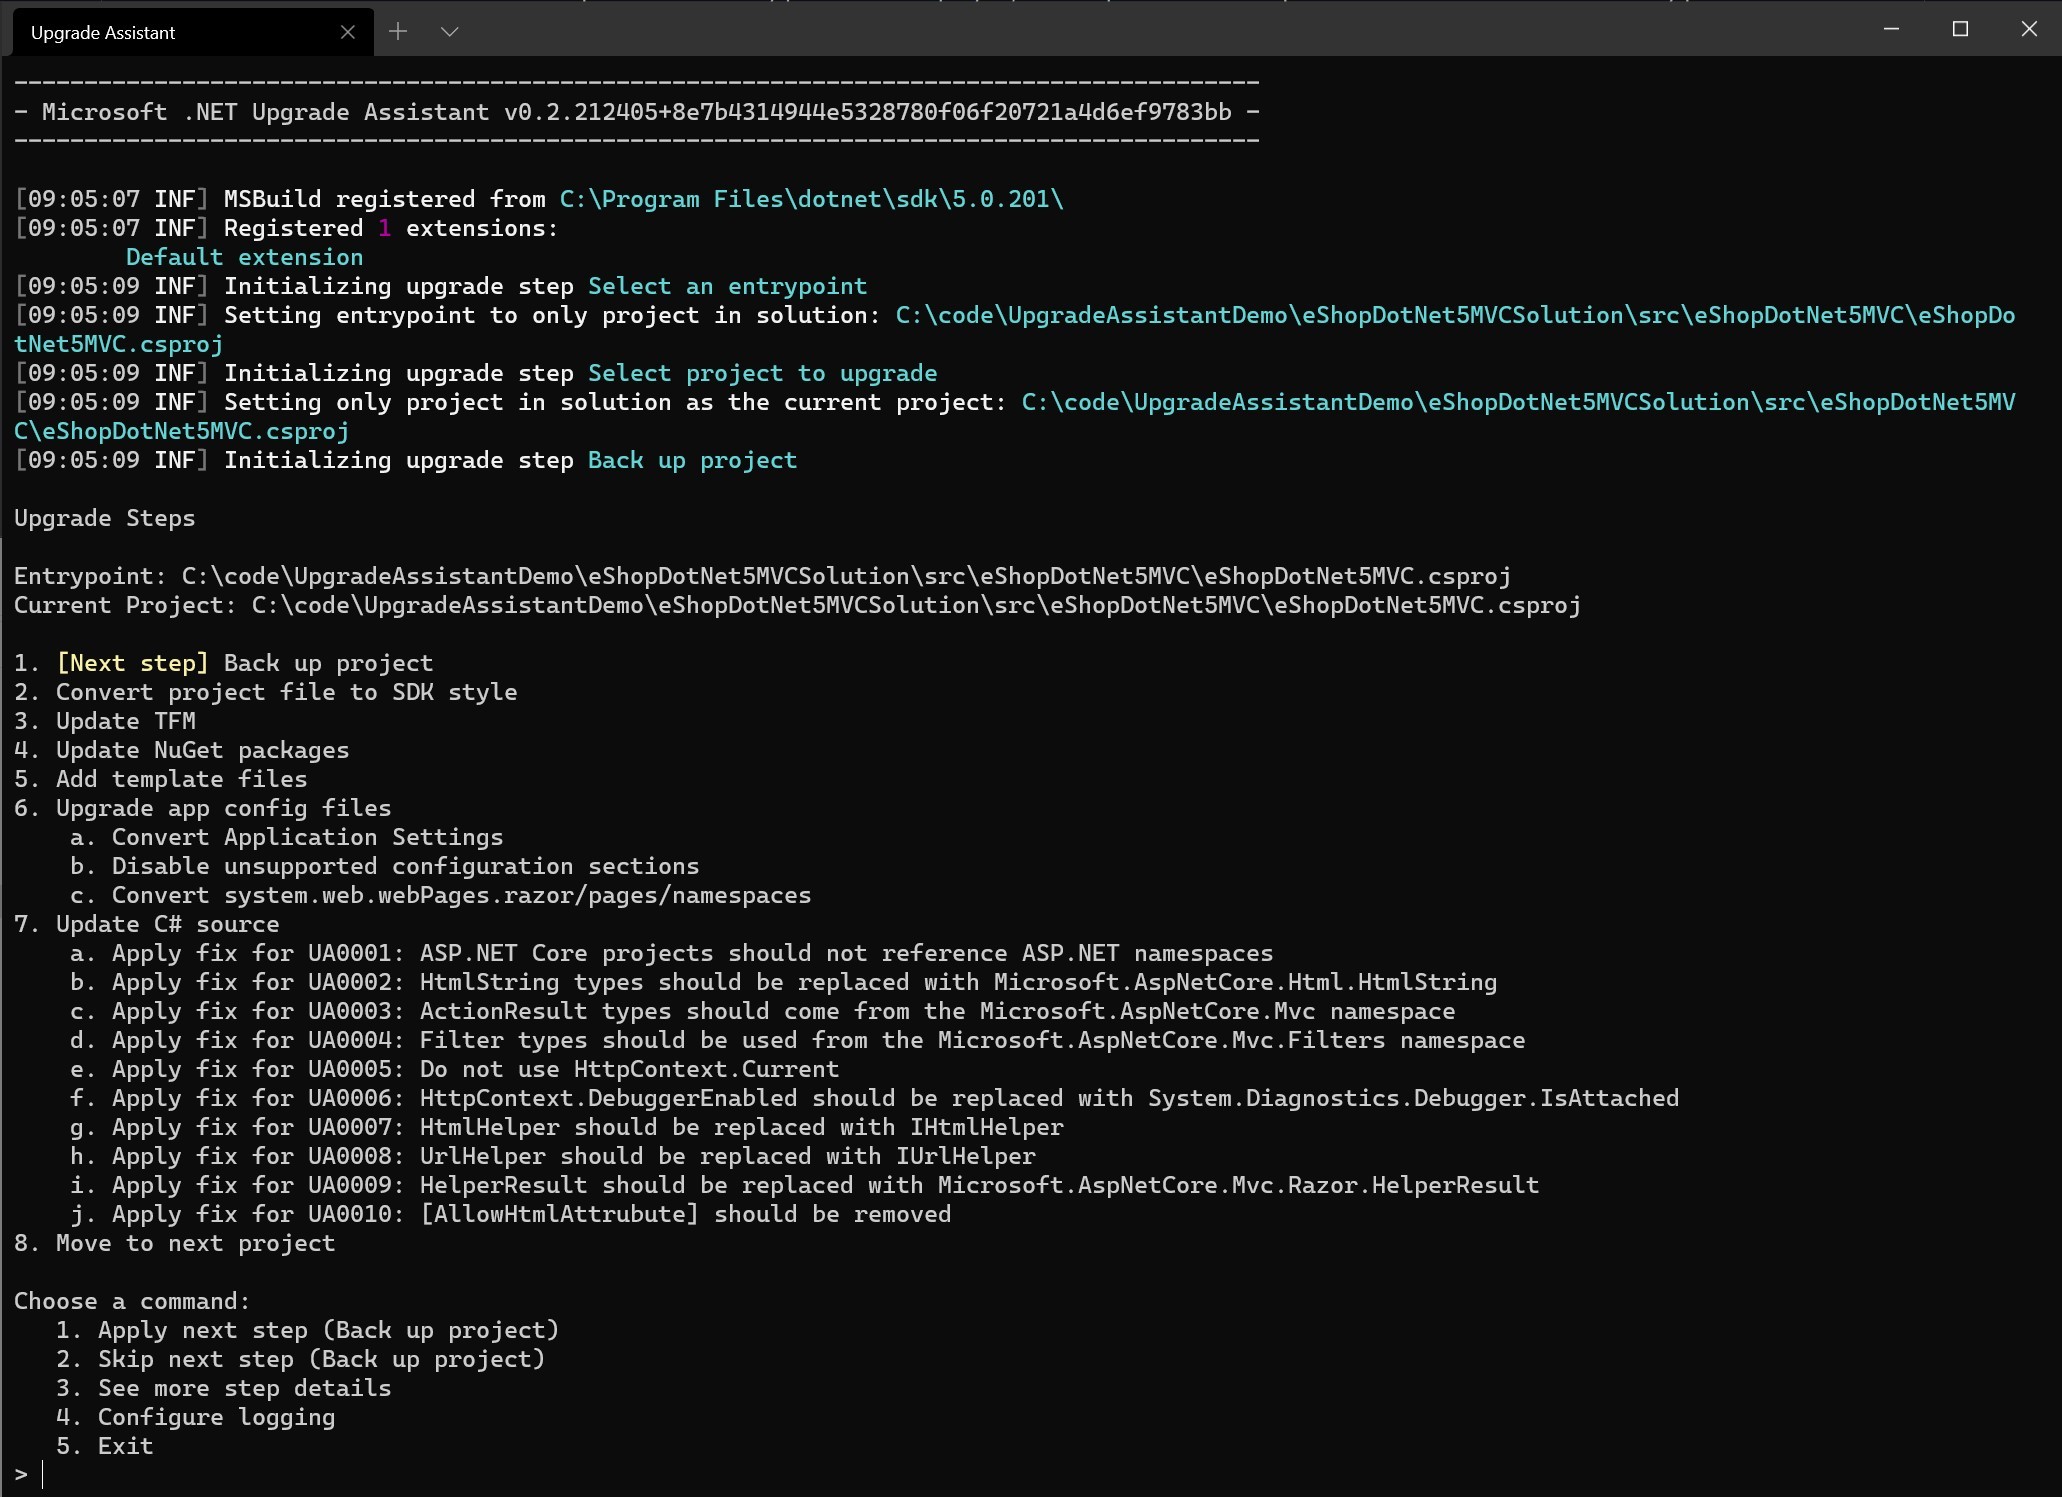
When the tool starts, it places a log.txt file at the root of your project.
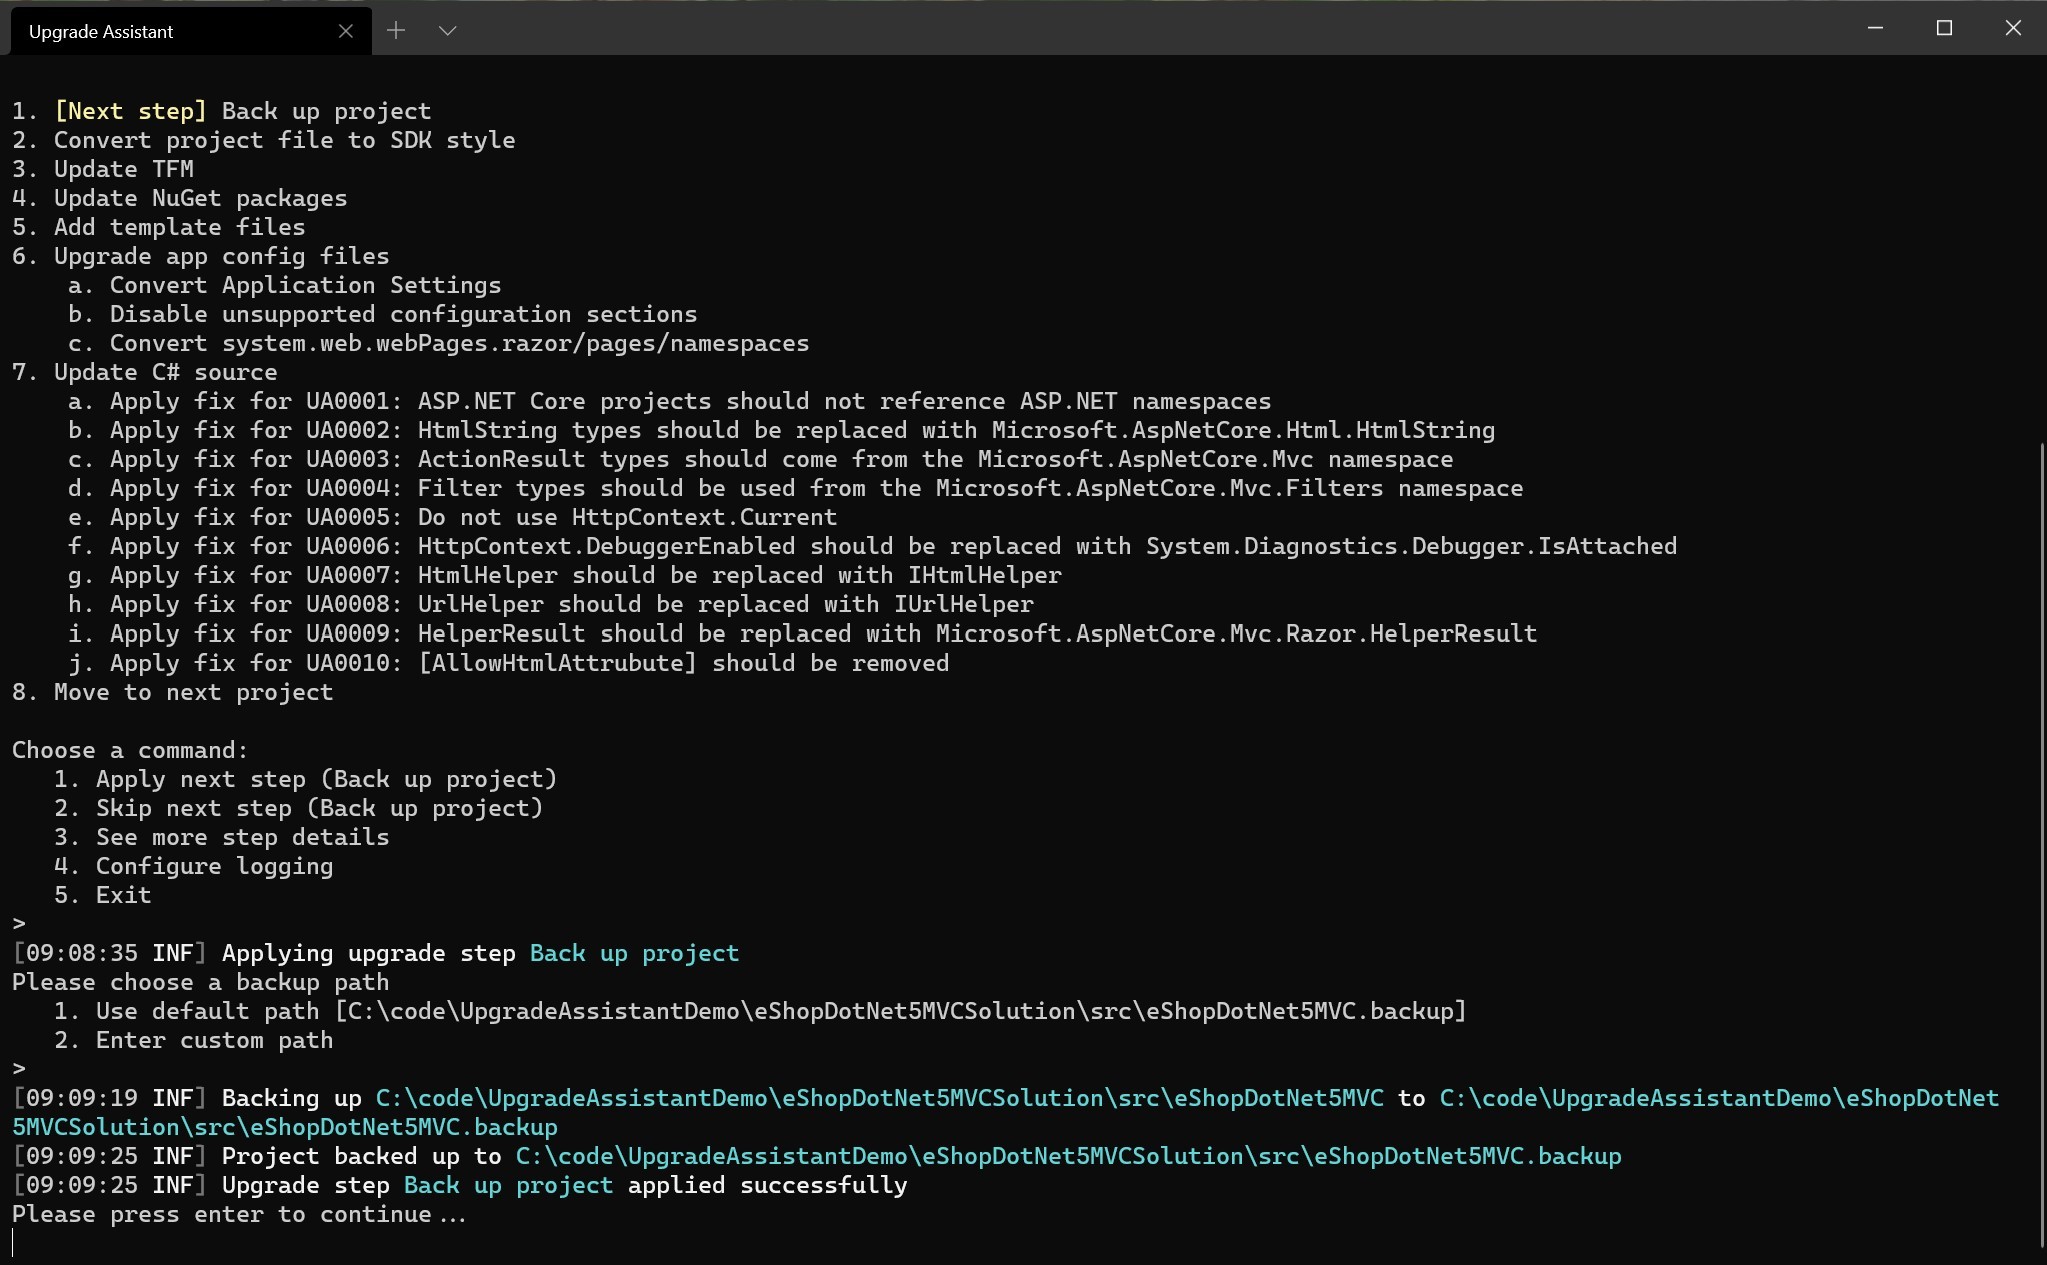
Back Up Project
The first step is to back up the project. The .NET Upgrade Assistant asks if you want to use a custom path for your backup or a default location. Once this completes, we’re ready to convert the project file.
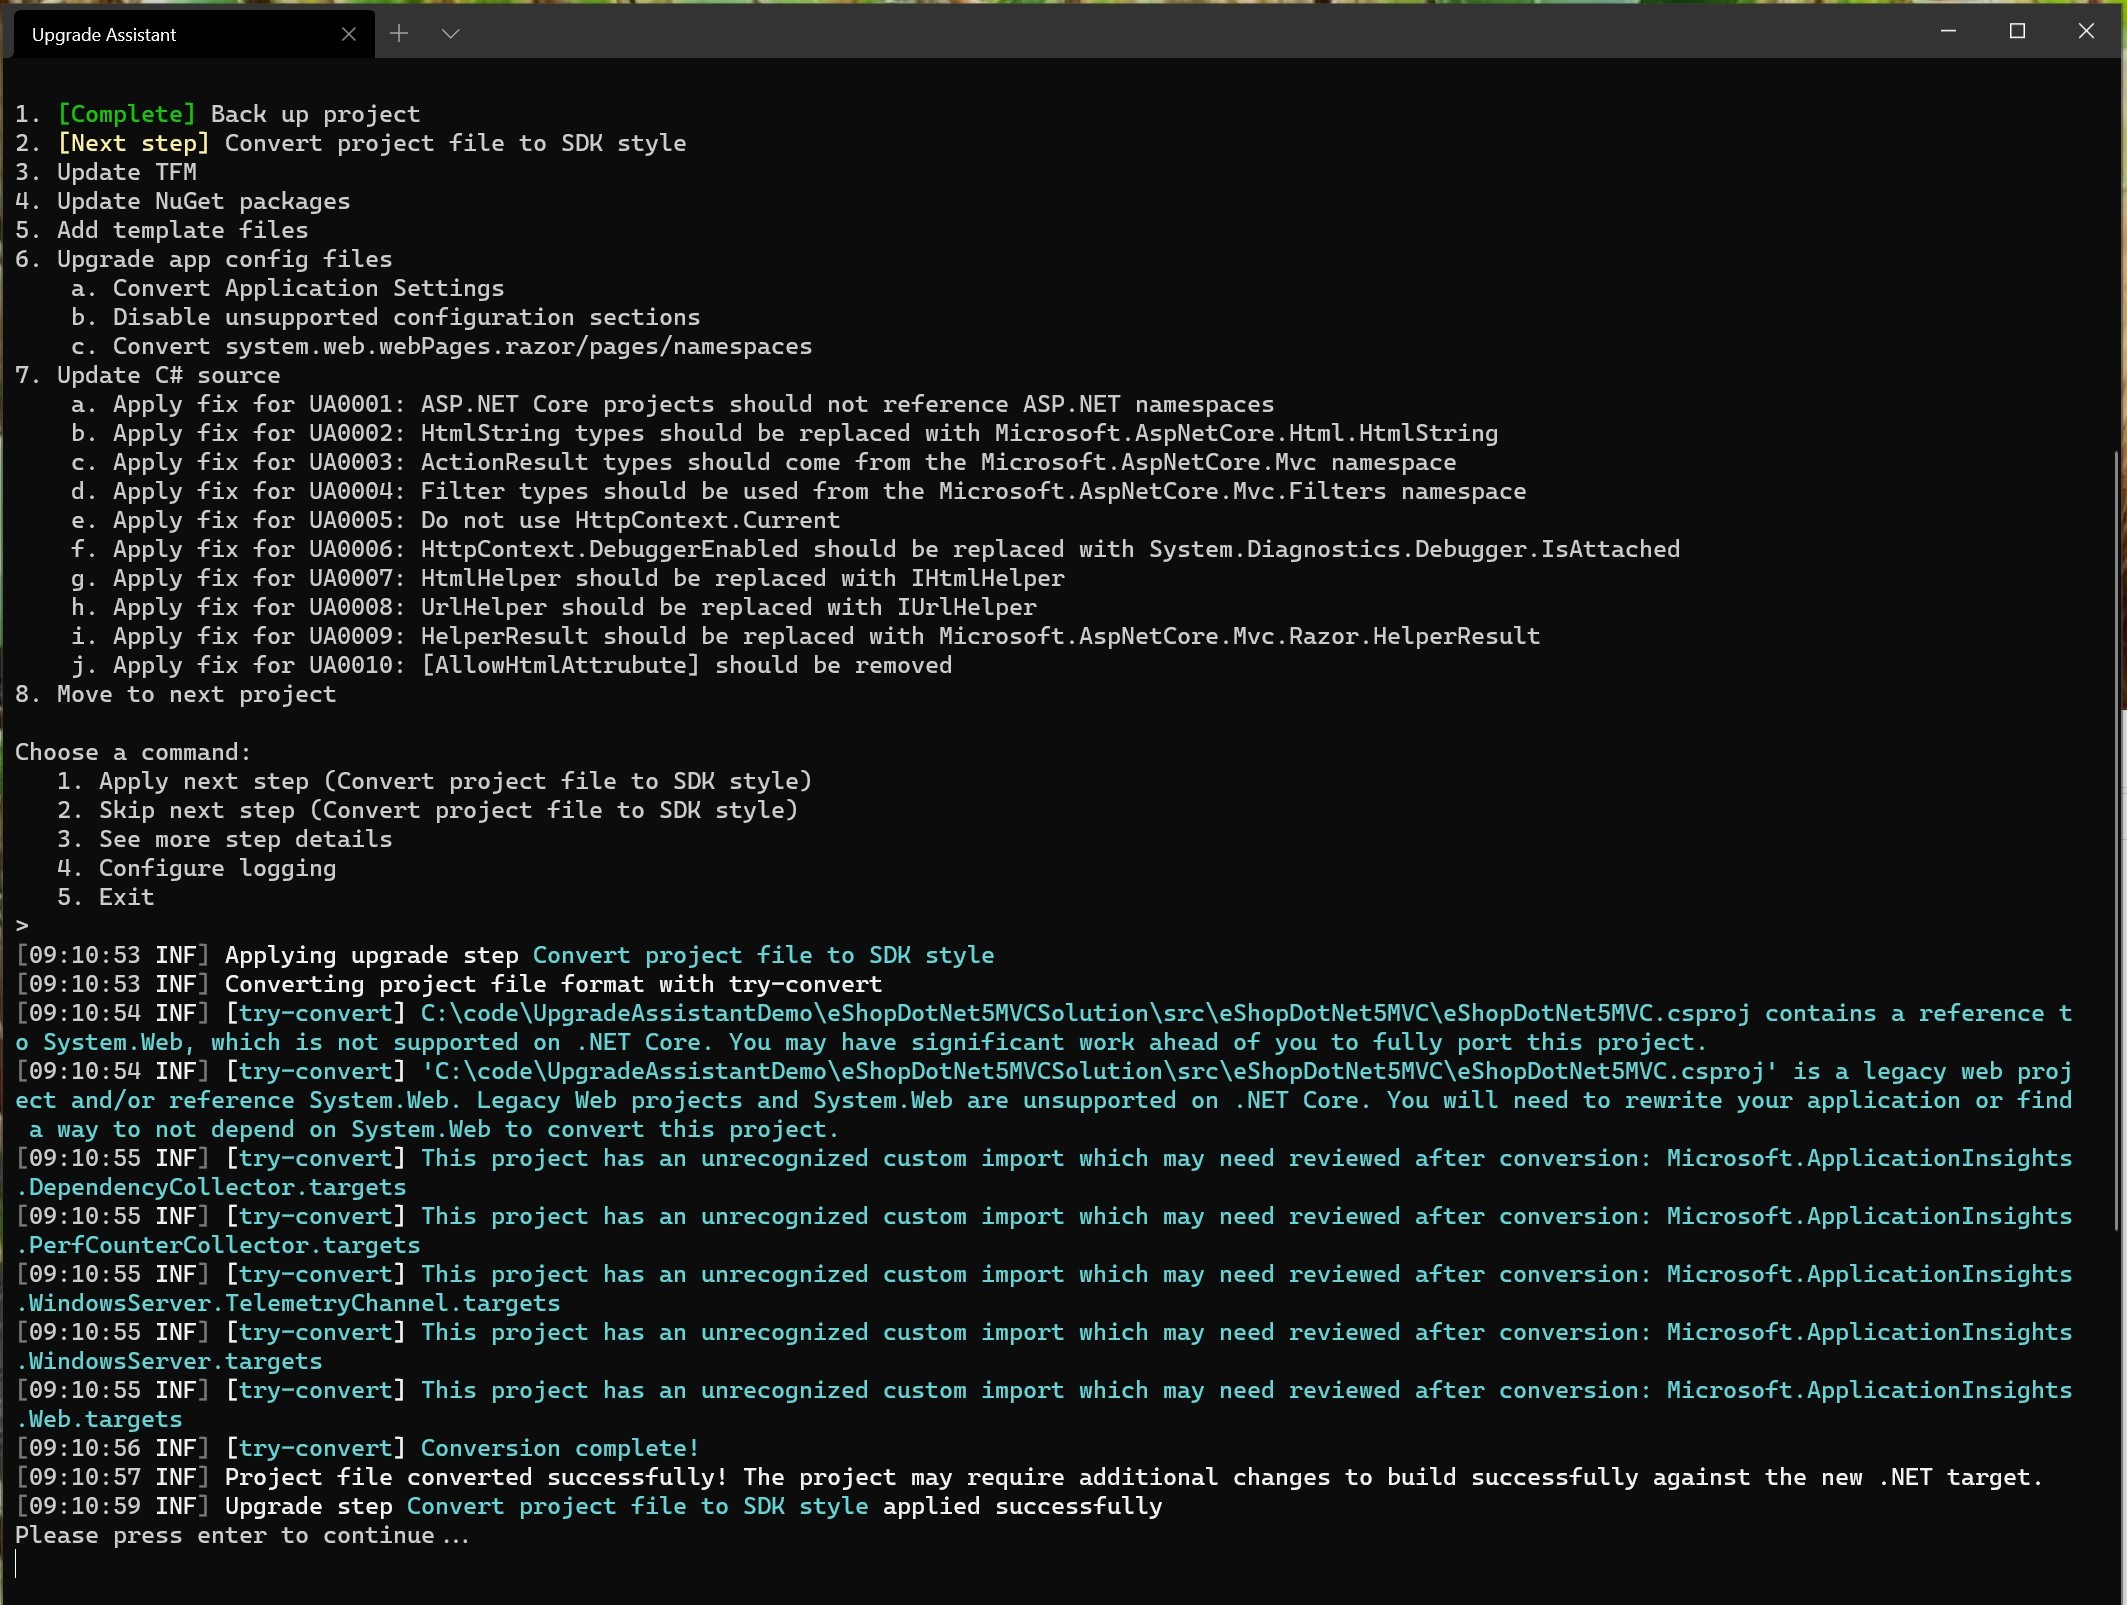
Convert Project Files to SDK Style
.NET 5 projects use the SDK-style format. In this step, the Upgrade Assistant converts your project file to this SDK format using the try-convert tool. During this process, we see the tool is warning us that a few imports, like System.Web, might need manual intervention after migration.
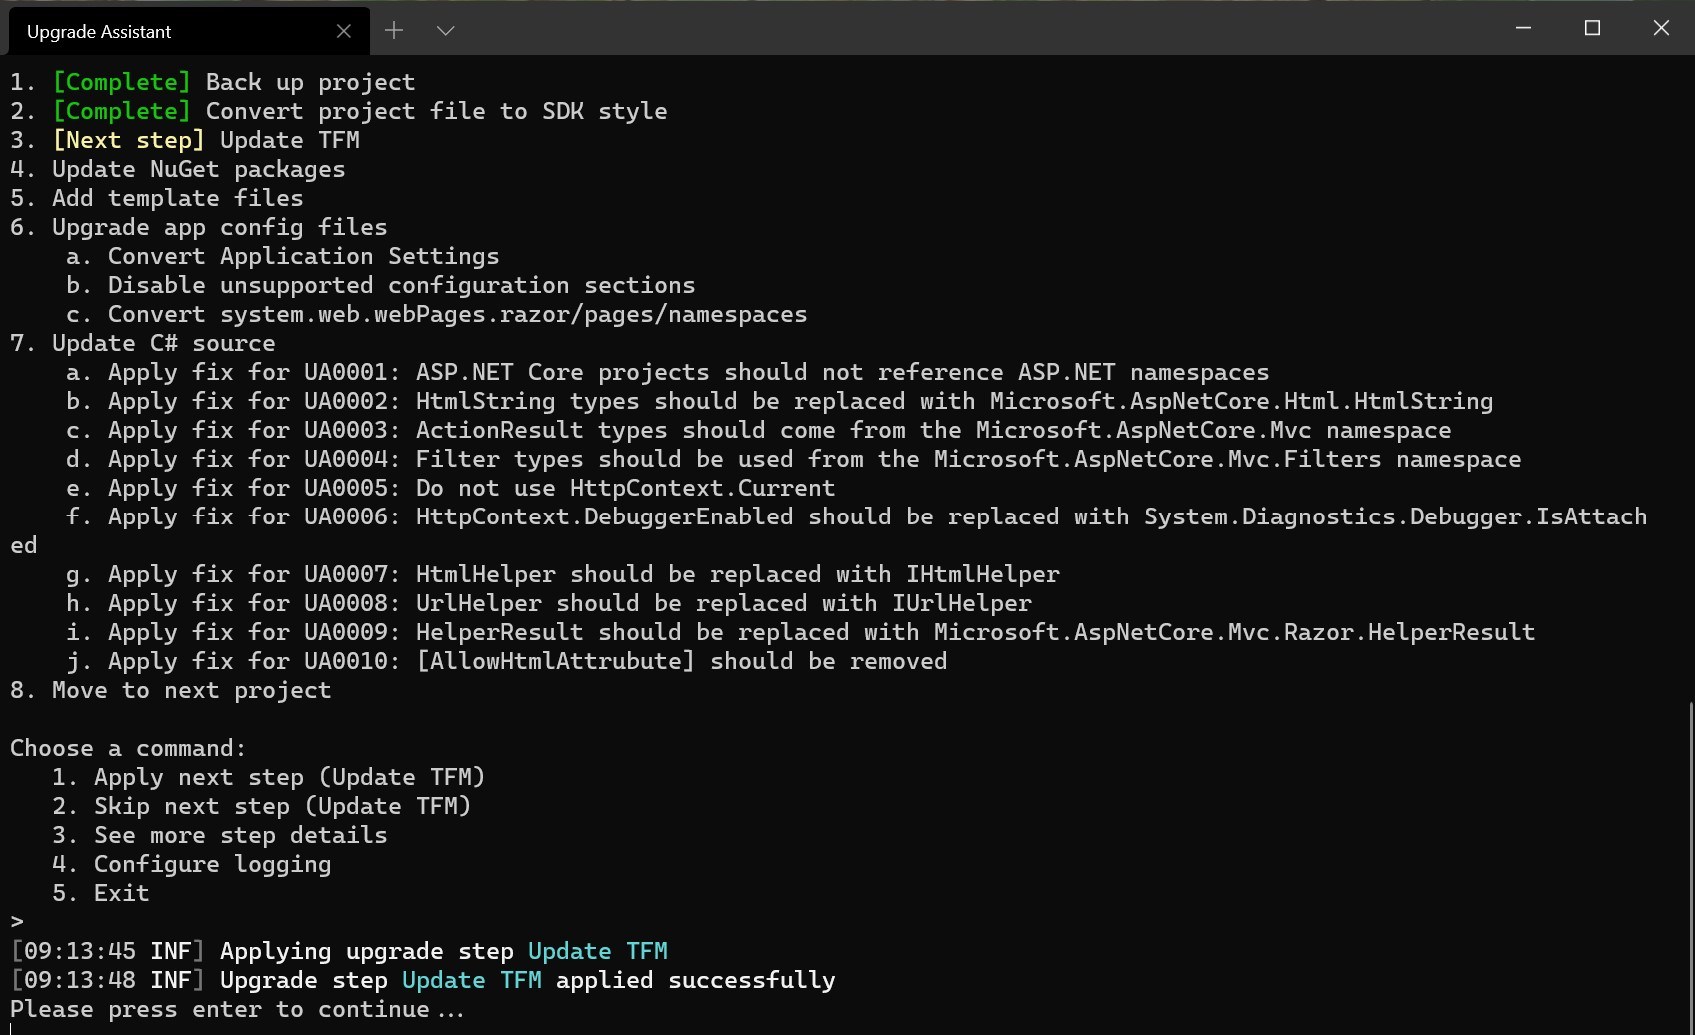
Update TFM
Next, the .NET Upgrade Assistant will update the Target Framework Moniker (TFM) to .NET 5.0. In my case, the value changes from net472 to net5.0.
Update NuGet Packages
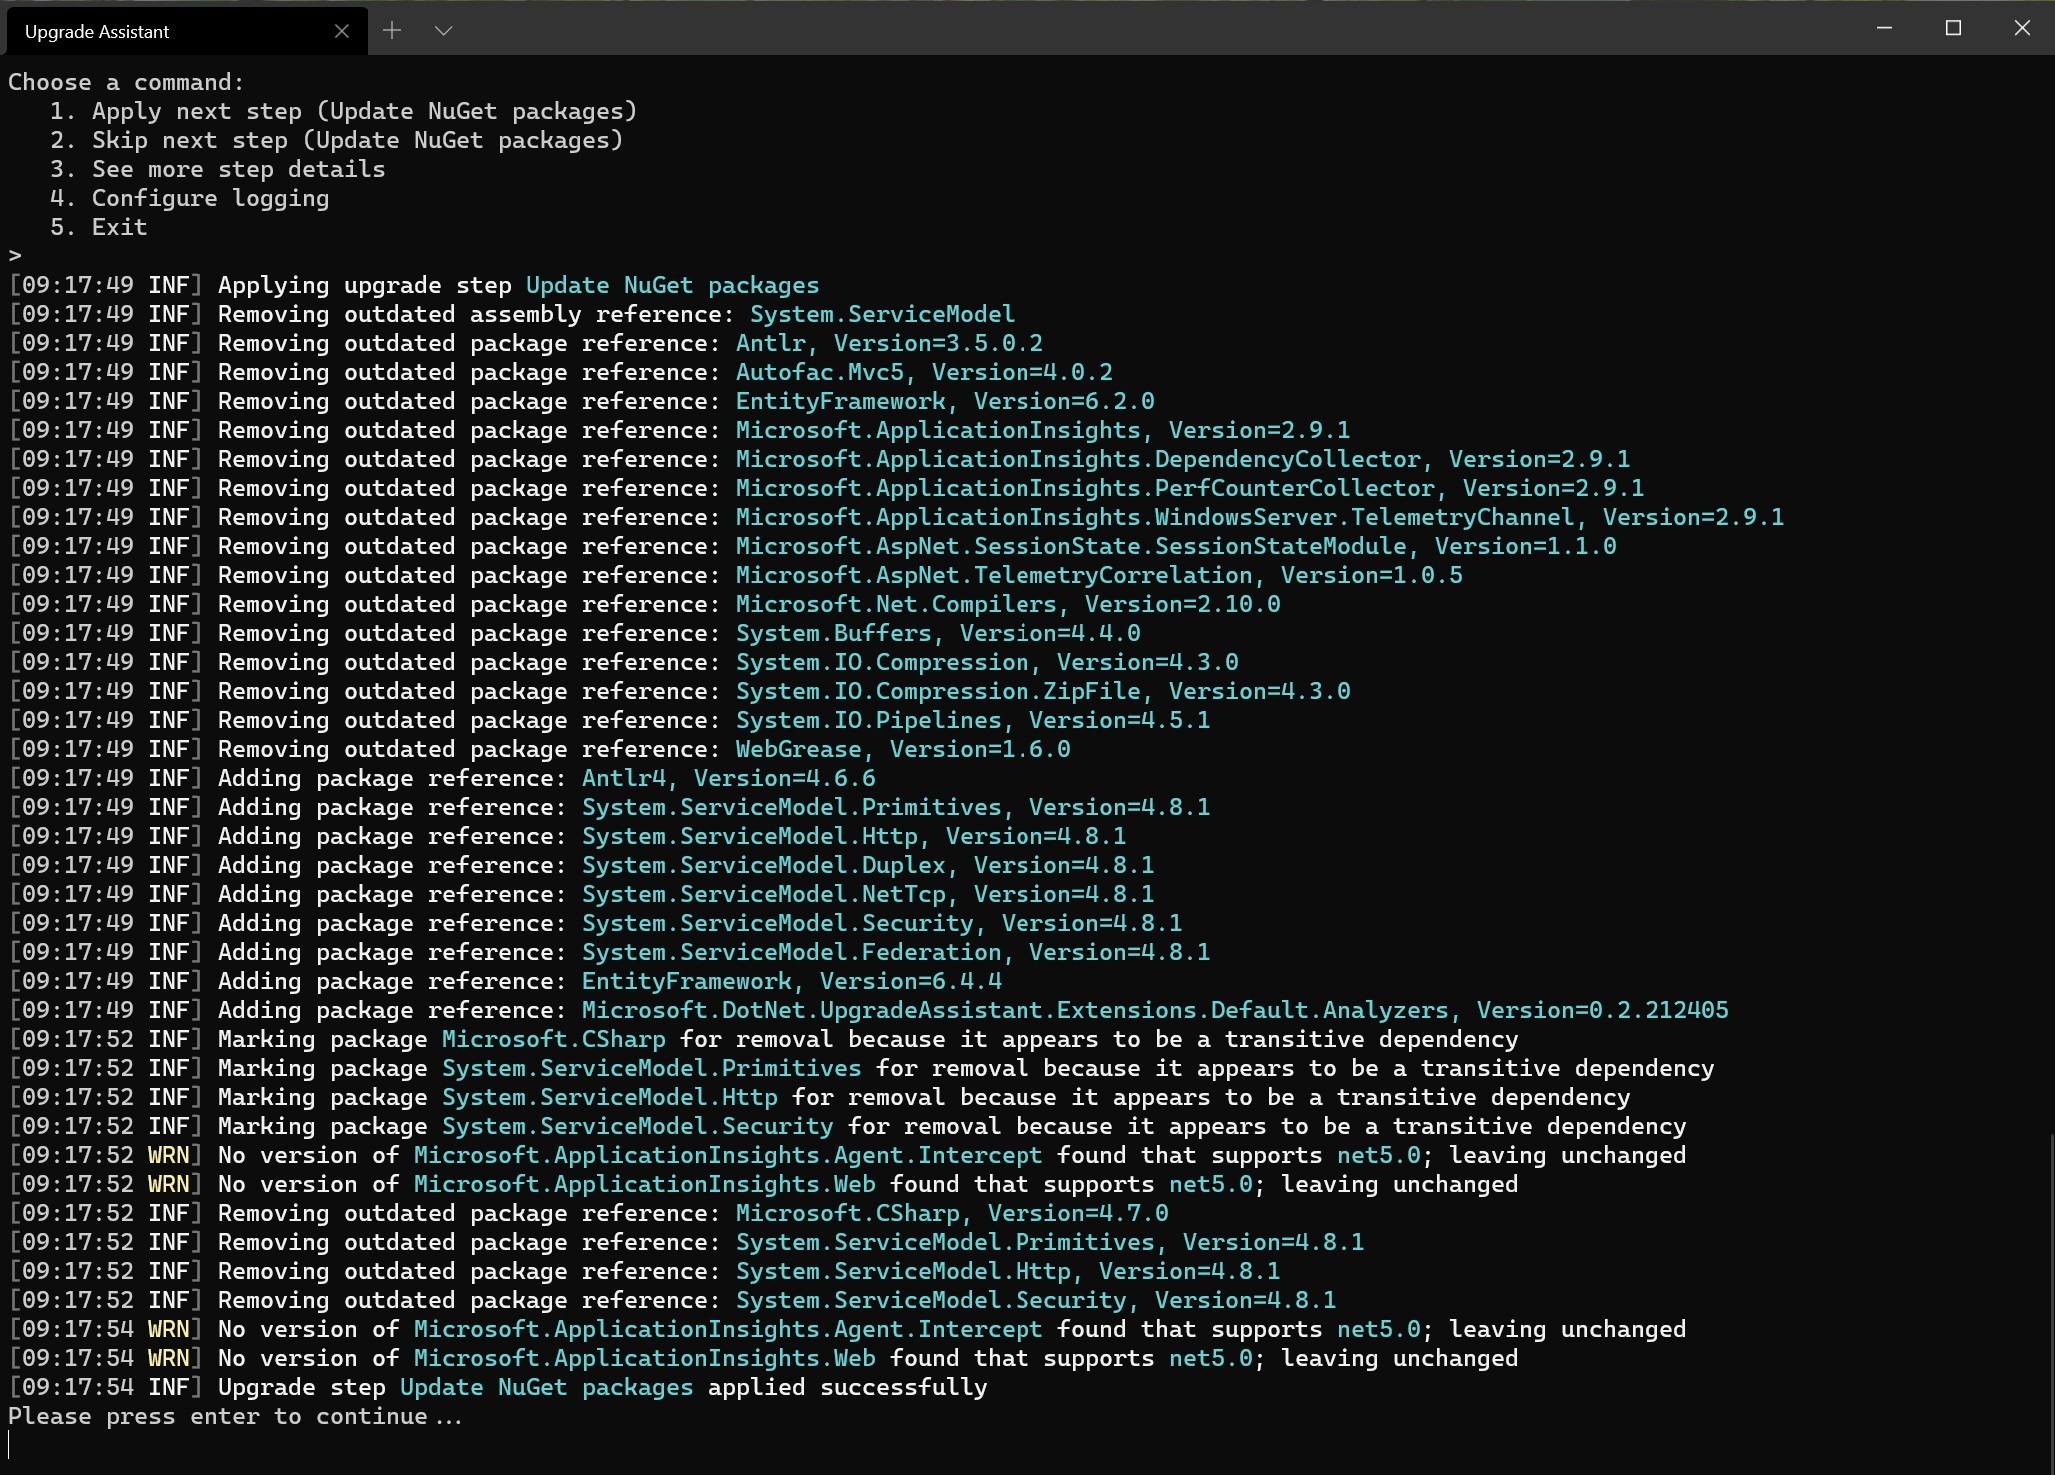
Once the Upgrade Assistant updates the TFM, it attempts to update the project’s NuGet packages. The tool uses an analyzer to detect which references to remove and which packages to upgrade with their .NET 5 versions. Then, the tool updates the packages.
Add Template Files
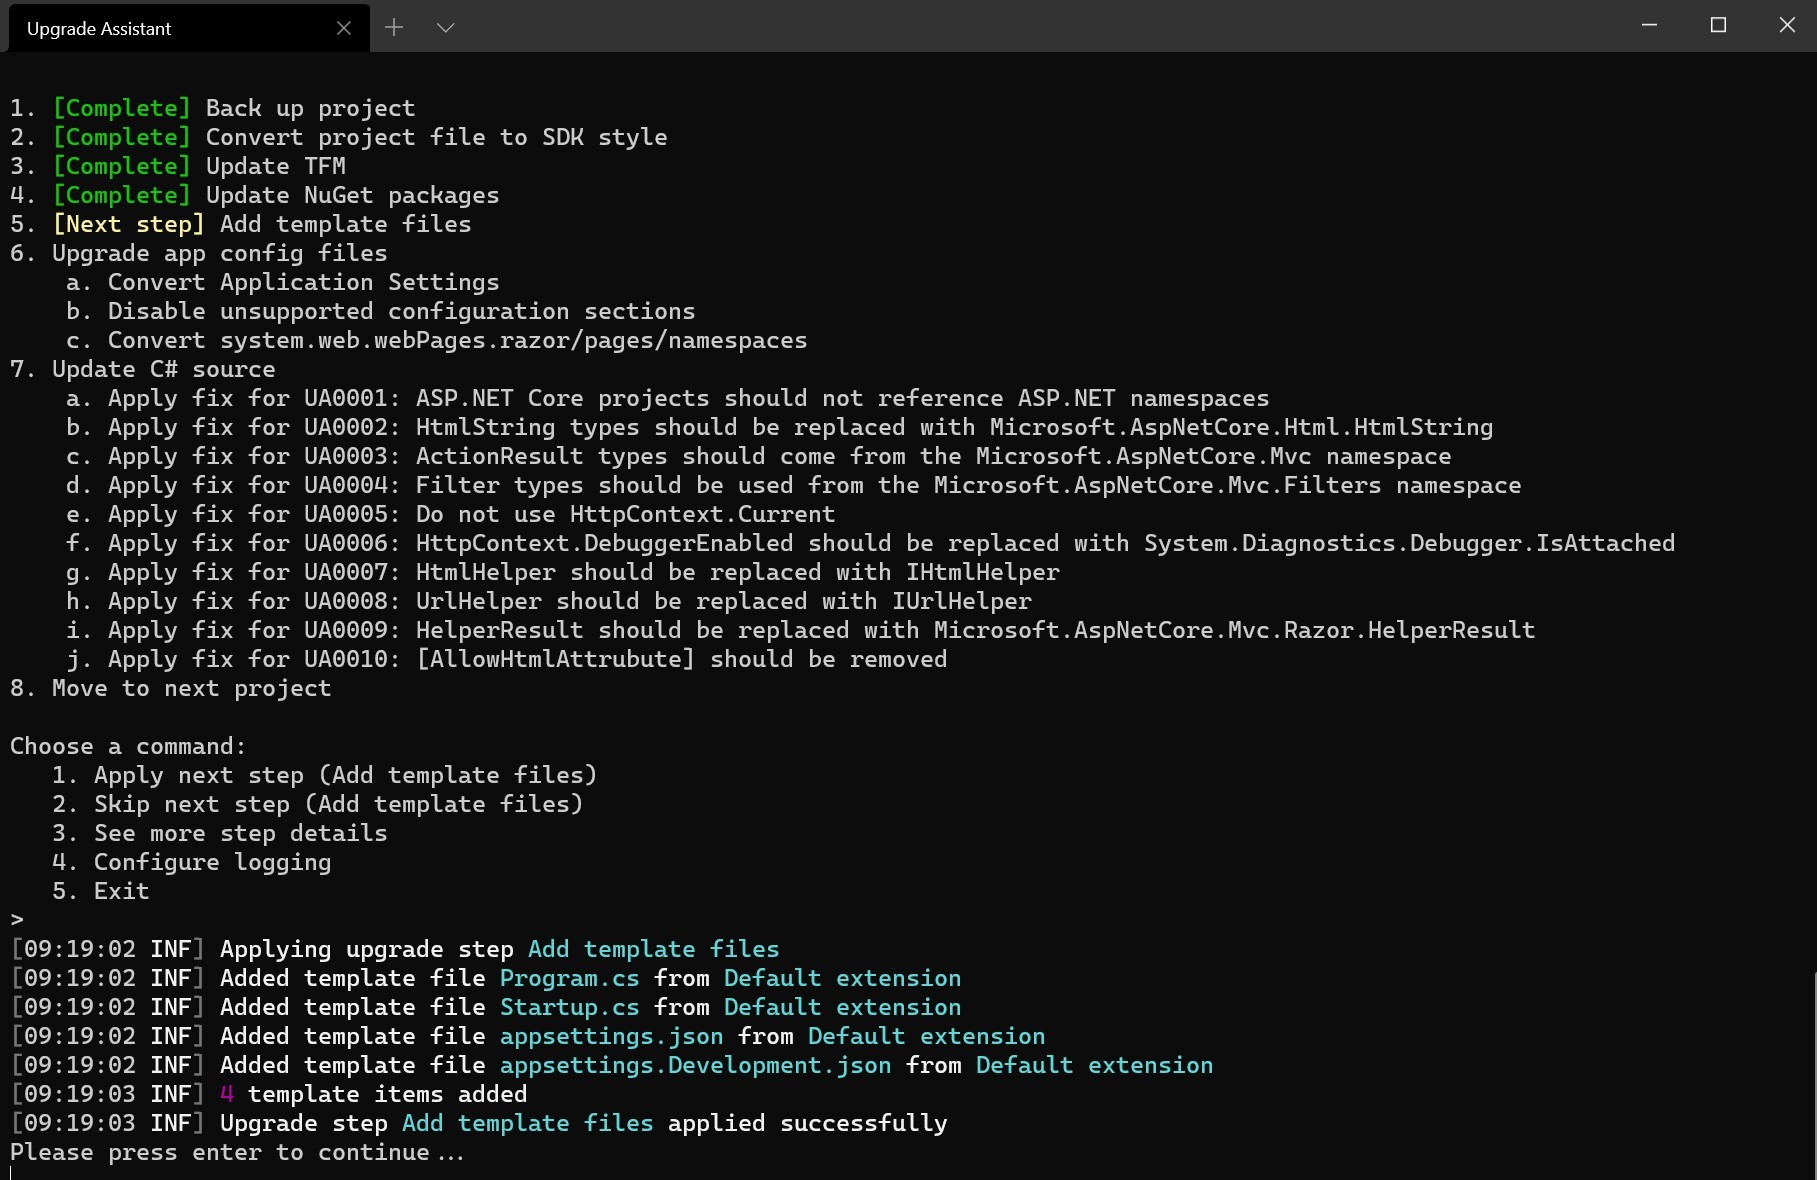
After the tool updates any NuGet packages, it adds any relevant template files. ASP.NET Core uses template files for configuration and startup. These typically include Program.cs, Startup.cs, appsettings.json and appsettings.development.json.
Migrate Application Configuration Files
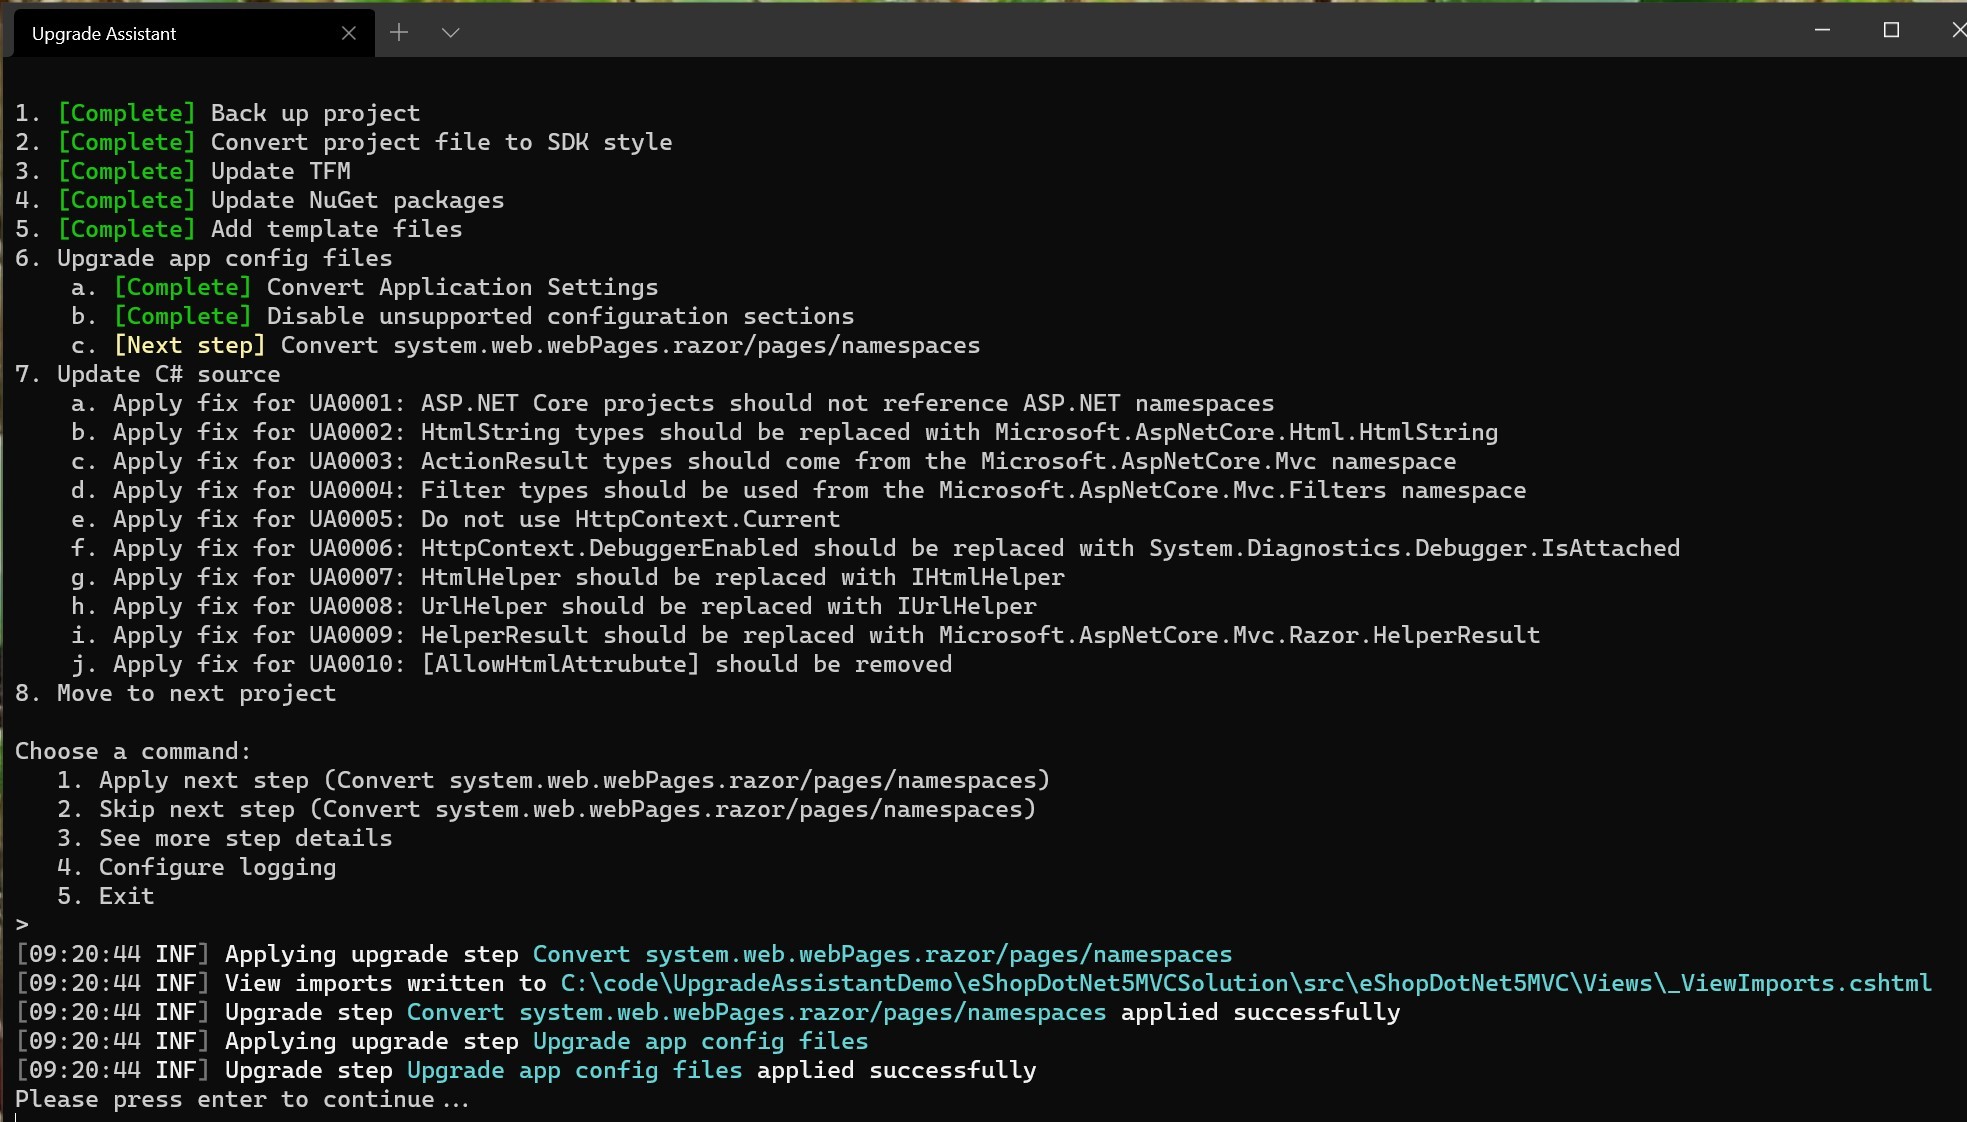
Now the tool is ready to migrate our application configuration files. The tool identifies what settings are supported, then migrates any configurable settings to my appSettings.json file. After that is complete, the tool migrates system.web.webPages.razor/pages/namespaces by updating _ViewImports.cshtml with an @addTagHelper reference to Microsoft.AspNetCore.Mvc.TagHelpers.
Update C# Source
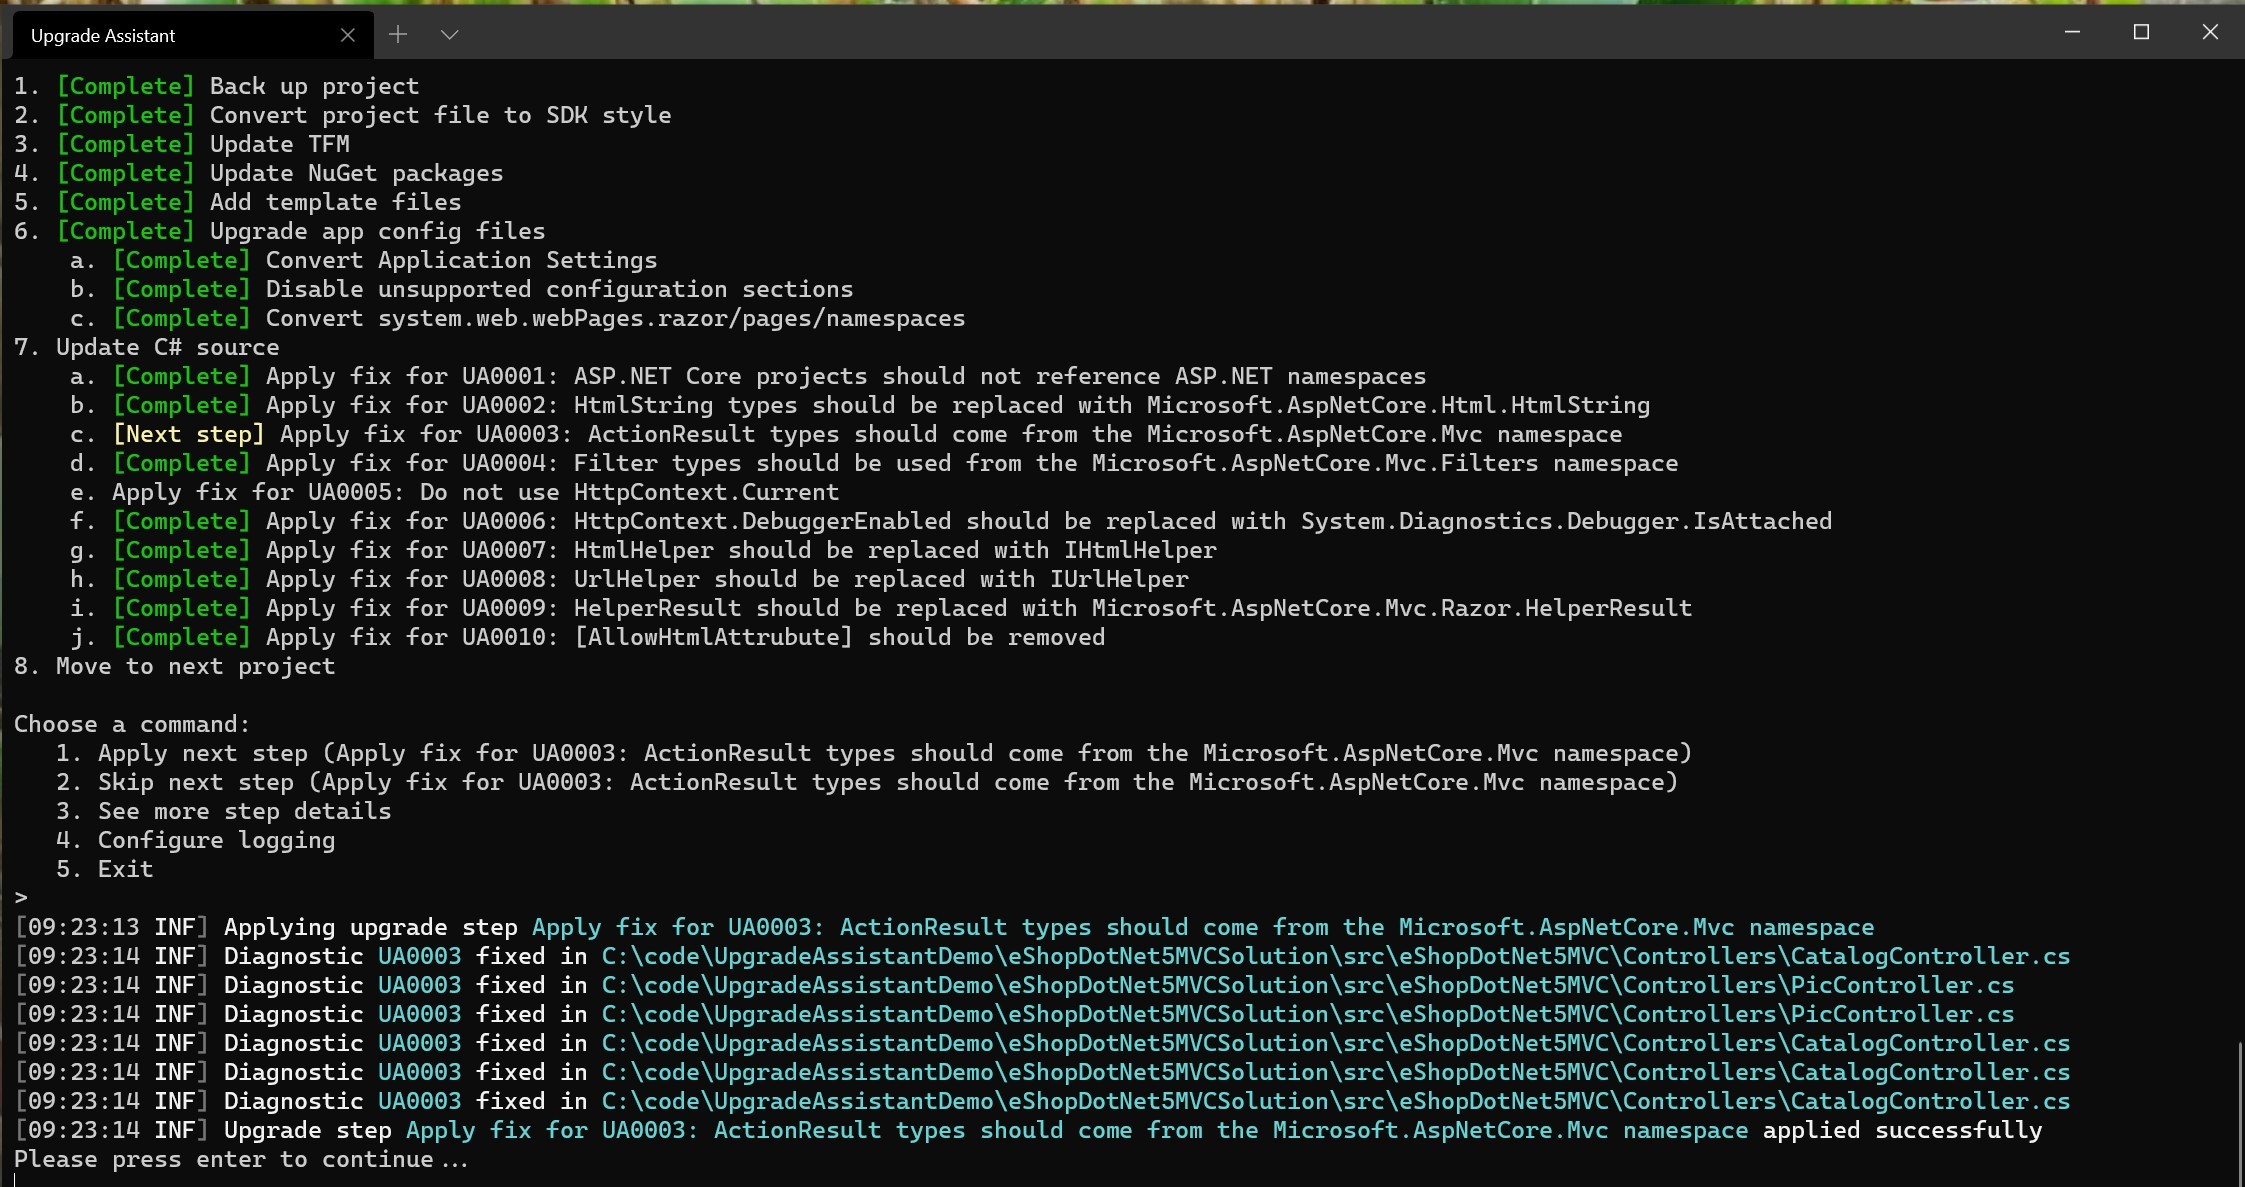
Now, the .NET Upgrade Assistant upgrades C# code references to their .NET Core counterparts. You’ll see several steps listed in the terminal—not all apply. In those cases, they’ll be skipped over and flagged as [Complete].
In my case, the step first removes any using statements that reference .NET Framework namespaces, like System.Web. Then, it ensures my ActionResult calls come from the Microsoft.AspNetCore.Mvc namespace. Finally, the Upgrade Assistant ensures that I don’t use HttpContext.Current, which ASP.NET Core doesn’t support.
The final step is to evaluate the next project. Since our solution only has one project, the tool exits.
Manually Fix Remaining Issues
As you head back to your project, you’ll see build errors. This is normal. This tool will automate a lot of the migration for you, but you’ll still need to tidy some things up. A majority of these issues involve how ASP.NET Core handles startup, configuration and bundling.
- The
Global.asaxandGlobal.asax.csfiles are no longer needed in ASP.NET Core, as the global application event model is replaced with ASP.NET Core’s dependency injection model, inStartup.cs. - You won’t need the
App_Startfolder or any of the files in it (BundleConfig.cs,FilterConfig.csandRouteConfig.cs). Go ahead and delete it. Feels good, doesn’t it? - After you do this, most of your remaining errors are related to the bundling of your static assets. ASP.NET Core works with several bundling solutions. Read the bundling documentation and choose what works best for your project.
- Finally, fix any issues that remain. Your mileage may vary, but my changes were minimal. For example, in my
_Layout.cshtmlfile, I had to inject anIHttpContextAccessorto access theHttpContext.Sessionand I also needed to clean up someActionResultresponses.
Extending the .NET Upgrade Assistant
While the Upgrade Assistant fulfills most of your use cases, it has an optional accessibility model that allows you to customize upgrade steps without modifying the tool yourself. For example, you can explicitly map NuGet packages to their replacements, add custom template files and add custom upgrade steps. To get started, you’ll include an ExtensionManifest.json file that defines where the tool finds the different extension items. You need a manifest, but all of the following elements are optional, so you can define only what you need.
{
  "ExtensionName": "My awesome extension",

  "PackageUpdater": {
    "PackageMapPath": "PackageMaps"
  },
  "TemplateInserter": {
    "TemplatePath": "Templates"
  },

  "ExtensionServiceProviders": [
    "MyAwesomeExtension"
  ]
}
When you run the Upgrade Assistant, you can pass an -e argument to pass the location of the manifest file, or define an UpgradeAssistantExtensionPaths environment variable. Check out the documentation for details.
Do you remember when we manually deleted the Global.asax and the contents of the App_Start folder? If we’re upgrading many projects, consider adding a custom upgrade step to delete these.
Learn More
As I mentioned, the .NET Upgrade Assistant is a promising and powerful tool—however, it’s in prerelease mode and is quickly evolving. Make sure to check out the tool’s GitHub repository to get up to speed and report any issues or suggestions. You can also review the tool’s roadmap.
Stay tuned for improvements. For example, .NET 5 is a “Current” release—this means it’s supported for three months after .NET 6 officially ships (the support ends in February 2022). .NET 6, to be released this November, is a Long-Term Support (LTS) release—meaning it’s supported for a minimum of three years. As a result, you’ll soon see the ability to choose which release to target.
Conclusion
In this article, we toured the new .NET Upgrade Assistant and showed how to speed up your migration to .NET 5. Have you tried it? Leave a comment and let me know what you think.

Dave Brock
Dave Brock is a software engineer, writer, speaker, open-source contributor and former Microsoft MVP. With a focus on Microsoft technologies, Dave enjoys advocating for modern and sustainable cloud-based solutions.
