How to Launch Android Emulators and iOS Simulators From the Command Line

I use the iOS Simulator and AVDs (Android Virtual Devices) heavily, and was getting frustrated with the need to manually launch the two from Xcode and Android Studio, respectively.
So I spent a little time setting up commands that let me launch these tools from my terminal. I named them ios-simulator and android-emulator, and here’s what they look like in action.


In this article I’ll walk through how you can set up these commands on your own machine.
Launching Android AVDs
As part of the Android SDK installation you get a command-line tool called emulator, which is the Google-blessed way to work with AVDs from the command line, and which has a number of options that let you do a wide range of things.
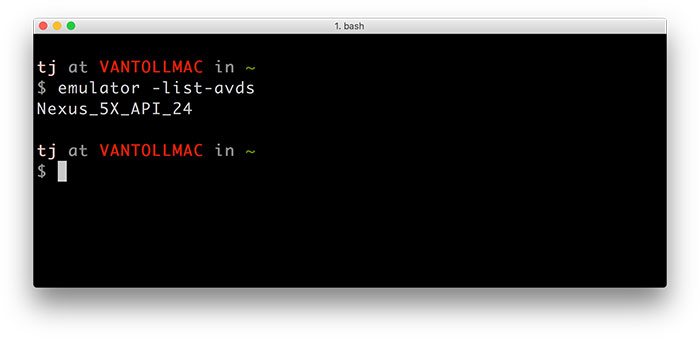
The first option you’ll want to know is -list-avds, as it lists all AVDs you currently have configured. For example, here’s what that command looks like when I run it on my Mac.
Once you have an AVD’s name, you can start up that AVD with the emulator command’s -avd option. For example here’s how I run my Nexus 5X AVD using the emulator command.
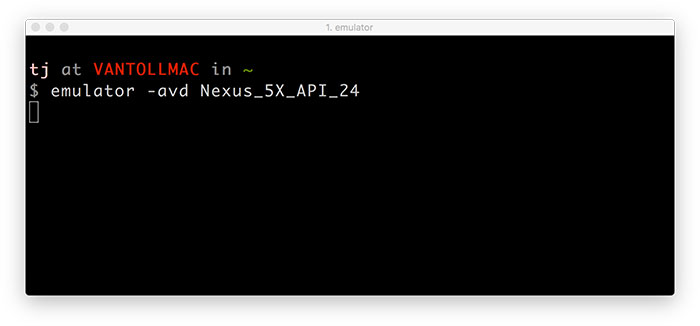
One important note: when you run the emulator command with the -avd flag, the process that controls the AVD remains active in your terminal — meaning, you are unable to type subsequent commands without killing the AVD.
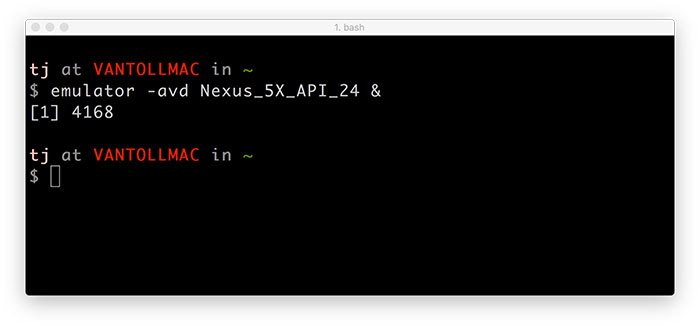
You could open a new terminal tab or window to avoid this, but you could also try appending a & to the end of the command, which is a little Linux trick to run a process in the background. With the addition of an ampersand, the AVD will run in the background and you’ll regain control of your terminal.
NOTE:
- The
[1] 4168bit you see above is a process id, which you can safely ignore. If you’re really curious, you can read up on what process ids are and how they work.- Even though the
emulatorprocess will now run in the background, the process can still interrupt your terminal to show output from time to time. You can safely useCtrl+Cto regain control without killing the AVD. But if this becomes too annoying you can always switch to running theemulatorcommand without the ampersand, and just give the process its own tab or window in your terminal.
At this point you’re now able to successfully launch Android AVDs from your command line. The full workflow is: 1) use emulator -list-avds to see a list of your current AVDs. 2) use emulator -avd <avd-name> to launch the AVD.
I wanted to simplify these two steps into one, because I do the vast majority of my development on a single AVD. Therefore, I created an alias in my ~/.bash_profile file that lets me launch my preferred emulator using a single command.
alias android-avd="emulator -avd Nexus_5X_API_24 &"NOTE: Aliases are shortcuts you can use to avoid typing long or complicated commands. If you haven’t used aliases or opened your
~/.bash_profilefile before, here’s a bit of background information you might find useful.
And with that, you can now type android-avd in your terminal to open an Android AVD.

With Android out of the way, let’s move on to take a look at how iOS simulators work.
Launching iOS Simulators
Much like Android, there are a lot of different ways you might want to launch iOS simulators from the command line. The simplest is to use your Mac’s open command to start the Simulator directly from the file system. That approach looks like this.
open /Applications/Xcode.app/Contents/Developer/Applications/Simulator.app/With the simulator running you can change between various iOS device types using the Simulator app’s Hardware --> Device menu.
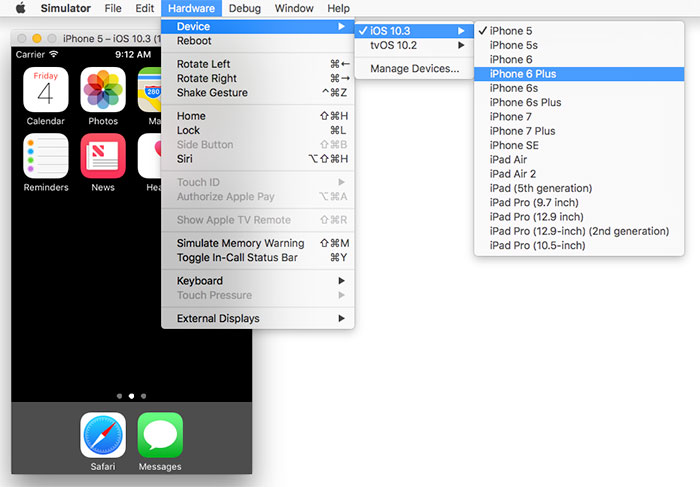
If you’d like to launch simulators of a specific type right from the command line, without needing to manually mess with menus, you can use the PhoneGap team’s ios-sim tool.
To use ios-sim first install the tool from npm.
npm install -g ios-simNext, use the tools’s showdevicetypes command to see a list of all simulators configured on your machine.
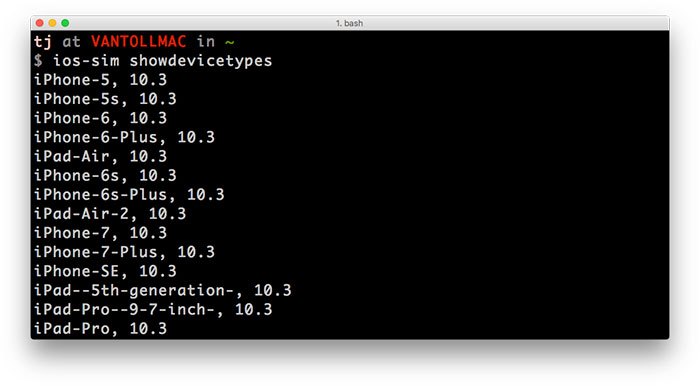
Finally, run the start command, and pass in one of the listed device types as a --devicetypeid parameter. For example, the following command starts an iPhone 6 simulator running iOS 10.3.
ios-sim start --devicetypeid "iPhone-6, 10.3"And here’s what that looks like in action.
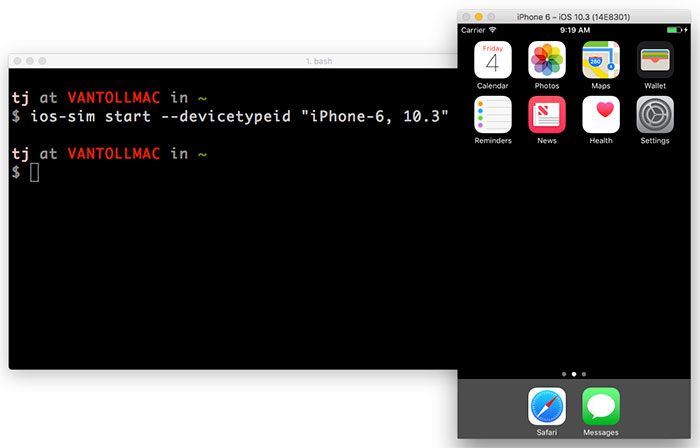
And with that, you should now have a few different options for launching iOS simulators from the command line. As with Android, you may wish to save your preferred means of launching simulators off in an alias. Here’s the one I have defined.
alias ios-simulator="open /Applications/Xcode.app/Contents/Developer/Applications/Simulator.app/"With that alias in place, you can now launch iOS simulators using the ios-simulator command I showed at the beginning of this article.

Final notes
If you do give these steps a shot make sure to let me know what you think. Also, let me know if you have an alternative workflow that you think works better. I’m always looking for better ways to optimize these sort of common mundane tasks.

TJ VanToll
TJ VanToll is a frontend developer, author, and a former principal developer advocate for Progress.
