How to Use Push Notifications in Xamarin Forms

Summarize with AI:
Let’s learn how to implement push notifications using Xamarin Forms.
When we are thinking about creating an application, one of the most important things we have to take into account is providing the best user experience we can.
Part of this experience is features that keep the user as informed as possible.
Here is where notifications come in! Nowadays, most applications send notifications to keep users informed in a constant, fast and precise way. That’s why in this post we will learn how to implement push notifications! 😎
First of All … What Do I Need?
➖ Add from NuGet Package FirebasePushNotification.

Setting up Firebase Environment
First of all, it’s important to know what Firebase is. Firebase is a platform for the rapid development of web and mobile applications. It’s part of the Google Cloud Platform and contains a set of tools particularly useful for common and simple web/mobile projects, including tools like: Authentication, Realtime Database, Analytics, Push Notifications and many more!
And Now, Let’s Create the Project
Once the project is created, let’s select our platform project. (We need to create one for both Android and iOS.) You will be completing this process in four steps:
✔ Register your Application.
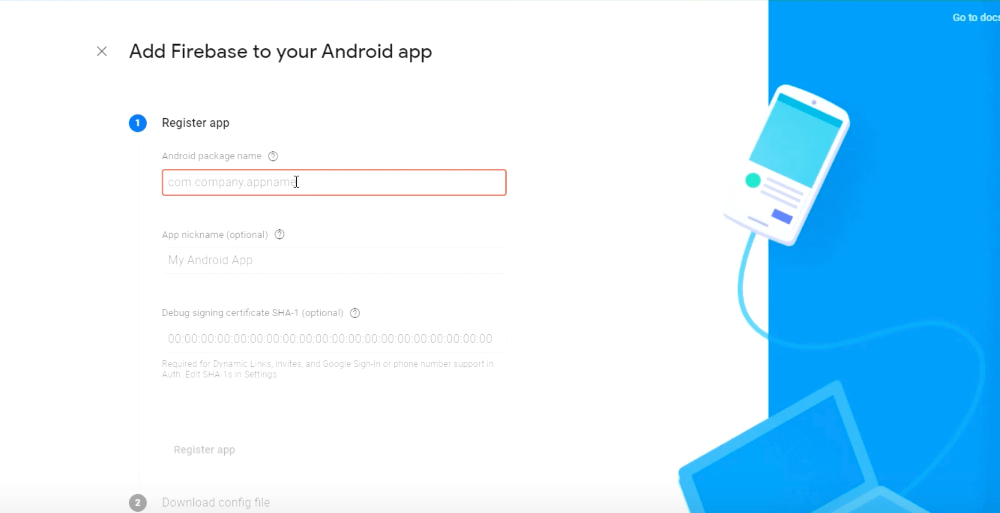
✔ Download the configuration file: Here you have to download the JSON file that will be later added to our project. (On Android this file is named google-services.json, and in iOS it’s named GoogleService-Info.plist).
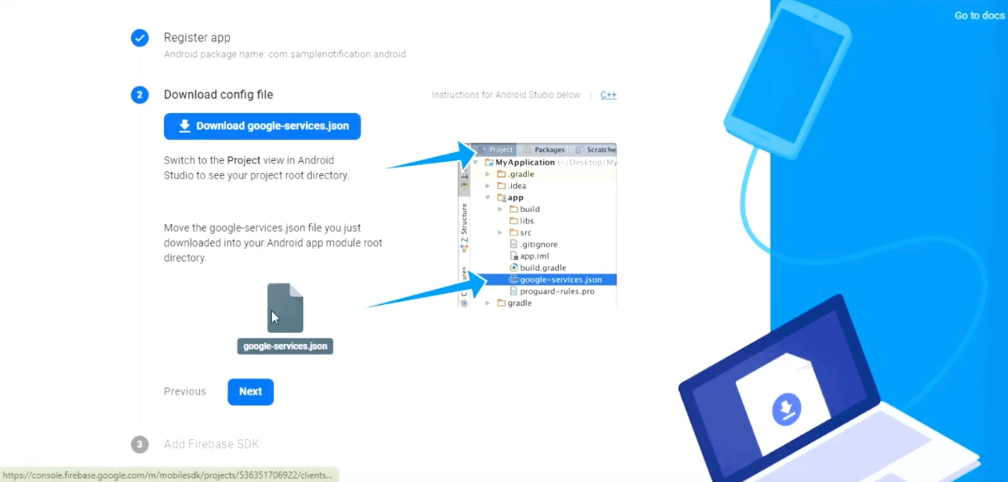
✔ Adding Firebase SDK: This step is for Android projects. As you are using Xamarin Forms, you don’t have to do it. Just click on Next.
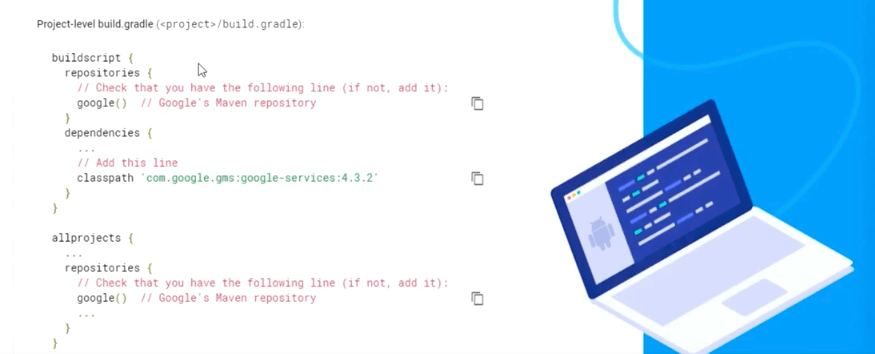
✔ Create your app. This last step will take some time. (You can click Skip.)
Let’s Start with Android! 😎
For Android we need to add internet permission. To do so, you have to open your AndroidManifest.xml and before your Applications tag, add the following code:
<uses-permission android:name="android.permission.INTERNET" />
Adding google-services.json File
When we created the Firebase project, in the second step we downloaded a JSON file— do you remember? Yes! Okay, you have to add this file inside your Android project.
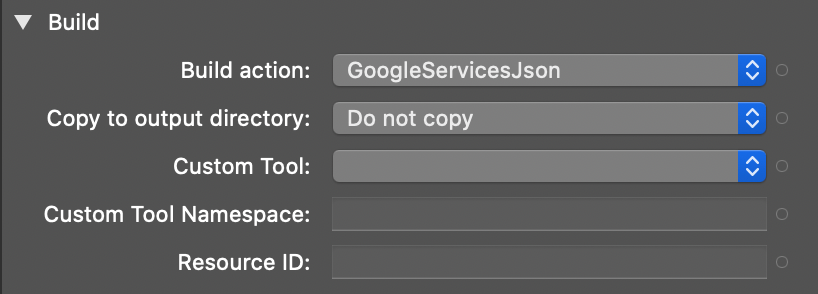
Once added, make a right-click and select BuildAction and make sure to set GoogleServiceJson as value.
⚠ If you can’t find this value, you just have to Clean and Rebuild your project and return to find it!
Creating MainApplication Class
We create this class to initialize the plugin first, adding the following libraries:
using System;
using Android.App;
using Android.OS;
using Android.Runtime;
using Plugin.FirebasePushNotification;
And then, add this code:
[Application]
    public class MainApplication : Application
    {
        public MainApplication(IntPtr handle, JniHandleOwnership transer) :base(handle, transer)
        {
        }

        public override void OnCreate()
        {
            base.OnCreate();

	       //Set the default notification channel for your app when running Android Oreo
	      if (Build.VERSION.SdkInt >= Android.OS.BuildVersionCodes.O)
	      {
		    //Change for your default notification channel id here
	         FirebasePushNotificationManager.DefaultNotificationChannelId = "FirebasePushNotificationChannel";

		   //Change for your default notification channel name here
		   FirebasePushNotificationManager.DefaultNotificationChannelName = "General";
	    }

            //If debug you should reset the token each time.
            #if DEBUG
              FirebasePushNotificationManager.Initialize(this,true);
            #else
              FirebasePushNotificationManager.Initialize(this,false);
            #endif

              //Handle notification when app is closed here
              CrossFirebasePushNotification.Current.OnNotificationReceived += (s,p) =>
             {
              };
         }
    }
Working with the MainActivity
Open your MainActivity, and inside the OnCreate method, add the code line below, contained in the Plugin.FirebasePushNotification library:
FirebasePushNotificationManager.ProcessIntent(this, Intent);
Let’s Continue with iOS! 😎
Adding GoogleService-Info.plist File
Let’s add the GoogleService-Info.plist file created by Firebase inside your iOS project.
Once added, make a right-click and select BuildAction and make sure to set BundleResource as value.
Enabling Remote Notification Background Mode
In your Info.plist select: Background modes -> Check Enabled background modes -> Check Remote notifications.
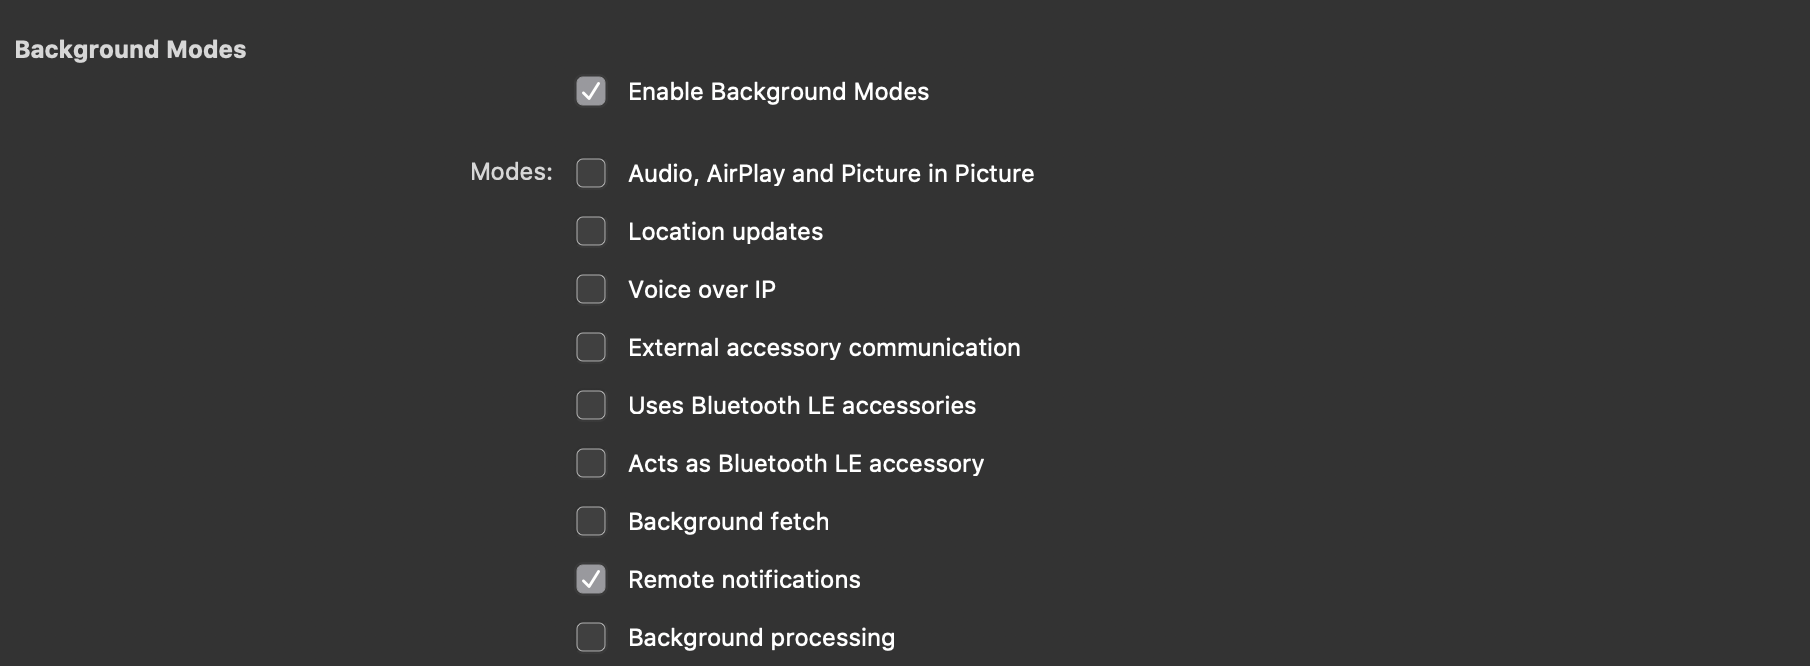
Then, add FirebaseAppDelegateProxyEnabled in the app’s Info.plist file and set it to No as value.

Before LoadApplication, add FirebasePushNotificationManager.Initialize on AppDelegate FinishedLaunching.
FirebasePushNotificationManager.Initialize(options,true);
Also inside the AppDelegate, override the following methods:
public override void RegisteredForRemoteNotifications(UIApplication application, NSData deviceToken)
        {
              FirebasePushNotificationManager.DidRegisterRemoteNotifications(deviceToken);
        }

        public override void FailedToRegisterForRemoteNotifications(UIApplication application, NSError error)
        {
            FirebasePushNotificationManager.RemoteNotificationRegistrationFailed(error);

        }
        // To receive notifications in foregroung on iOS 9 and below.
        // To receive notifications in background in any iOS version
        public override void DidReceiveRemoteNotification(UIApplication application, NSDictionary userInfo, Action<UIBackgroundFetchResult> completionHandler)
        {
            // If you are receiving a notification message while your app is in the background,
            // this callback will not be fired 'till the user taps on the notification launching the application.

            // If you disable method swizzling, you'll need to call this method.
            // This lets FCM track message delivery and analytics, which is performed
            // automatically with method swizzling enabled.
            FirebasePushNotificationManager.DidReceiveMessage(userInfo);
            // Do your magic to handle the notification data
            System.Console.WriteLine(userInfo);

			completionHandler (UIBackgroundFetchResult.NewData);
        }
And Now Let’s Use the Firebase Push Notification API 😍
Open your App.xaml.cs, and in the constructor let’s add Token, PushMessageReceived and PushMessageOpened events as shown in the following lines:
public App()
        {
            InitializeComponent();

            MainPage = new MainPage();

            // Token event
            CrossFirebasePushNotification.Current.OnTokenRefresh += (s, p) =>
            {
                System.Diagnostics.Debug.WriteLine($"TOKEN : {p.Token}");
            };
            // Push message received event
            CrossFirebasePushNotification.Current.OnNotificationReceived += (s, p) =>
            {

                System.Diagnostics.Debug.WriteLine("Received");

            };
            //Push message received event
            CrossFirebasePushNotification.Current.OnNotificationOpened += (s, p) =>
            {
                System.Diagnostics.Debug.WriteLine("Opened");
                foreach (var data in p.Data)
                {
                    System.Diagnostics.Debug.WriteLine($"{data.Key} : {data.Value}");
                }

            };
        }
And done!! Our push notifications are implemented! 😎
That’s all for today! I hope this article is useful for you!
Thanks for reading! 💚
References: https://github.com/CrossGeeks/FirebasePushNotificationPlugin/blob/master/docs/GettingStarted.md

Leomaris Reyes
Leomaris Reyes is a Software Engineer from the Dominican Republic, with more than 5 years of experience. A Xamarin Certified Mobile Developer, she is also the founder of Stemelle, an entity that works with software developers, training and mentoring with a main goal of including women in Tech. Leomaris really loves learning new things! 💚💕 You can follow her: Twitter, LinkedIn , AskXammy and Medium.
