A Guide to Browser Scroll Animations

Summarize with AI:
Single page layouts are everywhere nowadays. Clicking on page links has been replaced with scrolling through page anchors. That's progress!
However, all that scrolling can be a bit dull. So let's liven up our single page layouts by adding some scroll animations. Scroll animations can be added to liven up a long page through transition effects like reveal, fade, or fly-in. Applying scroll animations can give your page a dramatic effect or a touch of elegance, it's up to you.
In this article, we'll look at multiple options for implementing scroll animations, from building them from scratch yourself to using some existing libraries.
Our Sample Site
The sample page we'll use is a fan page for one of my favorite animated movies of all time, The Iron Giant. Because I design about as well as I dance, I am using a layout from HTML5 Up as the basis for the site.
You can get the code for all of the examples discussed here in my GitHub repository.
Building From Scratch
To start, let's see what we need to do to build some scroll animations from scratch. At a minimum, we'll need to watch the user's scroll so that we can check when our animated items have come into view. So let's start by listening for the scroll event.
window.addEventListener('scroll',isInViewport);I say "at a minimum" because, in truth, items could come into view on page load or on window resize. In my (very limited) testing, my animation played correctly using the scroll event even on page load but not on resize. However, scroll and resize can fire frequently, so, for our example, let's just worry about scroll for the moment.
Now, let's test if our element is in the view when the scroll event fires.
function isInViewport(e) {
    var banner = document.getElementById('mainbanner'),
        pos = banner.getBoundingClientRect(),
        offset = 500;
    // hardcoded an offset here
    if (pos.bottom+offset < window.scrollY) {
        banner.style.display = "block";
        banner.classList.add("popin");
    }
}
In this example, we are only getting a single DOM element via its ID. We could have grabbed multiple elements via a class selector, for instance, but then we would also need to test each element to see if it has entered the viewport.
After getting the DOM element we want to apply the animation to, we then get its position relative to the viewport and test to see if its bottom position (plus an offset) is above the vertical scroll position (again, here, our solution is imperfect, as it wouldn't work for horizontal scrolls). The offset allows enough of the element to be within the viewport before applying the animation. Otherwise, we may barely see the animation occur.
If we determine that the proper amount of the element is in view, we display it (its default display property is none) and add in our CSS animation class.
The animation defined in CSS is very basic.
@keyframes pop-in {
    0% { opacity: 0;transform: scale(0.1); }
    100% { opacity: 1;transform: scale(1); }
}

.popin {
    animation: pop-in 0.4s ease;
}
We are simply scaling the size and opacity from 0 (or almost 0 in the case of the scale) to 100%. Let's see how this looks.
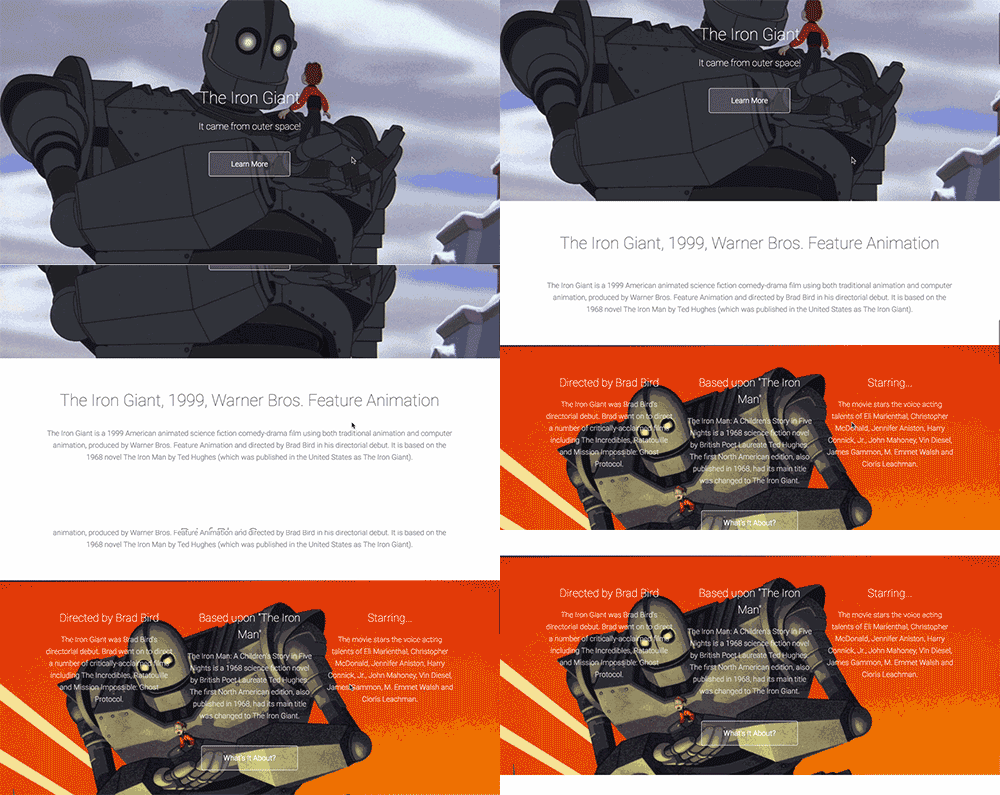
You can also browse the page here (remember that you will need to refresh to have the animation replay). Of course, the animation is simple, but, in my tests, it also worked well on mobile.
Obviously, we've only animated one element on the page with a very simple animation, and have done so with some known limitations to how the animation is triggered.
While this was intentionally a simple example, we could potentially resolve the issues with how the animation is triggered when it enters the viewport by using something like in-view.js, which has more features and configuration. However, this would still run into the issue that, personally, I am not an expert in creating CSS animations. So, let's look at some libraries that not only resolve the issue of better determining when an element is in the viewport, but also wrap in some pre-built, but configurable animation options.
ScrollReveal
First we'll take a look at ScrollReveal by Julian Lloyd. At its core, the library does just as the name implies - reveals items as you scroll. However, it offers an impressive level of customization that allows you to easily animate items as they are revealed.
To add the library to your page, the easiest way is via the CDN right before your closing <body> tag:
<script src="https://cdn.jsdelivr.net/scrollreveal.js/3.3.1/scrollreveal.min.js"></script>You can also download a zip or use npm or Bower.
Basic Usage
Basic usage of ScrollReveal is astoundingly simple. All you need to do is initialize an instance of ScrollReveal:
window.sr = ScrollReveal();Next, attach that instance to a DOM element using a selector:
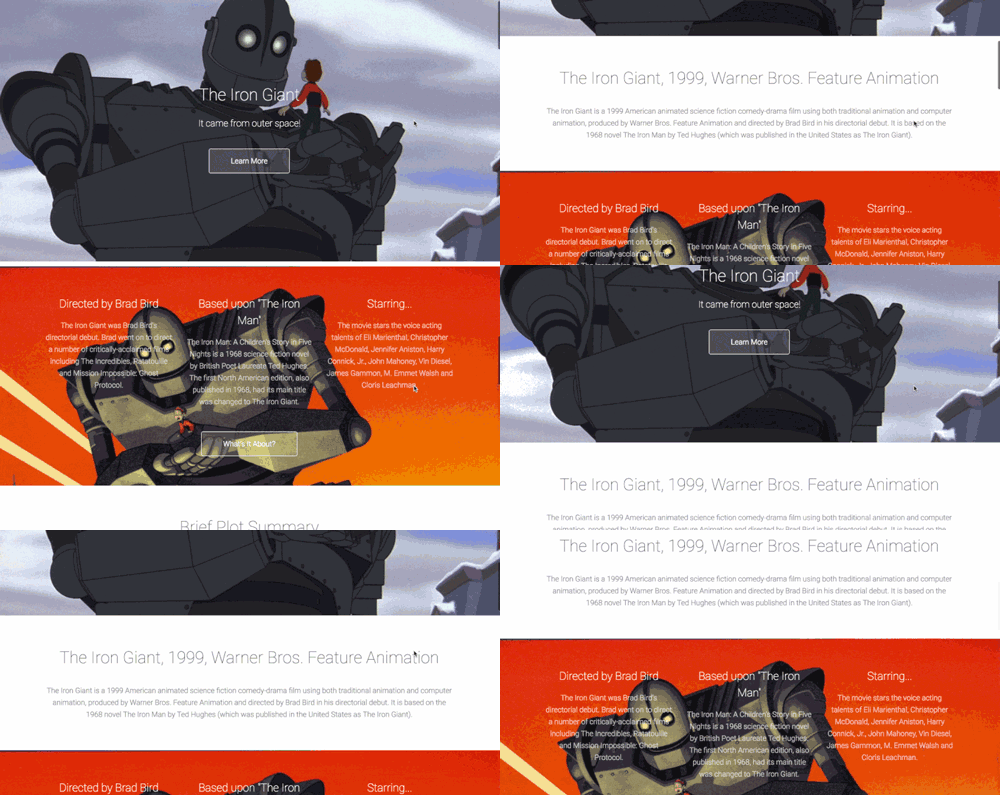
sr.reveal('#feature');In my sample page, the initial banner featuring the Iron Giant banner with the orange background appears using only the standard reveal settings (note that for the purposes of the example, I am using IDs, but you could attach it to multiple elements at once using any other sort of selector such as a CSS class, for instance). As you can see from the GIF below, the banner appears once on the initial scroll, but the animation is not reset if the user scrolls again.
Advanced Usage
As I mentioned, ScrollReveal has a ton of options. Let's take a look at using some of them.
In my sample page, I wanted to have the characters "fly" in from different directions and in a sequence. Let's look at the code for that and discuss what it is doing.
// with options
sr.reveal('#chr1', {
    origin: 'left',
    distance: '100px',
    easing   : 'ease-in-out',
    scale: 0.8,
    reset: true
});
sr.reveal('#chr2', {
    origin: 'top',
    distance: '100px',
    easing   : 'ease-in-out',
    scale: 0.8,
    delay: 200,
    reset: true
});
sr.reveal('#chr3', {
    origin: 'right',
    distance: '100px',
    easing   : 'ease-in-out',
    scale: 0.8,
    delay: 400,
    reset: true
});
sr.reveal('#chr4', {
    origin: 'bottom',
    distance: '100px',
    easing   : 'ease-in-out',
    scale: 0.8,
    delay: 600,
    reset: true
});
First of all, the four selectors are only different in the ID that they apply to, the origin property and the delay. The origin is the direction that the reveal animation would come from. By default this is bottom.
The distance property tells ScrollReveal how far to set the animation to start from. By default this is only 20px, so it would only move a small amount from the bottom using the default settings. I've increased this to make it have more of a "fly in" effect.
The easing property accepts any supported CSS easing. In this case, I use a built-in transition timing function but you could define your own here as well. (If you want to know what easing is and which ones are supported in CSS, here's a good reference.)
The scale property defines the relative starting size of the DOM element when the transition begins (in this case 80%). The default is 0.9.
The delay is the time in milliseconds that the transition will wait until it begins after it has crossed the threshold (which is also customizable, by the way). In this case, I have set each to have a different delay so that they appear in a sequence. If each was going to use the same transition, I could have done this without applying it to every item individually by passing a sequence interval to ScrollReveal. The default delay is 0.
Finally, the reset property means that the animation will play every time it scrolls into view rather than just once. I have set this to true because of the nature of this demo, but the default is false.
Here's the animation:
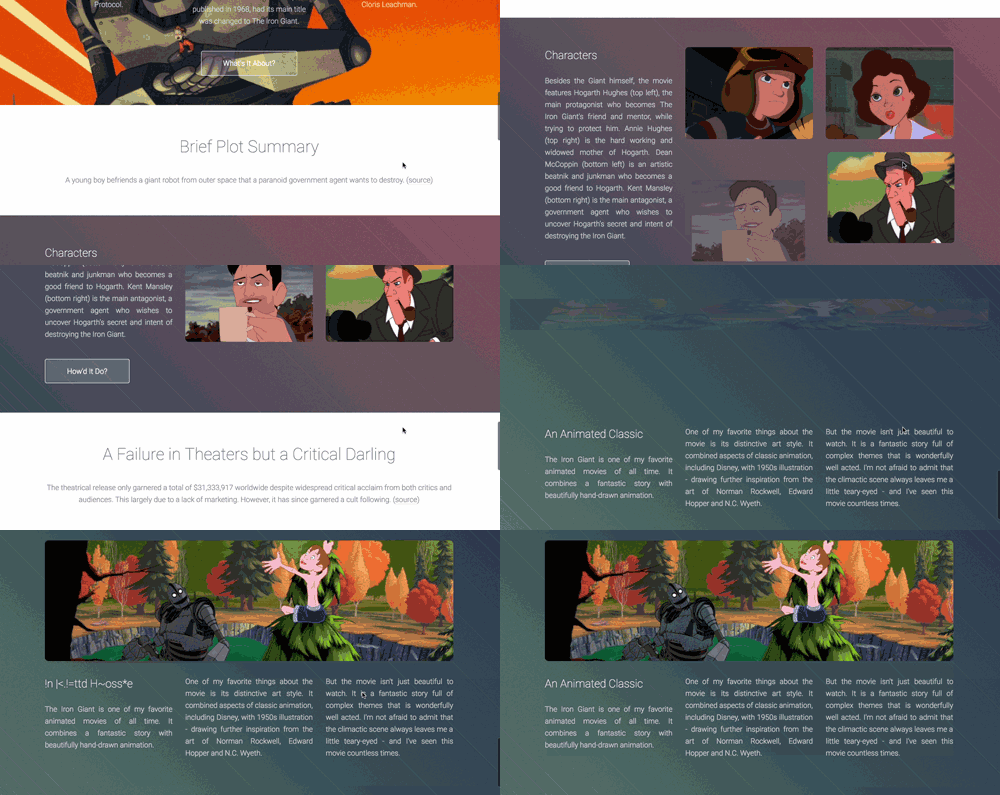
You may have noticed a final, different animation for the banner at the bottom of the page in the Gif above. This one uses a couple of additional options, including setting the transition to rotate into view.
sr.reveal('#summary', {
    origin: 'top',
    distance: '100px',
    easing   : 'cubic-bezier(0.68, -0.55, 0.265, 1.55)',
    scale: 1.2,
    duration: 1000,
    delay: 100,
    rotate: { x: 90 },
    reset: true,
    afterReveal: afterRevealSummary
});

function afterRevealSummary(e) {
    var b = baffle('#summaryTitle').text(function(currentText) { return 'An Animated Classic'});
    b.reveal(1000);
}
The main thing I want to point out here is that you can set callbacks for when a reveal has completed (or has been reset). In this case, I call the afterRevealSummary function where I use baffle.js to add an effect to the header text when it appears below the image. Is this great UX design? Probably not, but the nature of the effect isn't really the point here - just to illustrate the use of the callback function.
To see the full page in action, open it here. One thing you may notice if you are browsing on a mobile device is that there may be some scroll jank as the characters "fly in" - minimal in my test, but still noticeable.
I've only really covered some of the options available with ScrollReveal. Check the documentation for more details.
ScrollAnim
Next, let's explore ScrollAnim. One of the key differences between ScrollAnim and ScrollReveal is that, as the name implies, ScrollAnim is much more animation-focused, giving you a ton of options for built-in animation options (75 by my count as of this writing).
To install ScrollAnim, you can use Bower or simply pull the current release from the repository.
Basic Usage
The easiest way to use ScrollAnim on any DOM element is simply to add a data property to that element. For example, below we're using the default fade in animation on the feature banner on the page.
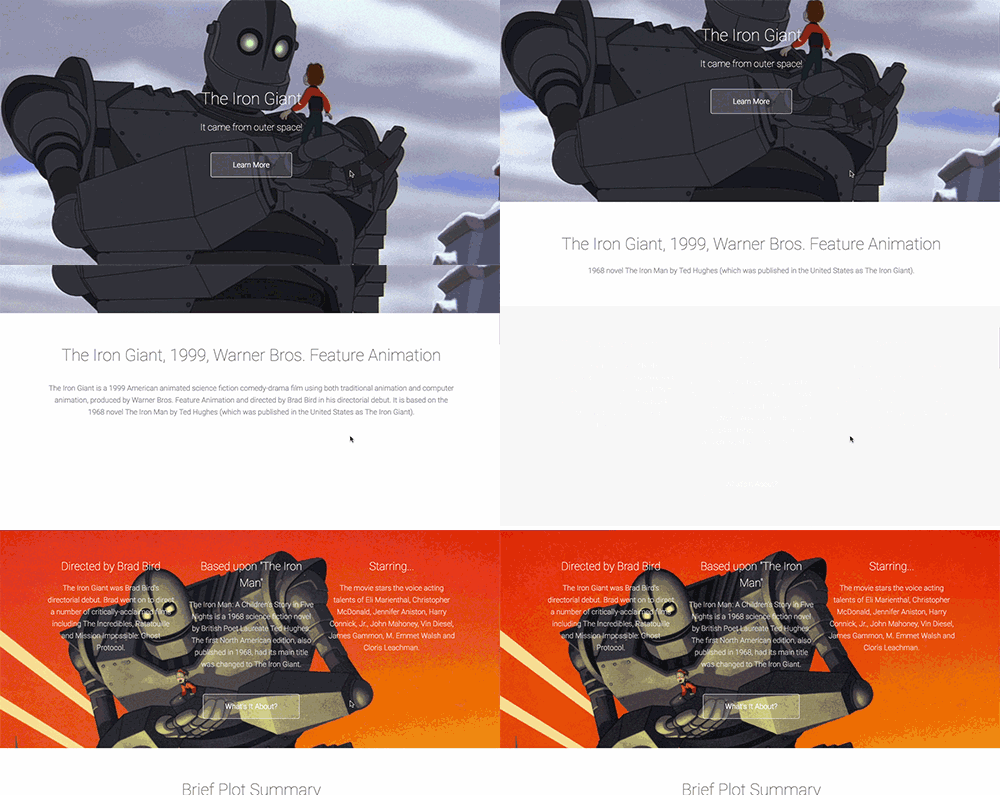
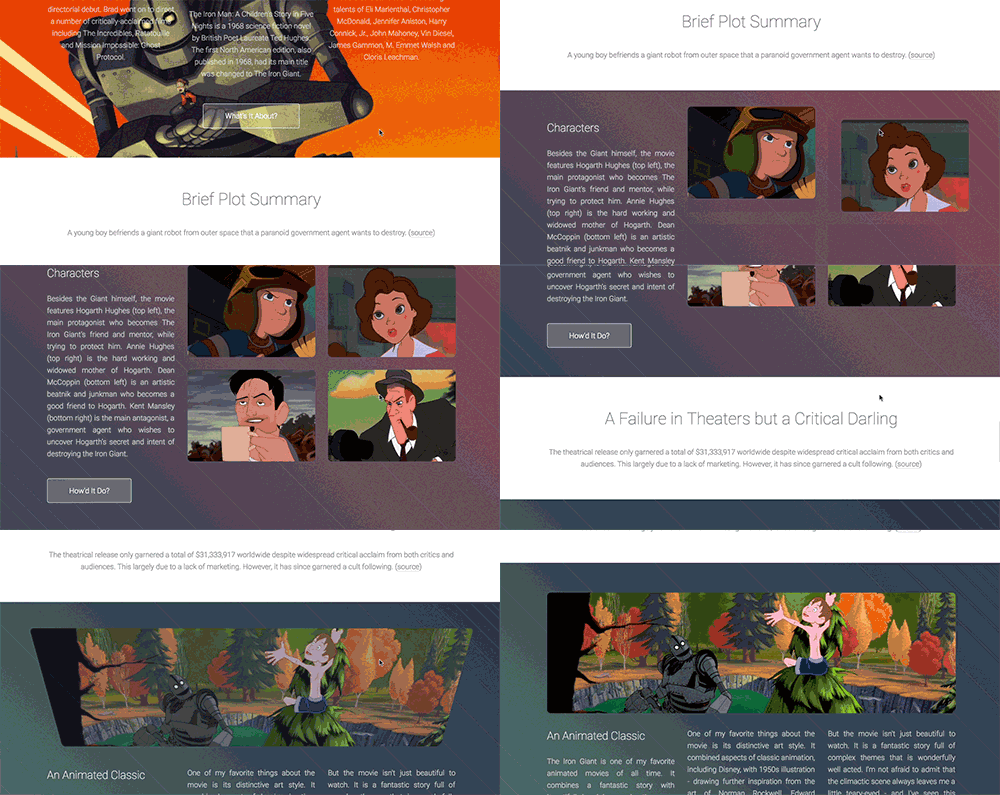
<div class="content dark style1 featured" data-kui-anim="fadeIn">While this is extremely easy, it may not be suitable for certain kinds of animations as it doesn't allow for detailed configuration. For instance, our banner is large and, using this method, it won't fade in until the entire element is visible on the page. As you can see in the image below, that's a little late for this particular element.
It is possible to do some basic configuration here using the data-kui-event property, but not enough for this particular use case. The default event is in, but there are others. The top event, in my tests, seems to trigger the animation when the top of the element hits the top of the viewport. The bottom event does the opposite (i.e. the bottom of the element hits the bottom of the viewport). Because of the sheer size of this particular element, and the inability to set an offset, all of the available options functioned almost identically in this case. In fact, on mobile, the image never animated because the conditions were seemingly never met. Nonetheless data-kui-event="bottom" was still the most effective for the other situations.
Despite these issues, it's fairly trivial to add some interesting animations throughout the page.
Advanced Usage
There are a number of configuration options available for ScrollAnim. These can be set via the setOption() or setOptions() functions on the kissuiScrollAnim class. For example, we may want to set the default event for all animations to be bottom instead of in. Also, animations are set to rerun every time they exit and reenter the viewport, but we can change that option as well.
kissuiScrollAnim.setOptions({
    'autoReset': false,
    'defaultEvent': 'bottom'
});
Besides the configuration options, we can also add animations to DOM elements directly via JavaScript. One major advantage of this is the ability to add different animations to different pre-defined events - like adding a flip when the element is at the bottom of the page and a fadeOut when it is at the top.
var e = document.getElementById("bottombanner");
kissuiScrollAnim.add(e, {
    'bottom': 'flipInX',
    'top': 'fadeOut'
});
In my own testing, it looked as if this may take some tweaking to get exactly how you'd like it (the separate animations didn't always trigger when I expected them to). Still, ScrollAnim is relatively new on the scene and I expect that it may fix some of these issues and offer some more granular control in future releases. You can see try the page out by browsing it here. As with ScrollReveal, I noticed some minimal scroll jank as the characters are animated.
Where To Go From Here
Obviously, there are a lot of other options for implementing scroll animations than simply what I covered. Of course, you can get far more advanced with your own custom solution than I managed to in these samples. But there are also other libraries, for example like ScrollMagic, that have different options than the ones covered here. In addition, if you are curious about CSS animations in general, check out Donovan Hutchinson's CSS Animation site complete with a weekly newsletter of CSS animation links.
Header image courtesy of Pascal Volk

Brian Rinaldi
Brian Rinaldi is a Developer Advocate at Progress focused on the Kinvey mobile backend as a service. You can follow Brian via @remotesynth on Twitter.
