Deploying WPF .NET Application
This article shows how to deploy a WPF .NET Application using Visual Studio.
Create an Application
If you already have a WPF project, you can go directly to the Deploy the Application section of this article.
-
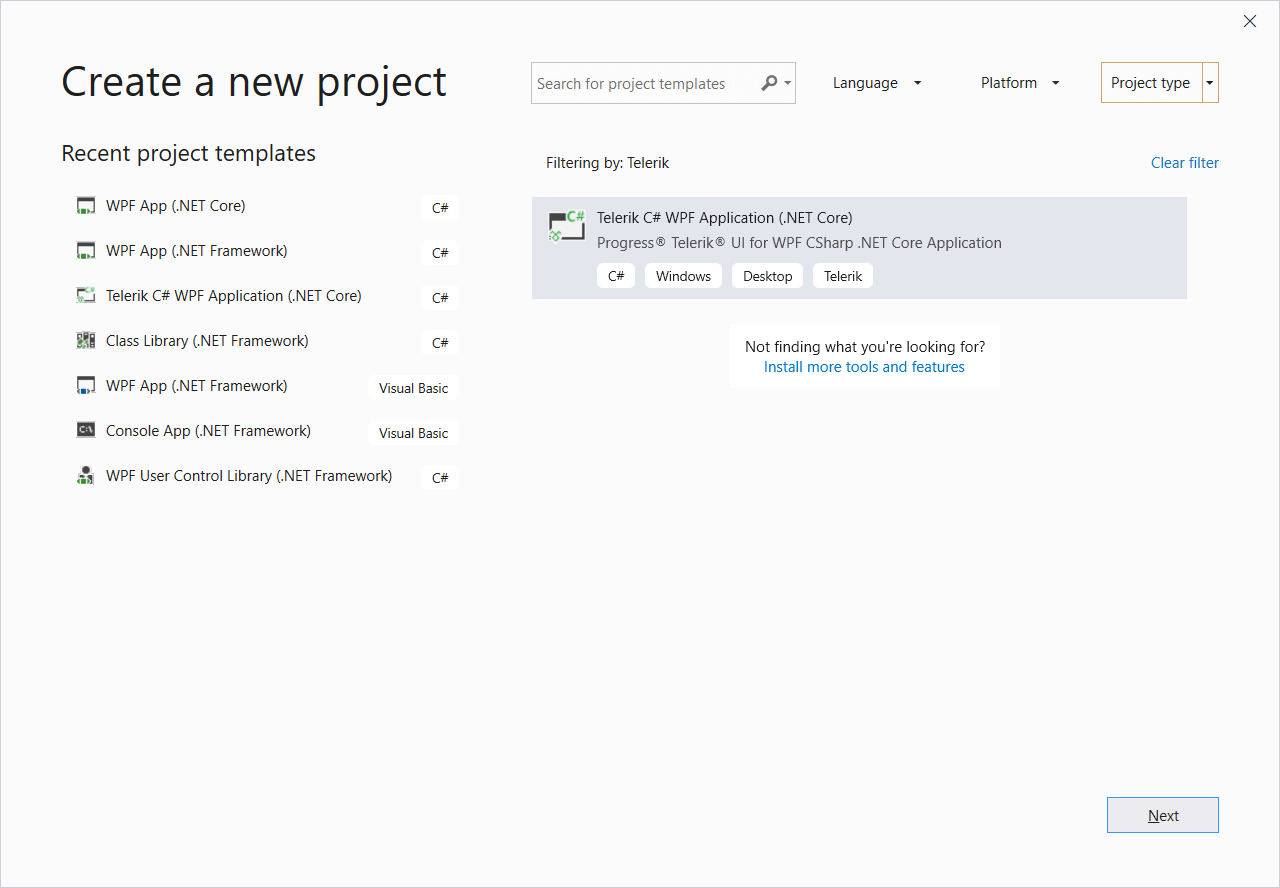
Create a new WPF project using the Telerik Visual Studio Extensions (VSX). If the VSX is installed you will see the Telerik C# WPF Application template in the Visual Studio's project templates list.
-
Select one of the application templates from the New Project Wizard. For this example, use the Calendar template.
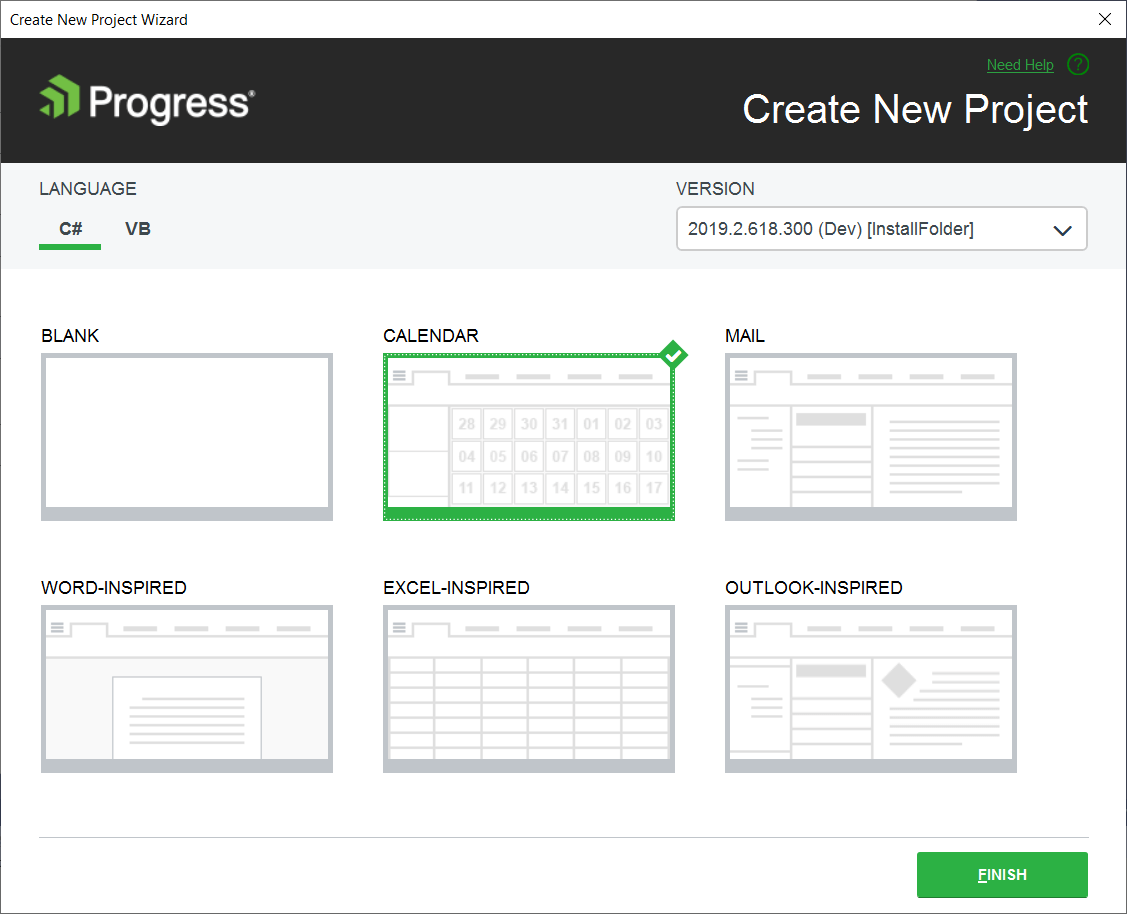
Figure 1: Calendar application created with the New Project Wizard
Deploy the Application
-
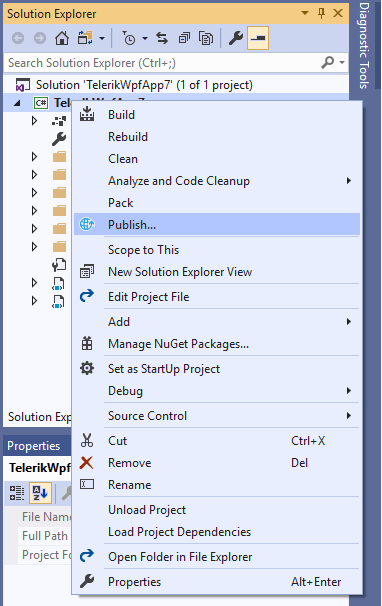
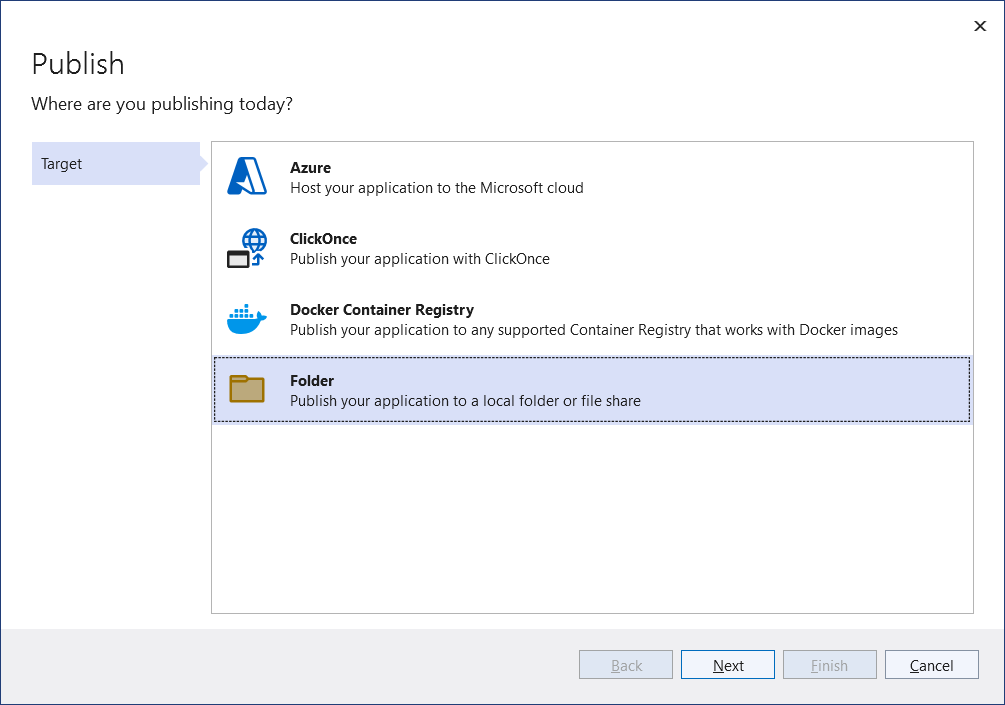
Right click the project in Visual Studio and select the Publish option. This will open the Pick a publish taget dialog.
-
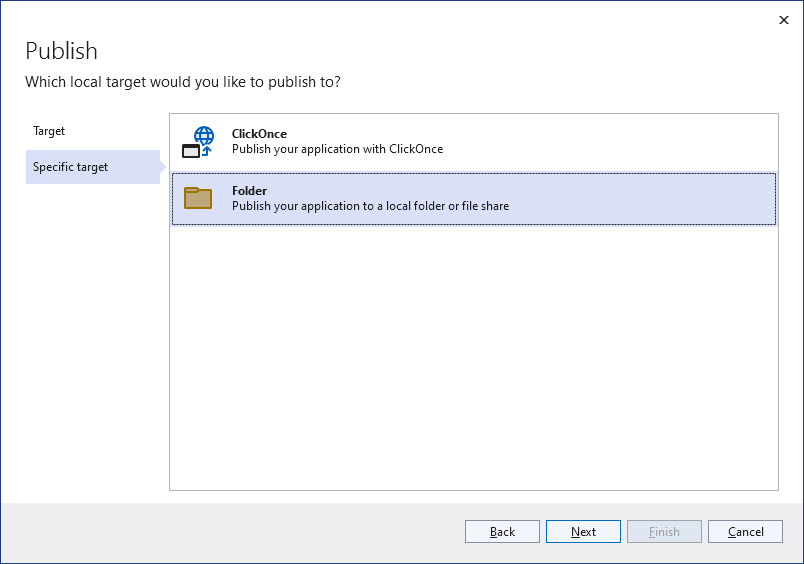
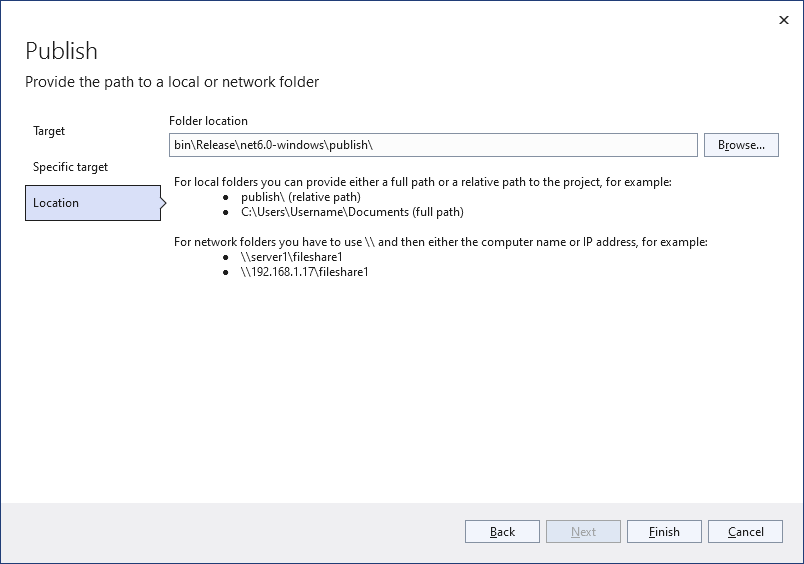
Choose the publishing approach and location. Then click Finish.
-
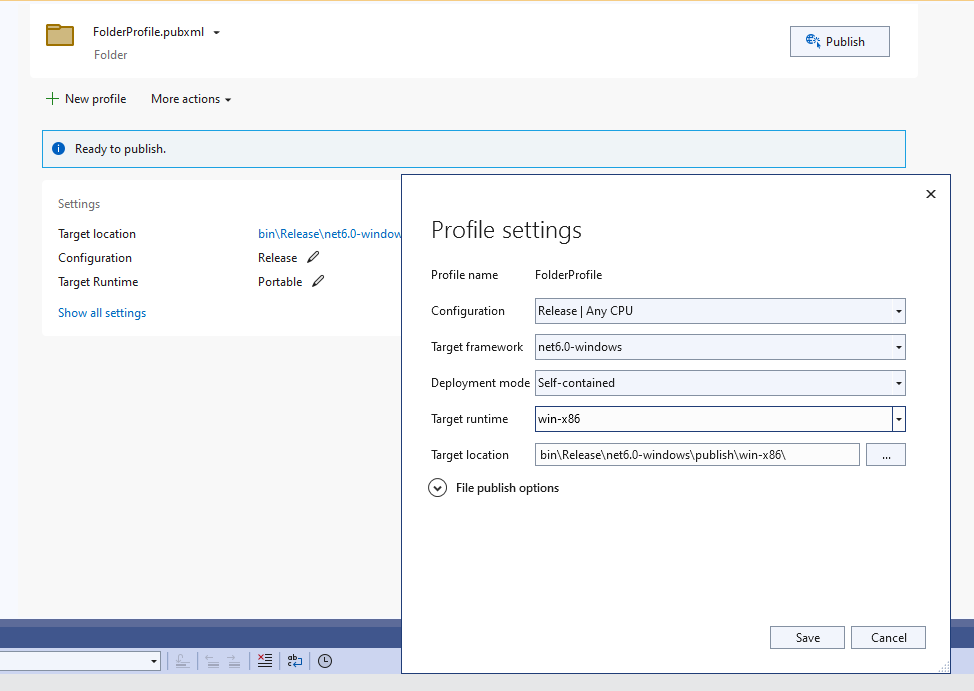
In the publish page, you can find the profile settings. Click on Show all settings and change the Deployment mode to Self-contained. Then select a Target Runtime.
-
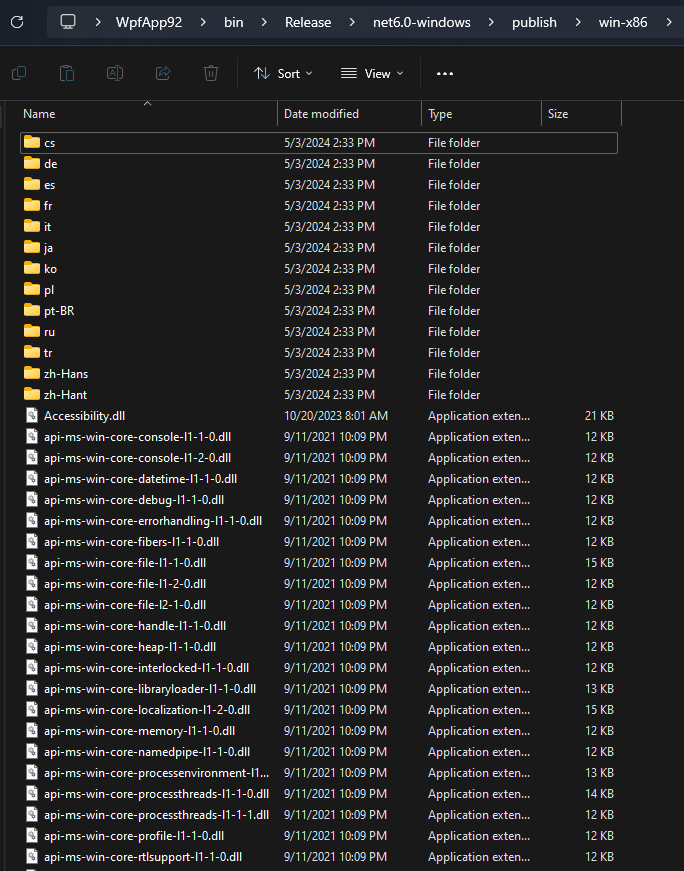
Save the configuration and click the Publish button. This will generate files in the publish location.
-
Copy the output files from the publish location to your deployment environment.
You can package your application using the MSIX format. Read more, in the What is MSIX? MSDN article.