New to Telerik UI for WPF? Start a free 30-day trial
Styling TileList
Updated on Oct 1, 2025
This topic will go through the process of styling the common elements of RadTileList.
Styling the Tiles
For the purpose of this example, the following definition of RadTileList will be used.
Example 1: Defining RadTileList in XAML
XAML
	<telerik:RadTileList >
            <telerik:RadTileList.Groups>
                <telerik:TileGroup Header="Europe" DisplayIndex="0">
                    <telerik:TileGroup.Items>
                        <telerik:Tile Content="Italy" />
                        <telerik:Tile  Content="Germany" />
                    </telerik:TileGroup.Items>
                </telerik:TileGroup>
                <telerik:TileGroup Header="Asia" DisplayIndex="1">
                    <telerik:TileGroup.Items>
                        <telerik:Tile Content="China" />
                        <telerik:Tile Content="India" />
                    </telerik:TileGroup.Items>
                </telerik:TileGroup>
            </telerik:RadTileList.Groups>
        </telerik:RadTileList>
Then, defining a Style for the Tile can achieved as follows. This example demonstrates how an implicit style targeting the Tile can be defined. Thus, it will be applied to all Tile instances.
Example 2: Defining Style for the Tiles
XAML
<Window.Resources>
<Style TargetType="telerik:Tile">
<Setter Property="Width" Value="250"/>
<Setter Property="FontWeight" Value="ExtraBlack"/>
<Setter Property="Background" Value="LightSlateGray"/>
</Style>
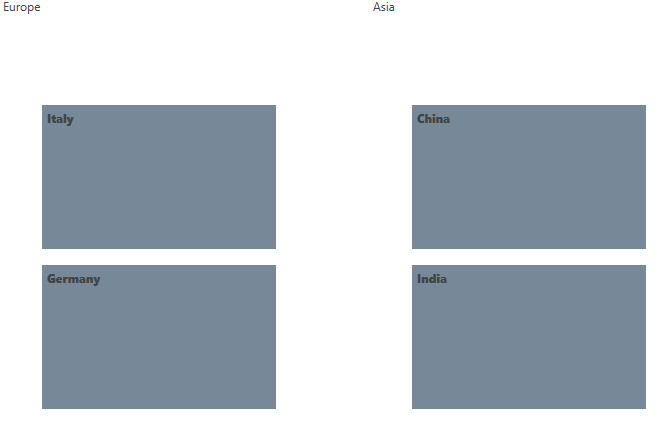
</Window.Resources>This setup will result in the following output.
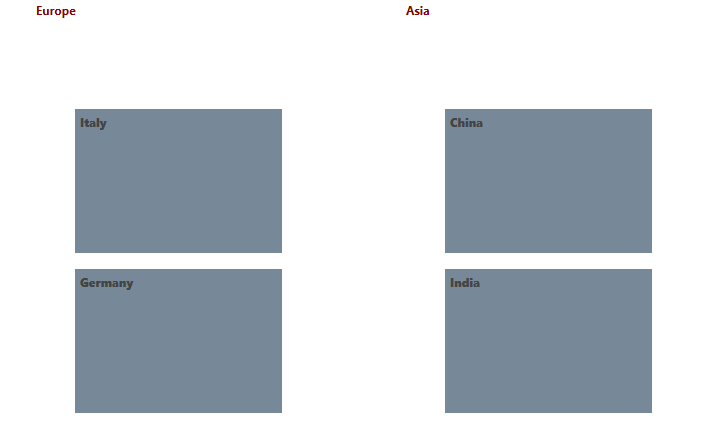
Figure 1: Styling the Tiles
Styling the Group Container
The default look of the group container can be altered by defining a style targeting TileGroupContainer.
Example 3: Defining Style targeting TileGroupContainer
XAML
	<Style TargetType="telerik:TileGroupContainer">
        <Setter Property="Width" Value="250"/>
        <Setter Property="FontWeight" Value="Bold"/>
        <Setter Property="Foreground" Value="DarkRed"/>
    </Style>
The visual appearance of the TileGroupContainer will be as shown in the image below.
Figure 2: Styling the TileGroupContainer