New to Telerik UI for WPF? Start a free 30-day trial
Display ScrollViewer Inside the Diagram
Updated on Sep 24, 2025
This tutorial describes how to display the RadDiagram built-in ScrollViewer.
For the purpose of this tutorial we'll examine the following simple Diagramming structure:
XAML
    <Grid Height="350" Width="525">
        <telerik:RadDiagram x:Name="xDiagram">
            <telerik:RadDiagramShape x:Name="shape1" Position="20,20" Content="Shape 1" />
            <telerik:RadDiagramShape x:Name="shape2" Position="520,520" Content="Shape 2" />
            <telerik:RadDiagramConnection Source="{Binding ElementName=shape1}"
                    Target="{Binding ElementName=shape2}" />
        </telerik:RadDiagram>
    </Grid>
As the Grid hosting our RadDiagram has a limited size, we can't see the second shape in the viewport:
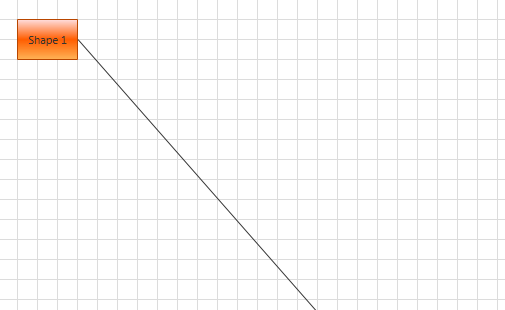
In such scenarios it's useful to use the RadDiagram built-in ScrollViewer, which you can display to get a better view of the area described by the position and size of your RadDiagramItems.
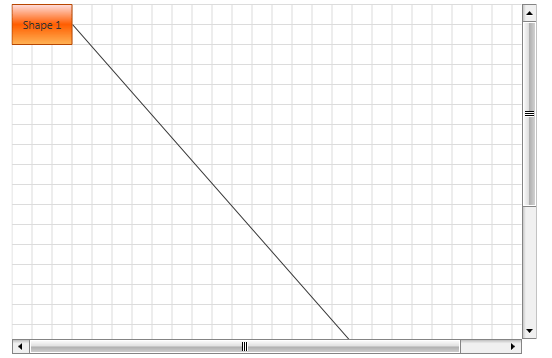
In order to enable the horizontal and/or vertical ScrollBar you need to add the following attribute(s) to the RadDiagram declaration:
XAML
    <telerik:RadDiagram Grid.Row="1" x:Name="xDiagram"
                        ScrollViewer.HorizontalScrollBarVisibility="Visible"
                        ScrollViewer.VerticalScrollBarVisibility="Visible">
      ...
    </telerik:RadDiagram>
The same operation can be done in code-behind as well:
C#
    private void EnableScrollBars()
    {
        ScrollViewer.SetHorizontalScrollBarVisibility(xDiagram, ScrollBarVisibility.Visible);
        ScrollViewer.SetVerticalScrollBarVisibility(xDiagram, ScrollBarVisibility.Visible);
    }