Installation using NuGet package
This topic outlines the steps required to install Telerik JustMock and Telerik JustMock Lite using the NuGet package inside Visual Studio or on the command line.
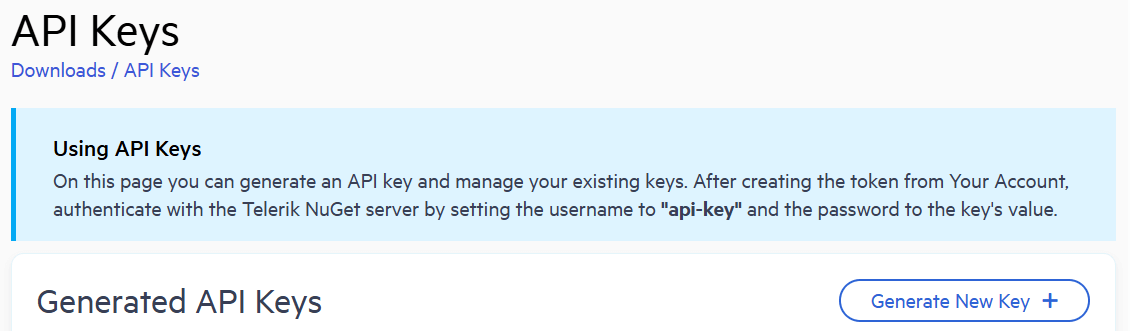
Generate an API Key
As the Telerik NuGet server requires authentication, the first step is to obtain an API key that you will use instead of a password. Using an API key instead of a password is a more secure approach, as it eliminates the need to share or store your actual password, especially when working with .NET CLI or the NuGet.Config file.
-
Go to the API Keys page in your Telerik account.
-
Click Generate New Key +.
-
In the Key Note field, add a note that describes the API key.
-
Click Generate Key.
-
Select Copy and Close. Once you close the window, you can no longer copy the generated key. For security reasons, the API Keys page displays only a portion of the key.
-
Store the generated NuGet API key as you will need it later. Whenever you need to authenticate your system with the Telerik NuGet server, use
api-keyas the username and your generated API key as the password.
API keys expire after two years. Telerik will send you an email when a key is about to expire, but we recommend that you set your own calendar reminder with information about where you used that key: file paths, project links, AzDO and GitHub Action variable names, and so on.
Installing JustMock
Visual Studio
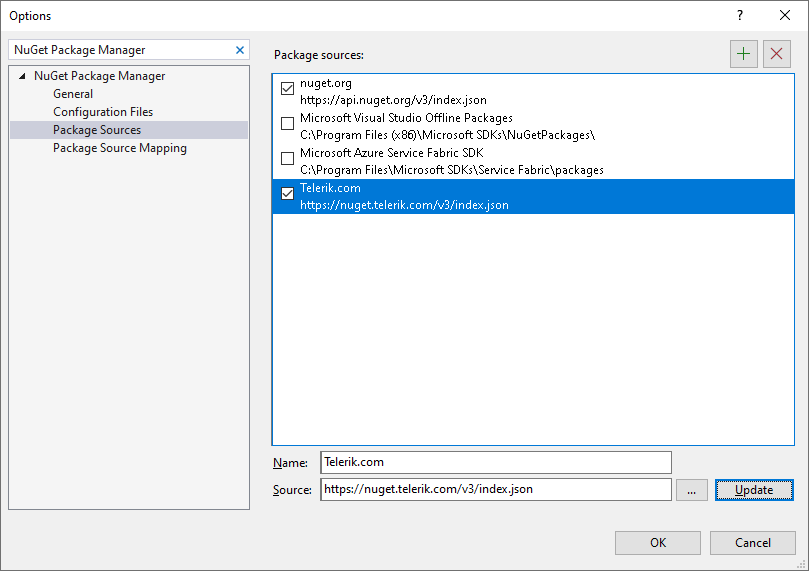
To install the JustMock NuGet package, first add the Telerik NuGet feed to the package sources using NuGet Package Manager:
-
Open Visual Studio and go to Tools > NuGet Package Manager > Package Manager Settings.
-
Select Package Sources, and then select the + button.
-
In the Name field, enter
Telerik.com. -
In the Source field, enter
https://nuget.telerik.com/v3/index.json, and then select OK.The Telerik NuGet feed is available for authorized access at https://nuget.telerik.com/v3/index.json. Note that the previous v2 server, accessible at https://nuget.telerik.com/nuget, is deprecated and is no longer in use.
Once you have configured Visual Studio to access the Telerik NuGet server, add the JustMock NuGet package to the project:
-
In Visual Studio, open the solution in which you will use mocking.
-
Go to Tools > NuGet Package Manager > Manage NuGet Packages for Solution....
-
From the Package source drop-down, select
Telerik.com. -
On the Browse tab, search for
JustMock. -
Select the
JustMock.Commercialpackage, select the desired project, and then select Install.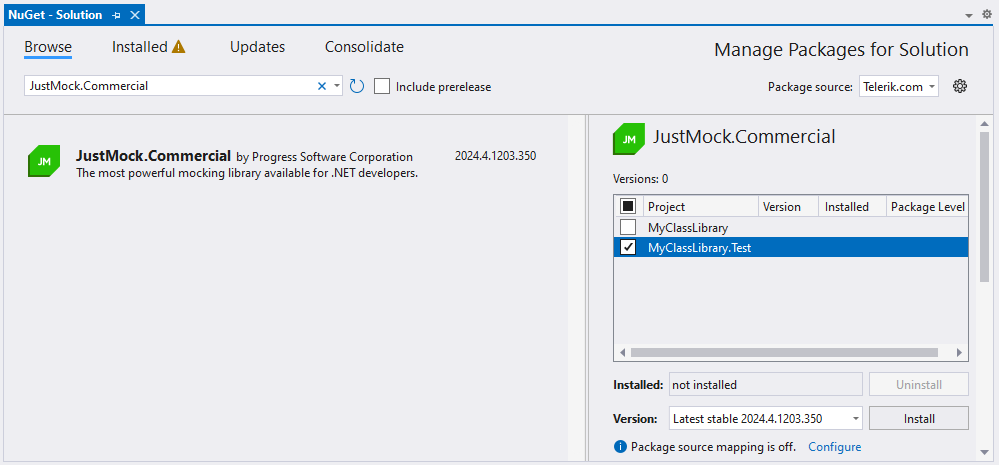
Command Line
- On the command line you can use the following commands:
dotnet nuget add source "https://nuget.telerik.com/v3/index.json" --name "Telerik.com" --username "api-key" --password <TELERIK_NUGET_API_KEY>
dotnet add package JustMock.Commercial --version 2024.4.1203.350
Installing JustMock Lite
Visual Studio
-
JustMock Lite NuGet package is available on nuget.org. You can follow similar steps from the second part of the procedure above to add the JustMock Lite package to your test project in Visual Studio. Simply select the
nuget.orgsource and browse for the JustMock Lite package: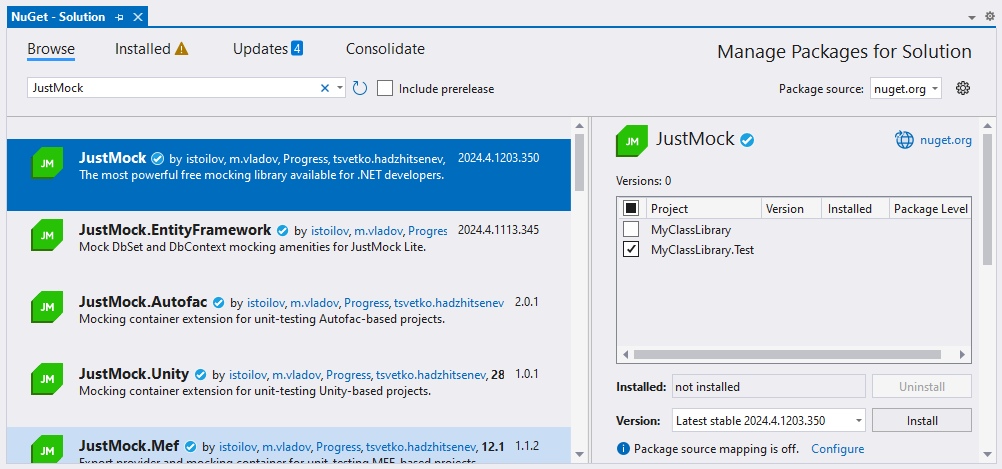
Command Line
- On the command line run the following command:
dotnet add package JustMock --version 2024.4.1203.350Resources and Documentation
-
Offline Documentation
The documentation is also available in PDF format which you can download from your Telerik account.
-
Additional Assistance
If you need additional assistance, take a look at our online JustMock forums or contact support.
-
Suggestions and Reports
If you want to suggest a new feature or vote for a popular one, please visit JustMock Feedback Portal.