CosmosDB
Azure Cosmos DB is a globally distributed, multi-model database service which enables you to develop document, key-value, wide-column, and graph databases by using popular APIs and programming models. This article will show you how to integrate the RadGridView control to work with your remote database.
This article shows the steps for creating a database along with the application that uses it. More detailed information about creating the database is available in the following tutorial: SQL API Getting Started Tutorial.
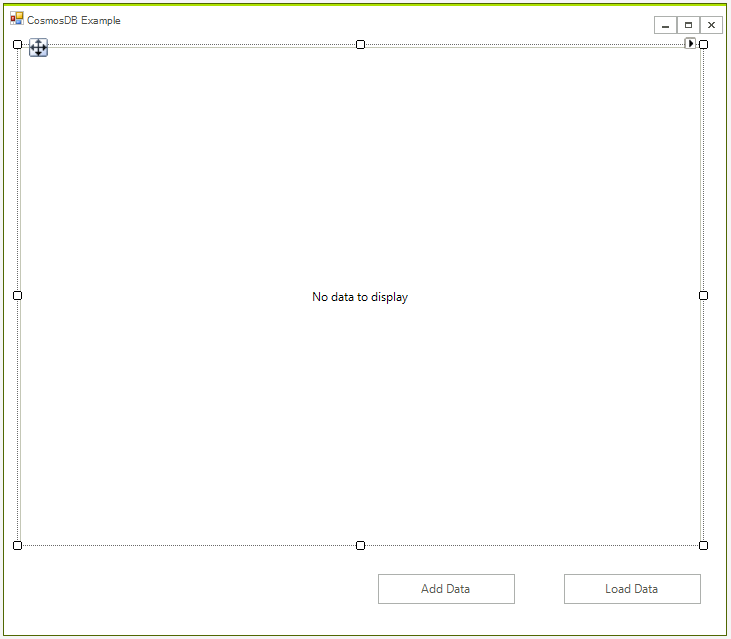
Step 1: Create a WinForms project.
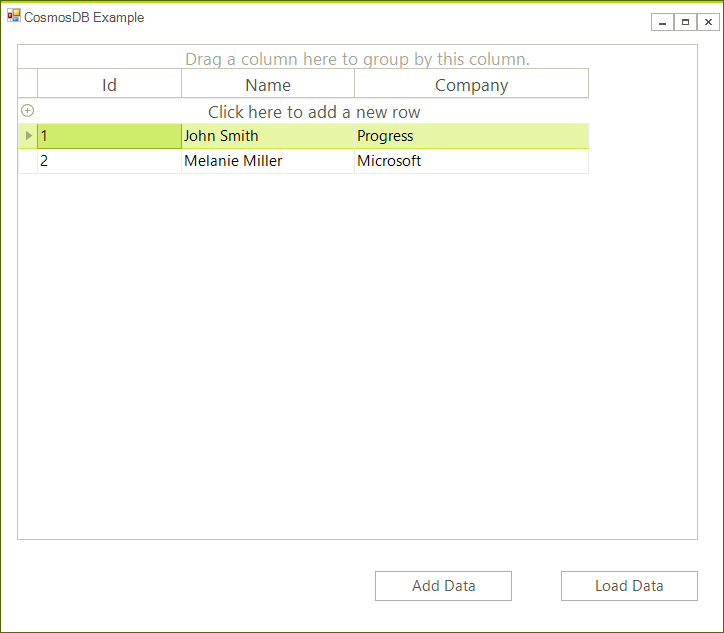
First create the WinForms project, to do that create a blank Telerik UI for WinForms project and add a RadGridView and two buttons to it. The application design should look like this:
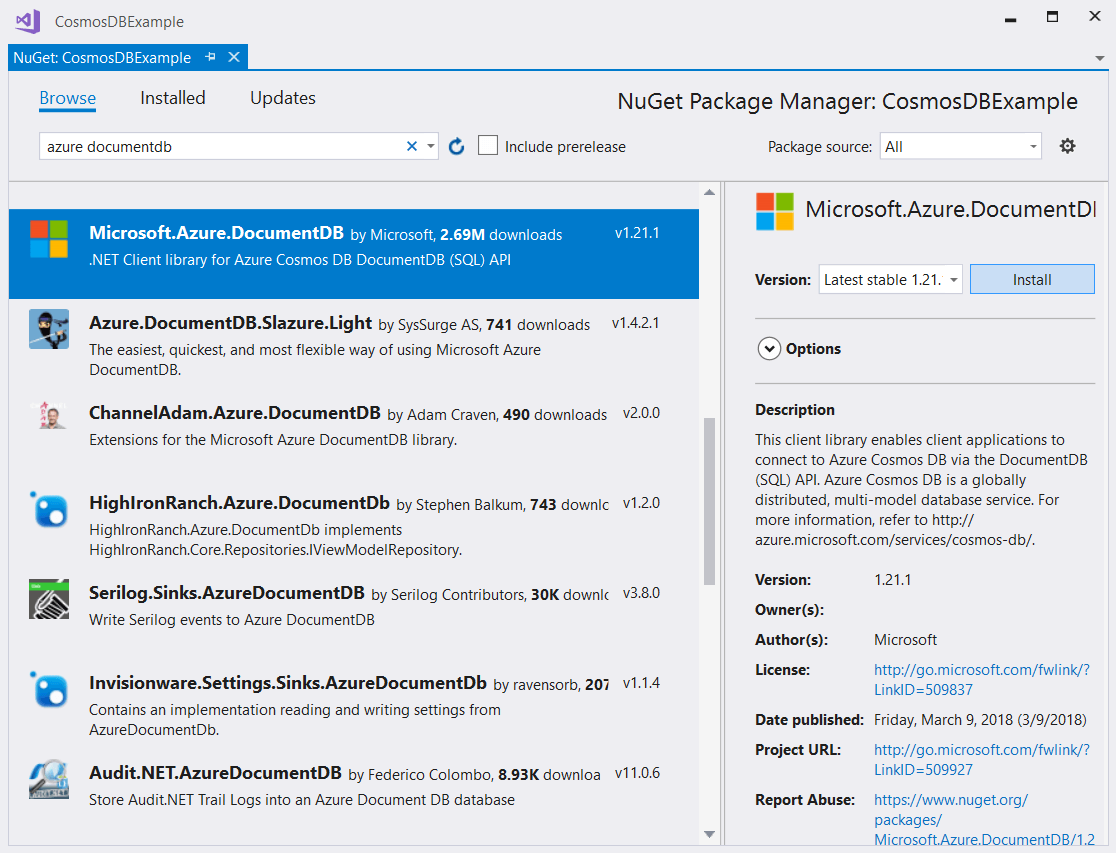
Step 2: Install the NuGet package
In Visual Studio open the NuGet package manager and install the Microsoft.Azure.DocumentDB module:
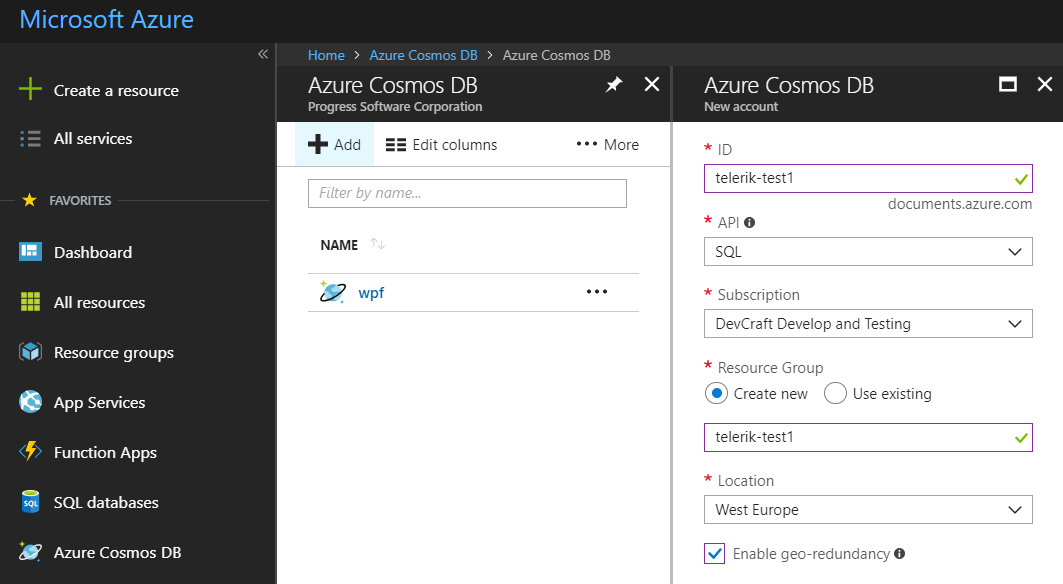
Step 3: Create the Database
Go to your Azure console, click Create Resource the select Cosmos DB and populate the required information:
-
ID - choose any name you want
-
API - select SQL
-
Resource Group - select Create New and use the same name as your ID
-
Enable geo-redundancy - leave blank
Step 4: Connect to an Azure Cosmos DB account
First add the following namespaces:
using System.Net;
using Microsoft.Azure.Documents;
using Microsoft.Azure.Documents.Client;
using Newtonsoft.Json;Add the following variables to the form's class:
private const string EndpointUrl = "<your endpoint URL>";
private const string PrimaryKey = "<your primary key>";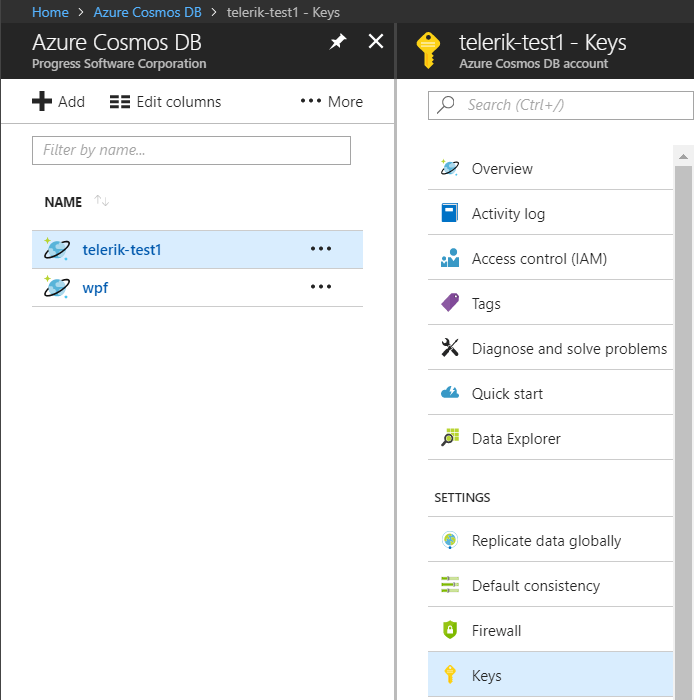
private DocumentClient client;You need to take the endpoint URL and primary key from the Azure Portal. In the Azure portal, navigate to your Azure Cosmos DB account, and then click Keys:
Initialize the client in the and create the database. This can be done in the form's constructor:
this.client = new DocumentClient(new Uri(EndpointUrl), PrimaryKey);
this.client.CreateDatabaseIfNotExistsAsync(new Database { Id = "EmployeeDB" });CreateDocumentCollectionIfNotExistsAsync will create a new collection with reserved throughput, which has pricing implications.
Step 5: Create JSON documents
Documents are user defined (arbitrary) JSON content. We can now insert one or more documents. First, we need to create a the class that will represent the business object:
public class Employee
{
    [JsonProperty(PropertyName = "id")]
    public string Id { get; set; }
    public string Name { get; set; }
    public string Company { get; set; }
    public override string ToString()
    {
        return JsonConvert.SerializeObject(this);
    }
}Now we are ready to add some data. For this we need to add a collection first. Call the following code once from your application (from the add event handler for example):
private async void AddData()
{
    var employee1 = new Employee() { Id = "1", Name = "John Smith", Company = "Progress" };
    var employee2 = new Employee() { Id = "2", Name = "Melanie Miller", Company = "Microsoft" };

    await this.client.CreateDocumentCollectionIfNotExistsAsync(UriFactory.CreateDatabaseUri("EmployeeDB"), new DocumentCollection { Id = "EmployeeCollection" });
    await this.client.CreateDocumentAsync(UriFactory.CreateDocumentCollectionUri("EmployeeDB", "EmployeeCollection"), employee1);
    await this.client.CreateDocumentAsync(UriFactory.CreateDocumentCollectionUri("EmployeeDB", "EmployeeCollection"), employee2);
}
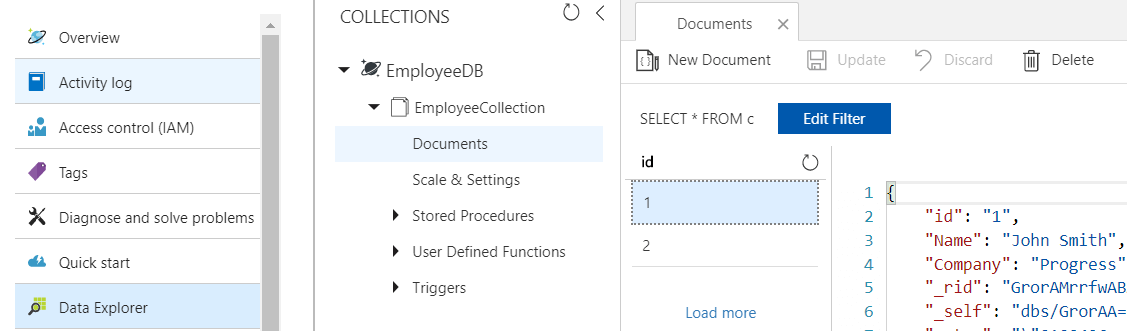
You should be able to see the data in the Azure console:
Step 6: Load the data in the grid
The following snippet shows how you can get a list of object that can be used as data source for the grid:
private void radButtonLoad_Click(object sender, EventArgs e)
{
    FeedOptions queryOptions = new FeedOptions { MaxItemCount = -1 };

    IQueryable<Employee> query = this.client.CreateDocumentQuery<Employee>(
            UriFactory.CreateDocumentCollectionUri("EmployeeDB", "EmployeeCollection"), queryOptions);

    radGridView1.DataSource = query.ToList();
}Now you can see the data in the grid:
Step 7: Save the data
Our grid allows us to track any changes an this is why we can save them directly. In this case you will use the RowsChanged event to update the records in the database:
private void RadGridView1_RowsChanged(object sender, Telerik.WinControls.UI.GridViewCollectionChangedEventArgs e)
{
    if (e.Action == Telerik.WinControls.Data.NotifyCollectionChangedAction.ItemChanged)
    {
        var item = e.NewItems[0] as GridViewDataRowInfo;
        var employee = item.DataBoundItem as Employee;
        this.client.ReplaceDocumentAsync(UriFactory.CreateDocumentUri("EmployeeDB", "EmployeeCollection", employee.Id), employee);
    }
    else if (e.Action == Telerik.WinControls.Data.NotifyCollectionChangedAction.Add)
    {
        var item = e.NewItems[0] as GridViewDataRowInfo;
        var employee = item.DataBoundItem as Employee;

        this.client.CreateDocumentAsync(UriFactory.CreateDocumentCollectionUri("EmployeeDB", "EmployeeCollection"), employee);
    }
    else if (e.Action == Telerik.WinControls.Data.NotifyCollectionChangedAction.Remove)
    {
        var item = e.NewItems[0] as GridViewDataRowInfo;
        var employee = item.DataBoundItem as Employee;
        this.client.DeleteDocumentAsync(UriFactory.CreateDocumentUri("EmployeeDB", "EmployeeCollection", employee.Id));
    }
}
Now the changes made in the grid will be automatically reflected in the database.