Build the Team Efficiency Dashboard Project
Step 10 (Last): Add and Configure the Kendo UI Themes
Kendo UI widgets include a number of predefined themes. In this chapter you'll learn how to make your app look amazing using Kendo UI themes.
Theme Change
Exercise: Theme the Application
-
If running, stop the project.
-
In the Visual Studio's Project Explorer, right-click the project and choose Telerik UI For MVC > Configure Project from the menu.
-
From the Project Configuration Wizard, choose the Nova theme.
-
Open
Views/Shared/_Layout.cshtmland move@Styles.Render("~/Content/css")just above the closing head tag</head>. -
Run the application to see the theme applied to the Kendo UI widgets.
-
Next, you'll be finishing the theme by adding styles to non-Kendo UI elements creating a completely custom look. A style sheet was installed with the boilerplate to give you a jump-start. Add it to the application by opening
Views/Shared/_Layout.cshtmland adding a reference to~/Content/site-nova.cssjust above the closing head tag</head>.This is CSS, so the order in which the style sheets are added is very important.
Razor<link href="~/Content/site-nova.css" rel="stylesheet" /> -
Refresh the application and notice the look is starting to come together. There's just a few items that could use some fine-tuning. Let's add some additional styles to
site-nova.cssto complete the theme. -
Open
site-nova.cssand find the/* Side Panel - Employee List */. Add a style that sets the date picker widgets inside themenuPanelto 100% width of the container.The resulting code should be like the one shown in the example below.
Razor/* Side Panel - Employee List */ #menuPanel .k-widget.k-datepicker { width: 100%; }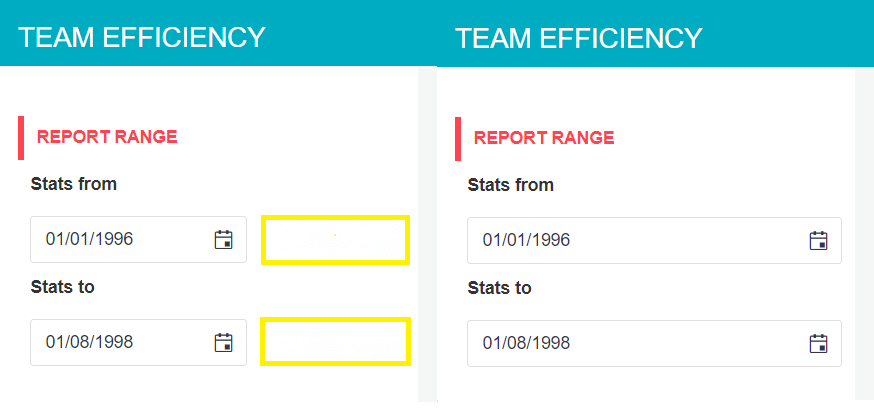
-
Add a style to offset the employee list so its content lines up with the left edge of its container.
Razor#employee-list > ul { margin: 0 -10px; }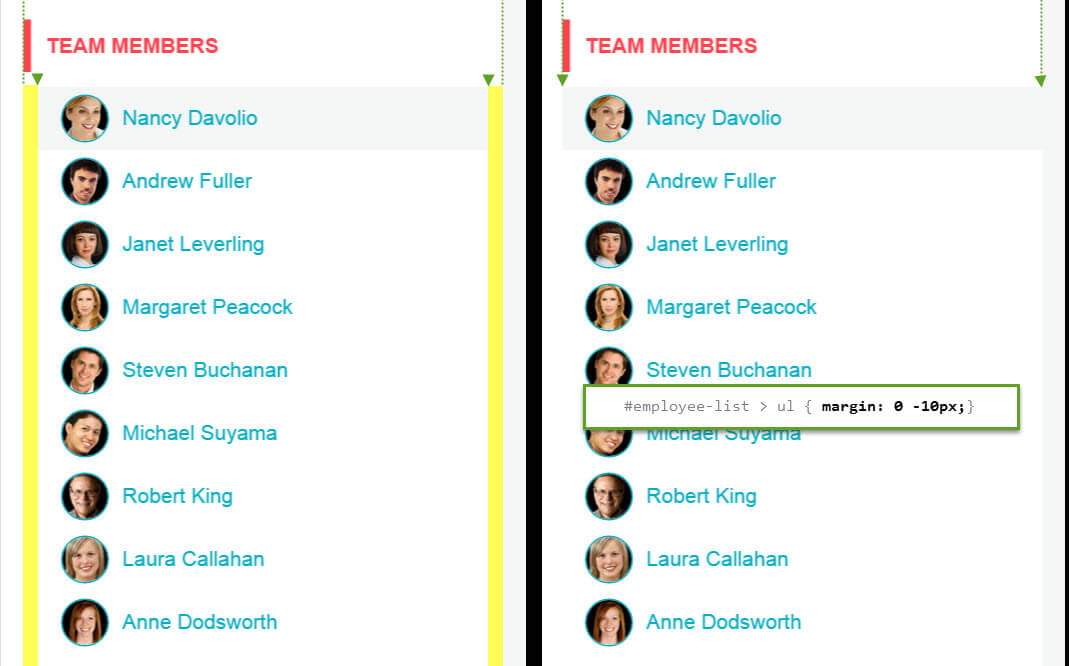
-
Find
/* Small Devices, Tablets, and Up */. Here you'll find a media query that will hold some styles that are only applied to scree sizes above768px.Razor@media only screen and (min-width : 768px) { } -
Inside the media query, add a selector for
.app-wrapperand set a left margin of-15and set thepositiontorelative. This style will align the app with the left hand edge of the screen.Razor/* Small Devices, Tablets, and Up */ @media only screen and (min-width : 768px) { .app-wrapper { position: relative; margin-left: -15px; } }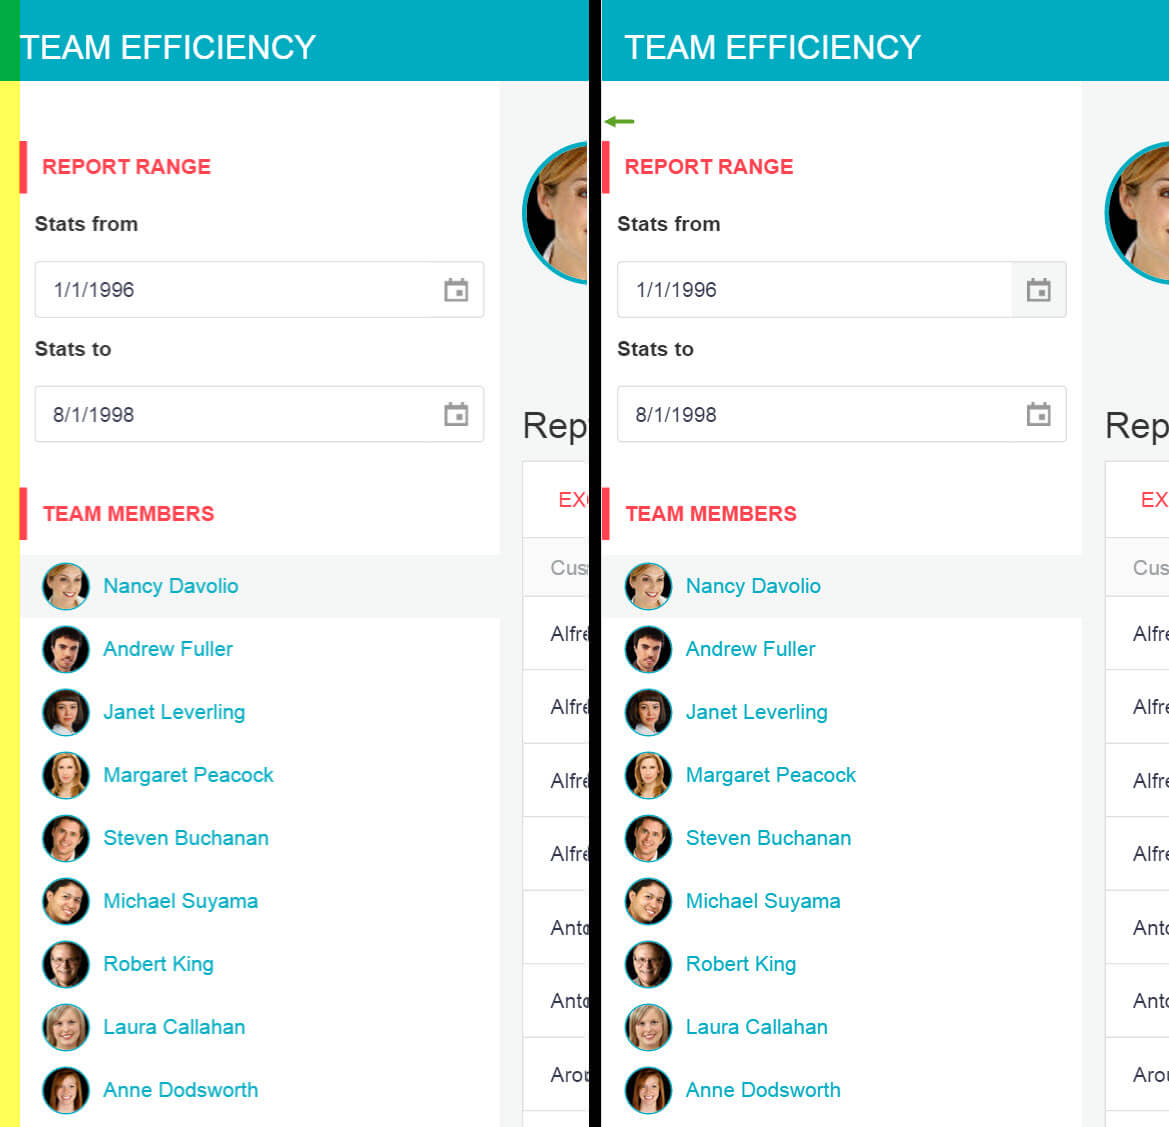
-
Finally, set the Kendo UI Chart themes. Open
_MontlySalesByEmployee.cshtmland set theThemeproperty tonovaon theEmployeeAverageSaleschart.Razor@(Html.Kendo().Chart<KendoQsBoilerplate.MonthlySalesByEmployeeViewModel>() .Name("EmployeeAverageSales") ... .AutoBind(false) .Events(e => e.DataBound("onAverageSalesDataBound")) .Theme("nova") ) -
Open
_QuarterToDateSales.cshtmland set theThemeproperty tonovaon theEmployeeQuarterSaleschart.Razor@(Html.Kendo().Chart<KendoQsBoilerplate.QuarterToDateSalesViewModel>() .Name("EmployeeQuarterSales") ... .AutoBind(false) .Events(e => e.DataBound("onQuarterSalesDataBound")) .Theme("nova") )
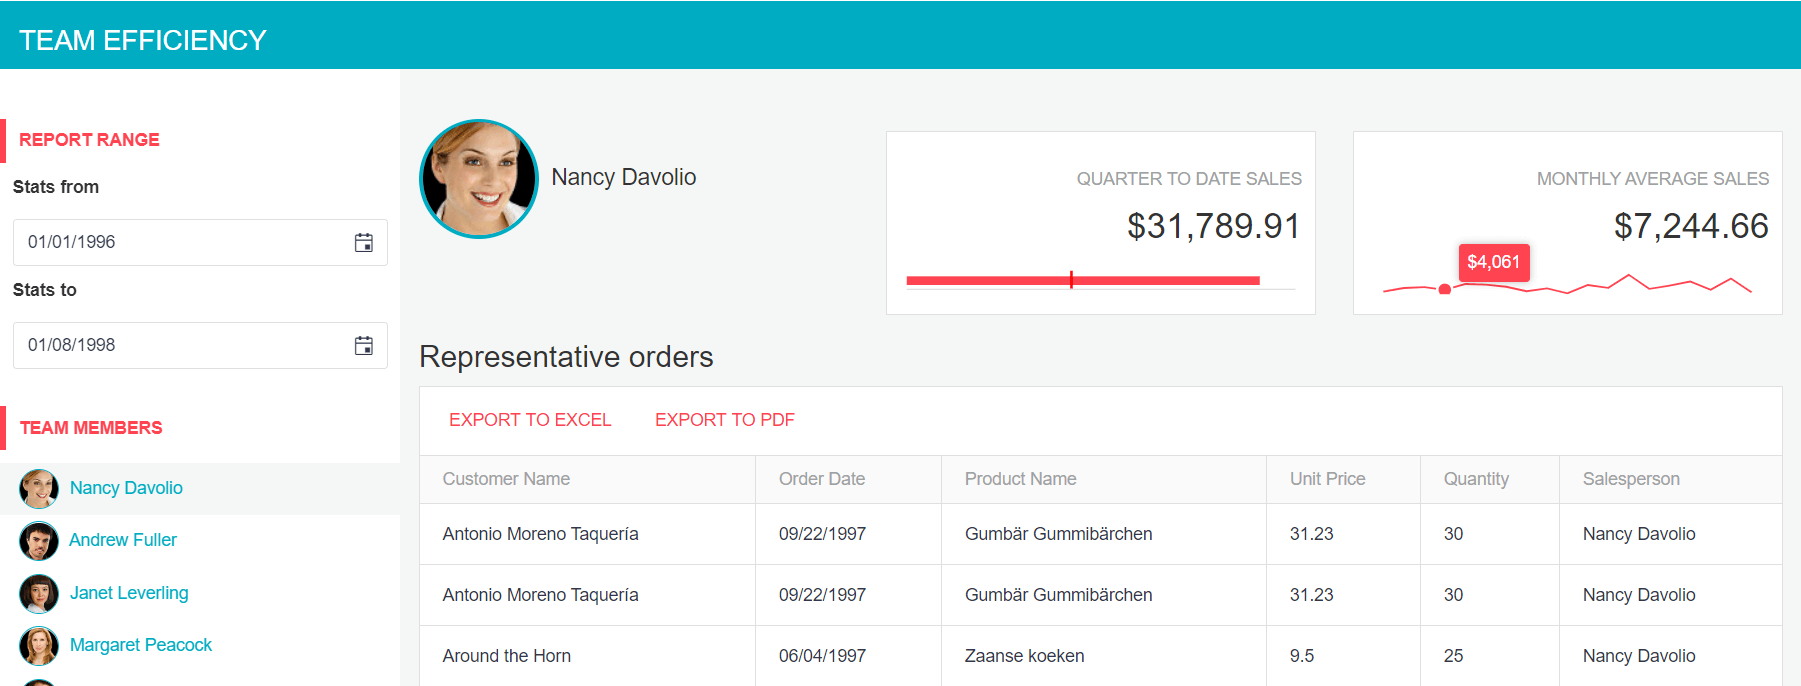
And... that's it! You've created an interactive dashboard application using Telerik UI for MVC and Kendo UI. In the process you've mastered scaffolding, Kendo UI templates, charts, server and client-side APIs, responsive web design and themes.
Congratulations!
Next Steps
Your journey with Telerik is just beginning. Here are some resources to help you figure out where to go from here.
- Follow @telerik on Twitter for the latest and greatest news about Telerik UIs.
- Check out the Telerik UI for ASP.NET MVC roadmap to see what's coming next.
- Find comprehensive demos of individual widgets and complete applications.