
Docker and Angular Part 2: Environment Variables and Share Docker Images

Summarize with AI:
Learn how to avoid rebuilding Docker images for each environment, make dynamic variables easy, provide a custom environment API and share images with teammates using Docker Hub.
In our previous article How to Dockerize Angular Apps, we learned about Docker, Docker images and containers. We also created a custom image of our Kendo Store app. But at the end, we found some problems with our solution.
The containerized Angular app always uses the https://fakestoreapi.com API defined in the environment.ts file. That works. But what happens if you want to use another API in the staging or development environment?
When we use the environment.ts file in Angular, it sets the environment values when you build the app, so we must build the app again for each environment.
If you open the environment.ts file, it looks like this:
export const environment = {
  api: 'https://fakestoreapi.com'
};
Right now, the API URL is set to https://fakestoreapi.com. To make things more flexible, we should be able to easily switch APIs, even while the app is running. Otherwise, it’s a problem if we want to use the same app image for different setups like staging, testing or production.
A better way to handle this, instead of using environment.ts, is to use environment variables and inject them directly into the container. This way, we don’t have to rebuild the image for every single environment.
So today we’re going to get familiar with using dynamic environment variables in Docker, tweak our Dockerfile, make a few adjustments to our Angular code and finally share our containerized app with other teammates using Docker Hub!
Sounds fun, let’s do it!
Inject Environment Variables
Before we start, remember this article is Part 2, so you can read Part 1 or just continue by cloning the repository and pointing to the using-docker branch. Finally, open the project with your favorite editor to start making our changes.
git clone --branch using-docker https://github.com/danywalls/dockerize-angular-app.git
We are going to try a new approach. Instead of defining hardcoded variables inside the environment.ts file, we will pass the API endpoint when running the container.
The first step is to create a new file called env.template.json, this template will be used to inject values from environment variables at runtime.
{
  "API_URL": "${API_URL}"
}
Next, we’re going to create a shell script named entrypoint.sh. This script will read the template and replace the placeholders with real values from the environment variables using envsubst.
envsubst is a Linux command part of the gettext package that replaces environment variables in text files. It is like an automatic find & replace for $VARIABLE with its current value.
Example:
export API_URL="https://fakestoreapi.com"

# config.template
API_URL=${API_URL}

envsubst < config.template > config.json
In simple words, it helps to replace text with an environment variable value.
Create a file named entrypoint.sh, which takes responsibility to copy the env.json file to assets with the environment variables specific for each one. Combining with the envsubst, it replaces the variables to make it simple to copy the following content:
The entrypoint.sh file must be in the root workspace.
#!/bin/sh
echo "Injecting environment variables into env.json..."

envsubst < /usr/share/nginx/html/assets/env.template.json > /usr/share/nginx/html/assets/env.json

exec "$@"
So what does
$@mean? The$@is used to execute whatever command was originally used to run in the container.
The combination of the env.template.json with entrypoint.shscript will work together in your Docker container. At runtime, the container will replace placeholders with real environment values, so you don’t need to rebuild the image every time.
Now that we have our env.template.json and entrypoint.sh script, we need to tell Docker how to use them. We’ll make these changes inside the Dockerfile.
The Dockerfile
Open the Dockerfile, where we need to copy our template and script into the image. After copying the build state, we copy the env.template.json file and the entry point, and bring executable permission in the container.
To simplify, let’s add the following lines.
COPY env.template.json /usr/share/nginx/html/assets/env.template.json
COPY entrypoint.sh /entrypoint.sh
RUN chmod +x /entrypoint.sh
What do these lines do? First, we copy env.template.json into the Angular assets folder inside the container. And entrypoint.sh is copied into the root of the container.
By default, new files don’t have execution permissions in Linux, so we must give the script executable permissions using chmod +x /entrypoint.sh.
chmod +x entrypoint.sh
Read more about Linux permissions.
The line ENTRYPOINT ["/entrypoint.sh"] makes the script run first every time the container starts.
The final version:
FROM node:20-alpine AS builder
WORKDIR /app
COPY . .
RUN npm ci
RUN npm run build

FROM nginx:alpine
COPY --from=builder /app/dist/kendo-store/browser /usr/share/nginx/html


COPY env.template.json /usr/share/nginx/html/assets/env.template.json
COPY entrypoint.sh /entrypoint.sh
RUN chmod +x /entrypoint.sh

ENTRYPOINT ["/entrypoint.sh"]
CMD ["nginx", "-g", "daemon off;"]
Now our container is now flexible—we can use the same Docker image in development, staging or production just by passing different environment variables at runtime.
But how will Angular take it ? We’ll need to make some changes.
Load the env.json with Angular Service
Now let’s create the Angular service that loads the runtime environment configuration, using the Angular CLI run the command ng g s services/enviroment-config.
import { Injectable } from '@angular/core';

@Injectable({
 providedIn: 'root'
})
export class EnviromentConfigService {

 constructor() { }
}
What Will the EnviromentConfigService Do?
The responsibility of EnviromentConfigService is to get and provide the env.json key and values for our app. Remember, env.json is created at runtime when Docker starts. Then our service takes that file with the environment keys and stores it to give access to other services, reading the right environment.
Open the environment-config.service.ts file. To get the environment and store, we need to create key actions. Make an http request to the env.json file and store it someplace with two private fields, http and env.
The http is an instance of HttpClient using the inject function and env is a Record data type of <string, string> values.
private http = inject(HttpClient)
private env : Record<string, string> = {
 API_URL: ''
};
Perfect, next we need to create two methods—one to make the request and load the env.json into the env field, and the other to provide the loaded environment keys to the Angular App, creating a function load.
The load function uses the http with the get method to request the assets/env.json. After load, using the tap rxjs operator, set the value in the envfield.
  load() {
    return this.http.get<Record<string, string>>('/assets/env.json').pipe(
      tap(data => {
        this.env = data;
        })
    )
  }
If you want to verify that the required environment variables are actually present in the generated env.json, you can also add a simple validation step in the load() method. This helps catch misconfigurations early during runtime:
import {inject, Injectable} from "@angular/core";
import {HttpClient} from "@angular/common/http";
import {tap} from "rxjs";

@Injectable({ providedIn: 'root' })
export class EnvironmentConfigService {
  private http = inject(HttpClient)
  private env : Record<string, string> = {
    API_URL: ''
  };

  load() {
    return this.http.get<Record<string, string>>('/assets/env.json').pipe(
      tap(data => {
        this.env = data;
        if (!this.env?.["API_URL"]) {
          console.warn('Up’s  the API_URL is not defined in env.json');
        }
      })
    )
  }

}
Finally, create the get function to get the key requested by the app, stored in the env field. The code is simple.
  get(key: string): string {
    return this.env?.[key];
  }
Perfect, we have our EnvironmentConfigService ready. The final code looks like:
import {inject, Injectable} from "@angular/core";
import {HttpClient} from "@angular/common/http";
import {tap} from "rxjs";

@Injectable({ providedIn: 'root' })
export class EnvironmentConfigService {
 private http = inject(HttpClient)
 private env : Record<string, string> = {
   API_URL: ''
 };

 load() {
   return this.http.get<Record<string, string>>('/assets/env.json').pipe(
     tap(data => {
       this.env = data;
       if (!this.env?.["API_URL"]) {
         console.warn('⚠️ Ups: API_URL is not defined in env.json');
       }
     })
   )
 }

 get(key: string): string {
   return this.env?.[key];
 }
}
We need to make changes to the products.service.ts file to use the EnviromentConfigService, by injecting it and calling the get function to get the value of the API_URL.
private environmentConfigService = inject(EnvironmentConfigService)
private apiUrl = this.environmentConfigService.get('API_URL');
Remember to update the methods from the ProductsService file to use the apiUrl variable.
public products$ = this.http.get<Product[]>(this.apiUrl);
public productById = (id: string) => this.http.get<Product>(`${this.apiUrl}/${id}`);
The final code for products.service.ts, looks like:
import { HttpClient } from '@angular/common/http';
import { Injectable, inject } from '@angular/core';
import { EnvironmentConfigService } from './enviroment-config.service';

export type Product = {
 id: string;
 title: string;
description: string;
 image: string;
 price: string;
}

@Injectable({
 providedIn: 'root'
})
export class ProductsService {

 private http = inject(HttpClient)
 private environmentConfigService = inject(EnvironmentConfigService)
 private apiUrl = this.environmentConfigService.get('API_URL');
 public products$ = this.http.get<Product[]>(this.apiUrl);
 public productById = (id: string) => this.http.get<Product>(`${this.apiUrl}/${id}`);
}
OK, but hold on a second. The ProductsService uses the value from EnvironmentConfigService, but the environment value needs to be loaded before starting to use ProductsService. We need to load env.json and provide the keys before the user starts to navigate into the app. How can we achieve that goal?
Don’t worry—Angular gives us provideAppInitializer. For nostalgia, it’s similar to the APP_INITIALIZER token, which is now deprecated, but provideAppInitialize is easier and less boilerplate. Also it allows us to use inject to make it easy to use EnvironmentConfigService. Let’s move on.
Using provideAppInitializer
First, open the app.config.ts. In the appConfig update the providers use the provideAppInitializer because it lets us use inject to load the EnviromentConfigService and call the load method, because it is a promise we return the load to make sure the provideAppInitializerwait for complete the request.
 provideAppInitializer(() => {
      const runtimeConfig: EnvironmentConfigService = inject(EnvironmentConfigService);
       return runtimeConfig.load()
    }),
The final code looks like:
import {ApplicationConfig, inject, provideAppInitializer} from '@angular/core';
import {provideRouter, withComponentInputBinding} from '@angular/router';

import { routes } from './app.routes';
import { provideHttpClient } from '@angular/common/http';
import {EnvironmentConfigService} from "./services/enviroment-config.service";


export const appConfig: ApplicationConfig = {
 providers: [
   provideRouter(routes, withComponentInputBinding()),
   provideHttpClient(),
   provideAppInitializer(() => {
     const runtimeConfig: EnvironmentConfigService = inject(EnvironmentConfigService);
      return runtimeConfig.load()
   }),

 ]
};
OK, looks like everything is ready. It’s time to test our solution by running Docker.
Run with Custom Variables
Because we made changes in the Dockerfile, running the container with the latest changes will create a new image with a new tag like testing-kendo-store-env. In your terminal run the following command.
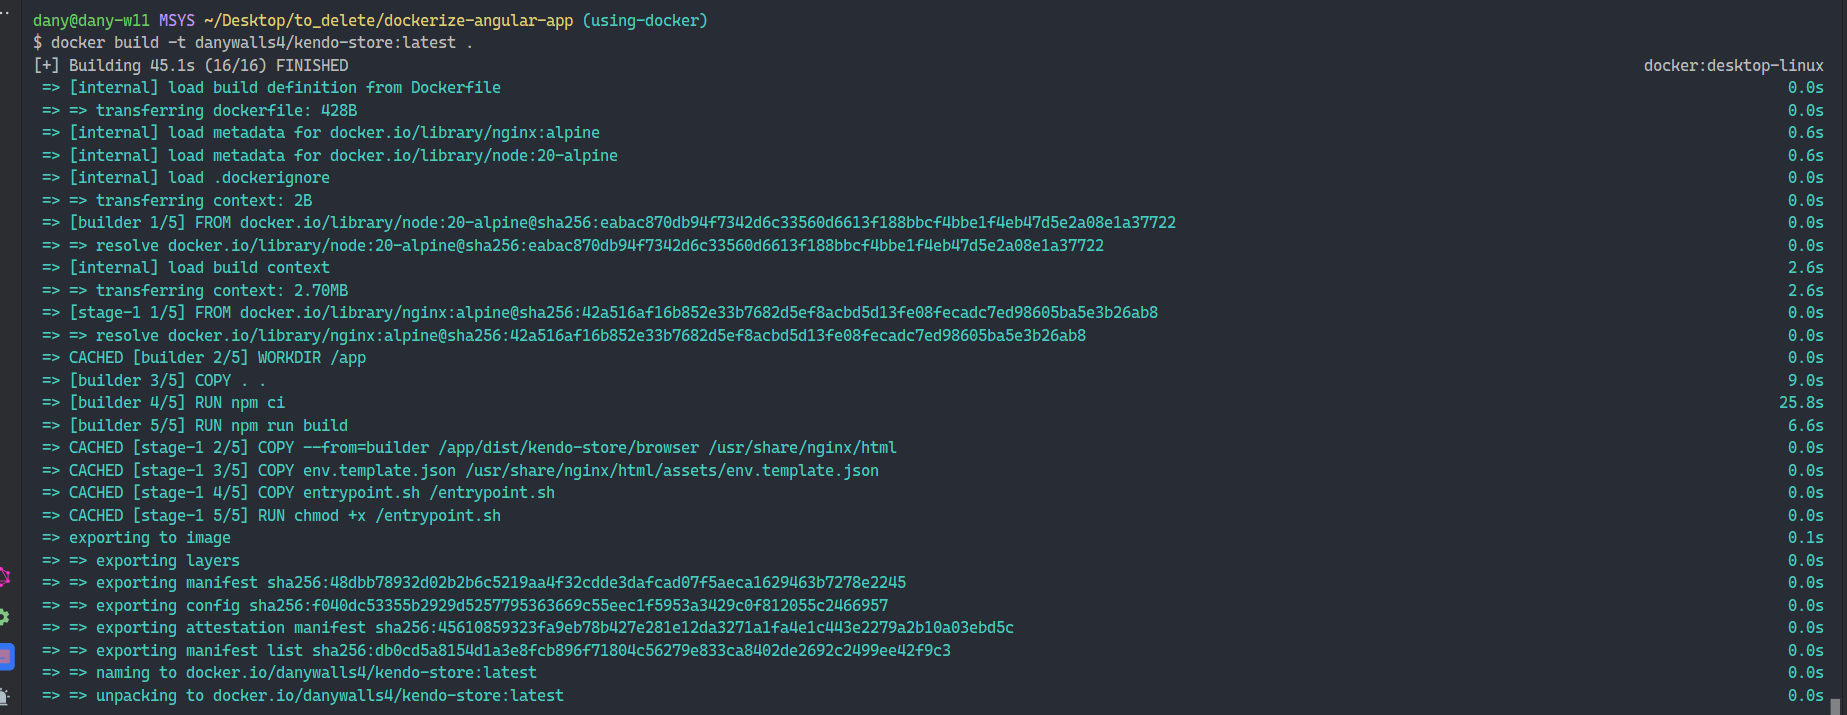
docker build -t testing-kendo-store-env .

[+] Building 169.3s (18/18) FINISHED                              docker:default
 => [internal] load build definition from Dockerfile                        0.0s
 => => transferring dockerfile: 424B                                        0.0s
 => [internal] load metadata for docker.io/library/node:20-alpine          22.3s
 => [internal] load metadata for docker.io/library/nginx:alpine            22.3s
 => [auth] library/node:pull token for registry-1.docker.io                 0.0s
 => [auth] library/nginx:pull token for registry-1.docker.io                0.0s
 => [internal] load .dockerignore                                           0.0s
 => => transferring context: 2B                                             0.0s
 => [builder 1/5] FROM docker.io/library/node:20-alpine@sha256:df02558528d  0.0s
 => => resolve docker.io/library/node:20-alpine@sha256:df02558528d3d3d0d62  0.0s
 => [internal] load build context                                           6.1s
 => => transferring context: 282.99MB                                       6.0s
 => CACHED [stage-1 1/5] FROM docker.io/library/nginx:alpine@sha256:d67ea0  0.0s
 => => resolve docker.io/library/nginx:alpine@sha256:d67ea0d64d518b1bb04ac  0.0s
 => CACHED [builder 2/5] WORKDIR /app                                       0.0s
 => [builder 3/5] COPY . .                                                  7.5s
 => [builder 4/5] RUN npm ci                                              125.3s
 => [builder 5/5] RUN npm run build                                         6.6s
 => [stage-1 2/5] COPY --from=builder /app/dist/kendo-store/browser /usr/s  0.6s
 => [stage-1 3/5] COPY env.template.json /usr/share/nginx/html/assets/env.  0.0s
 => [stage-1 4/5] COPY entrypoint.sh /entrypoint.sh                         0.0s
 => [stage-1 5/5] RUN chmod +x /entrypoint.sh                               0.3s
 => exporting to image                                                      0.3s
 => => exporting layers                                                     0.1s
 => => exporting manifest sha256:695a76fd1bf1148280b37ae4207a44fc2b4bb7e55  0.0s
 => => exporting config sha256:f2693563b59b77ec9e7e7a02ee6a8dcfcc731457bdf  0.0s
 => => exporting attestation manifest sha256:86777963f91d2fe05dbbf6fe60570  0.0s
 => => exporting manifest list sha256:0825193cfdc3d320711eeb9bffc4e1a26433  0.0s
 => => naming to docker.io/library/testing-kendo-store-env:latest           0.0s
 => => unpacking to docker.io/library/testing-kendo-store-env:latest        0.1s
Perfect, we got a new image testing-kendo-store-env:latest.
docker images
When running your Docker container, you can dynamically inject the API_URL by setting it with -e:
docker run -p 8080:80 -e API_URL=https://staging.fakestoreapi.com testing-kendo-store-env
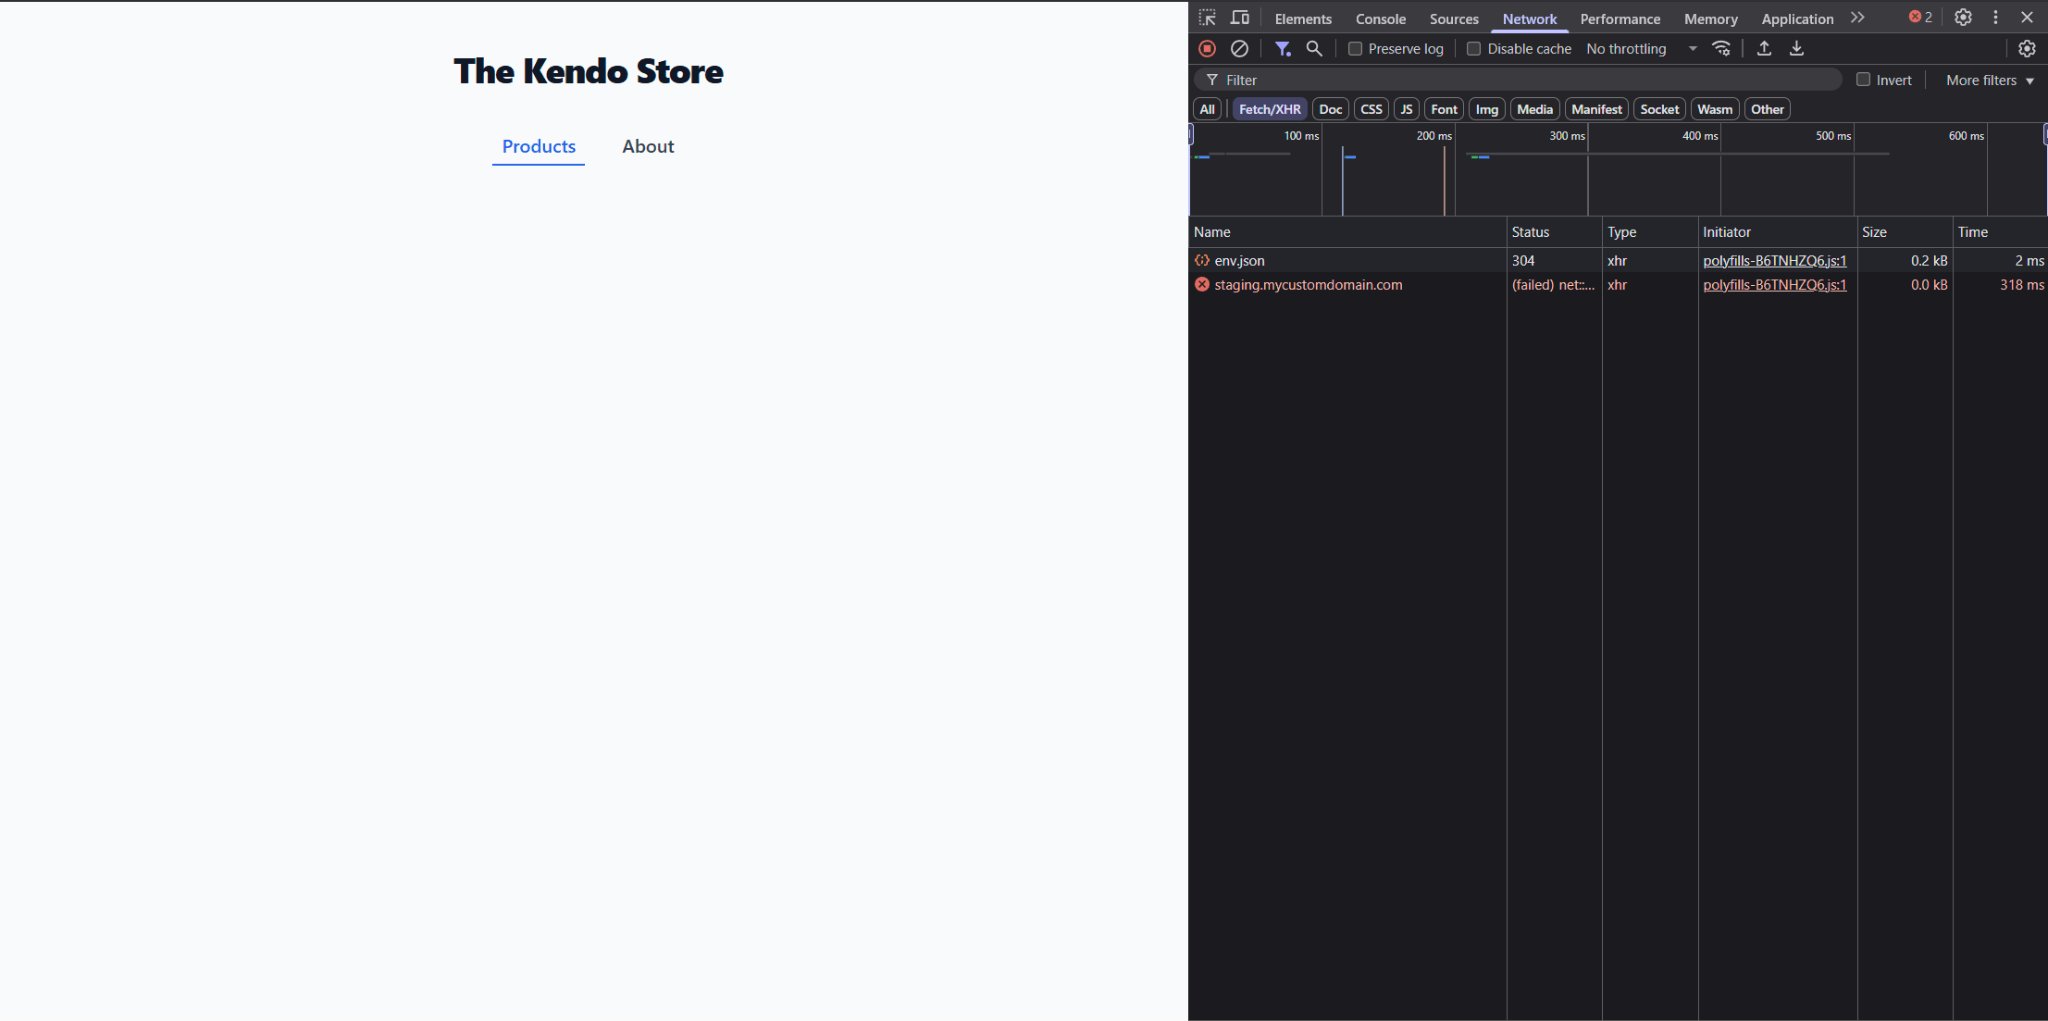
Yeah! It’s pointing to another endpoint like it’s supposed to, but maybe instead of typing the URL every time, we should create .env files for each environment—like .env.development, .env.staging and .env.production.
.env.development
API_URL=http://localhost:3000
.env.staging
API_URL=https://staging.fakestoreapi.com
.env.production
API_URL=https://fakestoreapi.com
Finally, run the container pointing to your file using --env-file, like:
docker run --env-file .env.staging -p 8080:80 testing-kendo-store-env
This allows you to keep a single Docker image and cleanly switch environments without rebuilding. The container will now load the environment config dynamically from the env.json generated during container startup. It makes a single image for all environments, decoupling the build from the environment config so it’s reusable and easy to maintain.
Perfect, we got an image with dynamic environment. But, hmm, how can I share this image with other teammates? Well, it’s time to move to Docker Hub!
Sharing with Docker Hub!
Now that we have a dynamic and reusable Docker image, it’s time to share it with the world—or at least with teammates like Alyssa and me—by using Docker Hub.
What Is Docker Hub?
Docker Hub is a place where you can store, manage and share Docker images. You can think of it as GitHub, but for Docker containers. It makes it easy to distribute containerized applications with your team or the public, so let’s create our account and share our containerized Angular store app!
First, create a free account at hub.docker.com. Once you’ve completed your signup, you need to log in from the terminal with docker login command:
docker login
You’ll be prompted to enter your Docker Hub username and password.
Next, build your Docker image and give it a name and tag so it can be pushed to your Docker Hub account. If your Docker Hub username is danywalls4, the command might look like this:
docker build -t danywalls4/kendo-store:latest .
:latestis a tag. You can also use tags likev1,prodorstaging, depending on the context.
Next, push and publish your image to Docker Hub. Use the docker push command:
docker push danywalls4/kendo-store:latest

This may take a few seconds depending on the image size and your internet speed.
Once finished, your image is public and accessible. For example, you can find mine at:
👉 https://hub.docker.com/r/danywalls4/kendo-store/tags.
Now, using Docker Hub, your teammates can pull up the image and run your Angular app—customizing it with environment variables for their specific environments!
Recap
We learned about real-world scenarios regarding how to avoid rebuilding images for each environment, making dynamic variables easy, providing a custom environment API, and sharing our images with other teammates and the world using Docker Hub.
Our Angular app changed from hardcoded values in environment.ts to a dynamic env.json file and injected environment variables at runtime using a small shell script to load the config before the app starts. It helped us to use the same Docker image for different environments like development, staging or production and finally sharing our Docker image with others using Docker Hub.
You are now ready to deploy your Angular apps with Docker and a flexible environment in the real world!
Happy Docker!!!
- Initial version: https://github.com/danywalls/dockerize-angular-app
- Final version: https://github.com/danywalls/dockerize-angular-app/tree/using-env-variables

Dany Paredes
Dany Paredes is a Google Developer Expert on Angular and Progress Champion. He loves sharing content and writing articles about Angular, TypeScript and testing on his blog and on Twitter (@danywalls).
Related Posts
Comments
All articles
Topics
Web MobileMobile
Desktop
Design
Productivity
People
