
Improve Angular Loading Experience with Functional Interceptors and Kendo UI for Angular Loader

Learn how to migrate an existing class interceptor to a functional interceptor and improve an application with Kendo UI for Angular Loader.
Angular 15 came with great improvements. One of them is how interceptors are written. They moved from classes to functions, making it fun and easy,
with less boilerplate and no @Injectable anymore—just a function.
In a previous article, we learned about interceptors and how they help to simplify how we work with HTTP requests and responses to put in one single place the control for all API calls.
Today, we’re going to learn through a real scenario how to migrate an existing class interceptor to a functional interceptor and improve an application by using Progress Kendo UI for Angular Loader to enhance the loading experience in our applications.
Scenario
In the previous inceptor article, we built an application that showed a list of NBA players and teams making two HTTP requests. It displays a loading message and hides it when the server responds using a class interceptor and basic loader.
To create a new functional interceptor and combine it with Kendo UI for Angular Loader, we must do the following steps:
- Update the app to Angular 15.
- Convert the app to module-less.
- Create and register a functional interceptor.
- Install and register the Kendo UI for Angular Loader.
Let’s go!!
Set up the Project
First, clone the project and install the dependencies by running the following command in the terminal:
git clone https://github.com/danywalls/play-with-interceptors
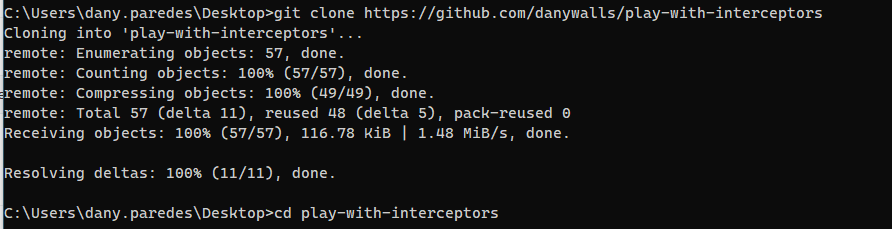
Go to the play-with-interceptor directory and install the dependencies.

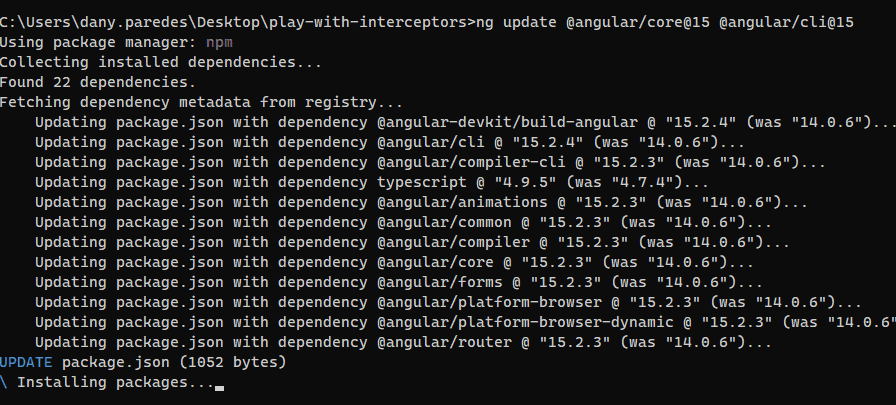
To use the functional modules, we must update to Angular 15 by using the official Angular Update Guide. This is the best way to follow the steps for an update, but in our case, we can just run the following command to update our app to the latest version of Angular:
ng update @angular/core@15 @angular/cli@15
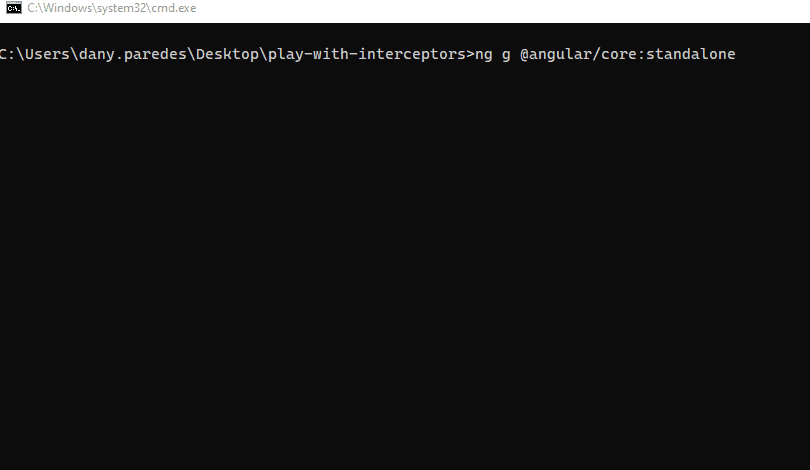
Convert to Module-Less
From Angular 15.2, we have an easy way to convert our app to module-less, by running the command ng g @angular/core:standalone. It performs the following actions for us:
- Convert the App component to a Standalone.
- Remove the
app.module - Update the
main.tsto use thebootstrapApplicationfunction to register dependencies.
Run the command, and pick the option Bootstrap the application by using standalone API's
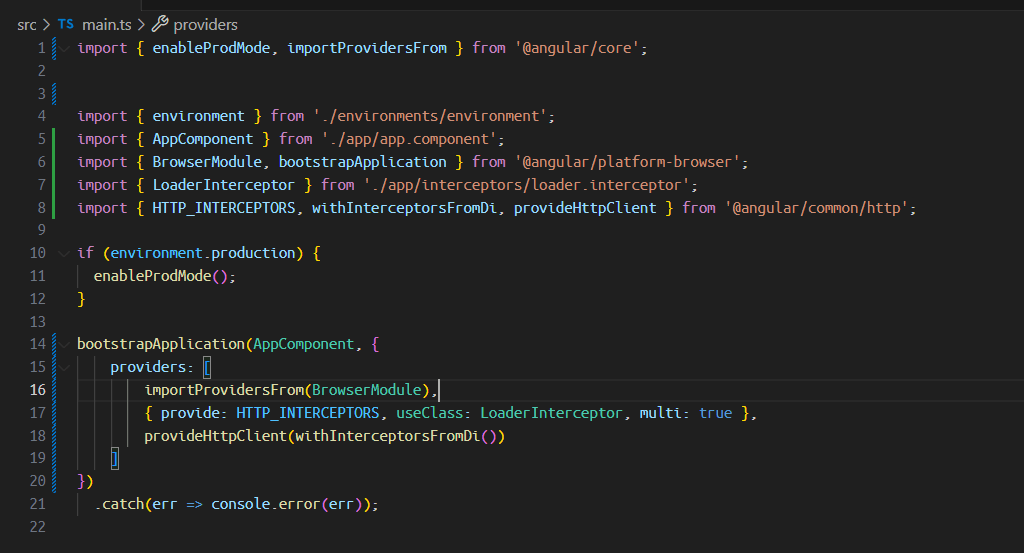
It changes the main.ts using bootstrapApplication and registers the App.component and the class-based interceptors.
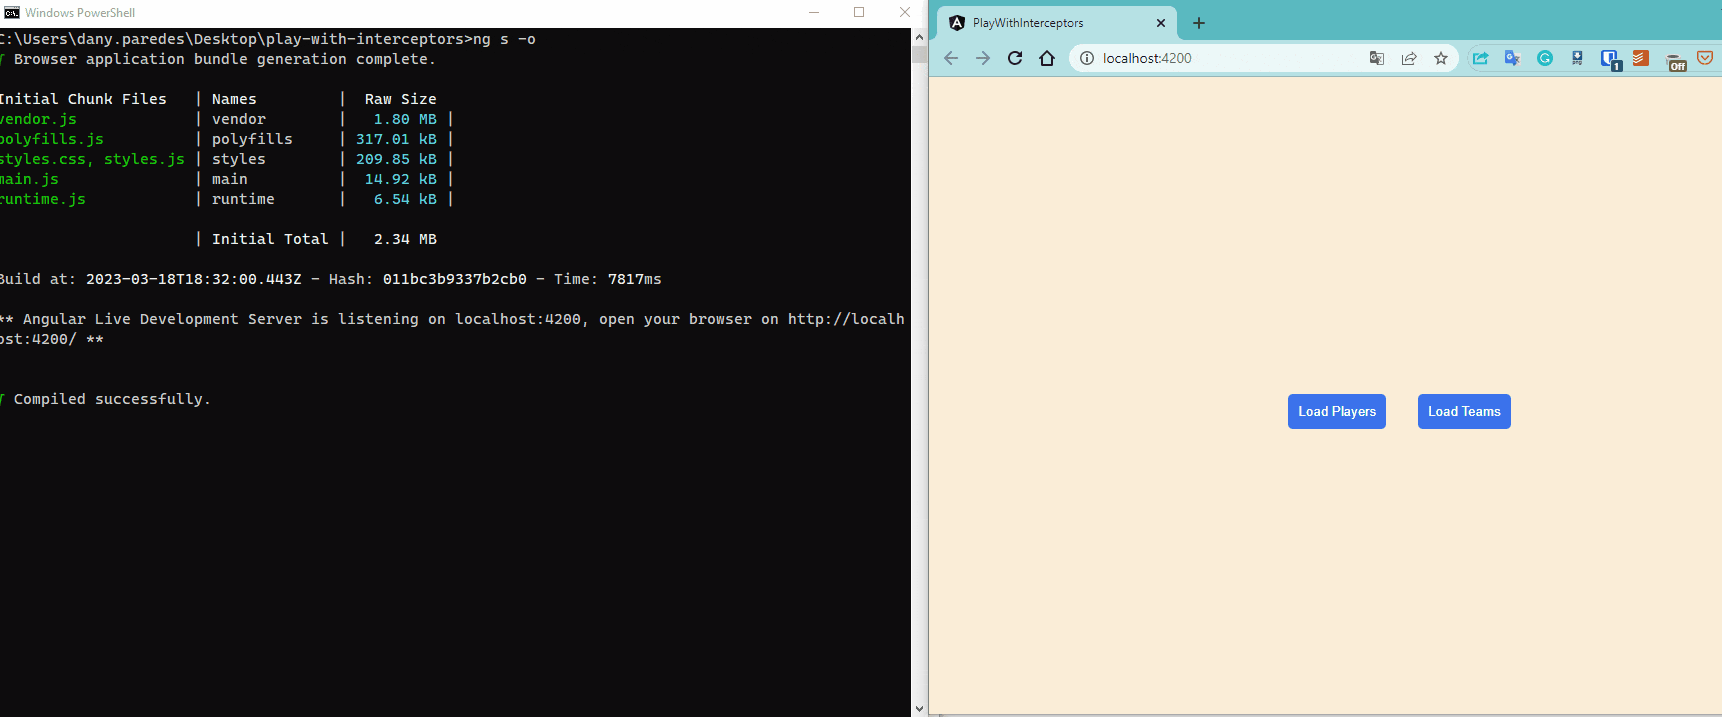
It might be prudent at this point to run an npm install. Then we can save and run the command ng s -o to open the app in the browser.
ng s -ois the short version ofng serve -o
Perfect! We updated the app to Angular 15 and moved to module-less. Our next step is to create our functional interceptor.
To learn how to work with standalone components and convert your angular apps to module-less, I recommend checking out the following resources:
- Read this article on Introduction to Standalone Components.
- Watch more about how to Convert Your App to Module-less.
Functional Interceptors in Angular 15
We will create our first functional interceptor. However, we want to see how the class interceptor looks before doing it.
Open the project with VS Code or your favorite editor, and open the loader.interceptor.ts, which is a class preceded by the @Injectable decorator and uses the loader service.
When the request starts, it calls the show() method. When the observable emits, it pipes the data using the finalize operator from RxJS and calls the hide method.
import { Injectable } from '@angular/core';
import { HttpInterceptor, HttpEvent, HttpHandler, HttpRequest } from '@angular/common/http';
import { finalize, Observable } from 'rxjs';
import { LoaderService } from '../services/loader.service';

@Injectable()
export class LoaderInterceptor implements HttpInterceptor {
  constructor(private loader: LoaderService) { }
  intercept(req: HttpRequest<any>, next: HttpHandler): Observable<HttpEvent<any>> {
    this.loader.show();
    return next.handle(req).pipe(
      finalize(() => {
        this.loader.hide();
    }));
  }
}
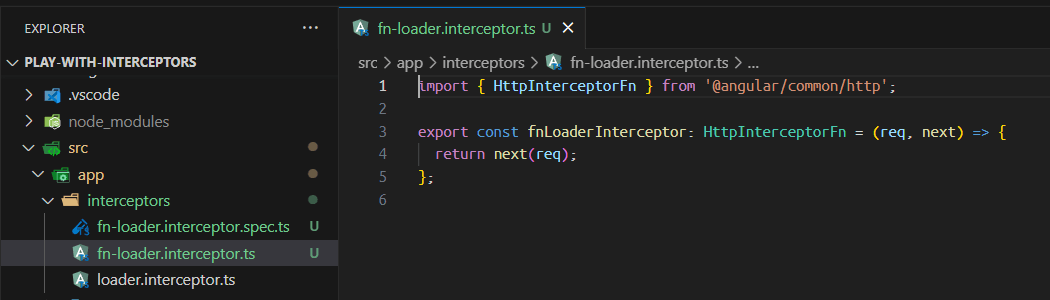
We must do the same for the functional interceptor to create a new one using the Angular/CLI with the flag --functional.
ng g interceptor interceptors/fn-loader --functional

CREATE src/app/interceptors/fn-loader.interceptor.spec.ts (493 bytes)

CREATE src/app/interceptors/fn-loader.interceptor.ts (153 bytes)
The CLI generated a basic boilerplate for the interceptor using the HttpInterceptorFn type for our function interceptor:
To make it work, like our class interceptor, we must inject the Loader service, using the inject function, and call the show method, using the finalize operator from RxJS and calling the hide method.
The final code looks like this:
import { HttpInterceptorFn } from '@angular/common/http';
import { inject } from '@angular/core';
import { finalize } from 'rxjs';
import { LoaderService } from '../services/loader.service';

export const fnLoaderInterceptor: HttpInterceptorFn = (req, next) => {
  let loaderService = inject(LoaderService);
  loaderService.show();
  return next(req).pipe(
    finalize(() => {
      loaderService.hide();
    })
  );
};
Learn more about ng generate and inject.
Register Interceptor
Angular 15 provides a new function called provideHttpClient, which simplifies registering the HTTP client in the application. It also introduces the withInterceptors function, allowing
you to add functional interceptors to the HTTP client.
To register our functional interceptor, open the main.ts and locate the bootstrapApplication. In the providers section, remove the existing class interceptor (delete lines 18 and 19). Import provideHttpClient, withInterceptors and fnLoaderInterceptor to register in the app.

If you are feeling frisky, you can clean up your imports. So your new main.ts should look something like this:
import { enableProdMode, importProvidersFrom } from  '@angular/core';
import { environment } from  './environments/environment';
import { AppComponent } from  './app/app.component';
import { BrowserModule, bootstrapApplication } from  '@angular/platform-browser';
import { provideHttpClient, withInterceptors } from  '@angular/common/http';
import { fnLoaderInterceptor } from  './app/interceptors/fn-loader.interceptor';

if (environment.production) {
  enableProdMode();
}

bootstrapApplication(AppComponent, {
  providers: [
    importProvidersFrom(BrowserModule),
    provideHttpClient(withInterceptors([fnLoaderInterceptor])),
  ],
}).catch((err) =>  console.error(err));
Once saved, everything continues working using our new functional interceptor.
Note: Functional interceptors can coexist with class-based interceptors in modular applications, allowing for a smooth, progressive transition for the application.
Learn more about provideHttpClient and withInterceptors.
Install the Kendo UI for Angular Loader
The Kendo UI for Angular Loader is a visual indicator that displays an indeterminate wait time, informing users about the status of ongoing processes—such as loading an application, submitting a form, saving updates or fetching data.
The Loader is part of Kendo Angular Indicators, which provides a set of components—Badge, Skeleton and Loader—to use with other components or as a building blocks for our applications.
Install kendo-angular-indicators in the project using the schematics:
ng add @progress/kendo-angular-indicators
Trouble in Paradise
If you have trouble using the ng add schematic, you can always do a manual install. (Loading Indicator manual install instructions found here.) However, since we are going module-less, there are a couple differences in the install details.
- Essentially, you need to install the indicators package and all its dependencies:
npm install --save @progress/kendo-angular-indicators @progress/kendo-angular-l10n @progress/kendo-angular-common @progress/kendo-licensing
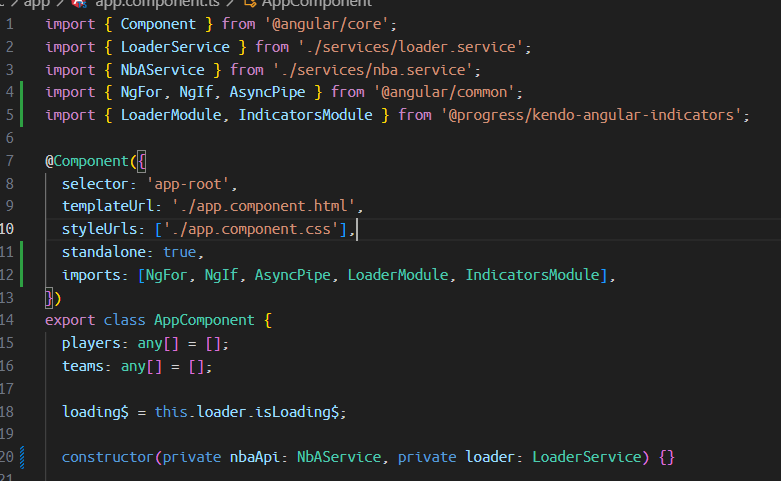
- Then, add the loader module and indicator module to the app components imports:
imports: [NgFor, NgIf, AsyncPipe, LoaderModule, IndicatorsModule]
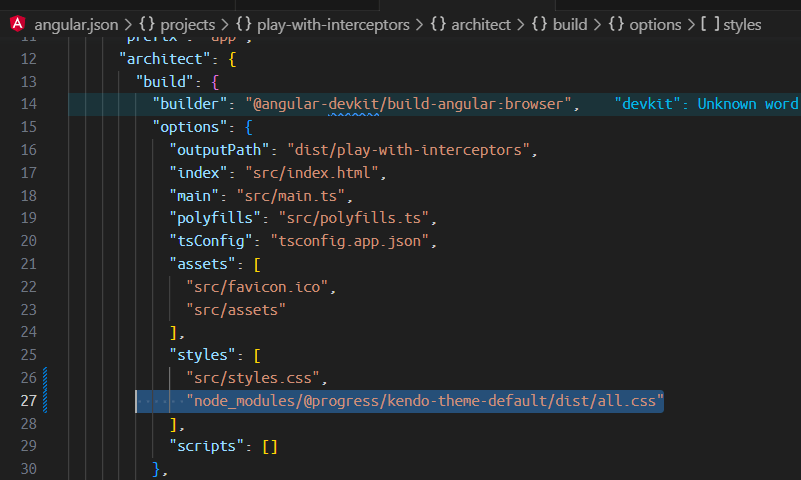
- Next, we need to add the style for the indicators by picking one theme from the available Kendo UI themes: Kendo UI Default, Kendo UI Material, Kendo UI Bootstrap or Kendo UI Fluent. To start using a theme, install its package running the command:
npm install --save @progress/kendo-theme-default
- Finally, register the theme to be loaded by
angular.json. In the build process, we must add in the style section:node_modules/@progress/kendo-theme-default/dist/all.css.
Check out my GitHub repo at the end of the article for the fully finished application’s code.
Using the Kendo UI for Angular Loader
The final step is to use the kendo-loader instead of the current loading message in the app.component template. Since the AppComponent is standalone, we
must import the IndicatorsModule and LoaderModule in the imports section to allow us to use the kendo-loader in the template.
The Loader provides a set of predefined appearance options, such as various animation types, sizes and theme colors.
Loader type: Different animations can be configured by using the
typeinput property. The available type values are:pulsing(default),infinite-spinnerandconverging-spinner.Theme color: The Loader allows you to specify predefined theme colors. The available
themeColorvalues are:primary(default),secondary,tertiary,info,success,warning,error,dark,lightandinverse.Size: The Loader allows you to set different sizes. The available size values are:
small,medium(default) andlarge.
Learn more about how to customize the appearance of the Loader.
Add the div with the class loader-wrapper, and customize the loader with your preferences like size="large", themeColor="warning" and loader type
infinite-spinner.
<div class="loading" *ngIf="loading$ | async">
<kendo-loader
type="infinite-spinner"
themeColor="warning"
size="large"
>
</div>
Save the changes and run the app.
Perfect! We show great animation using the Kendo Angular Loader combined with the functional interceptor! Great!!!
Conclusion
We learned how to create a functional interceptor easily with the Angular CLI and combine it with Kendo UI for Angular Loader to improve the loading experience in our applications—but even though it’s super simple to use, it offers a high degree of customization and flexibility.
Kendo UI for Angular offers a wide range of appearance options and ease of integration into our components, so we can use it in our application to improve the user experience.
This is just the beginning of what you can do with Kendo UI for Angular Loader. Check out the official documentation with many examples and customizations, and don’t forget you can try Kendo UI for free.
Resources

Dany Paredes
Dany Paredes is a Google Developer Expert on Angular and Progress Champion. He loves sharing content and writing articles about Angular, TypeScript and testing on his blog and on Twitter (@danywalls).
Related Posts
Comments
All articles
Topics

Latest Stories
in Your Inbox
Subscribe to be the first to get our expert-written articles and tutorials for developers!
All fields are required