
How to Build Your Own Scrum Board with Kendo UI for Angular Drag and Drop

Summarize with AI:
The easy way to bring drag-and-drop power to our Angular app is using the Kendo UI for Angular Drag and Drop component. We can even build a scrum board!
As developers, we are responsible for building dynamic and interactive applications and allowing users to interact with their UI, performing actions like drag and drop.
Imagine our company needs to build a scrum board where the user can move the task from one column to another, and change the status—something like:
How much time does it take?
We can spend time reading and understanding the Drag And Drop API, though taking care of every listener can become a nightmare. We need to speed up versus our competitors—so time is essential.
The easy way to bring drag-and-drop power to our Angular app is using the Drag and Drop component from Progress Kendo UI for Angular, making it easy to move elements or components in our Angular application.
Let’s go build it!
Setting up the Project
Our first step is to create a brand-new Angular app.
ng new scrumboard --skip-tests
Then navigate to the newly created project directory and use the run ng add @progress/kendo-angular-utils to add the Kendo UI Package Drag and Drop.
cd scrumboard
ng add @progress/kendo-angular-utils
Open the app.module.ts and import the DragAndDropModule.
import { NgModule } from '@angular/core';
import { BrowserModule } from '@angular/platform-browser';
import { DragAndDropModule } from '@progress/kendo-angular-utils';
import { AppComponent } from './app.component';

@NgModule({
  declarations: [
    AppComponent
  ],
  imports: [
    BrowserModule, DragAndDropModule
  ],
  providers: [],
  bootstrap: [AppComponent]
})
export class AppModule { }
Great! We’ve already set up the Kendo UI Drag and Drop with Angular. The next step is to create the board and show the tasks.
The Kendo UI Drag and Drop is part of the Kendo UI for Angular Utility components.
Create the Board
We need to add the layout for the app, open app.component.html in the code editor, and replace the code with the following lines:
<div class="container">
<header>
  <h1>Scrum Page</h1>
  <h2>You amazing board</h2>
</header>
  <div class="flex">
  <div
  class="stories"
  >
  <div >
    <span class="title">Section Name(total)</span>
    <div
class="story"
    >
      <span>title</span>
      <span>description</span>
      <span >status</span>
    </div>
  </div>
  </div>
  </div>
</div>
This code is the layout for the stories column and singles story box.
Next, open app.component.css and replace the code with the following lines:
header {
  padding: 1rem;
  color: #212121;
  h1 {
    font-size: 32px;
    margin: 0;
  }
  h2 {
    font-size: 14px;
    margin: 0;
  }
}

.flex {
  display: flex;
  gap: 5rem;
  flex-wrap: wrap;
}
.container {
  display: flex;
  flex-direction: column;
  border-radius: 12px;
  gap: 10px;
  padding: 40px;
  background: #ffffff;
}

.section {
  display: flex;
  flex-direction: column;
  align-items: flex-start;
  padding: 8px;
  gap: 8px;
  min-width: 285px;
  height: 672px;
  background: #f3f4f4;
  border-radius: 12px;
  cursor: grab;
}

.story {
  box-sizing: border-box;
  display: flex;
  flex-direction: column;
  align-items: flex-start;
  padding: 16px;
  gap: 8px;
  width: 284px;
  height: 102px;
  background: #ffffff;
  border: 1px solid #dddddd;
  box-shadow: 0px 2px 4px rgba(0, 0, 0, 0.08);
  border-radius: 8px;
  flex: none;
  order: 2;
  flex-grow: 0;
}

.status {
  display: flex;
  flex-direction: column;
  align-items: center;
  font-size: 13px;
  gap: 10px;
  text-transform: lowercase;
  width: 66px;
  height: 27px;
  border-radius: 20px;
  flex: none;
  order: 0;
  flex-grow: 0;
  justify-content: center;
}
.ACTIVE {
  background-color: #f0e7f6;
}

.BLOCKED {
  background-color: #ffdce0;
}

.DONE {
  background-color: #cbdfd8;
}

.TODO,.none {
  background-color: #e2dee2;
}

.title {
  font-size: 16px;
  padding: 2px;
  margin: 6px;
  text-transform: lowercase;
}
To finish the styling, open styles.css and replace the code with the following lines to increase the height for html and body tag:
html, body {
  height: 100%;
  background-color: #5A5A65;
  font-family: 'Arial'

}
In a terminal window, start your application:
ng s -o
Visit localhost:4200 in your web browser:
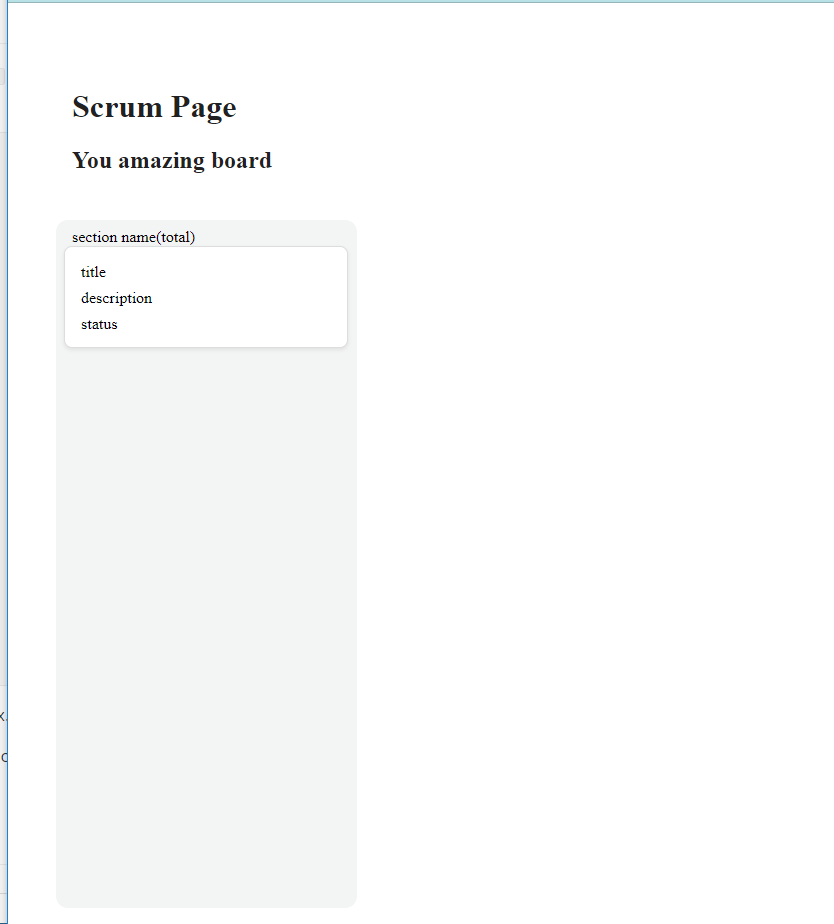
Once we verify our layout shows as expected, we begin to show the column and tasks to the app.
Show the List of Stories
We will show a list of stories and columns, open the app.component.ts and add the scrum array.
The scrum object has a list of objects for each section with the title and the list of stories.
scrum = [
    {
      name: 'TODO',
      stories: [
        {
          id: 1,
          title: 'Story 1',
          description: 'Description 1',
          status: 'none',
        },
        {
          id: 2,
          title: 'Story 2',
          description: 'Description 2',
          status: 'none',
        },
        {
          id: 3,
          title: 'Story 3',
          description: 'Description 3',
          status: 'none',
        }
      ],
    },
    {
      name: 'ACTIVE',
      stories: []
    },
    {
      name: 'DONE',
      stories: []
    },
    {
      name: 'BLOCKED',
      stories: []
    }
  ];
Using *ngFor directive, we iterate over the array scrum to show in the sections app.component.html.
<div *ngFor="let section of scrum" class="section">
The *ngFor* directive exposes the section variable to show the title and the total of stories.
<span class="title">{{section.name}} ({{section.stories.length}})</span>
We must repeat the same process to show the list of stories. Use ngFor to access the list of stories in the section.stories and expose the story variable.
The story exposes the story properties title, description and status. Using the ngClass directive helps us to bind the story.status with the CSS class.
<div *ngFor="let story of section.stories" class="story">
  <span>{{ story.title }}</span>
  <span>{{ story.description }}</span>
  <span [ngClass]="story.status" class="status">{{ story.status }}</span>
Open the browser again and see the results.
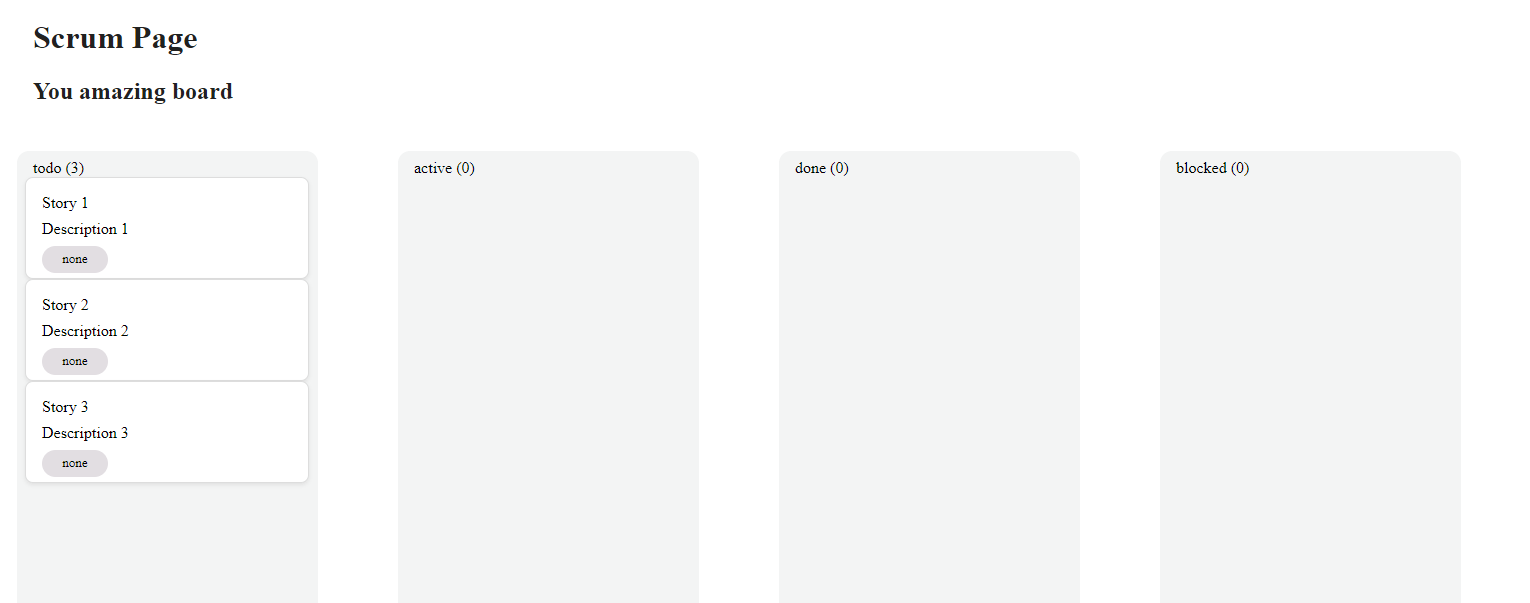
Perfect, we have the UI ready, but the user needs to be able to drag a task from one section to another. The Kendo UI Drag and Drop component gives us that power—let’s do it!
Learn more about looping through lists in Angular using the ngFor directive
Add Kendo UI Drag and Drop
Our final step is to add interactivity using the Kendo UI Drag and Drop component, which will help us to set an HTML element or Angular component as a drag or a drop target, exposing a wide range of events.
We will focus on dragTarget and dropTarget directives.
DragTarget: Set an HTML element or an Angular component as a draggable item triggering a list of events. We will listen for thereleaseevent when the user releases the task on the dropTarget.DropTarget: Set the element as a drop area that emits some event(s) when an element with a drag element interacts with it. We will listen for thedropevent when the user drags an element to the dropTarget.
First, we must write the code to link the events handleDrop and handleRelease and save the selected story.
We need to declare the selected Property to take the story. The method handleRelease gets two parameters, section and story.
The user releases the story in the dropTarget. It gets the section and the story and updates the stories in the section to remove the selected story.
selectedStory: any;

public handleRelease(section: any, story: any): void {
   this.selectedStory = story;
   section.stories = section.stories.filter((s: any) => s.id !== story.id);
}
Create the handleDrop method with the section as a parameter; it updates the selectedStory status with the name of dropSection and pushes it to
the dropSection.stories .
  public handleDrop(dropSection: any): void {
    this.selectedStory.status = dropSection.name;
    dropSection.stories.push(this.selectedStory);
  }
We have two last steps:
- Add the directive
kendoDropTargetfor thesection, and link thedropevent withhandleDroppassing thesection.
<div *ngFor="let section of scrum;"
class="section"
kendoDropTarget
(drop)="handleDrop(section)">
- Add the stories as
kendoDragTargetdirective and link thereleaseevent withhandleRelease, passing the section and the story.
<div *ngFor="let story of section.stories"
    kendoDragTarget class="story"
    (release)="handleRelease(section,story)">
Perfect! Open the browser and see the results:
Read more about Listen and Event Binding in Angular.
Conclusion
We learned how to build an interactive drag-and-drop application using Kendo UI for Angular Drag and Drop to build compelling interfaces. You can read more about it in the official documentation and see plenty more Kendo UI Drag And Drop Examples to help you.
For the app sample, check out:
And if you haven’t already, try Kendo UI for Angular for free today!

Dany Paredes
Dany Paredes is a Google Developer Expert on Angular and Progress Champion. He loves sharing content and writing articles about Angular, TypeScript and testing on his blog and on Twitter (@danywalls).
Related Posts
Comments
All articles
Topics
Web MobileMobile
Desktop
Design
Productivity
People
