
Telerik PDFViewer Now Available as Part of Telerik UI for .NET MAUI

Summarize with AI:
Open, view and navigate through PDF documents from any device—mobile or desktop—with Telerik PDFViewer for .NET MAUI. See how!
Working with PDF documents is a common request for every business application, no matter whether it is mobile, desktop or web. The Progress Telerik suite for .NET MAUI offers a PDF library to edit and create documents programmatically. And now with R2 2023, you can display any PDF document you need to no matter whether it includes Images, Shapes, Links, Lists or various other visual elements.
The PDF Viewer for .NET MAUI is supported in Windows, macOS, iOS and Android platforms and comes with:
- Support for various document sources – You can load a PDF document from a stream, from a file added as an embedded resource, a file located on the device and so on.
- Support for complex PDF structure – Link annotations, lists, visuals, different fonts and more.
- Zooming, continuous scrolling and navigation capabilities – You can choose between different layout modes and configure the level of zooming factor to magnify the documents.
- API for advanced scenarios – Tinker with the settings for more specialized situations such as opening password-protected documents, opening invalid documents and more.
- Load On Demand – The PDF Viewer control implements read-on-demand loading, and each page of the document loads dynamically only when it is shown in the PDF Viewer. When that page isn’t in the view area, it gets unloaded. The stream that holds the document stays open while the document is used in PDF Viewer.
- BusyIndicator, toolbar with predefined items and rich customization options – Take advantage of a pre-defined UI automatically wired with some of the commands provided by the control through built-in functionality.
Enough talking, let’s see it in action:
Set up the Component in the .NET MAUI App
As with any of the other UI components, setting up Telerik UI for .NET MAUI is simple and can be done in three steps:
- Download and install Telerik UI for .NET MAUI.
- Call the
UseTelerik()method inside the Maui Program.cs file of your .NET MAUI project. This is needed for all Telerik UI for .NET MAUI components asUseTelerik()registers all built-in or additionally created handlers to the Telerik components. - Define Telerik PDFViewer in XAML or C#.
XAML
xmlns:telerik="http://schemas.telerik.com/2022/xaml/maui"
<telerik:RadPdfViewer x:Name="pdfViewer" />
C#
using Telerik.Maui.Controls
RadPDfViewer pdfViewer = new RadPdfViewer();
Now, if you run the application, the control will be there. But a document still needs to be loaded, so let’s continue with this.
Display Documents from Various Sources
Documents can be loaded from various document sources like:
- FileDocument
- Uri
- ByteArray
- Stream
- FixedDocument
The magic happens with the Source property of the component type—DocumentSource accepts FileName, UriBytes, FixedDocument or direct stream.
Note: Detailed illustrations for all types of sources can be found in Telerik documentation.
For this post, we will open a document stored as part of the .NET MAUI application. The best way to do that is to use the Stream function to load the document as shown below:
Func<CancellationToken,  Task<Stream>> streamFunc = ct =>  Task.Run(()  =>
{
  Assembly assembly =  typeof(MinMaxZoomLevel).Assembly;
  string fileName = assembly.GetManifestResourceNames().FirstOrDefault(n => n.Contains("pdfdoc.pdf"));// here we are searching for the resource document
  Stream stream = assembly.GetManifestResourceStream(fileName);
  return stream;
});
this.pdfViewer.Source  = streamFunc;
Another good option is to use the integration between the Telerik PDF Processing library and create a FixedDocument/RadFixedDocument and use it as a Source to the PDFViewer.
Telerik PDF Processing Library API is part of Telerik UI for .NET MAUI, and you already have a reference to it once you added Telerik PDFViewer to your app. Learn more about what other capabilities this gives you here: Telerik Document Processing.
By using this approach, you have more control over the loading process. For example, you can modify the document after importing it and before assigning it as a Source to the PDF Viewer control.
Then the code will look like this:
Telerik.Windows.Documents.Fixed.FormatProviders.Pdf.PdfFormatProvider provider =  new  Telerik.Windows.Documents.Fixed.FormatProviders.Pdf.PdfFormatProvider();
  Assembly assembly =  typeof(MinMaxZoomLevel).Assembly;
  string fileName = assembly.GetManifestResourceNames().FirstOrDefault(n => n.Contains("pdf-processing.pdf"));
  using (Stream stream = assembly.GetManifestResourceStream(fileName))
  {
    RadFixedDocument document = provider.Import(stream);
    this.pdfViewer.Source  = document;
  }
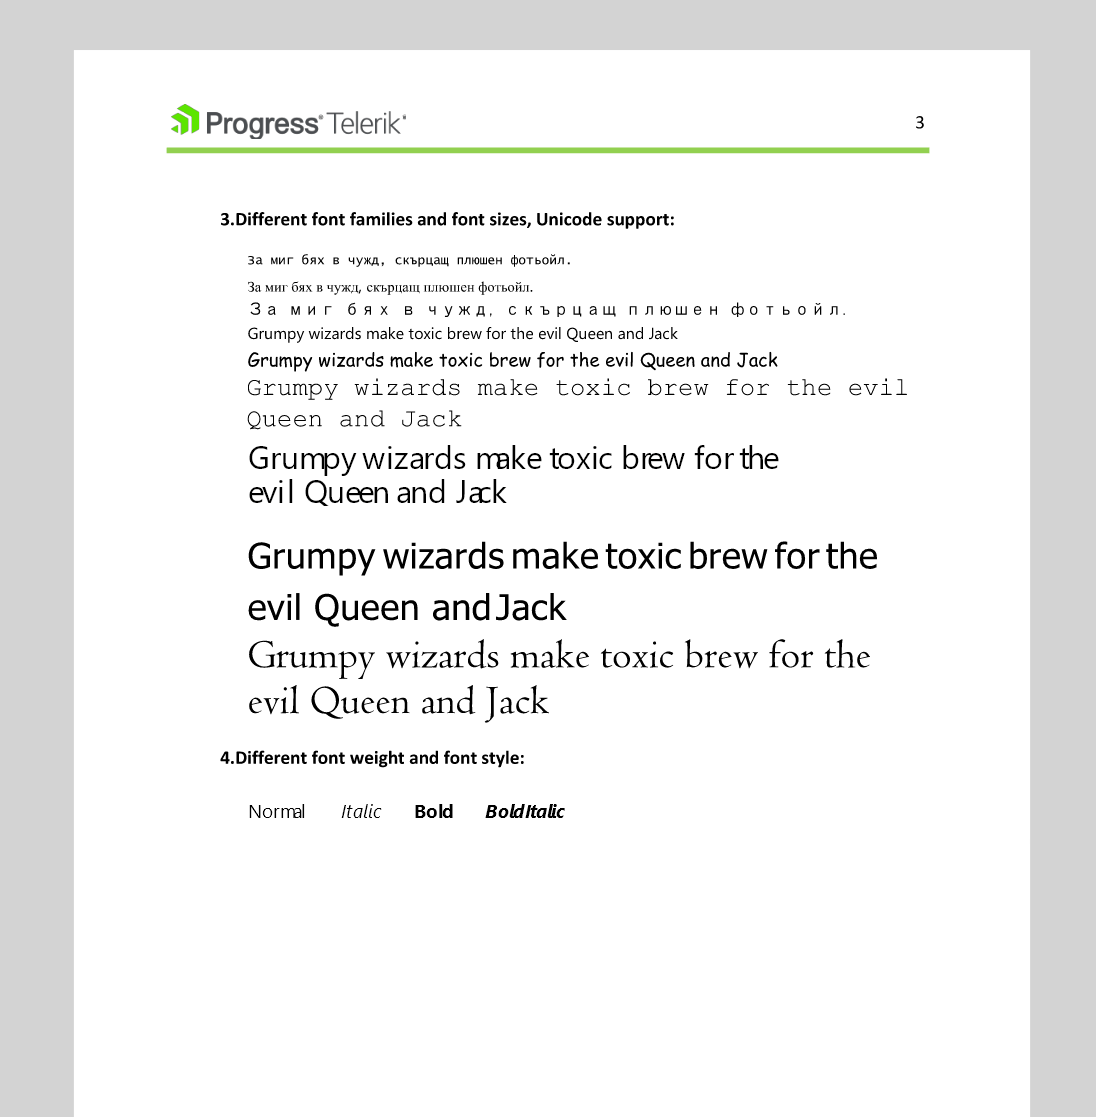
No matter which approach you choose, the result will be a loaded document, a beautiful long PDF with a table of contents, different fonts, tables, shapes and images.
Let’s continue to work with this document to see what else we can do. The full document and demo can be found in Telerik GitHub repo – Getting Started.
Configure the Document
First, Let’s Configure the Fonts
When you load a PDF document in Telerik PDF Viewer it already comes embedded with 14 standard fonts:
- Helvetica
- Helvetica-Bold
- Helvetica-Oblique
- Helvetica-BoldOblique
- Courier
- Courier-Bold
- Courier-Oblique
- Courier-BoldOblique
- Times-Roman
- Times-Bold
- Times-Italic
- Times-BoldItalic
- Symbol (Symbol)
- ZapfDingbats
However, you can embed all other fonts that you want to be displayed using the RegisterFont method that is part of Telerik PdfProcessing Library API .
Telerik.Windows.Documents.Fixed.Model.Fonts.FontsRepository.RegisterFont(
new  FontFamily("Verdana"),  FontStyles.Normal,  FontWeights.Normal, fontData);
Note: Make sure to update the build action of the .ttf file to embedded resource.
Choose a Layout: One Page at a Time or by Scrolling to the End
The Telerik UI for .NET MAUI PDF Viewer supports two layout modes that you can set through its LayoutMode property.
The available options are:
ContinuousScroll(default) – Displays pages in a continuous vertical column.SinglePage– Displays one page at a time.
We will stay with ContinuousScroll, but you can switch to SinglePage like this: LayoutMode="SinglePage"
You can also give the same control to the end user by exposing a separate UI and bind the ToggleLayoutModeCommand to it or add a ToggleLayoutModeToolbarItem to the toolbar (wait a sec for that, when we will talk more about the ToolBar 😊).
Control the Space Between Pages
Once you choose the layout, you can continue with setting the space between pages using the PageSpacing property.
For example, if you want to have 50px between pages the code will look like this:
<telerik:RadPdfViewer x:Name="pdfViewer" PageSpacing="50" />
Zooming & Scrolling
RadPdfViewer offers a smooth end-user navigation experience with zooming and scrolling and a rich API to control it programmatically.
You can control the zoom level with two properties: MaxZoomLevel and MinZoomLevel. The default value of both is 0.3.
There are also commands that you can expose outside the component to build your own navigation:
- ZoomInCommand
- ZoomOutCommand
- NavigateToNextPageCommand
- NavigateToPreviousPageCommand
- NavigateToPageCommand
Link Annotations
The Telerik .NET MAUI PDF Viewer supports link annotations and allows the end user to tap any hyperlink that leads to an absolute URI, and the link will open in the browser.
In addition, if the PDF contains links that point to bookmarks in the same document, the viewport scrolls to the destination specified in the link so you can easily display scenarios as Table of Contents, Sections and others.
The behavior can also be customized by subscribing to the LinkAnnotationTapped event which fires when a link is tapped/clicked. For example:
private void LinkTapped(object sender,  Telerik.Maui.Controls.PdfViewer.Annotations.LinkAnnotationTappedEventArgs e)
{
  if  (e.LinkAnnotation.Action  is  UriAction uriAction)
  {
    e.Handled  =  true;
    Application.Current.MainPage.DisplayAlert("Confirm",  "Are you sure you want to navigate",  "Yes",  "No").ContinueWith(t =>
    {
      bool shouldNavigateAway = t.Status  ==  TaskStatus.RanToCompletion  ? t.Result  :  false;
      if  (shouldNavigateAway)
      {
        Dispatcher.Dispatch(()  =>
        {
          Launcher.OpenAsync(uriAction.Uri);
        });
      }
    });
  }
}
Password Protection
Security and privacy is an important topic in the era of information that we are living in, so sometimes we need to work with password-protected documents and be cautious about the access we provide.
Telerik PDFViewer provides a SourcePasswordNeeded event to subscribe to validate the access to documents like this:
private  void pdfViewer_SourcePasswordNeeded(object sender,  Telerik.Windows.Documents.Fixed.FormatProviders.Pdf.Import.PasswordNeededEventArgs e)
{
e.Password  =  "my_user_password_here";
}
Manipulate the Document OnLoad
Sometimes we need to control end-user behavior or change something in the document when a page is loaded. The OnPageElementsLoaded is here for that. When this event fires we can access the page content and modify it like
this:
private  void  OnPageElementsLoaded(object sender,  PageElementsLoadedEventArgs e)
{
  foreach  (var item in e.Page.Content)
  {
    if  (item is  Telerik.Windows.Documents.Fixed.Model.Graphics.Path path)
    {
      if  (path.StrokeThickness  ==  0)
      {
        path.StrokeThickness  =  5;
      }
    }
  }
}
Handle Exception Scenarios with Style
In some cases, the PDFViewer will fail to load the desired PDF document. The reason can be an invalid stream/inaccessible URL or invalid data in the document itself.
To handle these cases, use the SourceException event of the PDF Viewer:
private  void  PdfViewerSourceException(object sender,  SourceExceptionEventArgs e)
{
  var error = e.Exception.Message;
}
The PdfViewer will display the error like this:

This message will be automatically localized as Localization is part of the PDFViewer’s features. However, if you need to change the text you can do it using the key PdfViewer_SourceExceptionMessage and follow the steps here.
Or you can change the whole UI that appears by using the SourceExceptionTemplate like this:
<telerik:RadPdfViewer  x:Name="pdfViewer"  SourceException="PdfViewerSourceException">
  <telerik:RadPdfViewer.SourceExceptionTemplate>
    <DataTemplate>
      <Label  Text="Oops, something went wrong 🙁 ! We miss you and will be back soon ..."
TextColor="Purple"
HorizontalTextAlignment="Center"
VerticalTextAlignment="Center"
LineBreakMode="WordWrap"  />
    </DataTemplate>
  </telerik:RadPdfViewer.SourceExceptionTemplate>
</telerik:RadPdfViewer>

Configure the Component: Busy Indicator, ToolBar & More
As you see, there are a lot of features to customize the look and behavior of the displayed document. Now, let’s see what else is hidden in the developer toolbox that enables you to configure the UI of the PDFViewer:
Busy Indicator
Although the Telerik PDF Viewer is optimized for performance, sometimes it is possible to load a document that needs time to render. For such cases, a busy indicator visualizes to offer a smooth user experience.
By default, it is:

You can customize its appearance by the BusyIndicatorTemplate property:
<telerik:RadPdfViewer  x:Name="pdfViewer">
  <telerik:RadPdfViewer.BusyIndicatorTemplate>
    <DataTemplate>
      <telerik:RadBusyIndicator  AnimationType="Animation10"
AnimationContentHeightRequest="100"
AnimationContentWidthRequest="100"
IsBusy="True"  />
    </DataTemplate>
  </telerik:RadPdfViewer.BusyIndicatorTemplate>
</telerik:RadPdfViewer>

Toolbar
Telerik PDFViewer comes with the option to be displayed with or without the Toolbar, where all configurable options for visualizing the document and controlling the navigation are exposed to the end user. Let’s see how to do that:
Add the Toolbar
The important part here is that you need to create an instance of RadPDfViewerToolbar component outside the pdfview but use the toolbar’s PdfViewer property to associate with the PDFViewer component.
<telerik:RadPdfViewerToolbar  PdfViewer="{Binding Source={x:Reference pdfViewer}}">
…
</telerik:RadPdfViewerToolbar>

<telerik:RadPdfViewer  x:Name="pdfViewer"  Grid.Row="1"
Document="{Binding Document, Mode=OneWayToSource}"  />
Add Toolbar Items
Then you can define which features are good for your users to display. There are two ways to do that:
Use the Predefined Toolbar Items
PDFViewer’s toolbar offers predefined toolbar items that have assigned any of the Commands it offers:
PDFViewer commands with PDFViewer toolbar items:
- FitToWidthCommand:
<telerik:PdfViewerFitToWidthToolbarItem /> - ZoomInCommand:
<telerik:PdfViewerZoomInToolbarItem /> - ZoomInCommand:
<telerik:PdfViewerZoomOutToolbarItem /> - NavigateToPreviousPageCommand:
<telerik:PdfViewerNavigateToPreviousPageToolbarItem /> - NavigateToNextPageCommand:
<telerik:PdfViewerNavigateToNextPageToolbarItem />
<telerik:RadPdfViewerToolbar **PdfViewer**="{Binding Source={x:Reference pdfViewer}}">
  <telerik:PdfViewerFitToWidthToolbarItem  />
  <telerik:PdfViewerZoomInToolbarItem  />
  <telerik:PdfViewerZoomOutToolbarItem  />
  <telerik:PdfViewerNavigateToPreviousPageToolbarItem  />
  <telerik:PdfViewerNavigateToNextPageToolbarItem  />
</telerik:RadPdfViewerToolbar>
Use Regular Toolbar Items
RadPdfViewer Toolbar is inherited from RadToolbar with one additional PdfViewer property used to associate the PDFViewer component. That is why you can add regular toolbar items to its items collection and mix PDF Viewer toolbar items with regular ones.
Let’s add a regular toolbaritem and associate it with a custom command or one of PDF Viewer commands:
<telerik:ButtonToolbarItem  Command="{Binding DisplayFileSizeCommand}">
  <telerik:ButtonToolbarItem.ImageSource>
    <FontImageSource  Glyph="{x:Static telerik:TelerikFont.IconFile}"
      FontFamily="{x:Static telerik:TelerikFont.Name}"
      Size="16"/>
  </telerik:ButtonToolbarItem.ImageSource>
</telerik:ButtonToolbarItem>
The result so far, where the last item is a regular ButtonToolbarItem:

Style the Toolbar Items
Now, let’s style them a little bit differently. As the PDFViewerToolbar is based on the RadToolbar control, all toolbar items in the PDFViewer inherit from ButtonToolbarItem. All styling properties available for the ButtonToolbarItem are also applicable to the PDF toolbar items.
For example, to change the background of the items defined above we can define the following style:
<Style  TargetType="telerik:ButtonToolbarItemView"  x:Key="commonStyle">
  <Setter  Property="MinimumWidthRequest"  Value="40"/>
  <Setter  Property="BackgroundColor"  Value="#608660C5"/>
</Style>
And set it to them like this:
<telerik:PdfViewerZoomInToolbarItem Style="{StaticResource commonStyle}"/>
![]()
To read more details about Telerik Toolbar for .NET MAUI and see what else it can offer, read the blog about the Toolbar.
Migrating from Xamarin
Telerik PDFViewer for .NET MAUI shares the same API as Telerik PDFViewer for Xamarin, so no big changes here. Still there two things to have in mind:
- ToolbarItems now receive the Pdf prefix so as not to conflict with the brand new RadToolBar for .NET MAUI component.
- Namespace of the control is changed from Telerik.XamarinForms.PdfViewer to Telerik.Maui.Controls.
For more details, you can refer to the Telerik Migration from Xamarin article.
Some of the features that the Xamarin version has are still in development in the .NET MAUI component, such as Text Selection and Text Search. They are scheduled for the next version of Telerik UI for .NET coming this autumn. 🍂 So stay tuned!
More to Explore
More examples illustrating the power of Telerik PDFViewer and the rest of the UI components for .NET MAUI can be found in Telerik SDK and Telerik Controls Samples.
More details about the API can be found in Telerik documentation.
Details about working with PDF documents programmatically are described in Document Processing Libraries - Telerik.
Тry It Now
Working with PDF documents is one of a thousand scenarios that Telerik UI for .NET MAUI can unlock for you. 🔑
Try it now and, if there is anything you need, do not hesitate to share your feedback or questions with the Telerik team.

Rossitza Fakalieva
Rossitza Fakalieva is a Technical Manager, Microsoft MVP in Developer Technologies and a Director of the Bulgarian chapter of the global Women Who Code organization. She previously worked on the Telerik engineering team and defines herself as .NET enthusiast. She loves to empower others to grow in their career and in the tech field—by teaching, by delivering courses and presentations, and as part of her daily job.
Related Posts
Comments
All articles
Topics
Web MobileMobile
Desktop
Design
Productivity
People
