Splash Around with the New Telerik UI for WPF Splash Screen

Customize the Splash Screen of your WPF application with our new addition to Telerik UI for WPF - the RadSplashScreen control!
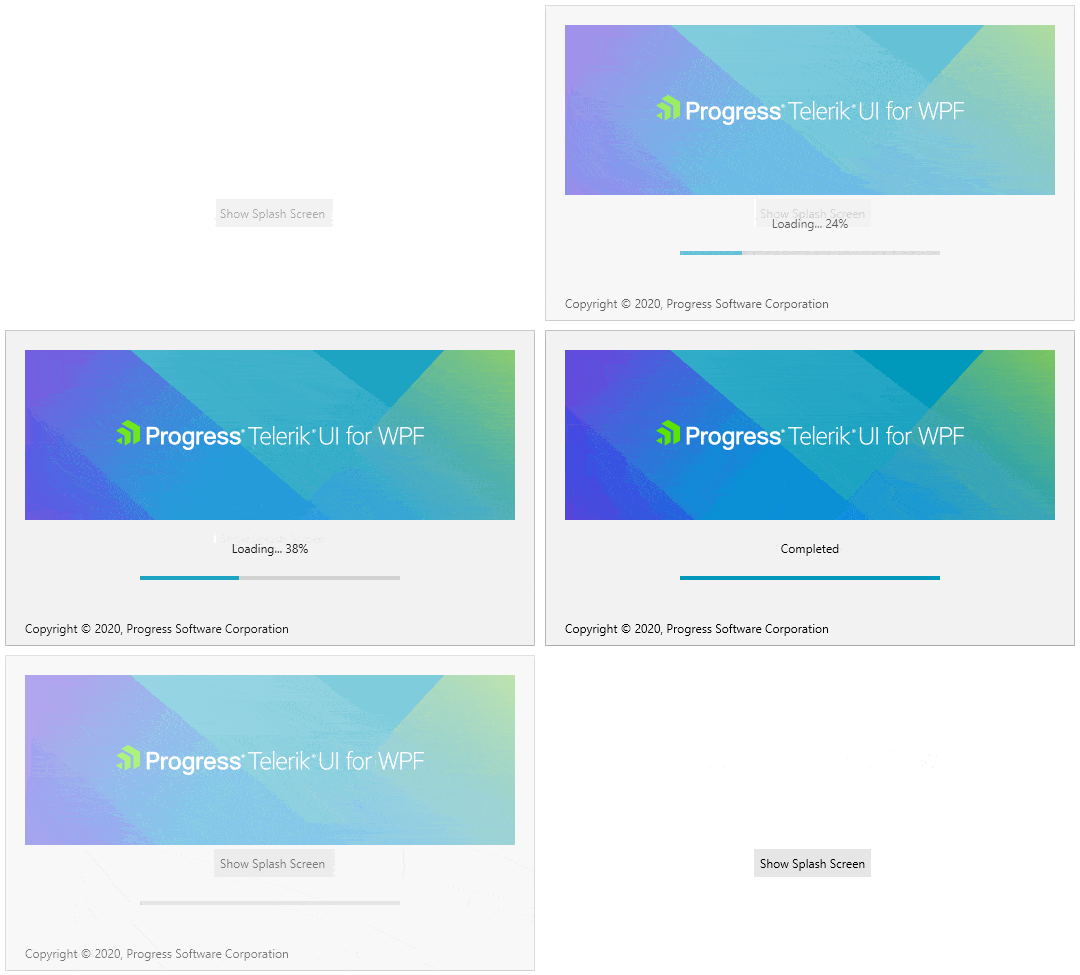
As part of our R1 2020 release for Telerik UI for WPF we introduced a brand new control - RadSplashScreen.
By default, the WPF framework allows you to display an image as the SplashScreen of the application, but the Telerik SplashScreen control changes the rules of the game by enabling you to show any WPF control, including all of the "Rad" controls, with your chosen Telerik theme.

RadSplashScreenManager
You can setup your splash screen with the help of the RadSplashScreenManager. It allows you to show it, close it, change its animations as well as its startup position. All you need to do in order to display a splash screen is to call the Show method:
if (!RadSplashScreenManager.IsSplashScreenActive)
{
    RadSplashScreenManager.Show();
}
This will display a RadSplashScreen control, which comes with all of the predefined UI for WPF themes. You can also display your custom control by utilizing the overload of the Show method, which accepts a type.
SplashScreenDataContext
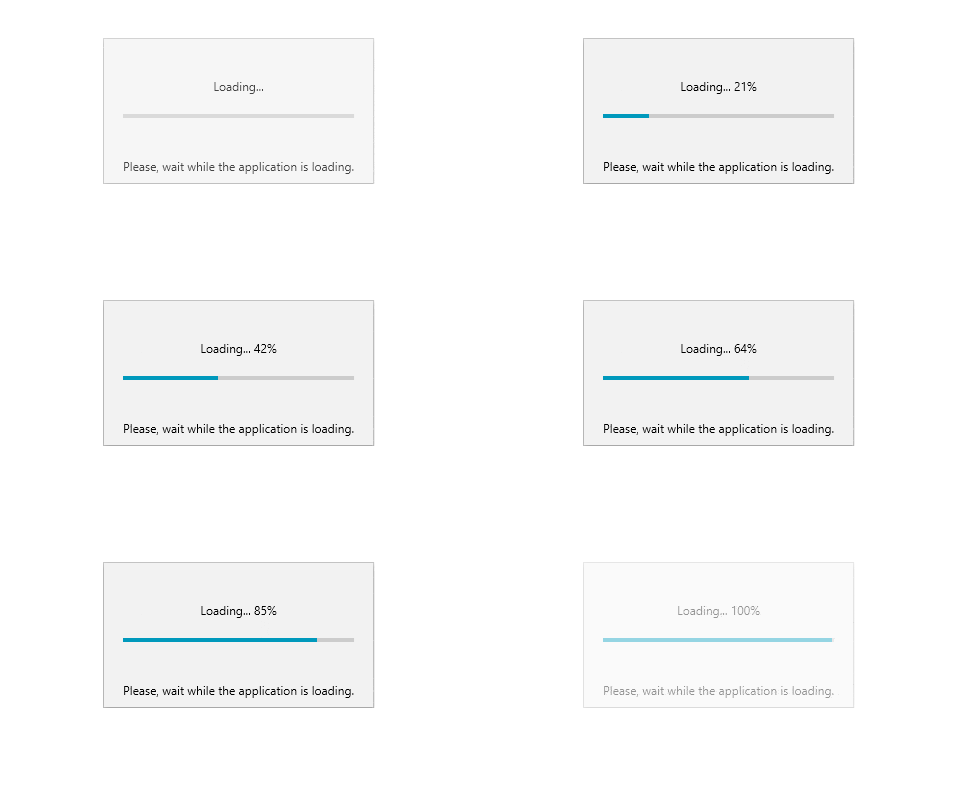
Whether you are displaying a RadSplashScreen or a custom control, you can use the SplashScreenDataContext property to provide a DataContext. By default, an object of type SplashScreenDataContext is created, which allows you to control the appearance of the RadSplashScreen as shown in the following example:
public partial class App : Application
{
    protected override void OnStartup(StartupEventArgs e)
    {
        base.OnStartup(e);

        var dataContext = (SplashScreenDataContext)RadSplashScreenManager.SplashScreenDataContext;
        dataContext.IsIndeterminate = false;

        dataContext.Content = "Loading...";
        dataContext.MinValue = 0;
        dataContext.MaxValue = 100;
        dataContext.ProgressValue = 0;
        dataContext.Footer = "Please, wait while the application is loading.";
        dataContext.MouseCursor = Cursors.Wait;

        if (!RadSplashScreenManager.IsSplashScreenActive)
        {
            RadSplashScreenManager.Show();
        }

        for (int i = 0; i < 100; i++)
        {
            dataContext.ProgressValue += 1;
            dataContext.Content = $"Loading... {i}%";

            Thread.Sleep(50);
        }

        RadSplashScreenManager.Close();
    }
}

Animations
The RadSplashScreenManager has great opening and closing animations available out-of-the-box. That said, you can remove them entirely or customize them to your taste. Check out the following code snippet:
RadSplashScreenManager.ShowAnimation = new ScaleAnimation { Direction = AnimationDirection.In, Duration = TimeSpan.FromSeconds(1.5) };
RadSplashScreenManager.HideAnimation = new ScaleAnimation { Direction = AnimationDirection.Out, Duration = TimeSpan.FromSeconds(0.5) };

if (!RadSplashScreenManager.IsSplashScreenActive)
{
    RadSplashScreenManager.Show();
}

Read more about that in the Animations article.
ProgressBar
The default look of the RadSplashScreen includes the familiar RadProgressBar. With its help and through the API exposed by the RadSplashScreenManager, you can easily indicate the loading progress of your application. Learn more about that in the ProgressBar article.
Wrapping Up
Give the RadSplashScreen a try and let us know if you have any feedback. You can share any suggestions using our feedback portal. We would love to hear from you!
In case you missed it, make sure to check out the blog post covering the R1 2020 release: TaskBoard, SplashScreen, AgendaView and More in Telerik UI for WPF in R1 2020.

Vladimir Stoyanov
Vladimir Stoyanov was a Technical Support Engineer at Progress. He is passionate about his work and really enjoys learning new things. In his free time he likes to travel as much as possible, play all kinds of sports and go on hiking trips with friends.
