
Empowering Developers to Create Custom UI

Creating custom UI alongside UI libraries can be daunting, but CSS doesn't need to be scary! Come learn how to help you and your dev team conquer UI fears.
Hello! My name is Alyssa. I’m the Angular Developer Advocate for Kendo UI at Progress. I love Angular and frontend development. I’m super passionate about creating and helping others to create ✨FABULOUS✨ user interfaces. I work from home and share an office with my husband who is also a frontend, CSS-loving geek like myself.
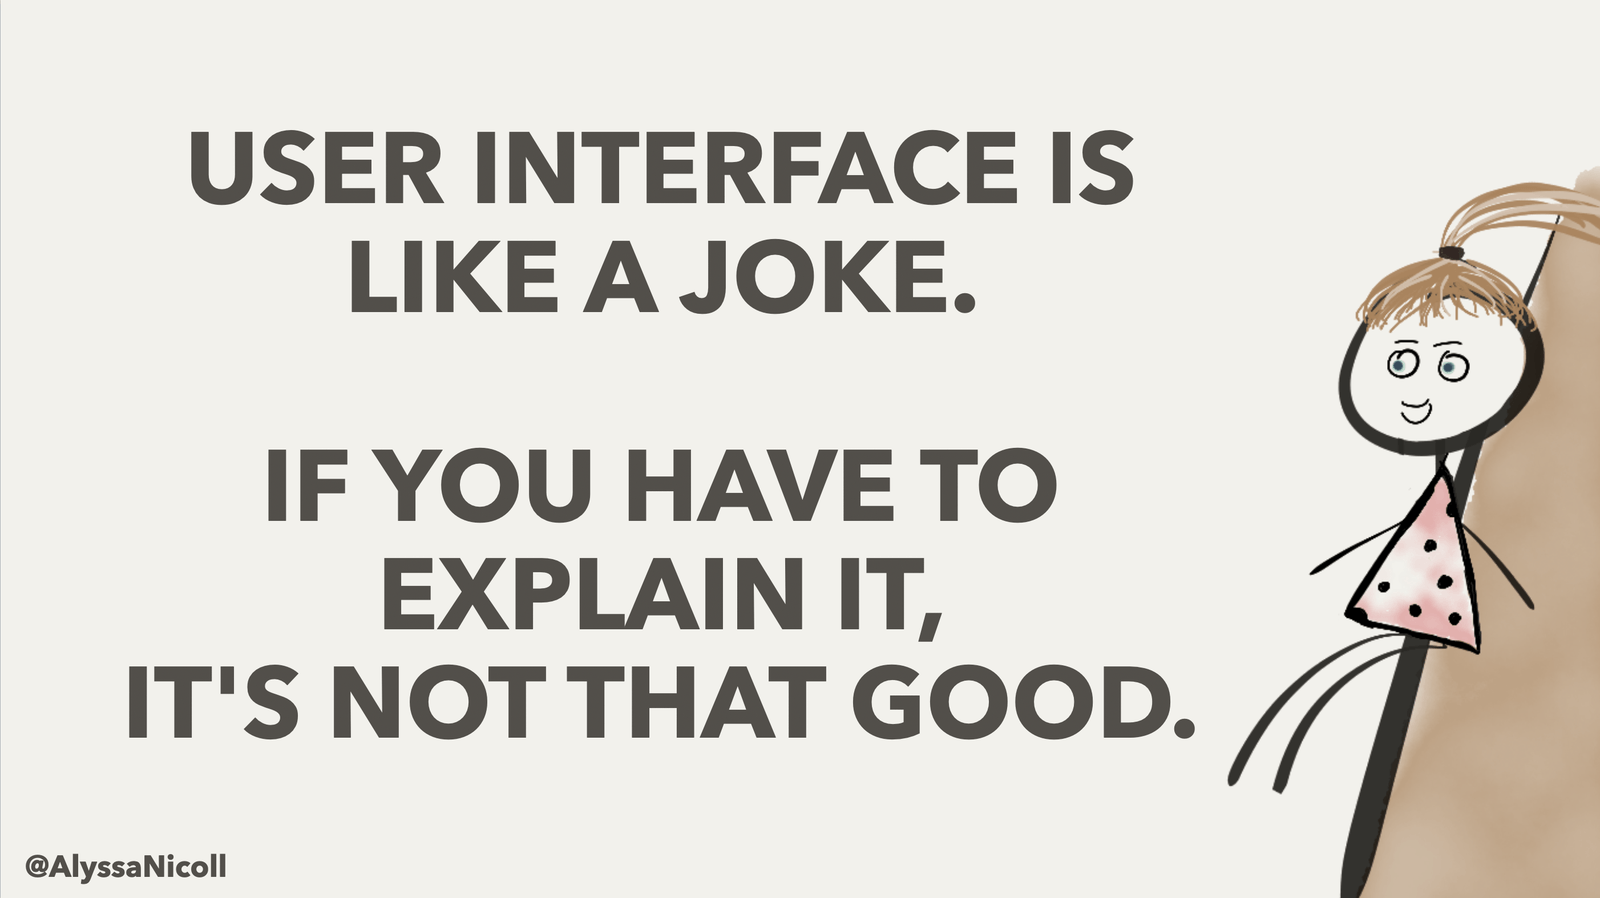
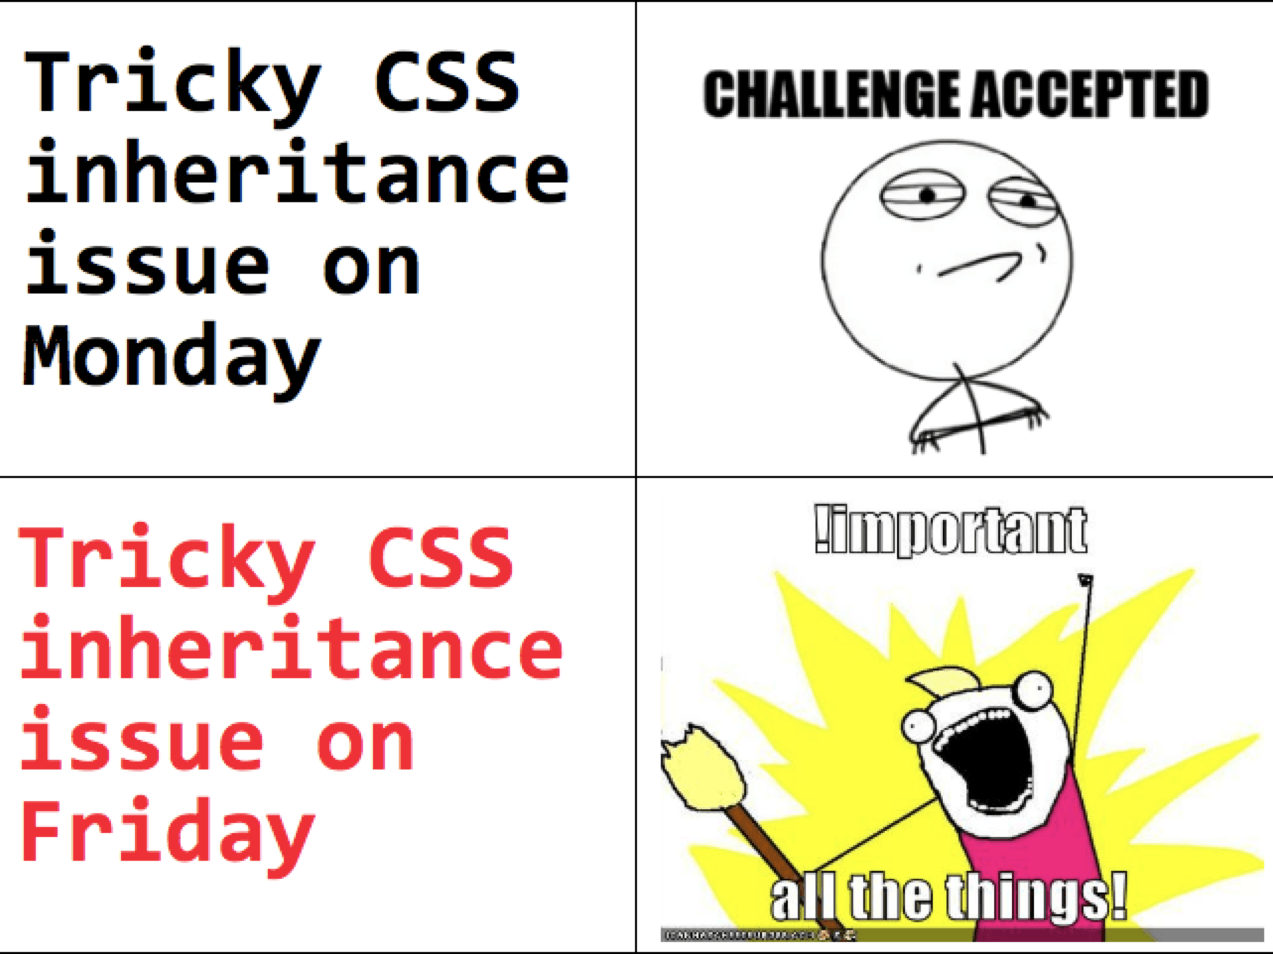
It’s a Mental Issue
Recently, during a team meeting, I overheard one of my husbands co-workers state:
“We can’t create that feature, our UI library doesn’t have that component.”
Of course, my first thought was “this person is coo-coo bananas.” 🍌 However, after talking with more and more developers, it seems they are not the only one of this mindset. Whether the task of creating something custom is just too daunting or they don’t believe they have time for something they believe will take forever, this mentality of “It’s not pre-built so I can’t do it” is not something new.
I’ve seen this mentality in many under-supported, overwhelmed or even burnt-out developers. Before we can address this pivotal issue we need to have some background knowledge of CSS in order to truly understand the pain points. There seems to be two problems. One is being able to create the JavaScript and HTML that would reflect the functionality of the feature, and the other is creating the CSS that is responsible for the overall look-and-feel / UX of the whole app.
After talking with many different developers, the second problem seems to be the crux of this mental hold-back. I want to start with some CSS specific knowledge to try to level set and show that CSS isn’t as scary as we all think. This understanding will lay the groundwork for enabling yourself and other developers to truly create the impossible on the web.
Understanding Cascading CSS and Specificity
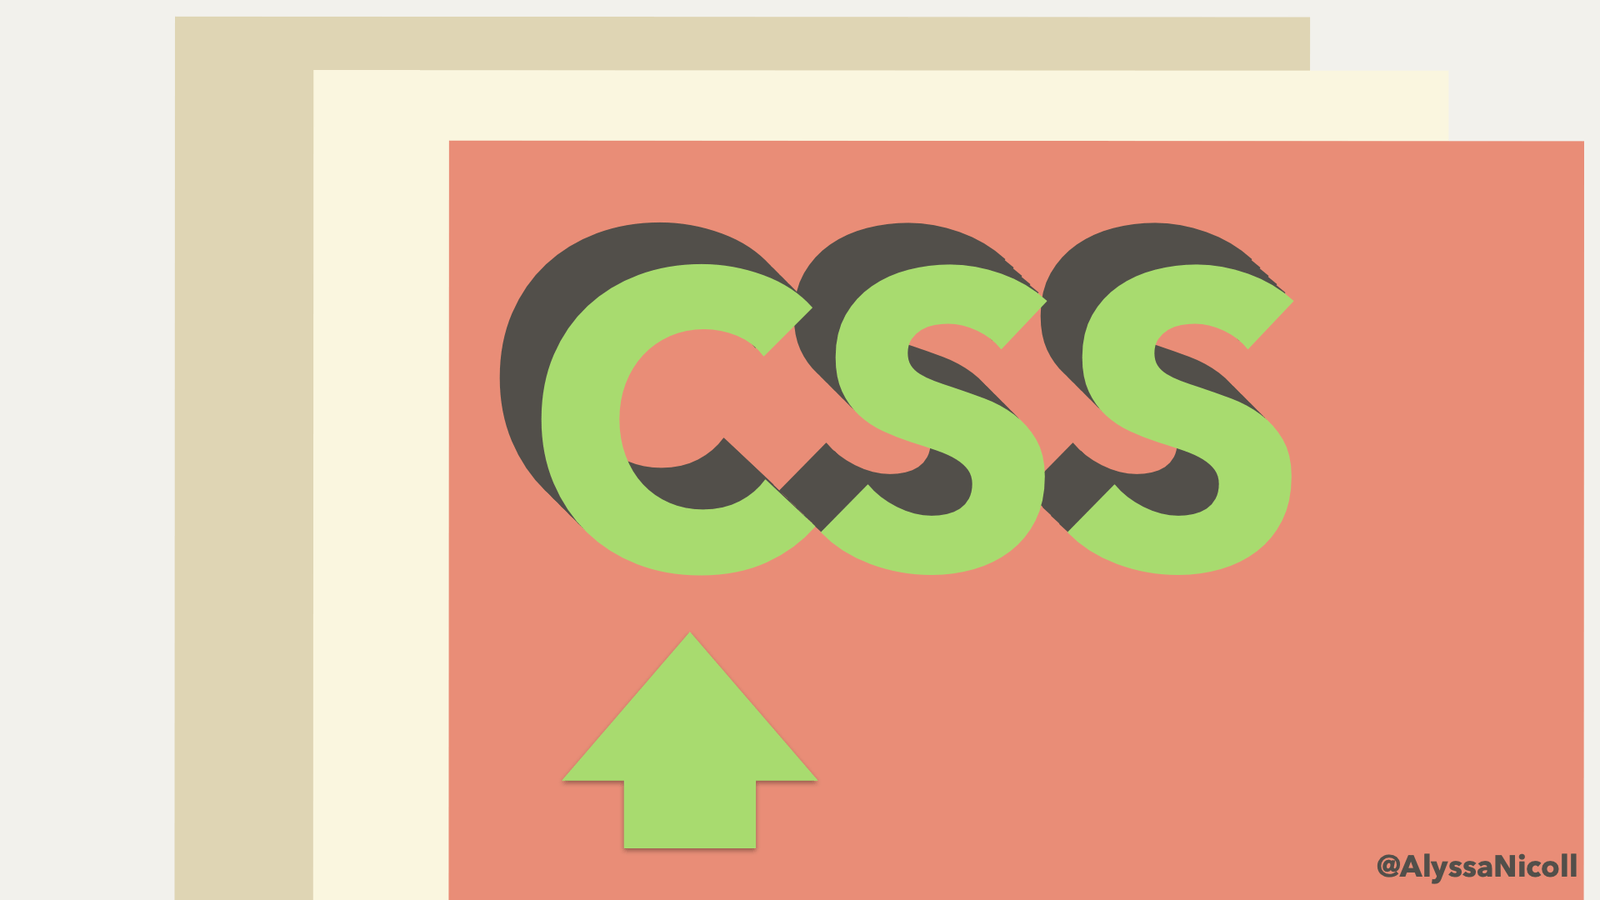
It's all about that pesky and beautiful first letter in "CSS" that makes it unlike any other language developers work with. CASCADING! CSS is a way to list out styles for elements on the page.
button {
  background: rebeccapurple;
}
What happens though, when there are competing rules to style the same elements differently?
button {
  background: rebeccapurple;
  color: white;
}

button {
  background: deeppink;
}
Well, in the above case, the button would first have the background color of rebeccapurple applied and then as the browsers moved down the stylesheet, it would apply the 8th line of styles and change the button’s background to have a color of deeppink. This all happens before the user sees it, so the page would simply load as deeppink.
The cascading part only takes you so far though with your CSS, the other (and main) gotcha is ✨SPECIFICITY!✨ In our previous example, the second style rule for button background overrode the first. However, by being more specific on our first selector, we can have rebeccapurple load in as our background color, without needing to move the order of our CSS around at all.
button.submit {
  background: rebeccapurple;
  color: white;
}

button {
  background: deeppink;
}
See the Pen CSS Cascading & Specificity by Alyssa Nicoll (@alyssamichelle) on CodePen.
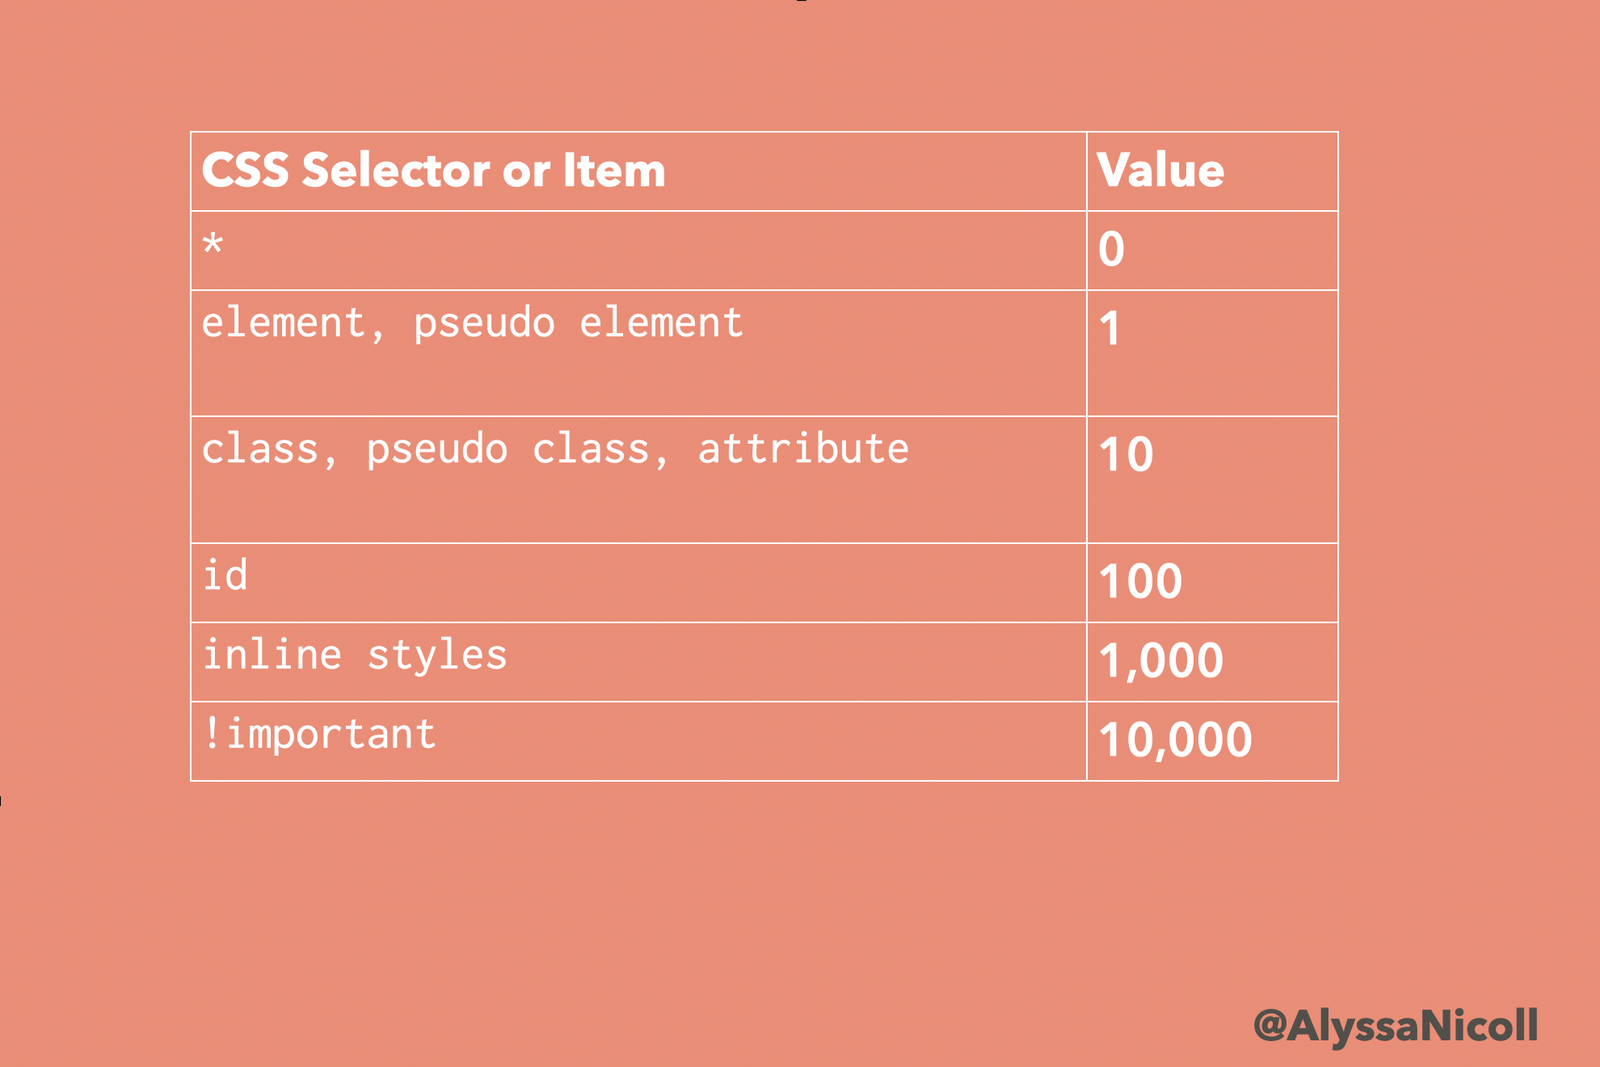
By adding the class of submit to the first button selector, it will override the later deeppink one. CSS selectors start off worth nothing or not very much (*, h1, button, button:before) and work their way up to almost impossible to override (inline, !important). Una Kravets did a short and wonderful podcast episode to explain CSS specificity. She goes into much more detail than I do and even lists out examples to walk your through it. It’s really worth a listen if you don’t have this concept fully down yet. I also created this handy-dandy chart to help us keep things straight:
Important Notes with CSS Specificity
I also found these definitions to be super helpful:
Pseudo Element vs Class?
Pseudo Element: represents something physical :before Pseudo Class: represents something stateful :active
Additional things to note about CSS specificity:
- The pseudo-class :not() adds no specificity by itself, only what’s inside it’s parentheses.
- Chaining similar things like duplicate class names: a.list.list.list.list does in fact add up!
- The only way an !important value can be overridden is with another !important rule declared later in the CSS.
This resource is a wonderful guide to CSS specificity. These are good tools to bookmark and share with developers who might also know the CSS struggle is real. (Check out my curated list below for all the 💪 powerful resources gathered in one location!)
Pain Points of CSS-ing amidst pre-existing CSS
Duplication
In my previous job I was tasked with creating custom UI often. The project I was working on was built with Bootstrap. So there were many times in my styles that I had to do things like this:
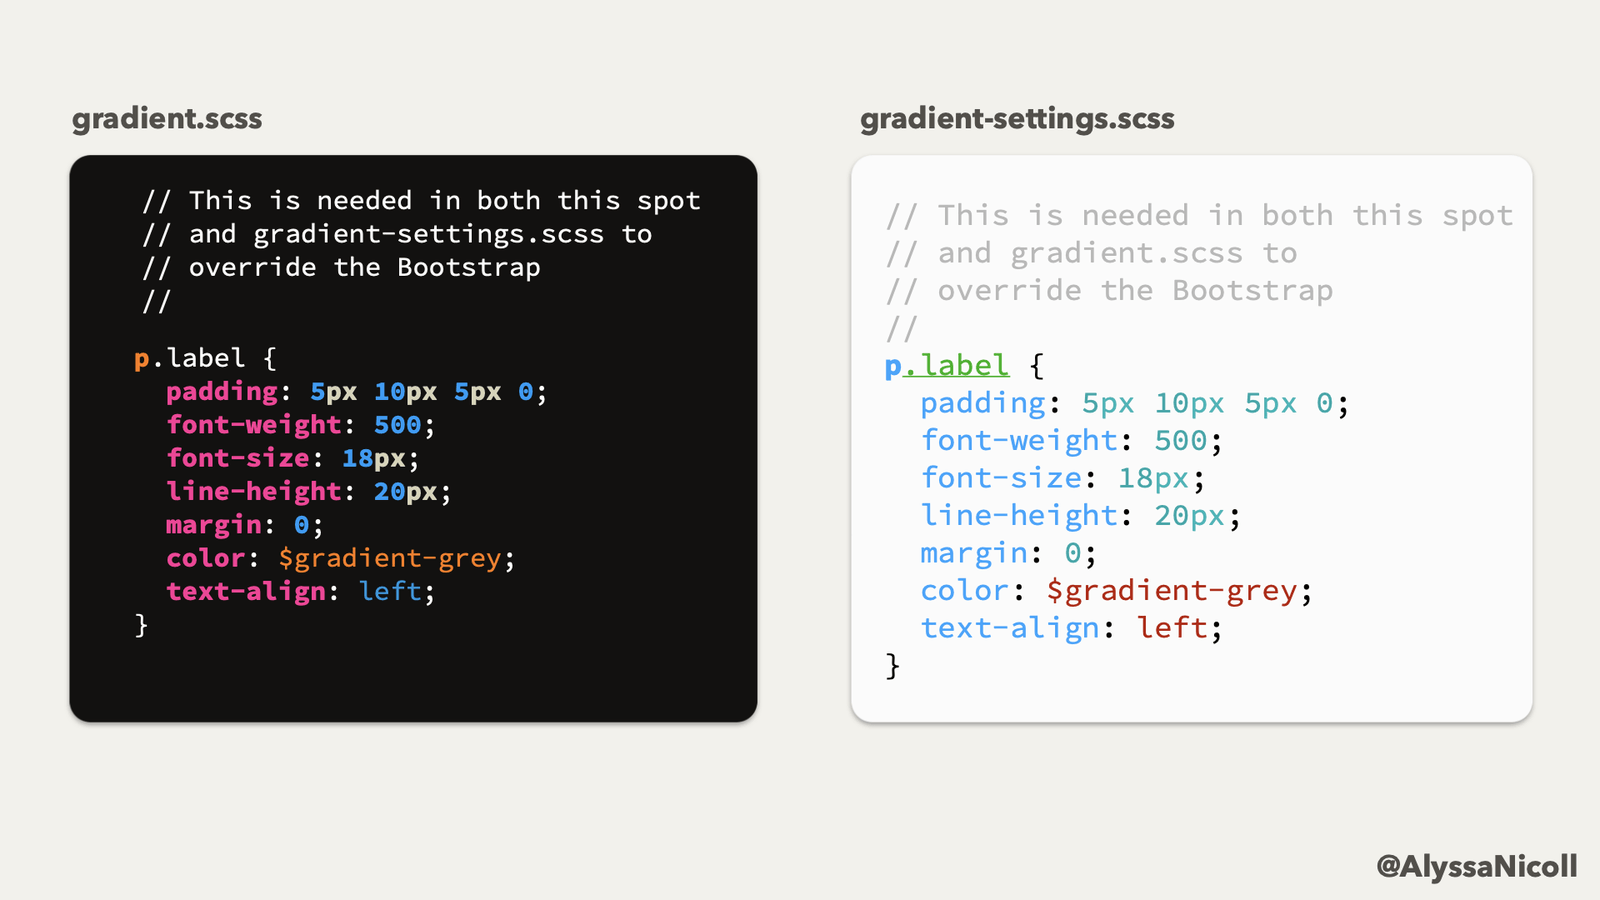
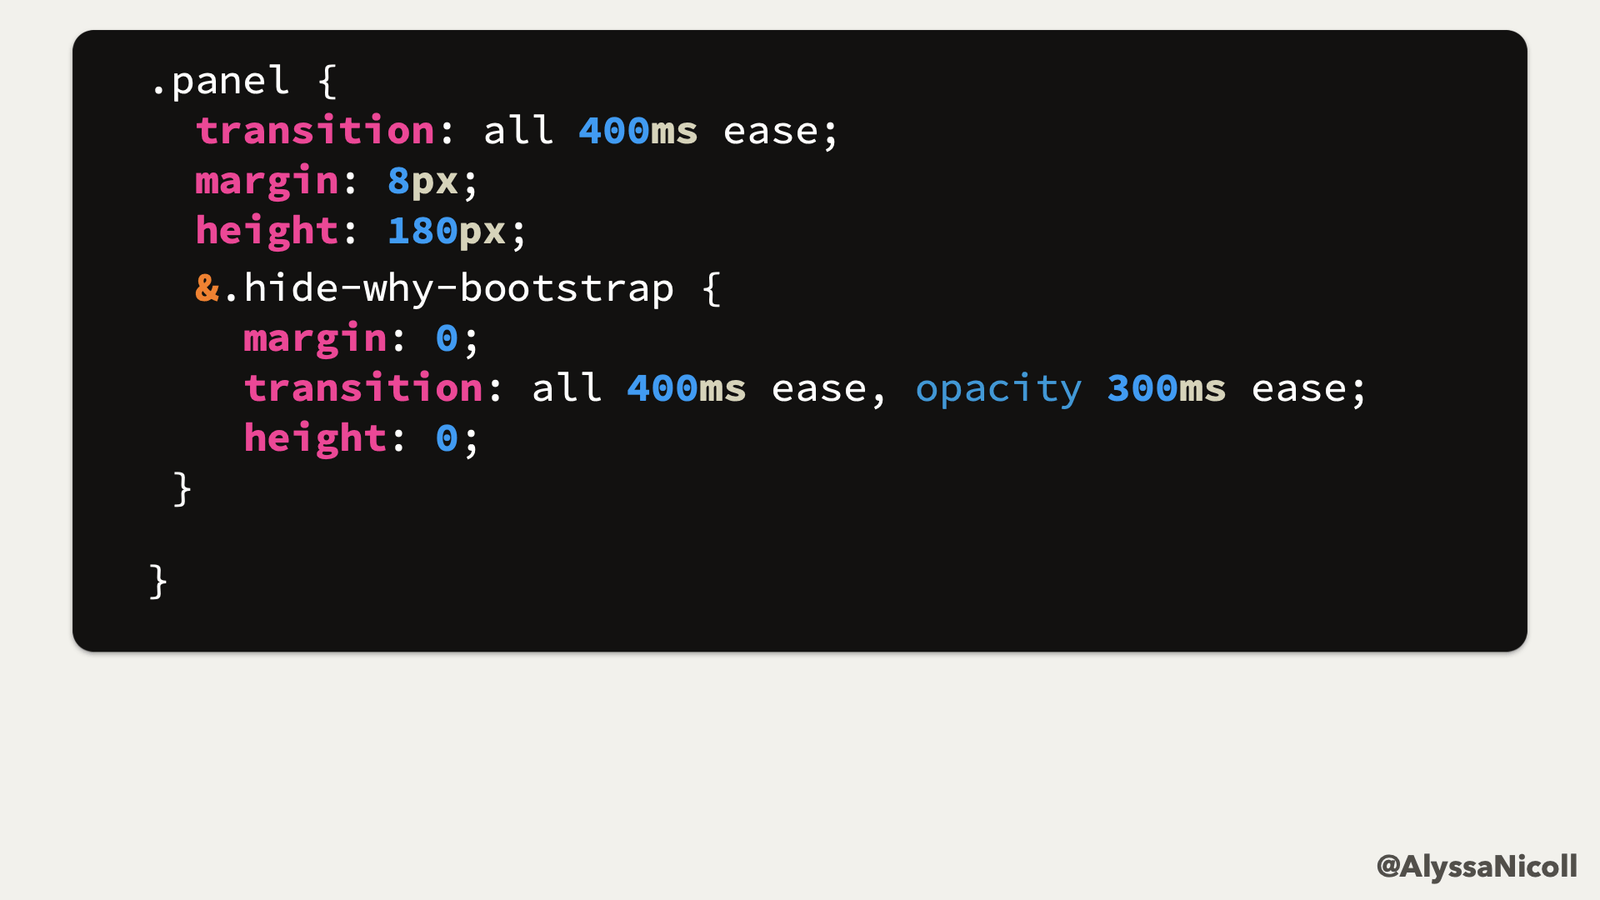
I had to duplicate code in different places in order to override bootstraps styles. This is because of something I like to call specificity wars.
Specificity Wars
When styles (whether your own or from a library/framework you have included) are either too generic or too specific, they become very difficult to work with and create custom UI alongside.
Too Generic of Styles
On the project I was previously working on, the one that I mentioned before, I was tasked with building out a pop-up panel for clients to custom a design that would be printed out on fabric. I started creating and styling my panel and when I thought I had finished, I loaded up the browser and saw this:
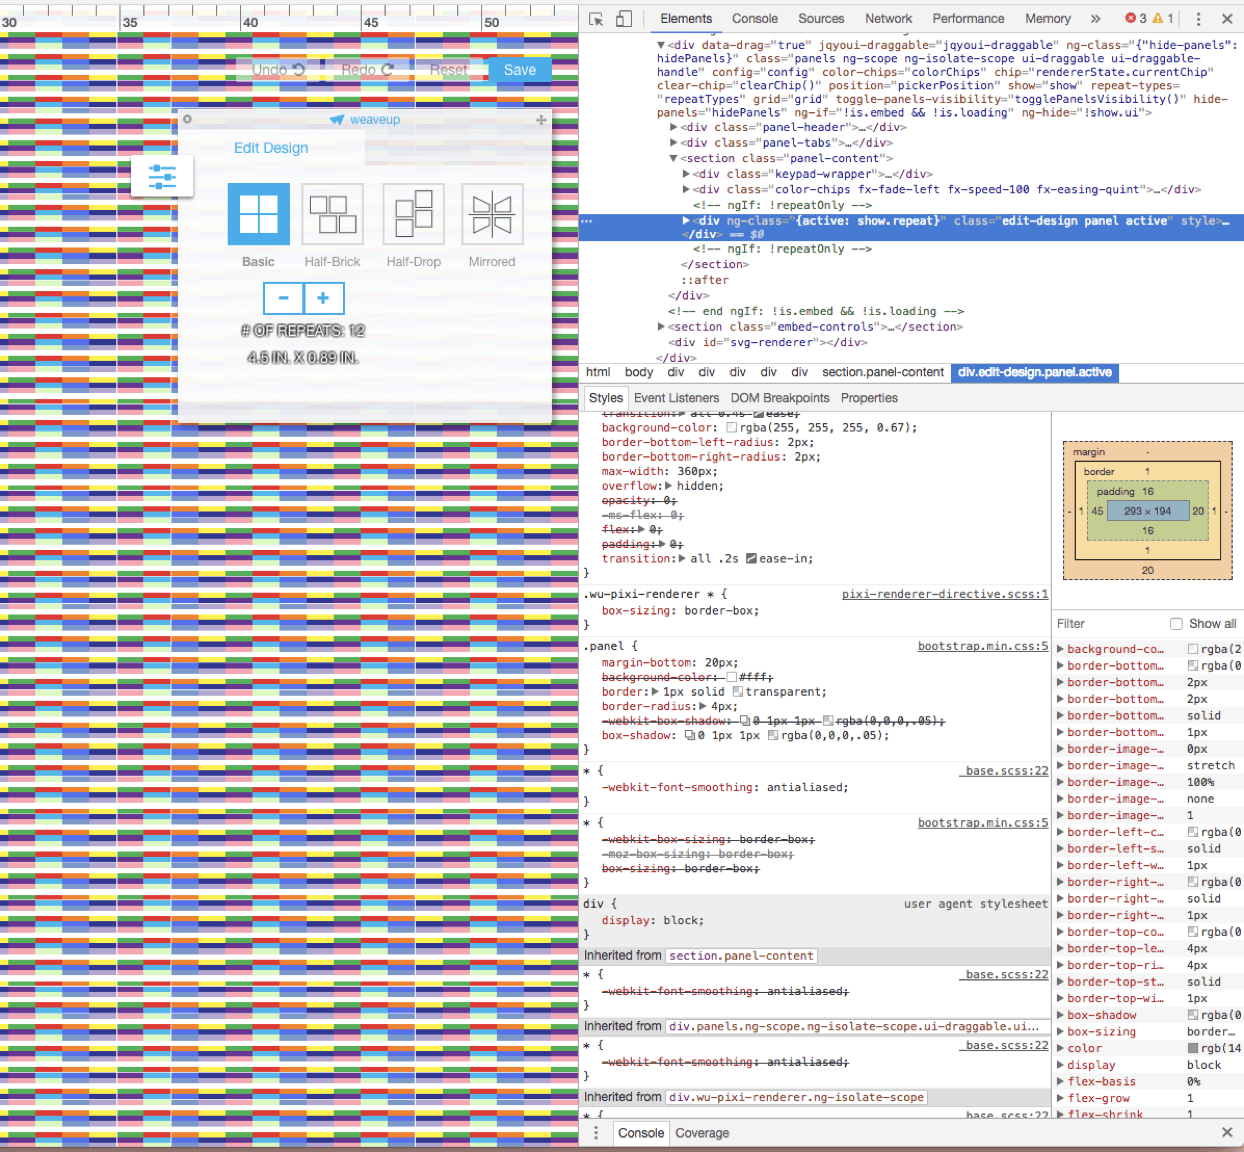
Everything looked as I expected so far, except this large gappy-gap happening on the bottom:
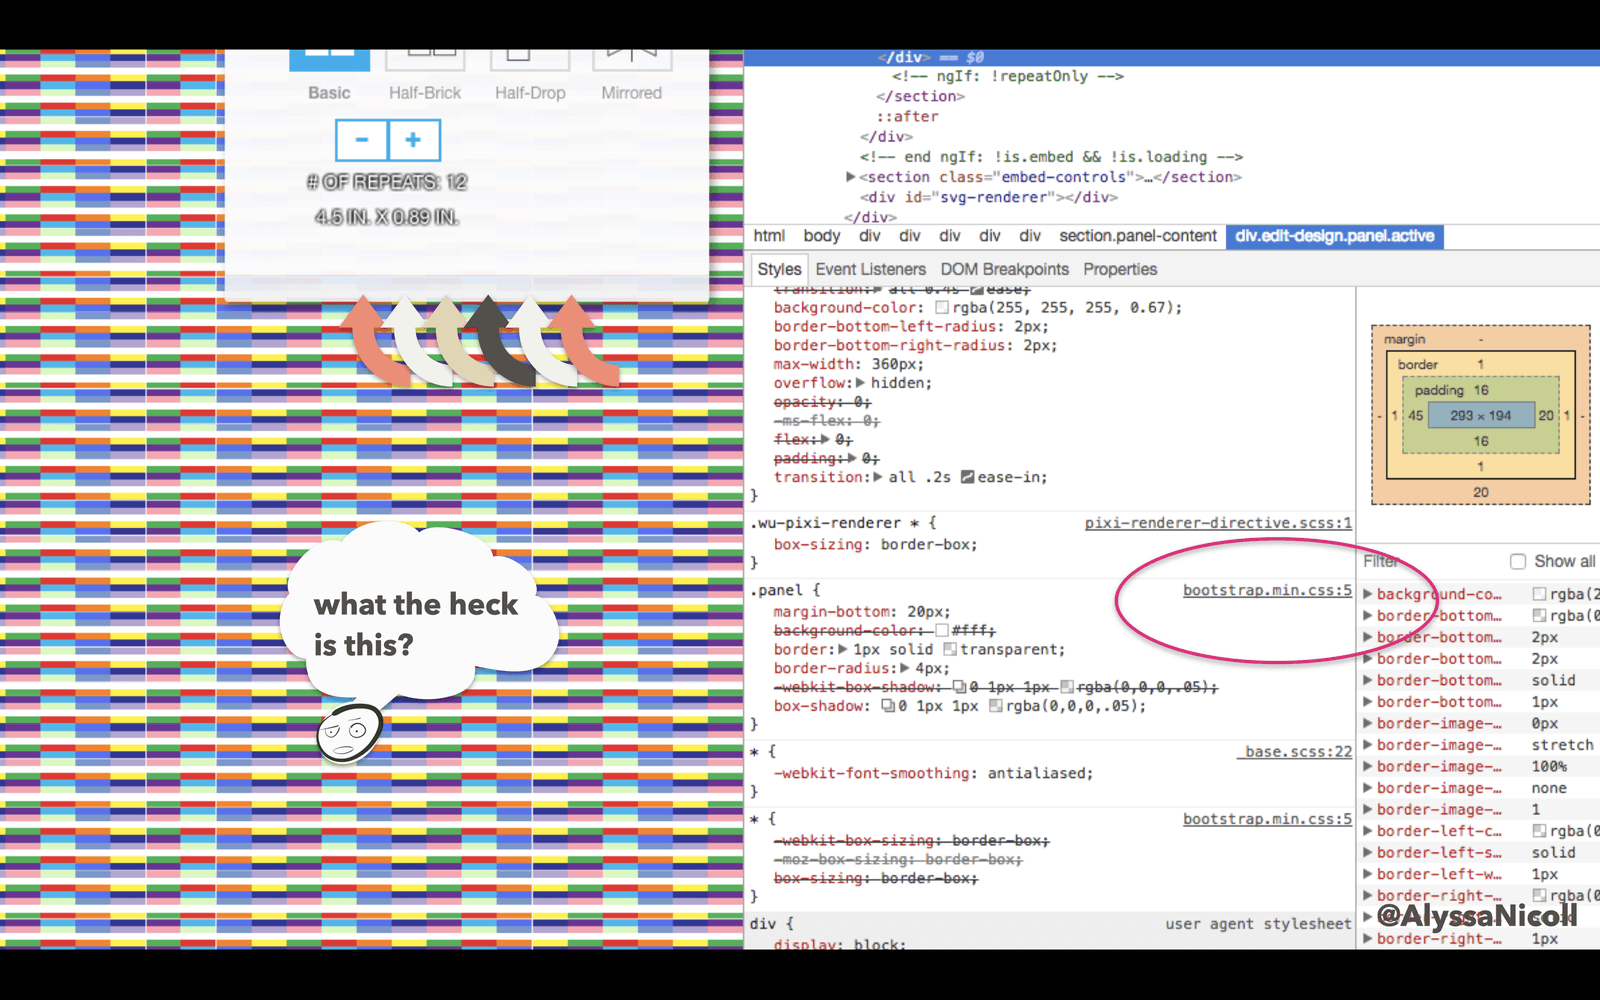
This, of course, was happening because Bootstrap had already styled anything with a class of .panel to have a margin-bottom of 20px (along with other styles).
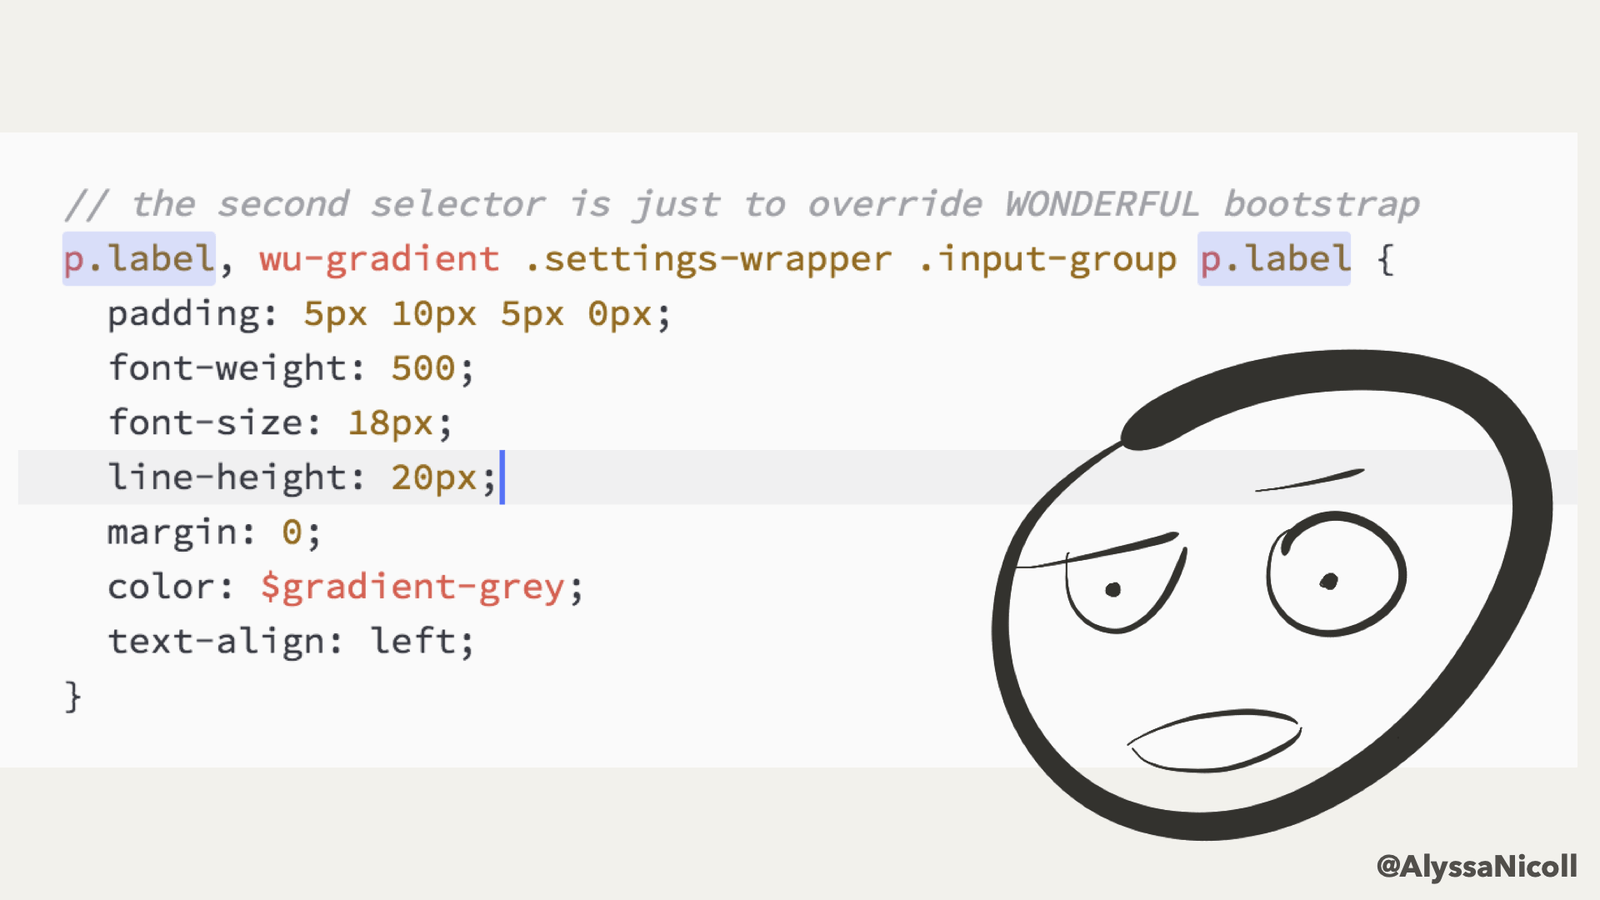
The real issue here is that Bootstrap added their styles to the very generic class of .panel. A better and more friendly way, would be to put their styles on a namespaced class like .bootstrap-panel. This might seem nit-picky, except that .panel is not the only generic class or namespace that Bootstrap claims, rather, there are many, such as .label and .legend that they claim as well:
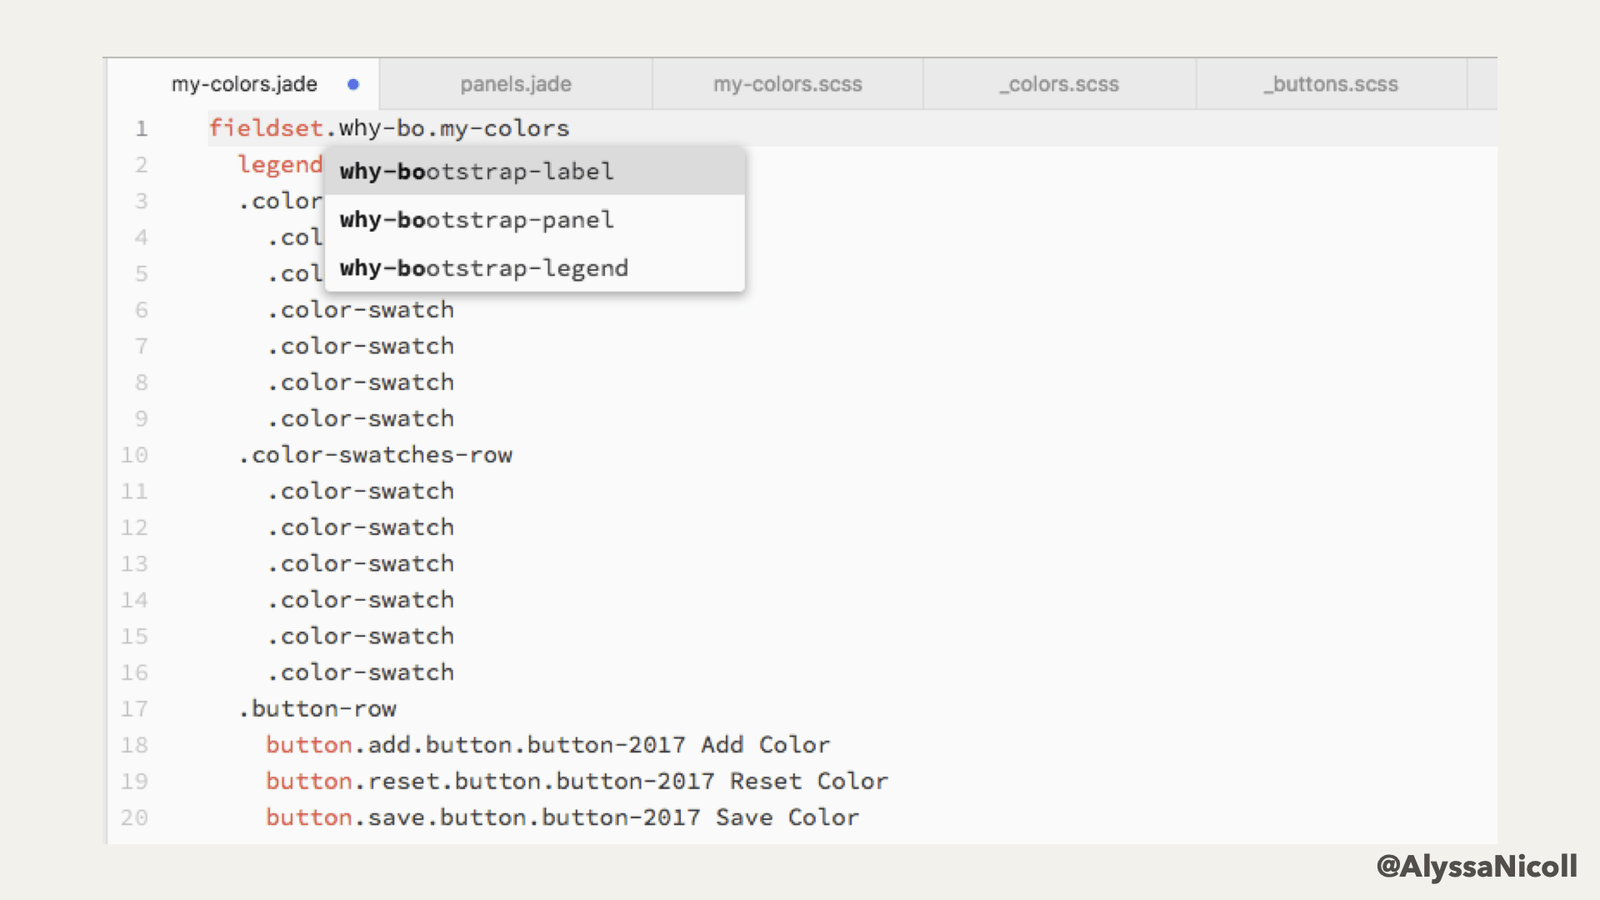
This requires you to be increasingly more specific and isolating your styles away from the application’s. I don’t believe we should drift away from the cascade that CSS employs, rather, I think we should use it wisely by only ever being as specific as we need to be.
Too Specific of Styles
The other side of the specificity wars is having styles that are too specific.
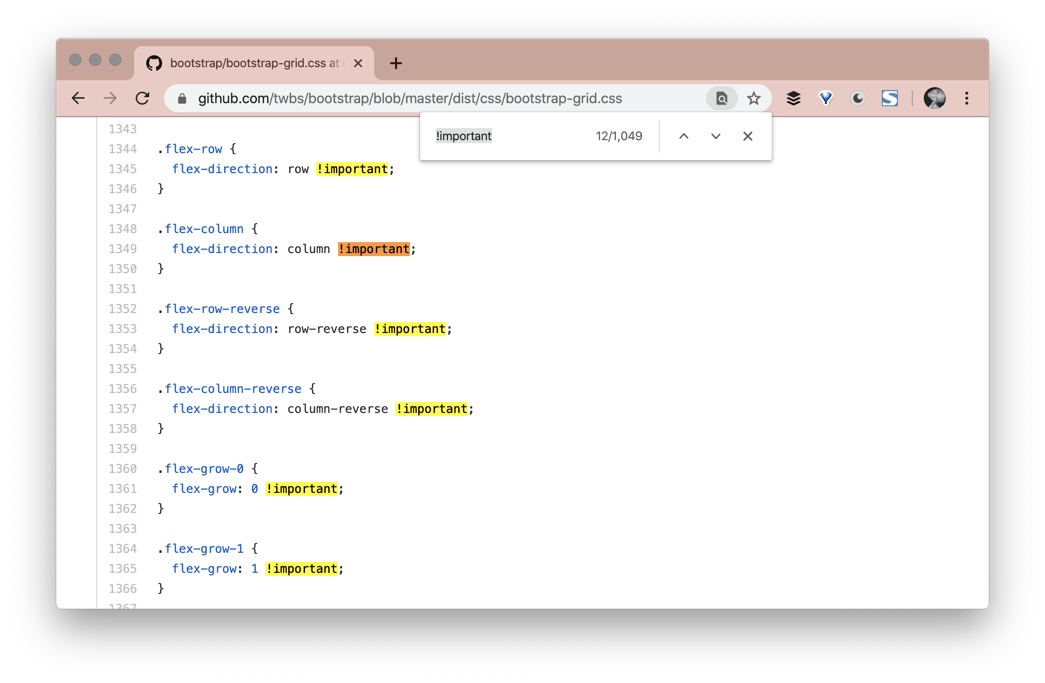
Remember how we talked about specificity above? The !important flag is the most specific and most harmful thing you can put into your styles. It is very difficult and painful to override something with the code>!important flag. The last time I checked (3/25/2020), Bootstrap has over 1,000 code>!important flags in their CSS.
Put simply, this means that if you are using something like Bootstrap that is being very specific with their styles, it is going to be very difficult to create custom styles alongside theirs. By no means impossible, just painful.
Kendo UI Does Try to Be Kind with Specificity

It doesn’t always need to be this painful though, having a UI library does not mean you must be as specific as possible. Kendo UI, for example, is a HUGE component library with over 70 components. When searching through the repos for Kendo UI, component by component, the closest thing to !important that I could find were comments about important things. ;) It has been so much easier, while working with Kendo UI for Angular, to create custom UI, than my experiences with Bootstrap. I know they Kendo UI does have a few important tags, but they try to be very conscious of when and where they are using them. You can have a well structured and robust UI library without becoming too specific and making customizations impossible.
Balance is Required
This doesn’t leave us with much wiggle room, I realize. On the one hand, when you are creating styles of your own, you don’t want to be too generic—which could leave you with clashing styles and unexpected results. You do, of course, want to have generic enough to create a foundation that all your other styles build upon. However, being super generic all over the place will only lead to pain.
On the other hand, you don’t want to be so super specific that you require !important flags all over the place to get anything to apply. As with many things in life, balance is required here.
What Can We Do?
Awareness of What Is Possible
Often times, when looking into why my fellow developers are fearful of a CSS assignment, it is because they are unaware of the power and truly limitless nature of CSS. I believe that by simply being aware of what is possible with CSS and keeping up-to-date with what people are creating with it, can open pathways in your brain that were previously shut closed.
A great example is something that people often reach to UI libraries for, the very scary GRID!! 👻 Which, in all honesty, is not that scary at all. Here is a codepen where I have recreated a Grid layout with about 35 lines of CSS.
See the Pen CSS Grid Layout by Alyssa Nicoll (@alyssamichelle) on CodePen.
The bulk of tackling something scary like this is understanding how to create a Grid layout either using Grid or Flexbox. Check out this Codepen to see me use Flexbox and CSS Grid side-by-side for comparison. A wonderful resource that I prefer for learning and reminding myself about CSS Grid is learncssgrid.com.
So instead of pulling in a library with thousands upon thousands of lines of CSS, if all you need is a Grid, it might be best to build your own:
.row {
  display: grid;💥
  grid-auto-flow: column;💥
}
Design Systems to Guide
Another step your team can take to help with sustainability and longevity of your styles is to create a design system to guide any new UI. At FOWA 2013 in London, Mark Otto described a design system as:
Design System: everything that makes up your product
Design systems are meant to include EVERYTHING about your brand. This includes things like typography and layout all the way to things like coding conventions and full blown style guides. Design systems are a place to keep all of this information so the team can reference it, learn from it and keep the brand growing and thriving.
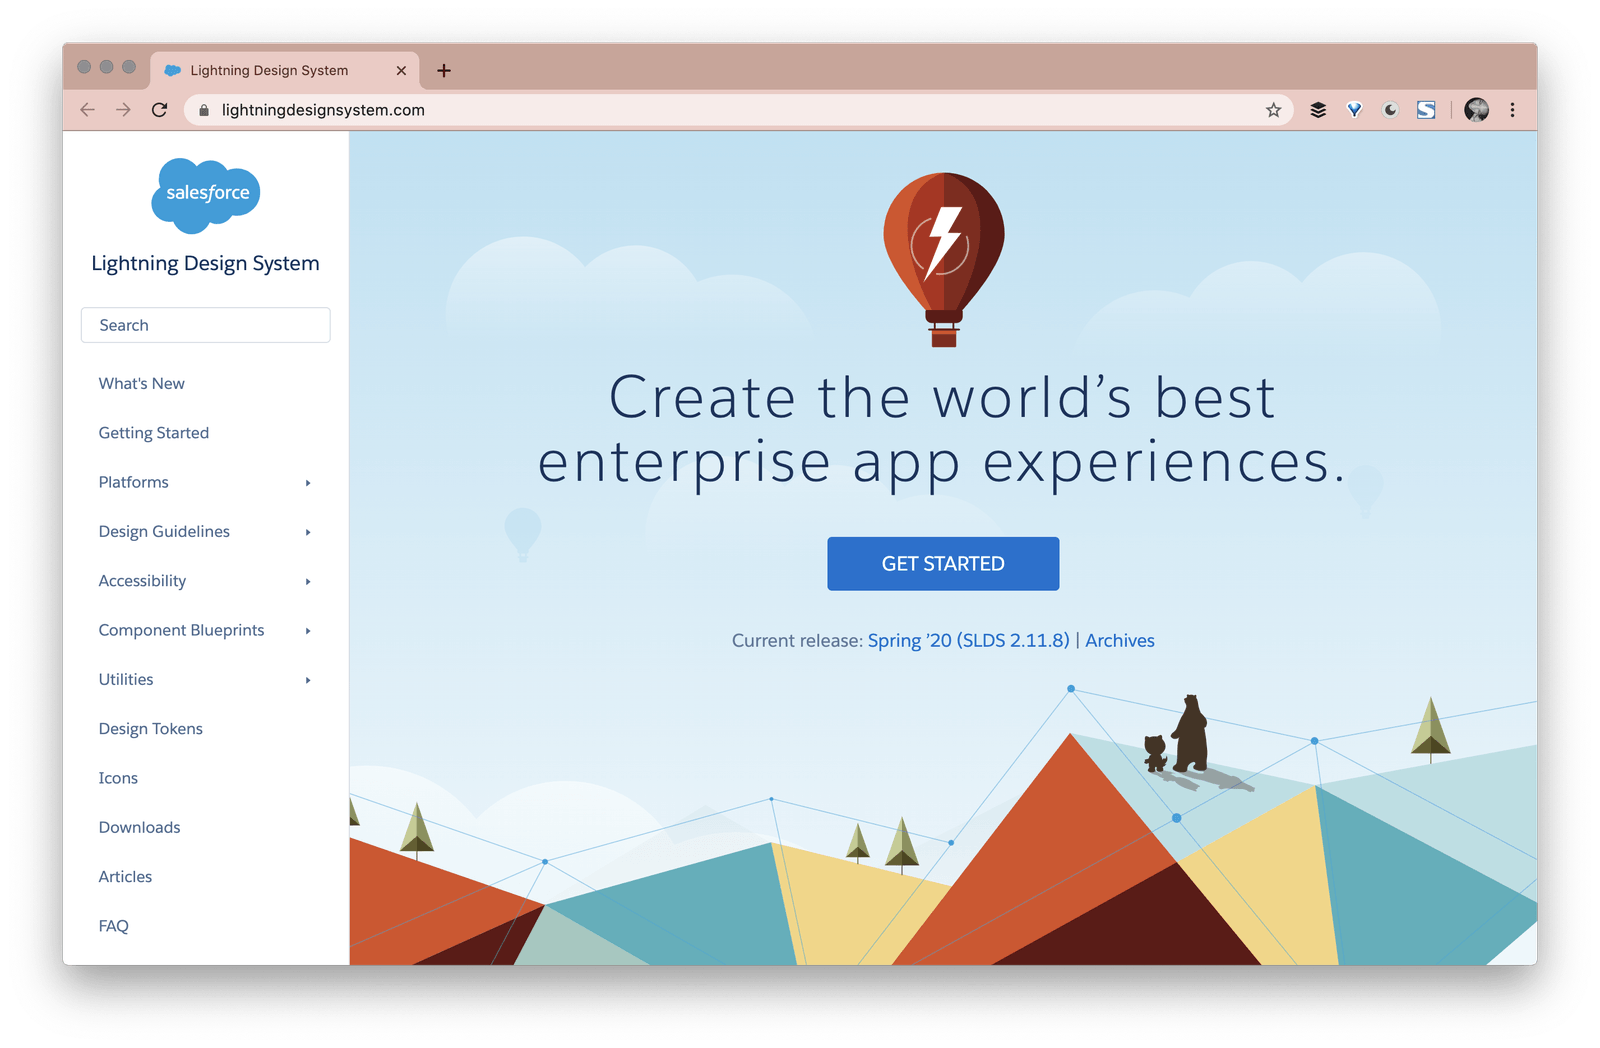
A really neat Design System to check out is by Salesforce: https://www.lightningdesignsystem.com/.
Kendo UI actually for Angular actually integrates really well with design systems and, in fact, implements its own with Themes!

The Default theme is technically our own Design System, Bootstrap is one we integrate with, and Material is of course tied to Material Design. I think having a design system in place can really help you elevate your components and your UI to a professional level.
Creating your own Design System, however, can be a bit daunting. This is a large task that while being incredibly useful, will take an incredible amount of energy to get it right. So why not start small and create a very helpful and relatively easy-to-get-started-with piece—A Style Guide.
Here is an example Style Guide my husband created for an internal application. This was on their internal site where other developers could go and get a quick reference for creating things like buttons and forms, to make sure any newly created UI remained consistent.
Resources to Aid
Lastly, I recommend creating a curated list of CSS and Design resources for your team. This will not only include your own style guide or design system, but also have courses, blog posts, and codepens that your developers can reference in times of great CSS peril. Here is my own list to get you started: Alyssa’s Powerful 💪 CSS Resource List
tl;dr
To sum up, it can be very difficult and daunting to create custom UI. There are many issues developers face, from over-specific libraries that are already included in the project, to complicated and unknown things in CSS itself. The best advice I can give to any manager of a dev team or individual developer is this:
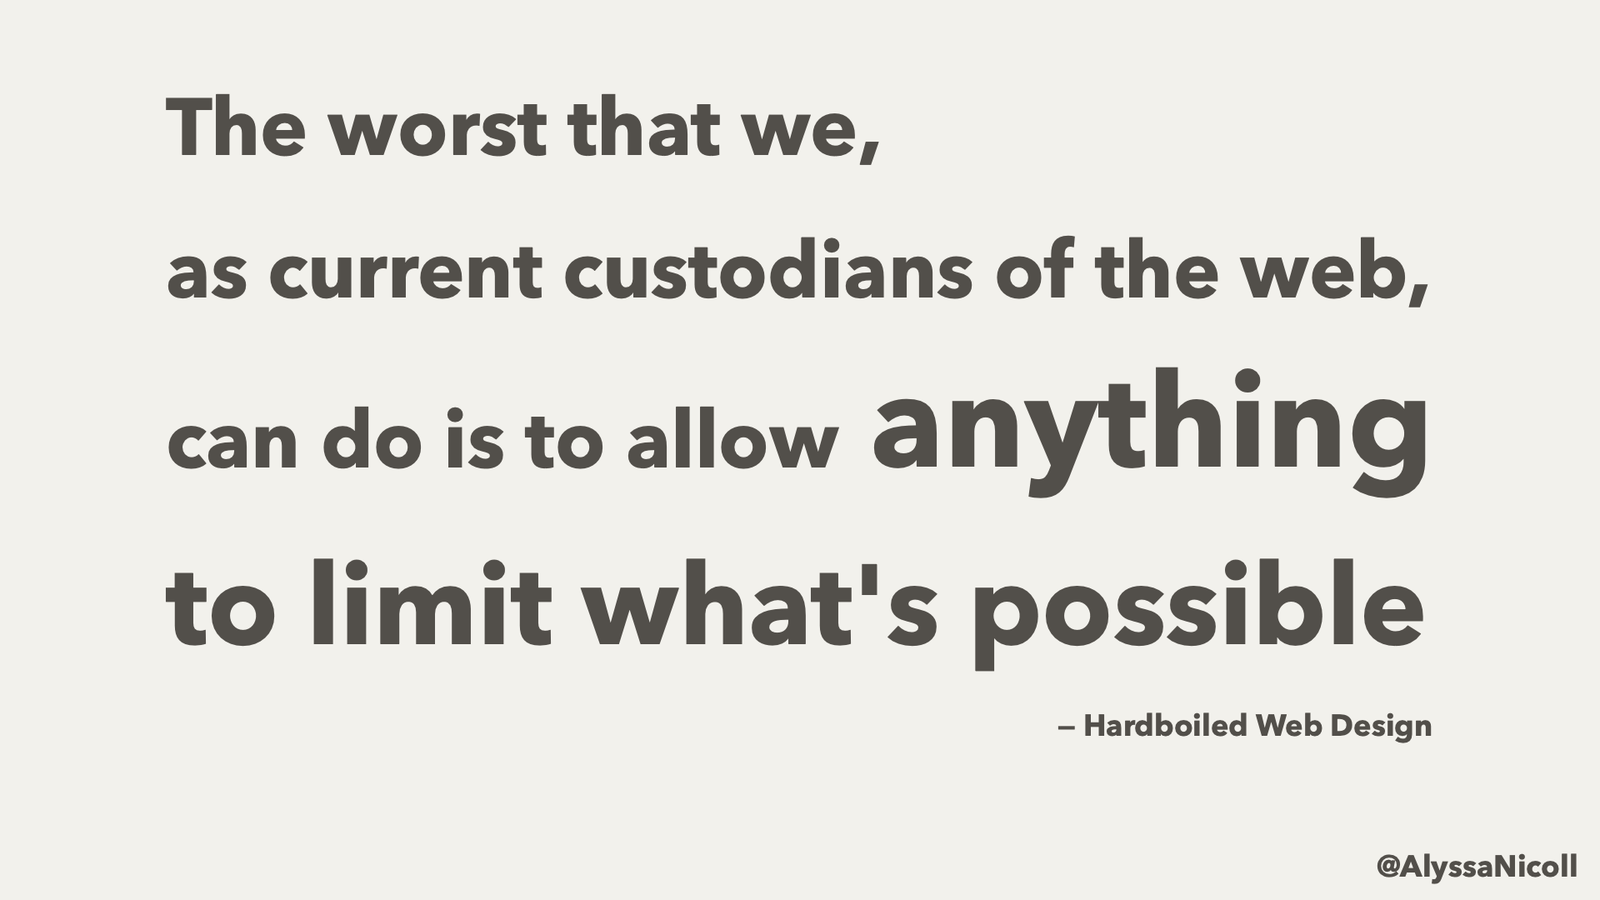
By all means, do not rewrite the wheel, lean on the work of others. But we should never let the difficult task of creating custom UI alongside existing styles or libraries limit what we create for our clients. Create a system, a style guide, and a list of resources that your team can go to. Always encourage those around you to reach for the truly creative, keeping your users needs first, above our own fear and inconvenience.
Alyssa is the Angular Developer Advocate for Kendo UI. If you're into Angular, React, Vue or jQuery and also happen to love beautiful and highly detailed components, check out Kendo UI—and you can find the Kendo UI for Angular library here or just jump into a free 30 day trial today. Happy Coding!

Alyssa Nicoll
Alyssa is an Angular Developer Advocate & GDE. Her two degrees (Web Design & Development and Psychology) feed her speaking career. She has spoken at over 30 conferences internationally, specializing in motivational soft talks, enjoys gaming on Xbox and scuba diving in her spare time. Her DM is always open, come talk sometime.
Related Posts
Comments
All articles
Topics
Latest Stories
in Your Inbox
Subscribe to be the first to get our expert-written articles and tutorials for developers!
All fields are required