
Effortlessly Create Rich Text Content with Angular Kendo UI Editor

Summarize with AI:
Your Angular app may need to allow users add text with formatting options, images, tables, appearance styles and/or links. This is a cinch with Kendo UI for Angular Editor. Take a look at an example project.
As developers, we build many Angular apps where users need to add text, like a blog or CMS, email, comments or an online editor. In these apps, the user should be able to add simple or rich text with formatting options, images, tables, appearance styles and/or links.
If we create our rich editor from scratch, it is an enormous task. The easy way to provide a rich editor is by using Progress Kendo UI for Angular Editor.
The Kendo UI for Angular Editor is a feature-rich text editor component for Angular applications with huge advantages like:
- Easy integration into an Angular application with Schematics.
- High degree of customization with options for changing the appearance and behavior of the editor.
- Advanced features like rich text formatting, spell-checking, and image and file embedding.
- Designed to be responsive and adapt to different screen sizes and devices.
- Easily integrate with other Kendo UI components to create a seamless user experience.
After reading some features, the best way to learn the power of Angular Kendo UI Editor is with a real scenario.
Scenario
We work in a company that wants to create a page where the user can write notes, but also with a rich editor format, with options for changing the font type and color, adding bullets, hyperlinks and tables.
These are a just a few of the broad list of options provided by default with the Kendo UI Angular Editor.
Setting up the Project
We start to build the project using Angular CLI. You can install it using the following command:
npm install -g @angular/cli
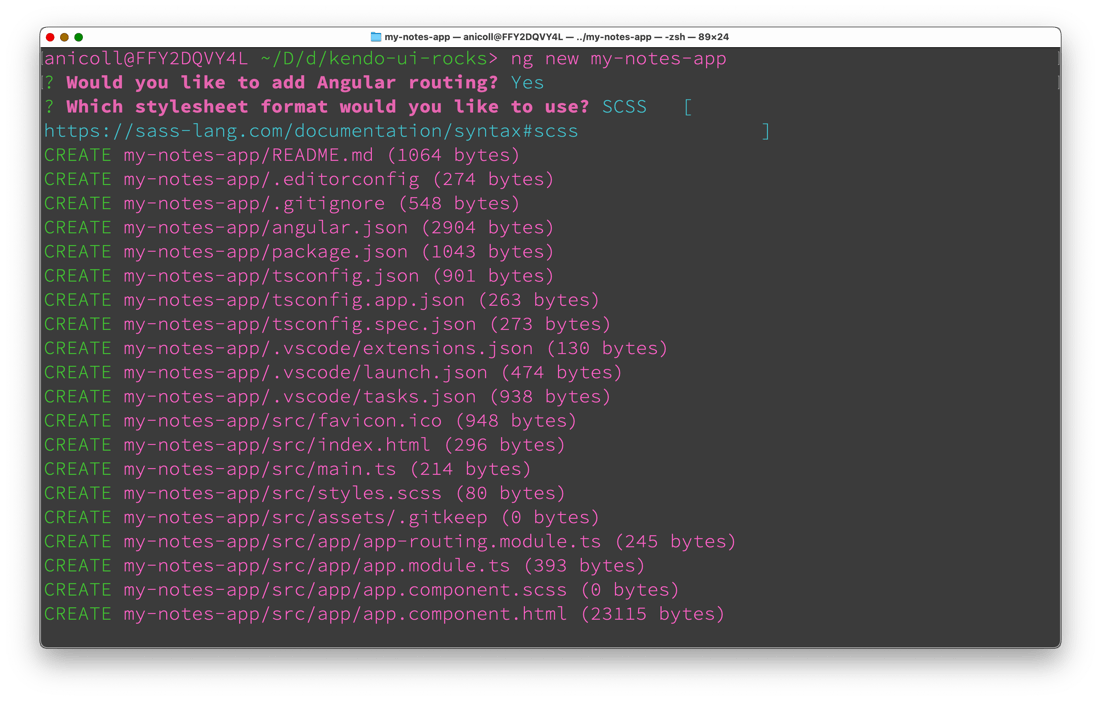
Once you have the Angular CLI installed, create the project by running the following command:
ng new my-notes-app
Now that our application has been created, let’s navigate into it and install run the initial npm install:
cd my-notes-app
Next, install the Kendo UI for Angular Editor package by running the following command:
ng add @progress/kendo-angular-editor
Angular Schematics automatically imports the editor module into your Angular app in the app.module.ts file:
import { EditorModule } from '@progress/kendo-angular-editor';
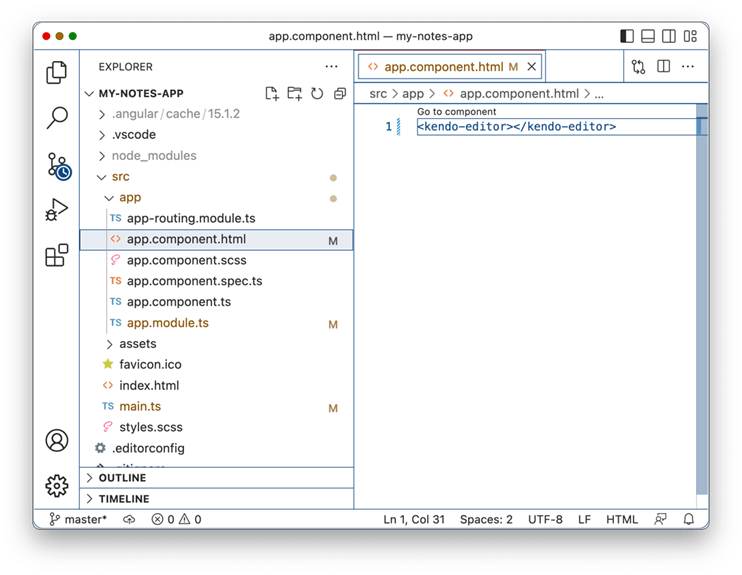
Once the editor module is imported, go ahead and remove the example markup in app.component.html and add the editor component <kendo-editor></kendo-editor> tag to your app template:
<kendo-editor></kendo-editor>
Save the changes and run the app with ng -serve -o to open the browser automatic.
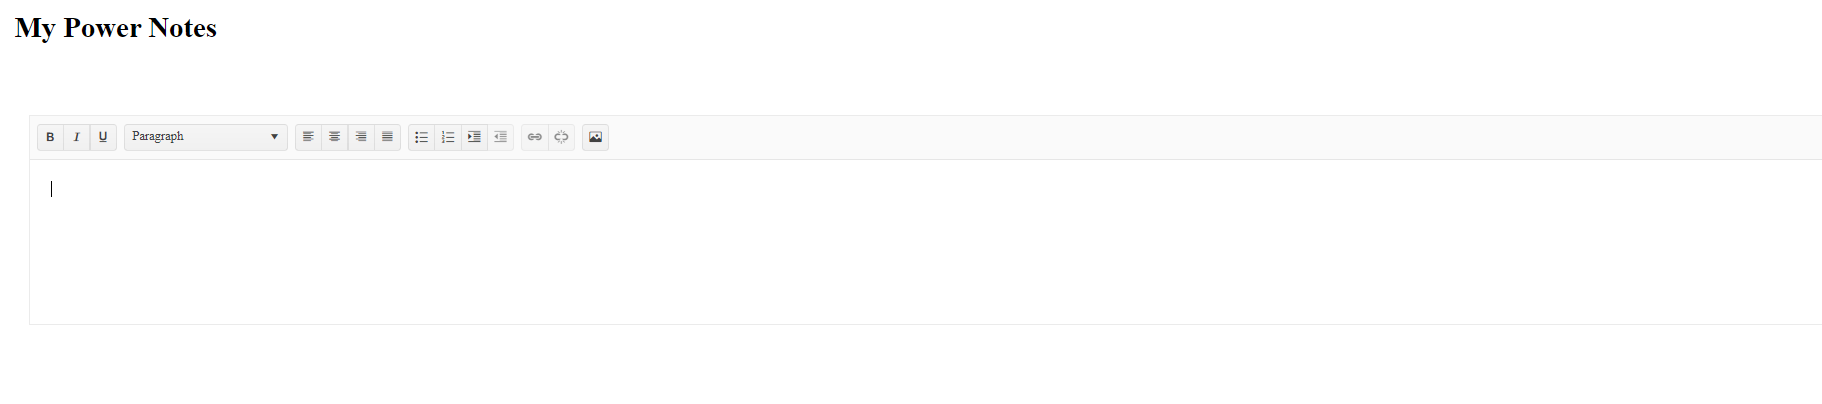
The editor is ready; next we will add some interactivity, like rendering the content and adding toolbars options.
The Editor
The editor, by default, shows empty content. We want to set a default content and edit the value.
Open the app.component.ts, and add a new property content with the value “hello from kendo.”
import { Component } from '@angular/core';
import { DomSanitizer, SafeHtml } from '@angular/platform-browser';

@Component({
  selector: 'app-root',
  templateUrl: './app.component.html',
  styleUrls: ['./app.component.css'],
})
export class AppComponent {
  content = 'hello from kendo';
 }
Next, bind the variable content with the editor using the [(value)] and two-way binding to and render the value of content using interpolation {{content}}.
    <kendo-editor [(value)]="content">
    </kendo-editor>
{{content}}
Save this, and the browser reloads. If you type some text and click the bold option in the editor, the browser content is updated.
Hmm… but why does Angular render the HTML tags <p>hello<strong>world</strong></p> instead of the text with bold style?
Learn more about interpolation and data binding in Angular.
Binding HTML
Instead of rendering the value content with interpolation, let’s try to use the property innerHTML.
<p [innerHTML]="content"></p>
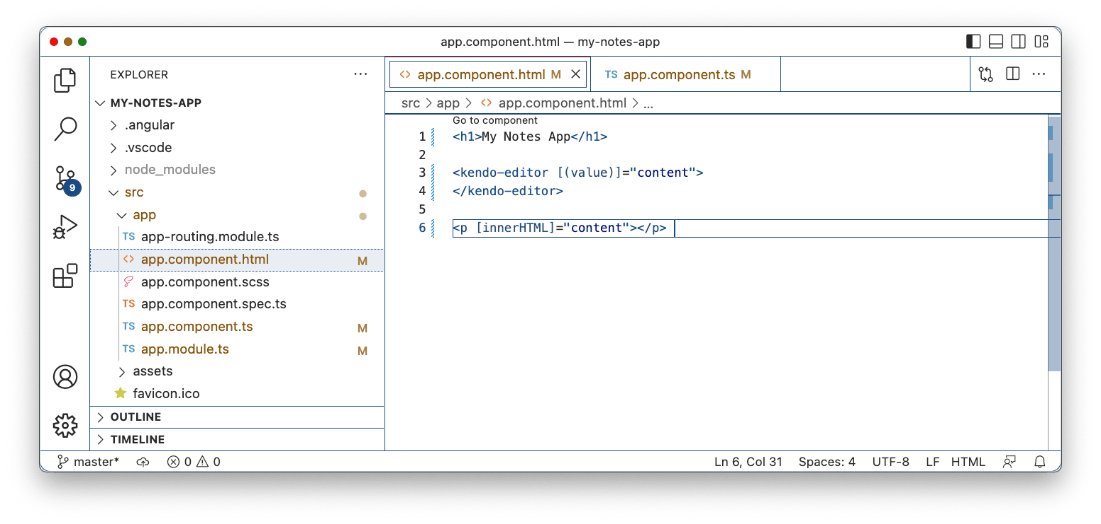
Perfect, the HTML is rendered with styles and format; we have a basic editor that lets us add more options in the toolbar.
Editor Toolbar
By default, the Kendo UI Editor comes with a few options in the toolbar. We can customize and add a massive list of options like changing the background, print button and more.
Using the components <kendo-toolbar> and <kendo-toolbar-button>, add the actions with the content to the Kendo UI Editor buttons. Because we are adding the kendo-toolbar the default buttons are removed, showing only the button added to the toolbar.
<kendo-editor [(ngModel)]="content">
      <kendo-toolbar>
        <kendo-toolbar-button kendoEditorBoldButton></kendo-toolbar-button>
        <kendo-toolbar-button kendoEditorItalicButton></kendo-toolbar-button>
        <kendo-toolbar-colorpicker
          kendoEditorForeColor
        ></kendo-toolbar-colorpicker>
        <kendo-toolbar-colorpicker
          kendoEditorBackColor
          view="gradient"
        ></kendo-toolbar-colorpicker>
        <kendo-editor-insert-table-button></kendo-editor-insert-table-button>
        <kendo-toolbar-button kendoEditorPrintButton></kendo-toolbar-button>
      </kendo-toolbar>
    </kendo-editor>
Perfect, the editor shows only the buttons inserted and removes all the default!
In the demo, we added a table, changed the styles for hello from kendo to bold and italic, and set the background to red in the editor. Still, it only changes in the editor, not applying the background color in
the content area.
Why isn’t the content reflecting the change to the background color?
Read more about Editor Toolbar buttons.
Angular Security and DomSanitizer
Angular, by default, protects potential values bound to the template and tries to avoid values for HTML-like styles, scripts and more. The Kendo UI Editor allows the user the freedom to add images, URLs and styles due to needing to sanitize content properly.
To prevent this, we can use DomSanitizer to sanitize the value before binding it to the template; we inject the DomSanitizer service that provides a way to bypass security checks
on potentially dangerous values bound to the template.
DomSanitizer sanitizes values for HTML, style and URLs and uses the [innerHTML] and [style] bindings, which can set potentially dangerous values
on the page.
Inject the DomSanitize in the constructor and declare a new property to return the sanitize value from the content.
constructor(private domSanitizer: DomSanitizer) {}

public get safeContent(): SafeHtml {
    return this.domSanitizer.bypassSecurityTrustHtml(this.content);
}

In the template, use the value of safeContent.
<div [innerHTML]="safeContent"></div>
Perfect, our editor has complete control of the page and adds color, background, tables and more.
Read more about byPassSecurityTrust.HTML.
Conclusion
We learned how to add Kendo UI for Angular Editor, which is relatively straightforward. It comes with built-in features, and we can easily add rich-text editing capabilities to your app and save and display the texts in a user-friendly manner.
The Kendo UI for Angular Editor offers several advantages for developers and users who want to incorporate a rich text editor with a clean, intuitive interface that is easy for users to understand and navigate, with a customizable toolbar that allows users to access the formatting options and other needed features without cluttering the screen with unnecessary buttons.
It also comes with a wide range of formatting options, including font styles, sizes, colors, text alignment, bulleted and numbered lists, and indentation, allowing the users to create well-formatted, professional-looking results. They can also easily insert images, videos and other media types into their content—useful for creating rich, engaging content that goes beyond simple text.
You can find the complete code example for this article: source code
Happy coding!
Try Kendo UI for Angular
Ready to try out the Editor and any of the other 100+ native Angular components available in Kendo UI for Angular? Try the library for free for 30 days!

Dany Paredes
Dany Paredes is a Google Developer Expert on Angular and Progress Champion. He loves sharing content and writing articles about Angular, TypeScript and testing on his blog and on Twitter (@danywalls).
Related Posts
Comments
All articles
Topics
Web MobileMobile
Desktop
Design
Productivity
People
