
Building an Advanced Image Uploader with Kendo UI for Angular Upload

Summarize with AI:
See how much quicker it is to build an image uploader with the Upload component from the Kendo UI for Angular library.
In our previous article, we built an image uploader with drag-and-drop support for the minimum viable product (MVP), exploring the challenges and limitations that arose during development using the Input File element. To be transparent and sincere with you, we spent quite a significant amount of time, and the result was somewhat poor, with a lack of style and features.
Now, it’s time to change our MVP by using the powerful Upload component from Progress Kendo UI for Angular. This Upload component is a versatile tool that simplifies the process of handling file uploads in Angular applications. It offers a wide range of features and enhancements, making it an excellent choice for building an advanced image uploader.
What We Will Do
The goal is to create the MVP, so you’ll have a robust and user-friendly image uploader that leverages the power of Kendo UI to address the challenges we faced in the previous iteration.
We are going to learn how to add Kendo UI Uploads to our Angular project, as well as how to add other features like error handling and image removal, to improve the user experience.
Scenario
Do you remember all the code we wrote in the previous post with a basic result? In that article, we created a file uploader from scratch using Angular and the HTML File Element.
We encountered the following problems:
- Lack of UI
- No automatic uploading
- No progress tracking or ability to remove files
- No action upon completing the file upload process
What if I told you we can now have a much-improved UI with less code and in record time?
Sounds like a dream, right? Let’s leverage Kendo UI to help us build a great file uploader in no time.
Set Up the Project
In your terminal, run the following command to clone our project named upload-menorca-photos:
git clone https://github.com/danywalls/upload-menorca-photos.git
Cloning into 'upload-menorca-photos'...
remote: Enumerating objects: 66, done.
remote: Counting objects: 100% (66/66), done.
remote: Compressing objects: 100% (39/39), done.
Receiving objects: 100% (66/66), 123.72 KiB | 1.49 MiB/s, done.
Resolving deltas:   0% (0/21)
Resolving deltas: 100% (21/21), done.
Navigate to the upload-menorca-photos folder, and execute the npm install command in the terminal to install all the required dependencies, ensuring that we’re prepared for our next step.
Install Kendo UI for Angular Upload
Now, continue to use the Angular schematic to install Kendo UI for Angular Upload into our app by running the following command in the terminal.
ng add @progress/kendo-angular-upload
ℹ Using package manager: npm
✔ Found compatible package version: @progress/kendo-angular-upload@13.4.0.
✔ Package information loaded.

The package @progress/kendo-angular-upload@13.4.0 will be installed and executed.
Would you like to proceed? Yes
✔ Packages successfully installed.
UPDATE src/app/app.module.ts (607 bytes)
UPDATE package.json (1559 bytes)
UPDATE angular.json (3040 bytes)
✔ Packages installed successfully.
UPDATE src/main.ts (266 bytes)
UPDATE tsconfig.app.json (310 bytes)
UPDATE tsconfig.spec.json (315 bytes)
It automatically adds /// <reference types="@angular/localize" /> required by Kendo Upload into the main.ts
 /// <reference types="@angular/localize" />

import { bootstrapApplication } from '@angular/platform-browser';
import { appConfig } from './app/app.config';
import { AppComponent } from './app/app.component';

bootstrapApplication(AppComponent, appConfig)
  .catch((err) => console.error(err));
Perfect! Let’s start to write code!
Kendo UI for Angular Uploads
Before we start using it, I’d like to provide a brief overview of Kendo UI File Uploads. It offers two components: Kendo UI FileSelect and Kendo UI File Upload. Each of these components helps you meet your file upload needs in your Angular apps. However, you might be wondering when to use each one.
Kendo UI for Angular FileSelect: This component is helpful when you need complete control over how server requests and forms are created and sent. It’s like a more advanced version of the standard file input element (
<input type='file'>) and offers features such as easily connecting data models, using templates, integrating with forms and more.Kendo UI for Angular Upload: Similar to Kendo UI FileSelect, it allows you to send files from your local system to the app with just a few configurations. It’s very useful when you want to minimize coding and delegate more responsibility to Kendo UI Upload. It also offers a wide range of features, including uploading single or multiple files, chunking for large files, template customization and more.
Remember, we are working on an MVP, so our goal is to build it quickly to have time for adding more features and reusing the code. Let’s get started!
Using Kendo UI File Uploads
We are going to start to clean up our code by using the kendo-fileselect. Before we begin, though, we must provide the HttpClient and Animations for FileSelect in the app.config.ts:
import { ApplicationConfig } from '@angular/core';
import { provideRouter } from '@angular/router';

import { routes } from './app.routes';
import { provideHttpClient } from '@angular/common/http';
import { provideAnimations } from '@angular/platform-browser/animations';

export const appConfig: ApplicationConfig = {
providers: [provideRouter(routes), provideHttpClient(), provideAnimations()]
};
Next, import the UploadsModule in the image-upload.component.ts and add it to the imports array.
import { UploadComponent, UploadsModule } from '@progress/kendo-angular-upload';
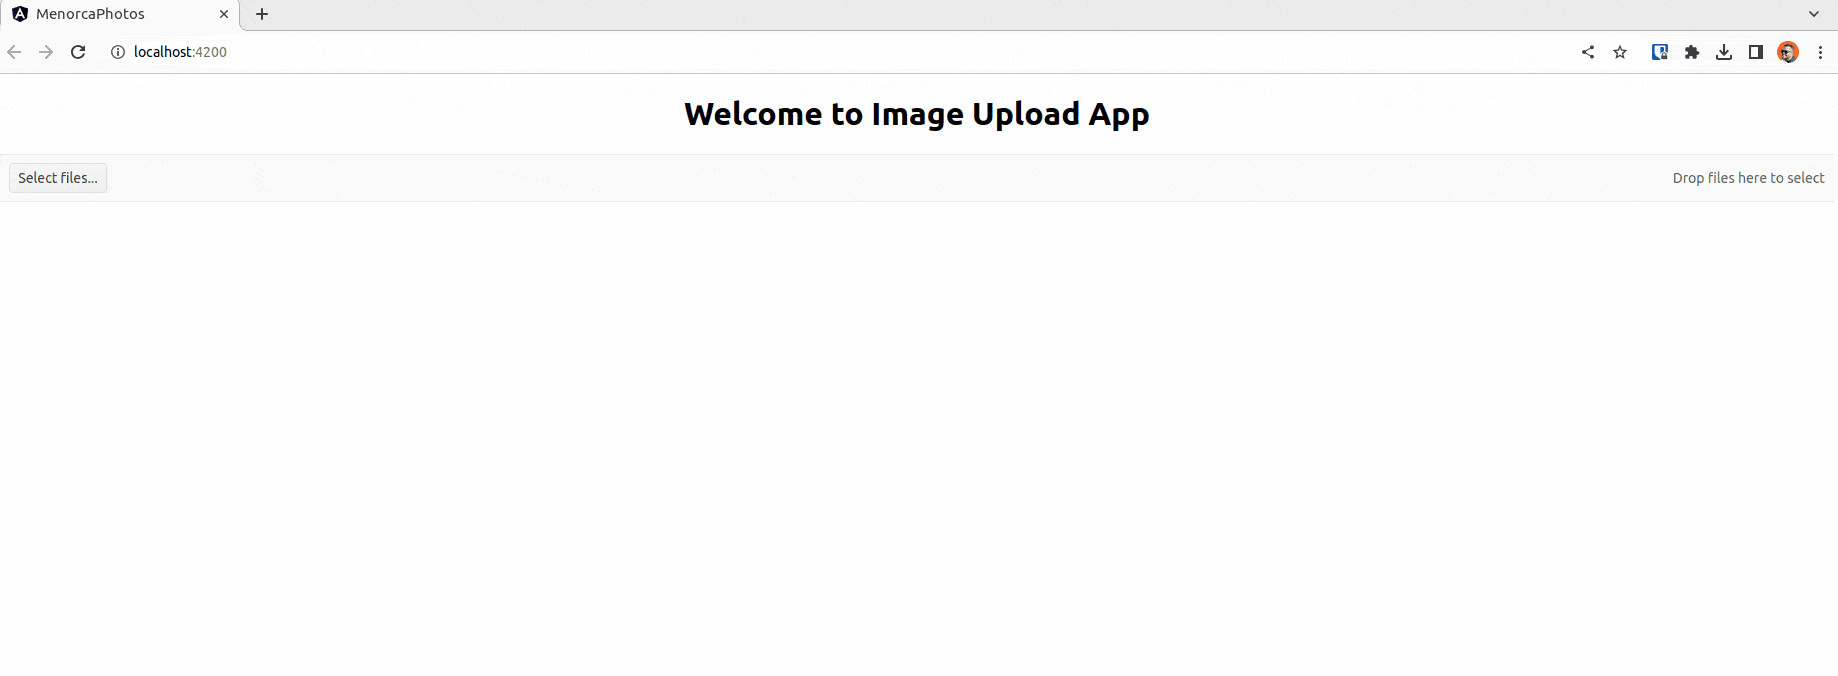
Then open the image-upload.component.html file and remove the HTML markup related to our “home-made uploader,” replacing it with a single line like <kendo-fileselect/>.
<div class="upload-area">
  <input type="file" multiple="true" (change)="onImageSelected($event)" accept="image/*">
  <button (click)="uploadImage()">Upload Image</button>
</div>
<div class="drag-drop-area" [class.uploading]="uploading" (drop)="onDrop($event)" (dragover)="onDragOver($event)">
  <p>Drag and drop to automatic upload</p>
</div>
 <div class="images">
  @for (image of imagesUrl; track image) {
    <img [src]="image" alt="Uploaded Image" />
  }
</div>
To:
<kendo-fileselect/>
Save changes and reload the page:
Yeah! We now have a powerful upload feature with support for multiple files, an appealing design, file information display, a progress bar status, delete button and even automatic uploading. OMG!
Refactor Time!
Yes, similar to how we reduced the amount of HTML markup in the DOM, we can simplify our code by reusing existing code.
Because Kendo UI Upload simplifies most of our tasks, it’s time to refactor our code to work with the Kendo UI File Uploader.
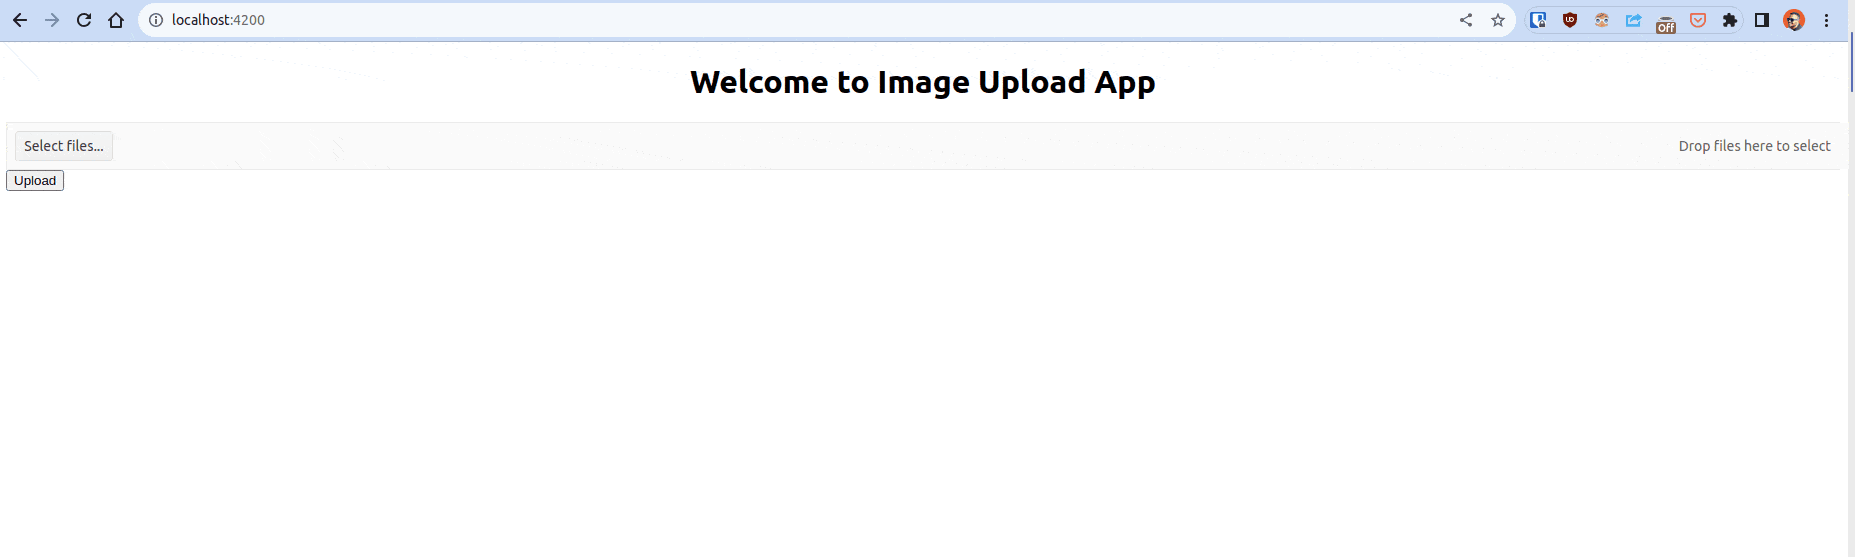
Add a template reference to kendo-fileselect as pictureFiles, and add a new button to bind a new method called upload that takes the kendo-fileselect as a parameter.
The code looks like:
<kendo-fileselect #pictureFiles />
<button (click)="upload(pictureFiles)">Upload</button>
Open the image-upload.component.ts, and in the upload method add the parameter pictureUploader: FileSelectComponent.
We’re going to harness the power of the FileSelectComponent. It simplifies our code by providing a fileList with all the files in the FileSelect component. We can iterate through all the files, call the fakeImageUploaderService, and push the response into the imagesUrl, just like the old code.
Once you’re done, use the clearFiles() method to remove all uploaded files.
The final code looks like:
export class ImageUploadComponent {
imagesUrl: Array<string> = [];

upload(pictureUploader: FileSelectComponent) {
pictureUploader.fileList.files.forEach((file) => {
const imageFile = file[0].rawFile;
if (imageFile)
this.fakeImageUploadService
.uploadImage(imageFile)
.subscribe((response) => {
this.imagesUrl.push(response);
});
});

pictureUploader.clearFiles();
}
}
Save the changes and reload! Our uploader now sends the image to the fake API and retrieves the response using the Kendo UI File Uploader.
Yes, it’s working with less code and a better UI. But what if I told you we can take a step further and enhance the MVP with even less code?
Using Kendo UI File Uploader
As we explained before, the Kendo UI File Uploader works with an API ready to process the file and provides some events like when a file was processed and when the entire list is completed.
To simulate the API requests, we are going to use an HttpInterceptor, to return HttpResponse OK.
Create a new file api.interceptor.ts, with the following code:
 import { HttpEvent, HttpRequest, HttpResponse } from '@angular/common/http';
import { Observable, delay, of } from 'rxjs';

export function apiInterceptor(
  req: HttpRequest<unknown>,
): Observable<HttpEvent<unknown>> {
  return of(new HttpResponse({ status: 200 })).pipe(delay(2000));
}
Navigate to your app.config.ts and add the interceptor in the provideHttpClient function, passing the withInterceptors function and pass as parameter the apiInterceptor function.
The final code looks like:
import { ApplicationConfig } from '@angular/core';
import { provideRouter } from '@angular/router';

import { routes } from './app.routes';
import { provideHttpClient, withInterceptors } from '@angular/common/http';
import { provideAnimations } from '@angular/platform-browser/animations';
import { apiInterceptor } from './services/api.interceptors';

export const appConfig: ApplicationConfig = {
  providers: [
    provideRouter(routes),
    provideHttpClient(withInterceptors([apiInterceptor])),
    provideAnimations(),
  ],
};
Next, replace the kendo-fileselect with <kendo-uploader>, and set up some properties.
<kendo-upload
#kendoupload
saveUrl="'saveAPI'"
removeUrl="'removeAPI'"
(complete)="onFinish(kendoupload)"
(success)="onSave()"
/>

<div class="images">
  @for (image of imagesUrl; track image) {
  <img  [src]="image" alt="Uploaded Image">
  }
</div>
To configure the Kendo UI Upload, provide a fake saveUrl and removeUrl. These values will represent the fake save and URL API. Next, bind the complete and success events.
The success event is triggered when each file is saved. In our case, we create the onSave() method, which simulates pushing a new image to the imagesUrl list.
The complete event takes the UploadComponent component as a parameter and calls the clearFiles() method to clean the list when all files have been processed.
As we can see, we only need two lines of code to achieve the same behavior as before.
The final code looks like this:
export class ImageUploadComponent {
imagesUrl: Array<string> = [];

  onFinish(file: UploadComponent) {
    file.clearFiles();
  }

  onSave() {
    this.imagesUrl.push('https://random.imagecdn.app/500/150');
  }
}
Save the changes and review the differences:
In this version, we have added more features:
- A progress bar for file deletion
- The option to delete files
- The ability to trigger actions when each file has been processed and when the entire list is completed
We are achieving more with less code—it’s amazing!
Conclusion
We learned how easy it is to build an app with the file upload functionality. Kendo UI for Angular Upload simplifies the file upload process, reducing the amount of code needed. We use both flavors: kendo-fileselect and kendo-uploader, each with its own advantages.
This tool significantly benefits your team and the company, enhancing the user experience and enabling the development of rich applications in record time. Remember, less code means fewer bugs, and Kendo UI Upload helps us achieve this.
If you want to learn more about Kendo UI Upload, I recommend checking out the official documentation to explore additional features and view the full list of demos.
And don’t forget you can try the complete Kendo UI for Angular library free for 30 days.

Dany Paredes
Dany Paredes is a Google Developer Expert on Angular and Progress Champion. He loves sharing content and writing articles about Angular, TypeScript and testing on his blog and on Twitter (@danywalls).
Related Posts
Comments
All articles
Topics
Web MobileMobile
Desktop
Design
Productivity
People
