Enliven Your App with Gauges for iOS
How often do you see a gauge visualization in your work and everyday life? Well, considering the increasing popularity of Systems of Insight, and the development in the IoT world, I suppose the answer is either “more and more” or “a lot.” With that in mind, let’s talk about the importance of great user interface design in achieving an outstanding app.
When it comes to design, there are thousands—even millions—of possibilities for the overall look of your application. That's why it is significant to use components rich in features, and with flexibility in mind. Components must be adaptive to every style and fit in many scenarios.
This is why, when we were announcing the changes in our latest release, we were so excited to have created Gauges for iOS that are interactive, with limitless styling customization possibilities. They offer smooth transitions from one value to another and can help enliven your apps.
In the next part of this article you will discover how to use the main features of linear and radial Gauges for iOS.
Although a scale is simply a line itself, it can have ticks and labels added to it for more information in a visual expression.
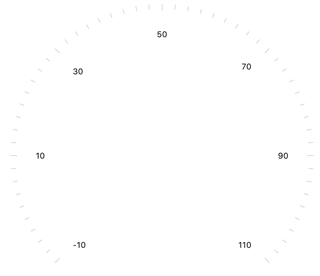
This is how a scale would look when it is first added to a TKRadialGauge. To achieve this look, you need to add a few lines of code:
Obviously, a scale by itself is not informative enough for what we want the gauge to tell us. That's why we need to add a few more elements to get our gauge really talking. Let’s focus our attention on a simple case and try to describe the boiling and freezing point of water. This is how we use TKGaugeSegments to indicate the freezing, liquid and boiling range in Celsius degrees:
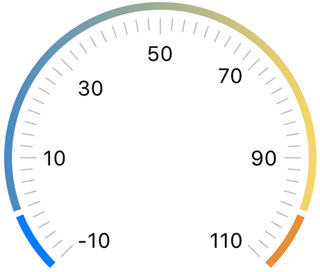
By adding these three segments to the gauge’s scale we get this look:
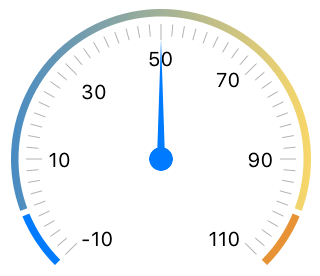
And now how do we know what exactly is the water temperature? We need an indicator to show this:
With these three elements you can create countless variations and styles of radial and linear gauges. What's more—we have no limit on the count of the elements attached to the gauge. You can add as many as you wish, positioned and stylized by your choice.
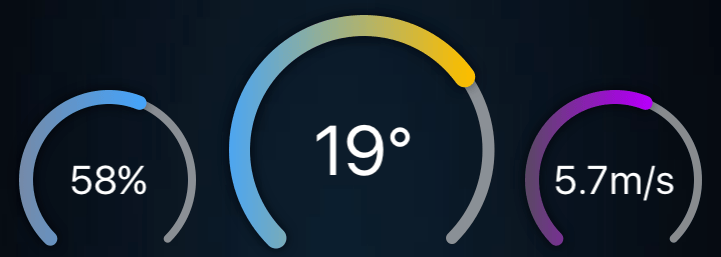
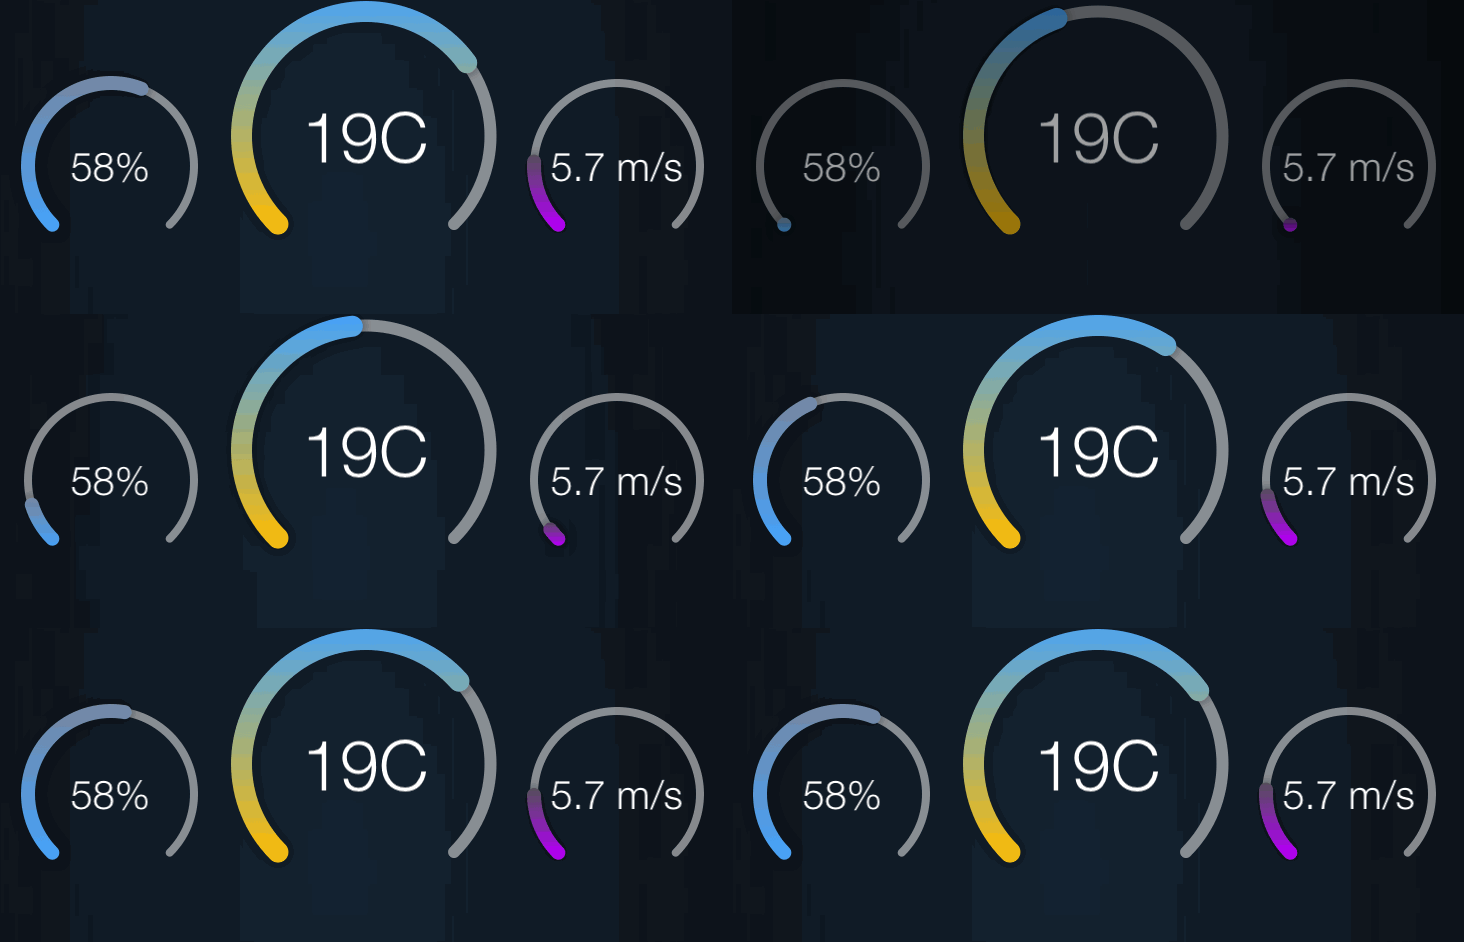
Creating a few gauges like this would result in the following:
There are many occasions where the end-user may not just want to see what the value is, but actually control it too. Take IoT-enabled home automation for example. You may need to control the air conditioning temperature, the humidity, etc. In this case, what easier way for the end-user than by interacting with the gauges to change the values. So, here is how you can make the Gauges interactive.
First of all, you need to allow touch for the segment:
Additionally, you can change label’s text every time the value changes in the delegate’s gauge:valueChanged:forScale method:
As a result, you will get the following behavior:
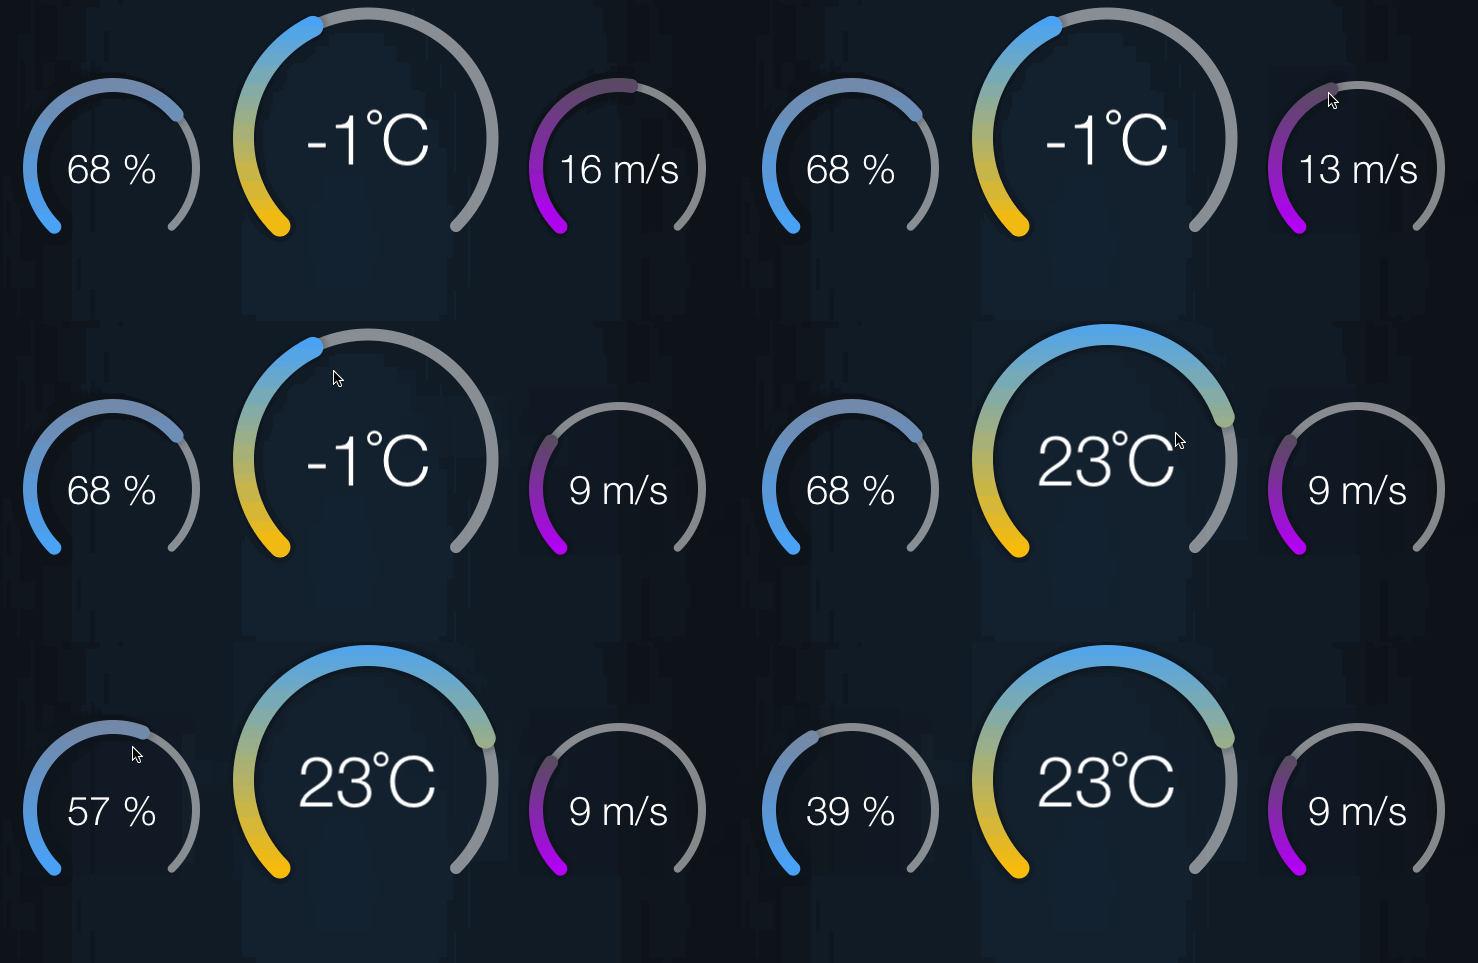
Animating the Telerik Gauges to make your app lively is a piece of cake. Only set a few parameters, and you'll have a smooth transition between ranges:
You can get the complete project that contains the discussed scenarios at GitHub. To run the project yourself, download and install Telerik UI for iOS.

When it comes to design, there are thousands—even millions—of possibilities for the overall look of your application. That's why it is significant to use components rich in features, and with flexibility in mind. Components must be adaptive to every style and fit in many scenarios.
This is why, when we were announcing the changes in our latest release, we were so excited to have created Gauges for iOS that are interactive, with limitless styling customization possibilities. They offer smooth transitions from one value to another and can help enliven your apps.
In the next part of this article you will discover how to use the main features of linear and radial Gauges for iOS.
Scale, Segment, Indicator as a part of TKGauge
Every gauge exists to express the measurement of a value or the state of a given matter. For that to be easily interpreted by the end-user, components such as scale, segment and indicator come in handy.Scale
Although a scale is simply a line itself, it can have ticks and labels added to it for more information in a visual expression.

This is how a scale would look when it is first added to a TKRadialGauge. To achieve this look, you need to add a few lines of code:
let temperature: TKRadialGauge = TKRadialGauge()self.view.addSubview(temperature)let radialScale = TKGaugeRadialScale(minimum: 0, maximum: 100)temperature.addScale(radialScale)Segment
Obviously, a scale by itself is not informative enough for what we want the gauge to tell us. That's why we need to add a few more elements to get our gauge really talking. Let’s focus our attention on a simple case and try to describe the boiling and freezing point of water. This is how we use TKGaugeSegments to indicate the freezing, liquid and boiling range in Celsius degrees:
let freezing : TKGaugeSegment = TKGaugeSegment(minimum: -10, maximum: 0)radialScale.addSegment(freezing) let liquid : TKGaugeSegment = TKGaugeSegment(minimum: 1, maximum: 99)liquid.fill = TKLinearGradientFill(colors: [UIColor(red: 0.24, green: 0.52, blue: 0.78, alpha: 1.0), UIColor(red: 1.00, green: 0.85, blue: 0.40, alpha: 1.0)], locations: [0, 1], startPoint: CGPointMake(0, 0.5), endPoint: CGPointMake(1, 0.5))radialScale.addSegment(liquid) let boiling = TKGaugeSegment(minimum: 100, maximum: 110)boiling.fill = TKSolidFill(color: UIColor(red: 0.90, green: 0.57, blue: 0.22, alpha: 1.0))radialScale.addSegment(boiling)By adding these three segments to the gauge’s scale we get this look:

Indicator
And now how do we know what exactly is the water temperature? We need an indicator to show this:
let needle : TKGaugeNeedle = TKGaugeNeedle() radialScale.addIndicator(needle) needle.setValueAnimated(50, withDuration: 1, mediaTimingFunction: kCAMediaTimingFunctionEaseInEaseOut)
With these three elements you can create countless variations and styles of radial and linear gauges. What's more—we have no limit on the count of the elements attached to the gauge. You can add as many as you wish, positioned and stylized by your choice.
Another Design Needed? No problem.
If you need a much simpler or flatter design for your gauges, you can easily achieve this by putting only one or two of its components into practice. Let’s consider the following example:self.view.addSubview(temperature) let radialScale = TKGaugeRadialScale(minimum: -30, maximum: 40)radialScale.ticks.hidden = trueradialScale.labels.hidden = truetemperature.addScale(radialScale)let mainTemperatureSegment = TKGaugeSegment(minimum:-30, maximum:40)mainTemperatureSegment.cap = TKGaugeSegmentCap.RoundmainTemperatureSegment.location = 0.87mainTemperatureSegment.fill = TKSolidFill(color: UIColor.whiteColor().colorWithAlphaComponent(0.5))mainTemperatureSegment.width = 0.08radialScale.addSegment(mainTemperatureSegment) let measureTemperatureSegment = TKGaugeSegment()measureTemperatureSegment.allowTouch = truemeasureTemperatureSegment.cap = TKGaugeSegmentCap.RoundmeasureTemperatureSegment.location = 0.9measureTemperatureSegment.width = 0.14measureTemperatureSegment.fill = TKLinearGradientFill(colors: [UIColor(red:0.27, green:0.64, blue:0.99, alpha:1.0), UIColor(red:1.00, green:0.74, blue:0.00, alpha:1.0)])measureTemperatureSegment.shadowOpacity = 0.5measureTemperatureSegment.shadowOffset = CGSizeMake(0, 0) radialScale.addSegment(measureTemperatureSegment) temperature.labelTitle.text = "19C"temperature.labelTitle.font = UIFont(name: "HelveticaNeue-Light", size:35)temperature.labelTitle.textColor = UIColor.whiteColor()Creating a few gauges like this would result in the following:

Interacting with TKGauge
There are many occasions where the end-user may not just want to see what the value is, but actually control it too. Take IoT-enabled home automation for example. You may need to control the air conditioning temperature, the humidity, etc. In this case, what easier way for the end-user than by interacting with the gauges to change the values. So, here is how you can make the Gauges interactive.First of all, you need to allow touch for the segment:
measureTemperatureSegment.allowTouch = YES;Additionally, you can change label’s text every time the value changes in the delegate’s gauge:valueChanged:forScale method:
- (void)gauge:(TKGauge *)gauge valueChanged:(CGFloat)value forScale:(TKGaugeScale *)scalefunc gauge(gauge: TKGauge, valueChanged value: CGFloat, forScale scale: TKGaugeScale) { if (gauge == temperature) { temperature.labelTitle.text = "\(Int(value))˚C" }}As a result, you will get the following behavior:

Gauge Animations
Animating the Telerik Gauges to make your app lively is a piece of cake. Only set a few parameters, and you'll have a smooth transition between ranges:measureTemperatureSegment.setRangeAnimated(TKRange(minimum: -30, andMaximum:19), withDuration:1.0, mediaTimingFunction:kCAMediaTimingFunctionEaseInEaseOut)
You can get the complete project that contains the discussed scenarios at GitHub. To run the project yourself, download and install Telerik UI for iOS.


About the Author
Yoanna Mareva
Yoanna Mareva is a Developer in the Telerik iOS Team. She graduated from the Telerik Academy in 2014 to join the team and start adding a great deal of value to the suite of iOS controls. A designer in her heart and developer in her mind, she is a unique product contributor who already has controls like Gauges and Alert for iOS in her arsenal.
Comments
Comments are disabled in preview mode.
