# Configure a Responsive Web Test
To help you address the needs of your mobile users, Test Studio offers comprehensive features to enable the responsive web UI testing.
Using the **Device Mode** of Chrome and Edge Chromium browsers you can simulate different mobile devices and check how a web page behaves on these. With its **Responsive Web test** Test Studio provides the capability to record and execute tests against such emulated device mode.
The **Responsive Web test** in Test Studio is a separate type of test, which require some additional settings in order to correctly simulate mobile devices in the Device Mode of Chrome or Edge Chromium. This article describes the necessary adjustments in order to test a web page on a simulated mobile device.
## Create a Responsive Web Test
To add a **Responsive Web test** to your project, use the respective type of test to create. You can use the option both from the Project Ribbon or from the Project Explorer context menu.
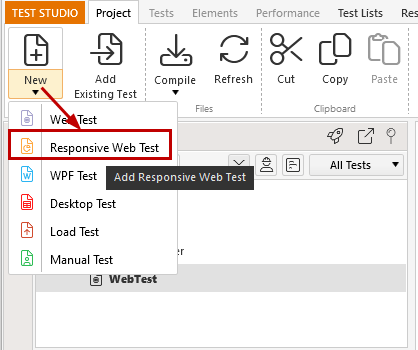
**Project Ribbon** |
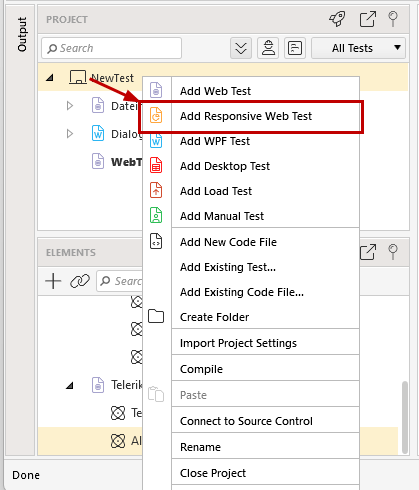
**Project Explorer** |
## Configure a Device to Simulate
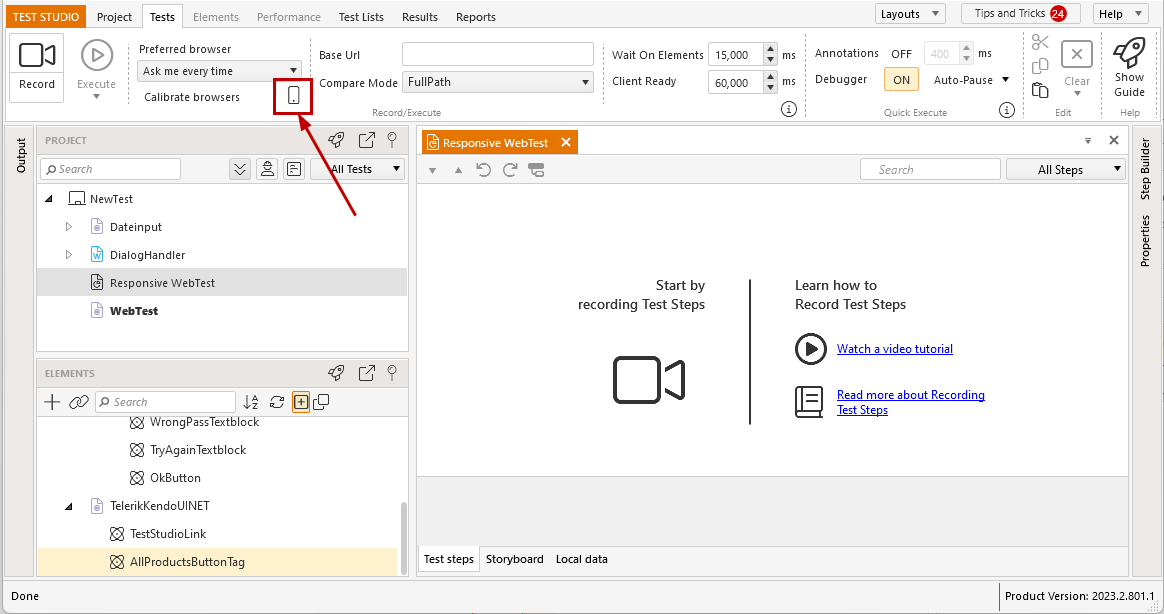
Open the newly created **web responsive test** and click the quick access button from the *Test Ribbon* to open the **Device settings**.
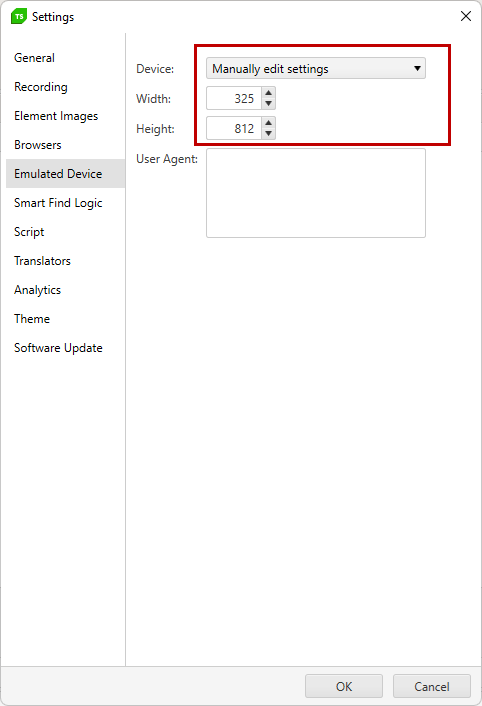
The default pre-selected option is to manually choose the **width and height of the device display** to simulate. The preset values are 100/100 and you can enter the desired values in the respective fields. The **User Agent** field allows you to modify the User-Agent request header used from the browser for identification toward server and network peers. If left blank, the browser will use its default user agent.
### Predefined Devices
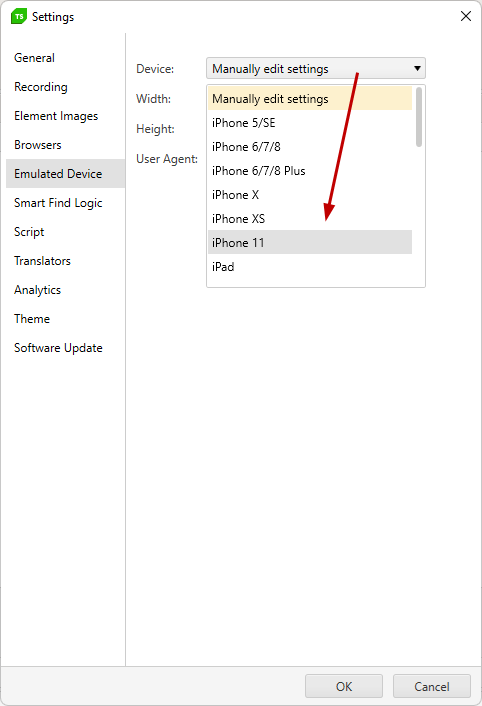
For your ease, we have prepared a list of predefined devices, from which you can select and directly set the necessary values for device display size and user agent. Choose a device from the **Device** dropdown and the **Width**, **Height** and **User Agent** values get set according to the selected device and remain grayed out.
## Record a Responsive Test
1. To trigger a recording session, click the **Record** button in the *Tests* ribbon or press **CTRL+R**. In the *Recording* dialog type the URL you want to navigate to, select Chrome or Edge Chromium (these are the browsers supported for recording and execution on simulated mobile devices) and press *Enter* or click the ***Record*** button. You can choose a URL from your recently used URLs.
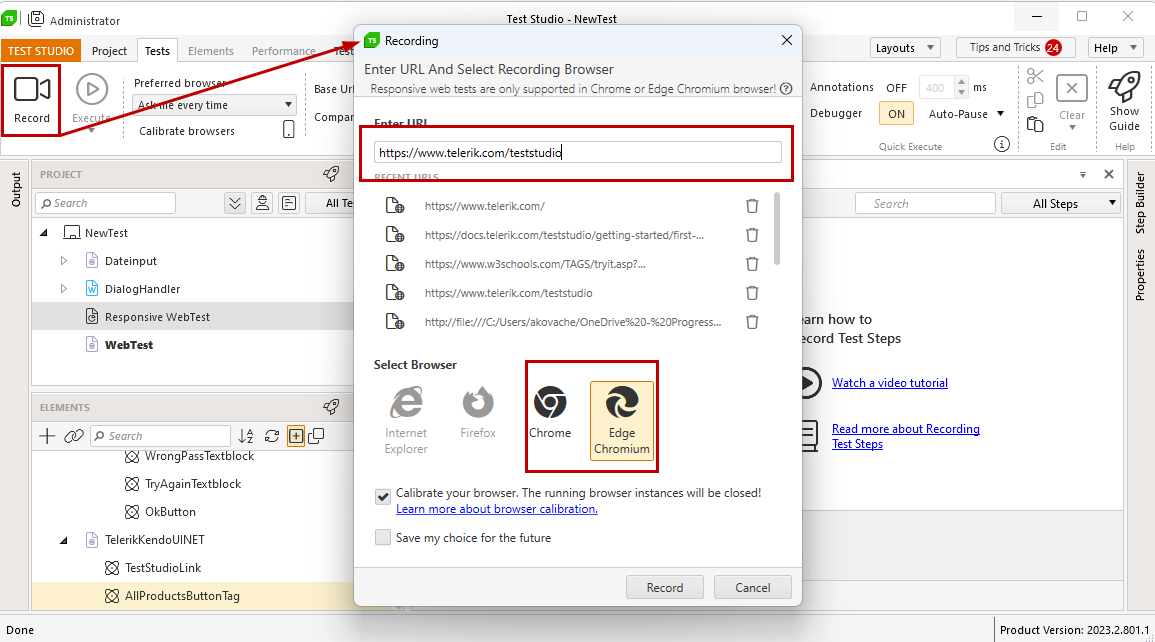
> **Note** Selecting the recording browser will be skipped, if you have already set a preferred browser from the Test ribbon.
2. Once the selected browser navigates to the desired page, it is shrunk to the predefined width and height of the preselected device and the recorder gets attached to the browser instance. A navigate step is recorded in the *Steps* pane and you can continue recording the next actions as per the required scenario.
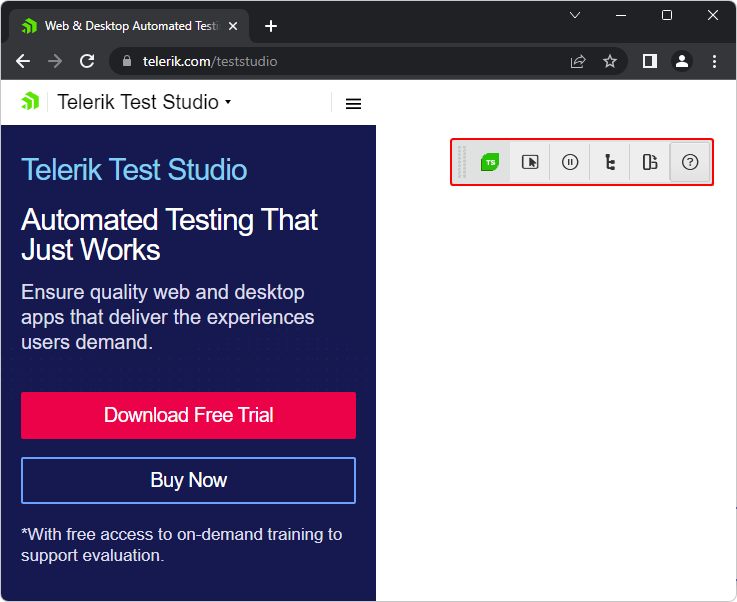
> **Note!** In order to simulate the selected mobile device, Test Studio forces the browser to enter in debug mode. This brings a message line **'"Progress Telerik Test Studio Extension" started debugging the browser'**, which cannot be hidden. You can ignore the message and continue recording.
> **Note!** While recording a test, **do not start another instance of the same browser** until the recording is finished!
3. Let's navigate to the Telerik official page, which has responsive design and looks different on different size displays. Record few click steps to navigate to the *Test Studio official* page through the *All Products* menu.
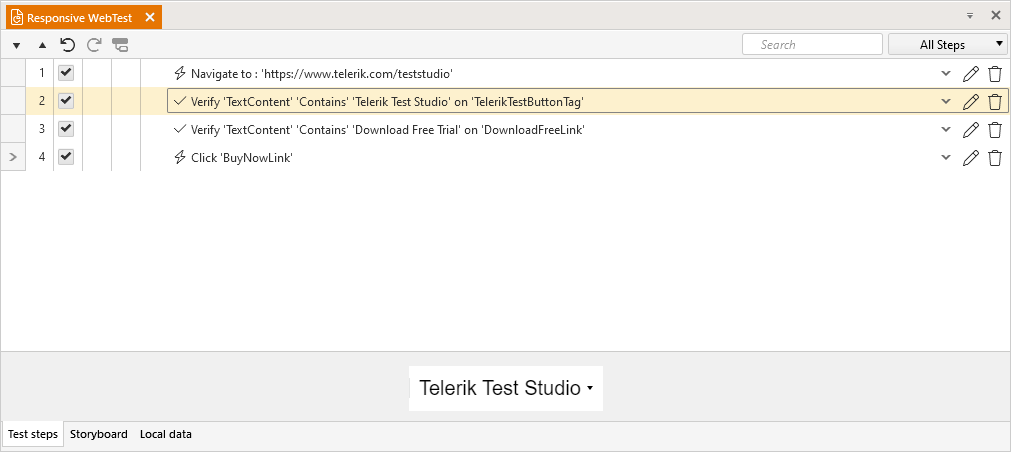
4. To exit the recording session, close the browser with the attached Recording toolbar.
## Execute a Responsive Test
> **Note!** In order to simulate the selected mobile device, Test Studio forces the browser to enter in debug mode. This brings a message line **'"Progress Telerik Test Studio Extension" started debugging the browser'**, which cannot be hidden. You can ignore the message and continue executing the tests.
> **Note!** While a test is being executed **do not start another instance of the same browser or any other application** until the run is finished!
1. Once a test scenario is already recorded, click the **Execute** button in the *Test* ribbon.

2. In the *Executing* dialog select Chrome or Edge Chromium (these are the browsers supported for recording and execution on simulated mobile devices) to run the test against and press *Enter* or click the ***Run*** button.
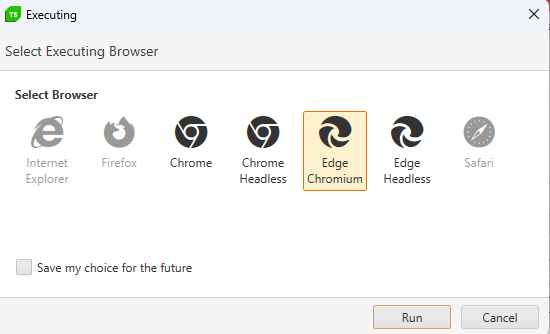
> **Note!** This step will be skipped if you have already set a preferred browser from the Test ribbon.
3. Test Studio launches the selected browser, displays the page shrunk in the predefined device display size and executes the steps recorded in the test. The **Execute** button in the *Test* ribbon is changed to **Abort** and allows you to stop the test run before it is finished.

> **Note!** If you abort the test execution before it is finished, there will be no results stored.
## Elements in the Responsive Web Test
The **Responsive web test** is using the same elements as a standard web test. That said, if the page under test uses the same elements in its responsive view, you can reuse already recorded steps from a web test and paste these into the newly created responsive one.
> **Note!** The elements may look different in the desktop and responsive version of the web page and you may need to additionally adjust the images for the these, when searched by image.