# Getting Started with WinUI TabControl
This guide provides the information you need to start using the Telerik UI for WinUI TabControl by adding the component to your project.
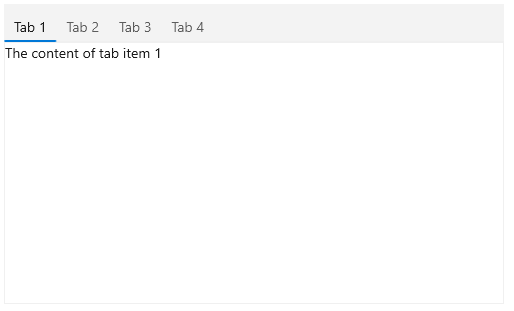
At the end, you will be able to achieve the following result.
## Prerequisites
Before adding the TabControl, you need to:
1. [Set up your WinUI project](https://www.telerik.com/winui/documentation/installation-and-deployment/systemrequirements).
2. Create your Telerik UI for WinUI application and install the Telerik UI for WinUI components depending on the required installation approach:
* [Getting Started with NuGet](https://www.telerik.com/winui/documentation/getting-started/first-steps-nuget#step-2-create-the-winui-application)
* [Getting Started with the MSI file](https://www.telerik.com/winui/documentation/getting-started/first-steps-msi#step-2-create-the-winui-application)
* [Getting Started with the ZIP file](https://www.telerik.com/winui/documentation/getting-started/first-steps-zip#step-2-create-the-winui-application)
* [Getting Started with the Telerik UI Visual Studio Extension](https://www.telerik.com/winui/documentation/getting-started/first-steps-vsextension#step-2-create-the-winui-application)
## Add the Assembly References
To use the `RadTabControl` component, add references to `Telerik.WinUI.Controls.dll` and `Telerik.Licensing.Runtime.dll`.
## Define the Component
The following example demonstrates how to define the TabControl component. You can access the TabControl through the `xmlns:telerik="using:Telerik.UI.Xaml.Controls"` alias that points to the `Telerik.UI.Xaml.Controls` namespace.
#### **Define the TabControl**
```XAML
```
**RadTabControl Example**

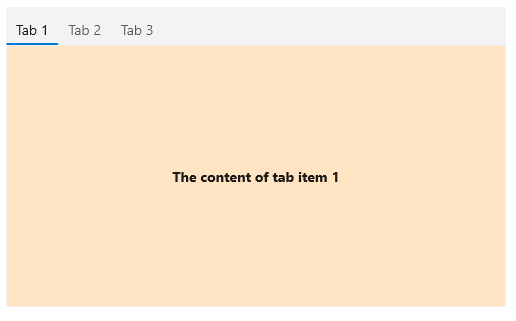
`RadTabItem` is a header content control, which means that it can have header and content. You can use the `Header` and `Content` properties of `RadTabItem` to define what to display in the tab. The properties are of type `object` and can contain UI elements, strings, business objects or any other element that inherits the `System.Object` class.
#### **Setting a UIElement as the value of the RadTabItem's Content property**
```XAML
```
**RadTabItem with a UIElement set as its content**
## Telerik UI for WinUI Learning Resources
* [Telerik UI for WinUI TabControl Component](https://www.telerik.com/winui/tab-control)
* [Getting Started with Telerik UI for WinUI Components](https://www.telerik.com/winui/documentation/getting-started/first-steps-nuget)
* [Telerik UI for WinUI Installation](https://www.telerik.com/winui/documentation/installation-and-deployment/installing-which-file-do-i-need)
* [Telerik UI for WinUI Examples](https://www.telerik.com/winui/documentation/examples/demos-app)
* [Telerik UI for WinUI Accessibility](https://www.telerik.com/winui/documentation/common/accessibility)
* [Telerik UI for WinUI License Agreement](https://www.telerik.com/purchase/license-agreement/winui)
## See Also
* [Data Binding](https://www.telerik.com/winui/documentation/controls/radtabcontrol/data-binding)
* [Preserve Selected Content](https://www.telerik.com/winui/documentation/controls/radtabcontrol/preserve-selected-content)
* [Pin and Close](https://www.telerik.com/winui/documentation/controls/radtabcontrol/pinandclose)
* [Selection](https://www.telerik.com/winui/documentation/controls/radtabcontrol/selection)
* [Customizing Items Layout](https://www.telerik.com/winui/documentation/controls/radtabcontrol/appearance/customizing-items-layout)