# Getting Started with WinUI Scheduler
This tutorial will walk you through the creation of a sample application that contains **RadScheduler**.
## Assembly References
In order to use the **RadScheduler** control in your projects, you have to add references to the following assemblies:
* `Telerik.WinUI.Controls.dll`
* `Telerik.Licensing.Runtime.dll`
## Adding RadScheduler to the Project
You can add **RadScheduler** manually by writing the XAML code in **Example 1**.
> You can access the **RadScheduler** control through an alias pointing to the **Telerik.UI.Xaml.Controls.Primitives** namespace: `xmlns:telerik="using:Telerik.UI.Xaml.Controls"`
#### **Example 1: Adding RadScheduler in XAML**
```XAML
```
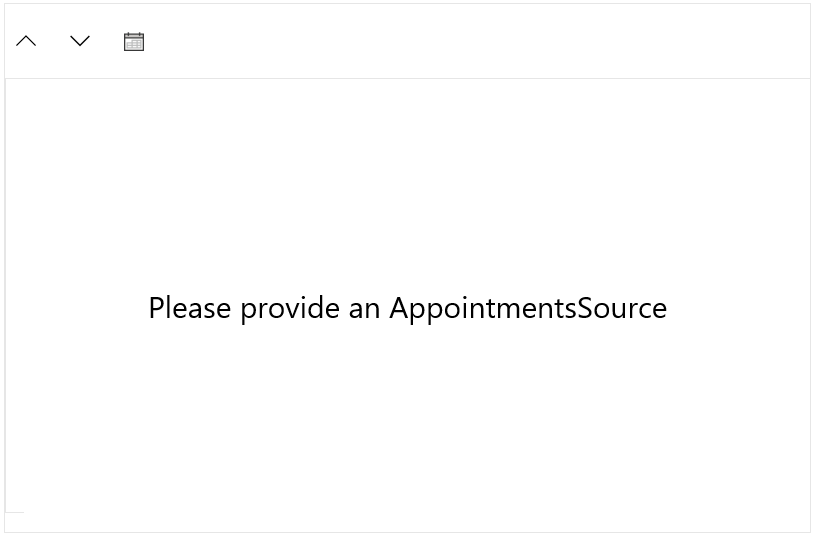
If you run the application, you will see an empty Scheduler with a message saying that AppointmentsSource should be provided as demonstrated in **Figure 1**.
#### **Figure1: The empty Scheduler generated by the code in Example 1**
## Populating with Data
In order to populate **RadScheduler** with data, you should bind its **AppointmentsSource** property to a collection of **Appointment** objects. First, create a ViewModel class containing an BindableCollection of Appointments as shown in **Example 3**.
#### **Example 3: View Model containing an BindableCollection of Appointments**
```C#
public class MyViewModel
{
private BindableCollection appointments;
public BindableCollection Appointments
{
get
{
if (this.appointments == null)
{
this.appointments = this.CreateAppointments();
}
return this.appointments;
}
}
private BindableCollection CreateAppointments()
{
BindableCollection apps = new BindableCollection();
var app1 = new Appointment()
{
Subject = "Front-End Meeting",
Start = DateTime.Today.AddHours(9),
End = DateTime.Today.AddHours(10)
};
apps.Add(app1);
var app2 = new Appointment()
{
Subject = "Planning Meeting",
Start = DateTime.Today.AddHours(11),
End = DateTime.Today.AddHours(12)
};
apps.Add(app2);
return apps;
}
}
```
Now that you have prepared the needed sample data, it is time to bind RadScheduler to it. For that purpose, you should set the **RadScheduler's AppointmentsSource** property to the collection of Appointments.
**Example 4** demonstrates how you can bind the AppointmentsSource collection in XAML. The *local* namespace in the example corresponds to the namespace where **MyViewModel** resides.
#### **Example 3: Set DataContext**
```C#
public Example()
{
this.InitializeComponent();
this.DataContext = new MyViewModel();
}
```
#### **Example 4: Bind RadScheduler**
```XAML
```
If you run the application at this stage, you will again see an empty Scheduler with a message saying that a View Definition should be selected as shown in **Figure 2**.
#### **Figure2: The empty ScheduleView generated by the code in Example 4**

## Adding ViewDefinitions
**Example 5** demonstrates how you can add a DayViewDefinition to the **RadScheduler** control:
#### **Example 5: Add DayViewDefinition**
```XAML
```
> You can add more than one ViewDefinition. There are four view definitions available:
>
> * DayViewDefinition
> * WeekViewDefinition
> * TimelineViewDefinition
> * MonthViewDefinition
> * AgendaViewDefinition
> For additional details, see the [ViewDefinitions Overview](https://www.telerik.com/winui/documentation/controls/radscheduler/features/viewdefinitions/overview) topic.
Running the application containing the code from Examples 1 - 5 will result in a populated **RadScheduler**, similar to **Figure 3**.
**Figure 3: RadScheduler bound to a collection of Appointments**

## Resources, Grouping
Using Resources you can associate additional information with the Appointments. Moreover, you can group the Appointments in **RadScheduler** according to the Resources assigned to them. For detailed information on this functionality, see the [Resources](https://www.telerik.com/winui/documentation/controls/radscheduler/features/resources) topic.
## Telerik UI for WinUI Learning Resources
* [Telerik UI for WinUI Scheduler Component](https://www.telerik.com/winui/scheduler)
* [Getting Started with Telerik UI for WinUI Components](https://www.telerik.com/winui/documentation/getting-started/first-steps-nuget)
* [Telerik UI for WinUI Installation](https://www.telerik.com/winui/documentation/installation-and-deployment/installing-which-file-do-i-need)
* [Telerik UI for WinUI Examples](https://www.telerik.com/winui/documentation/examples/demos-app)
* [Telerik UI for WinUI Accessibility](https://www.telerik.com/winui/documentation/common/accessibility)
* [Telerik UI for WinUI License Agreement](https://www.telerik.com/purchase/license-agreement/winui)
## See Also
* [Data Binding Support](https://www.telerik.com/winui/documentation/controls/radscheduler/populating-with-data/data-binding-support-overview)
* [ViewDefinitions](https://www.telerik.com/winui/documentation/controls/radscheduler/features/viewdefinitions/overview)
* [Resources](https://www.telerik.com/winui/documentation/controls/radscheduler/features/resources)