# Setting the Flat Button Color
## Environment
| Product Version |
14/09/2022 |
| Product |
ThemeBuilder |
## Description
How can I set the color of a flat Button in its hover and focus states?
## Solution
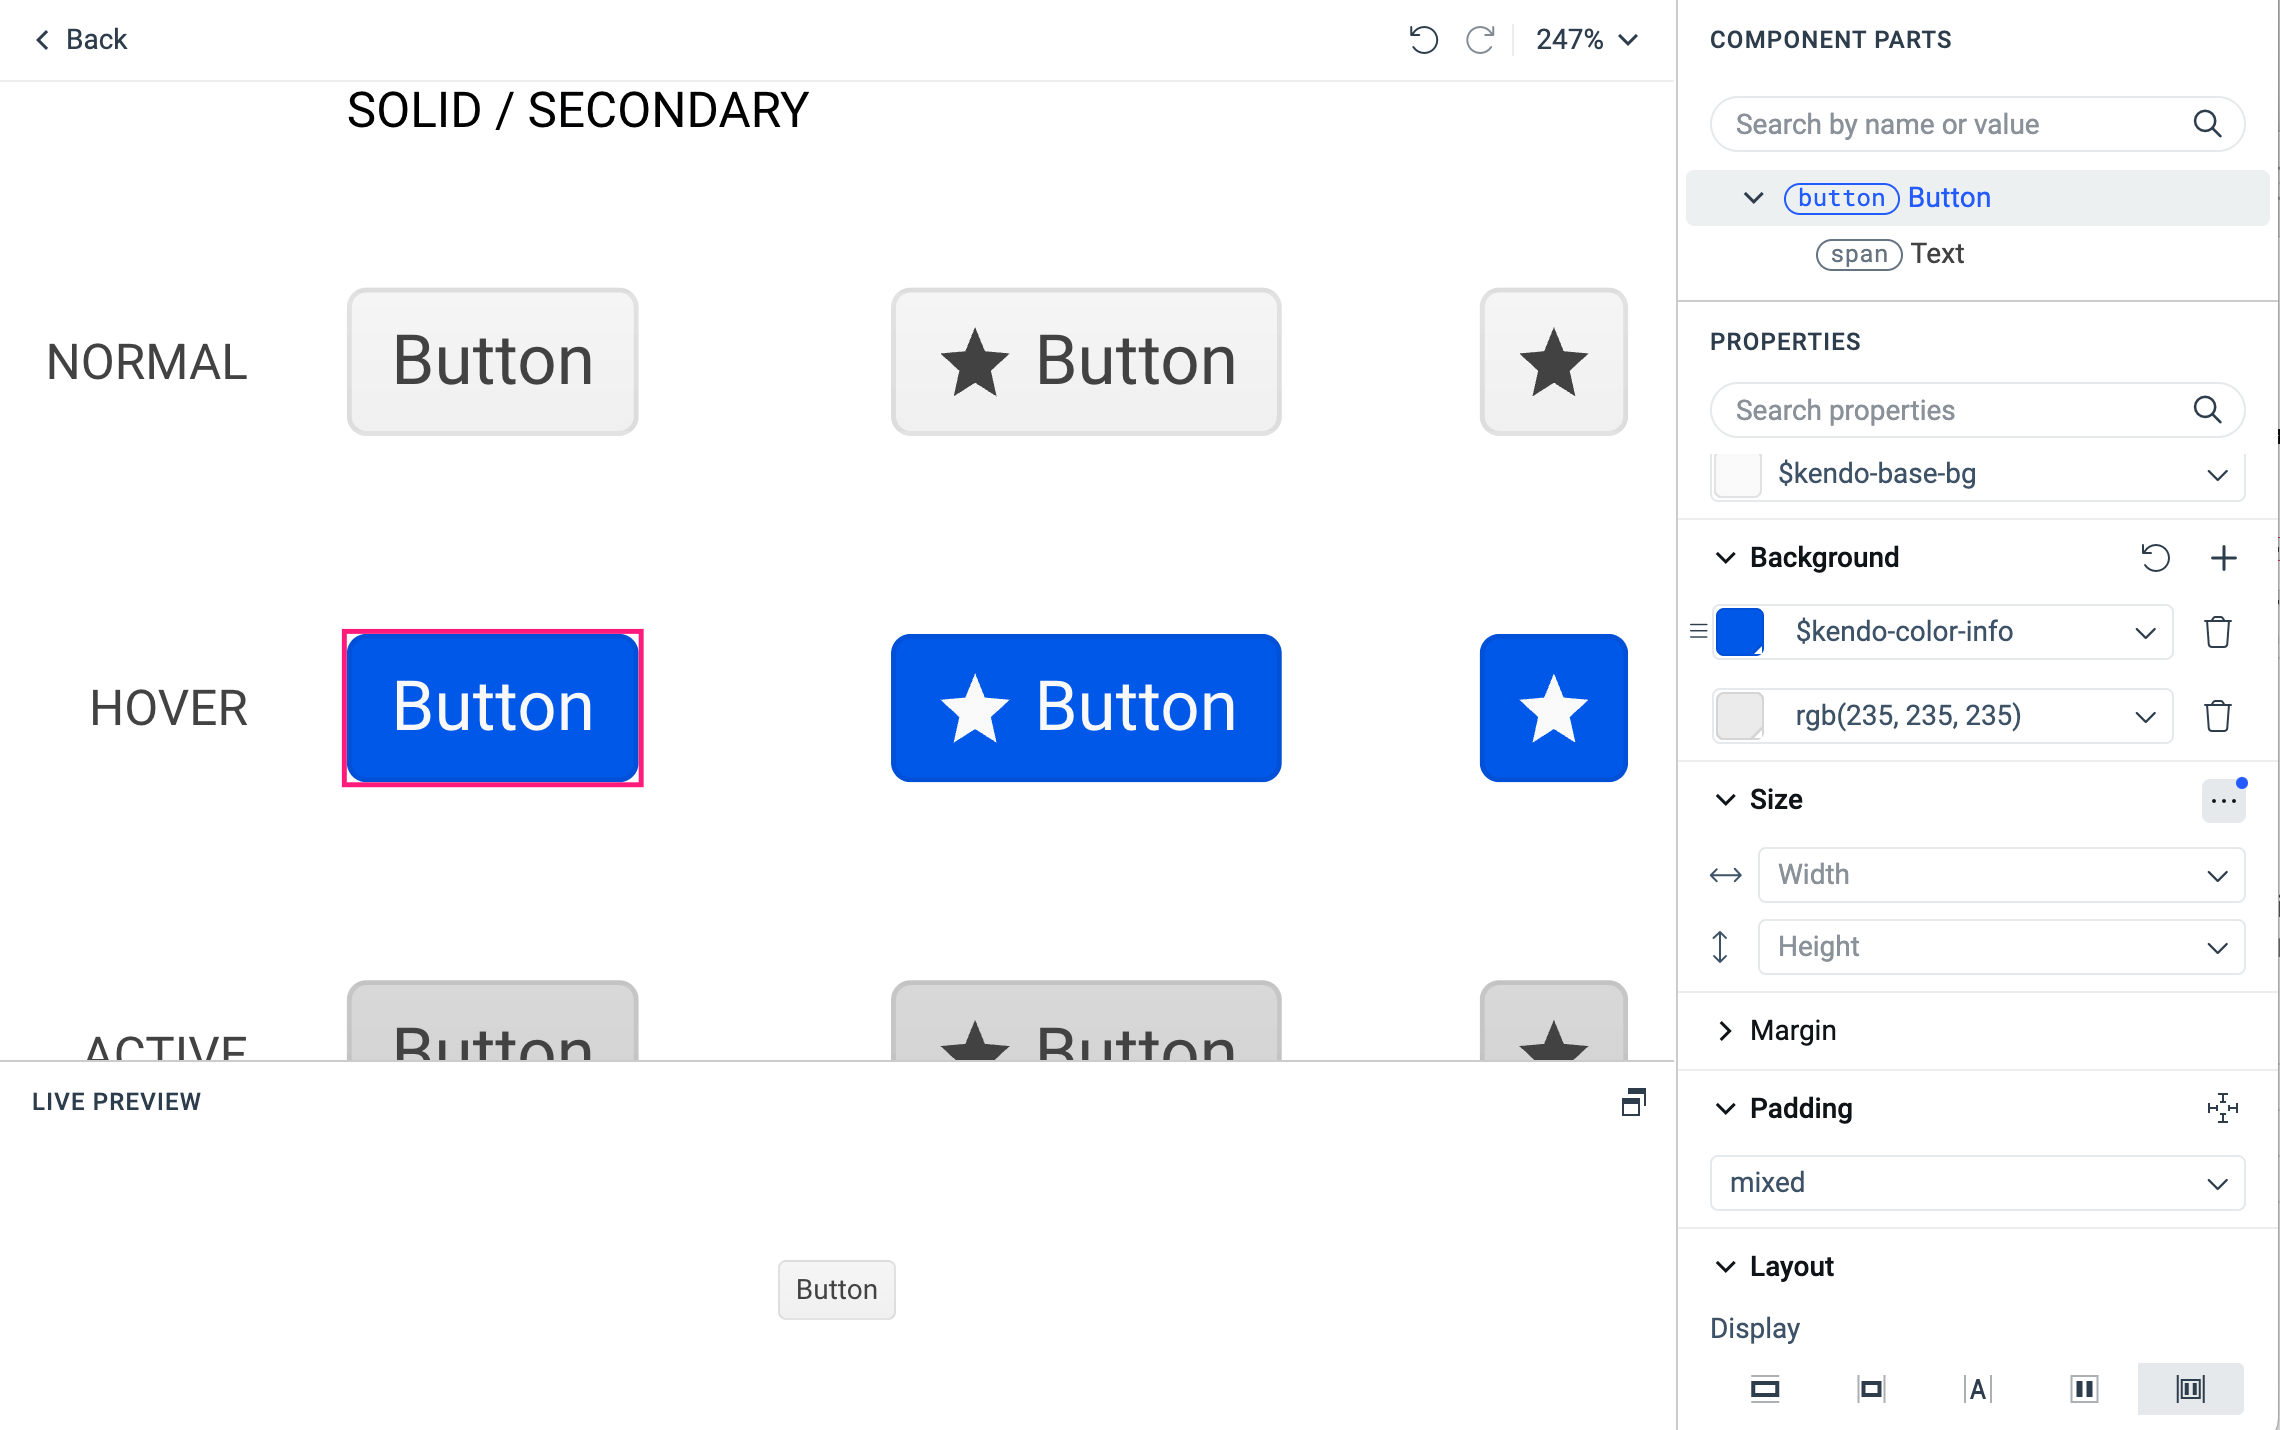
To achieve their distinct and yet consistent look, the hover and focus states of the flat Telerik and Kendo UI Button component take advantage of CSS pseudo-elements:
* The `::before` pseudo-element defines the background color of the flat Button in a hover state.
* The `::after` pseudo-element defines the shadow color of the flat Button in a focus state (the Default and Bootstrap themes have no background).
The hover and focus states derive their color from the color of the Button text by applying opacity in the corresponding pseudo-element properties.
 ### Setting the Flat Button Background in Hover State
1. Select **Advanced Edit** and then the flat Button in **HOVER** state.
2. In the **COMPONENT PARTS** pane, select the **button** part.
3. In the **PROPERTIES** pane, select the **Text** property.
4. Set a color by entering the color name in the drop-down, for example, `green`.
5. In the **COMPONENT PARTS** pane, select the **::before** part.
6. In the **PROPERTIES** pane, select the **Opacity & Visibility** property and enter the desired value in the input field, for example, `20%`.
### Setting the Flat Button Background in Focus State
1. Select **Advanced Edit** and then the flat Button in **FOCUS** state.
2. In the **COMPONENT PARTS** pane, select the **button** part.
3. In the **PROPERTIES** pane, select the **Text** property.
4. Set a color by entering the color name in the drop-down, for example, `green`.
5. In the **COMPONENT PARTS** pane, select the **::before** part.
6. In the **PROPERTIES** pane, select the **Opacity & Visibility** property and enter the desired value in the input field, for example, `20%`.
If you need to apply additional effects, use the **::after** component part and set its **Effects** properties.
## Related Articles
* [Reversing the icon of the Button](https://www.telerik.com/themebuilder/documentation/knowledge-base/reverse-button-icon)