# Element Steps Tab
The **Advanced Recording Tools** window allows you to build various steps specific for a given element. You can manually select an element from the DOM Explorer tab or use the highlighting menu to bring up the step options for an element.
Find out more about adding element steps below.
## Choose an Element to Build Step
If there is no element selected in the **DOM Explorer**, the **Element Steps** remains empty.
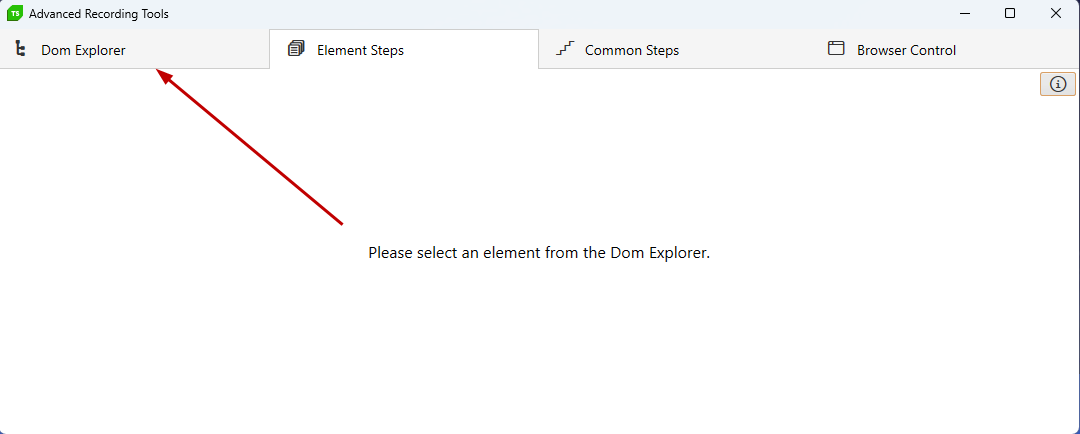
Choose an element from the DOM Explorer, or use the highlighting menu to locate an element in the DOM. The **Elements Steps** tab shows the **Actions** and **Verifications** options relative for the selected element. Choose a step and click the **Add Step** button to add it into the test.
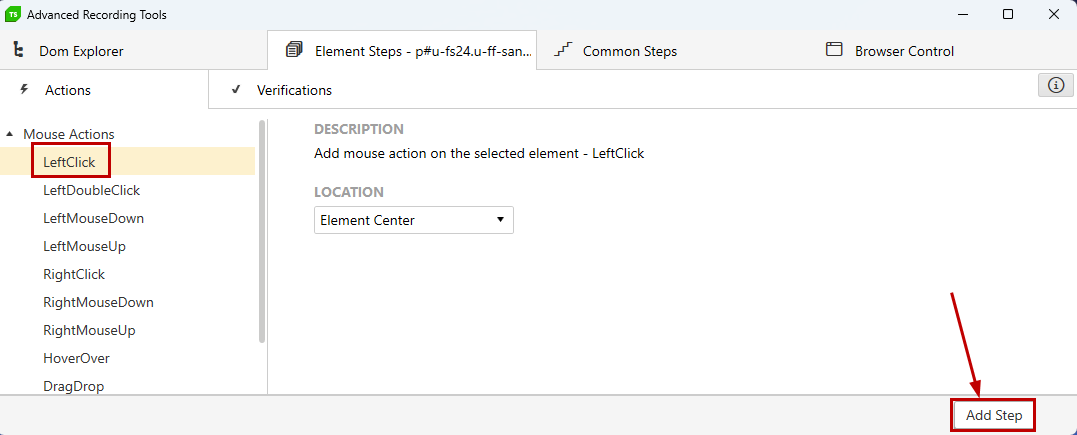
## Actions
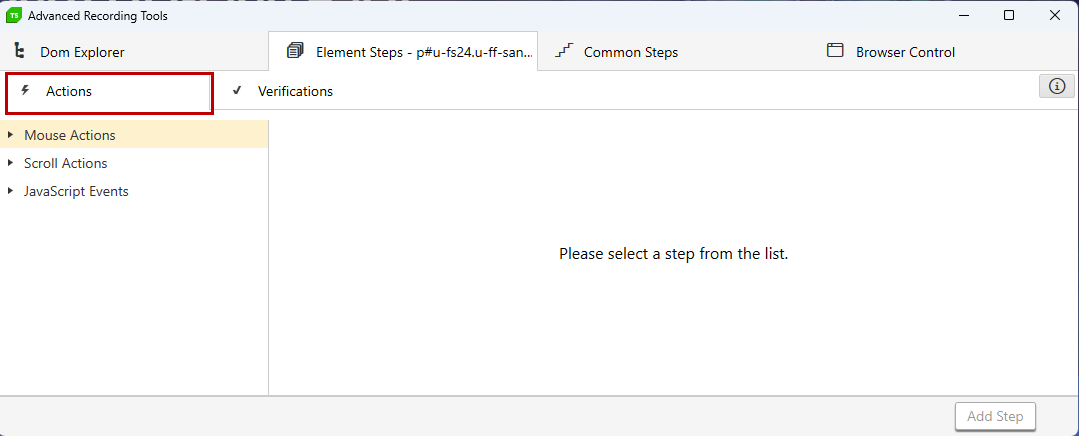
The **Actions** section gives you the option to add different type of actions for an element - mouse clicks and actions, scrolling and JavaScript events.
> **Tip**
>
> The default mouse click steps and scrolling options can be added directly through the highlighting menu.
* **Mouse Actions** are invoked as if the real user was directly using the mouse. They range from different Left and Right mouse button actions, for which you could specifying where to send the click, to hover over and drag\&drop actions to help covering all scenarios.
* **Scroll Actions** are used to ensure that the element is visible on the screen. You can scroll the element to three different positions - top, bottom and center of the page.
* **JavaScript Events** are used to manually invoke an event against the highlighted element.
## Verifications
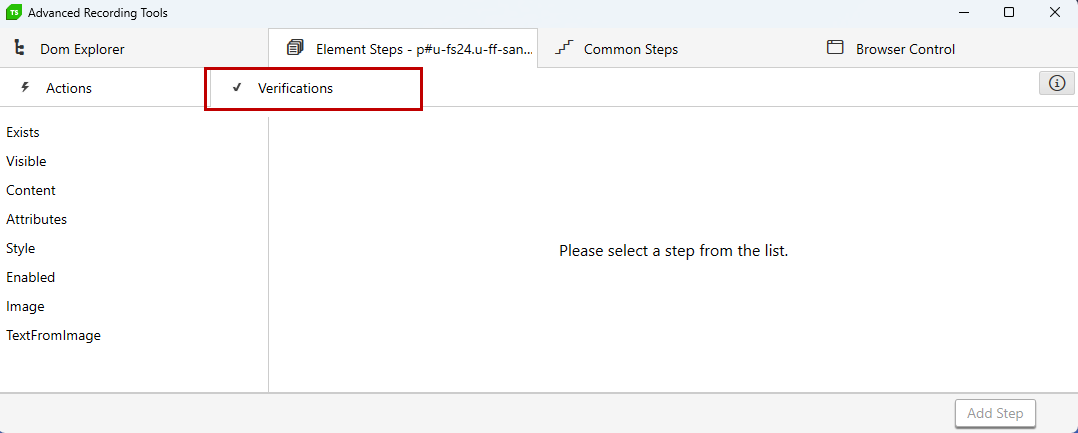
Once you have added the necessary actions, you still have to verify that those actions lead to a successful result and everything happened as expected. There are several ways to verify elements in Test Studio:
* Quick Verification - create an easy verification from the Quick Tasks menu.
* Advanced Verification - craft a custom verification from the Sentence Verification Builder.
* Wait - does not continue until the comparison is true.
* Extraction - extract an element's value and reuse it later in your test.
* Image Verification - this feature is based on an element’s visual rendering rather than the properties or attributes of that element.
* Text from Image - this feature checks the text from an image and compares it to the expected value.
Verifications in Test Studio allow you to:
* Measure against multiple criteria at one time.
* Build these measurements in an interactive manner without code.
* Detect if elements are in a particular state (e.g. is visible, exists).
* Detect if attributes and properties compare with specific values.
* Verify content, attributes, images, image texts, styles, visibility, drop-down list selections, checkboxes, radio buttons, tables and property values.
Test Studio implements verification through "sentences" that compare a portion of an element to a value, such as:
* textbox content is equal to 'order 2011'
* image path contains '[http://www.telerik.com](http://www.telerik.com/)'
* wait for element to exist
> Test Studio cannot read and verify against the contents of a PDF file loaded in the browser, as it does not have a DOM structure like a traditional web page. If you can store that information in a file type such as XLS, XML, CSV, or a SQL database, then you can use the Data Driving feature.