# Predefined Elements
* [Predefined Elements](https://www.telerik.com/teststudio/documentation/features/elements-explorer/predefined-elements#predefined-elements)
* [Test Studio Standalone](https://www.telerik.com/teststudio/documentation/features/elements-explorer/predefined-elements#test-studio-standalone)
* [Visual Studio Plugin](https://www.telerik.com/teststudio/documentation/features/elements-explorer/predefined-elements#visual-studio-plugin)
## Test Studio Standalone
Predefined elements and element mapping is a Test Studio feature which introduce the the ability to create your automated tests while the application you will be testing is still in development and does not yet have the UI elements for the test or tests you want to create. You can create your test while waiting for the UI of the application to catch up.
You can start creating your automated tests using predefined elements and add actions or verifications against those elements.
In order to proceed create a Web or WPF test. Navigate to the Elements tab:
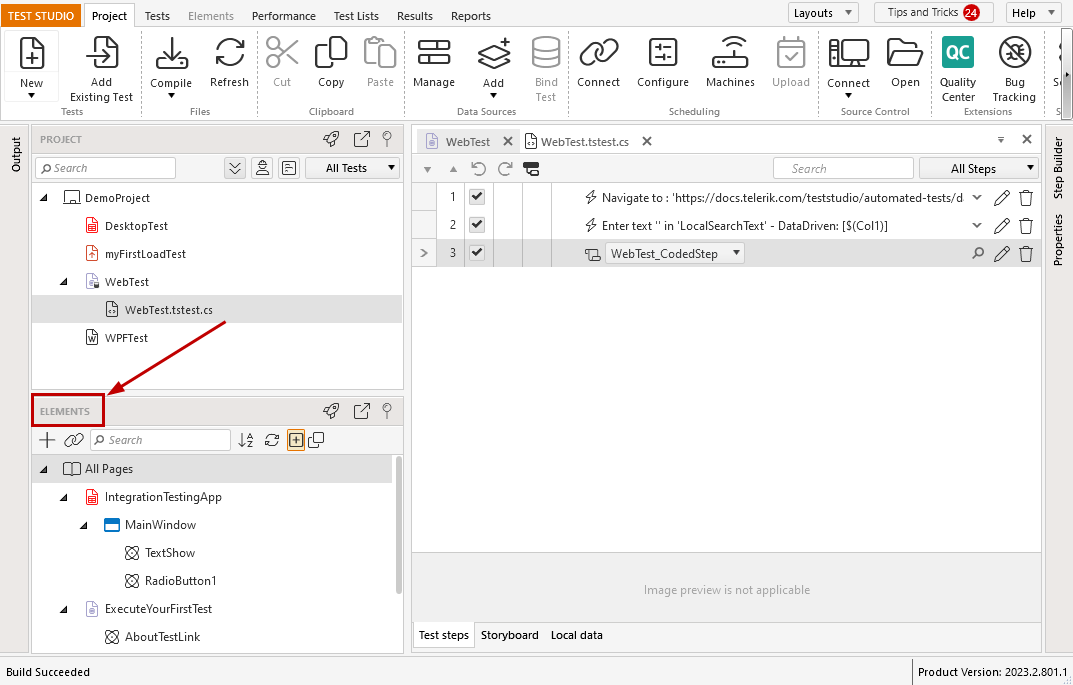
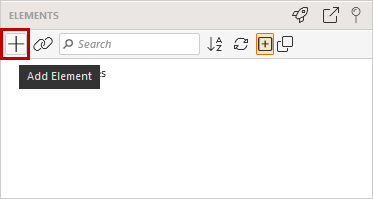
Click on Add Element button:
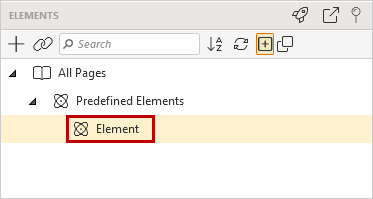
The element gets added in the Predefined Elements section:
Once created you can edit the properties of the element such as ControlType, FriendlyName and Technology type:
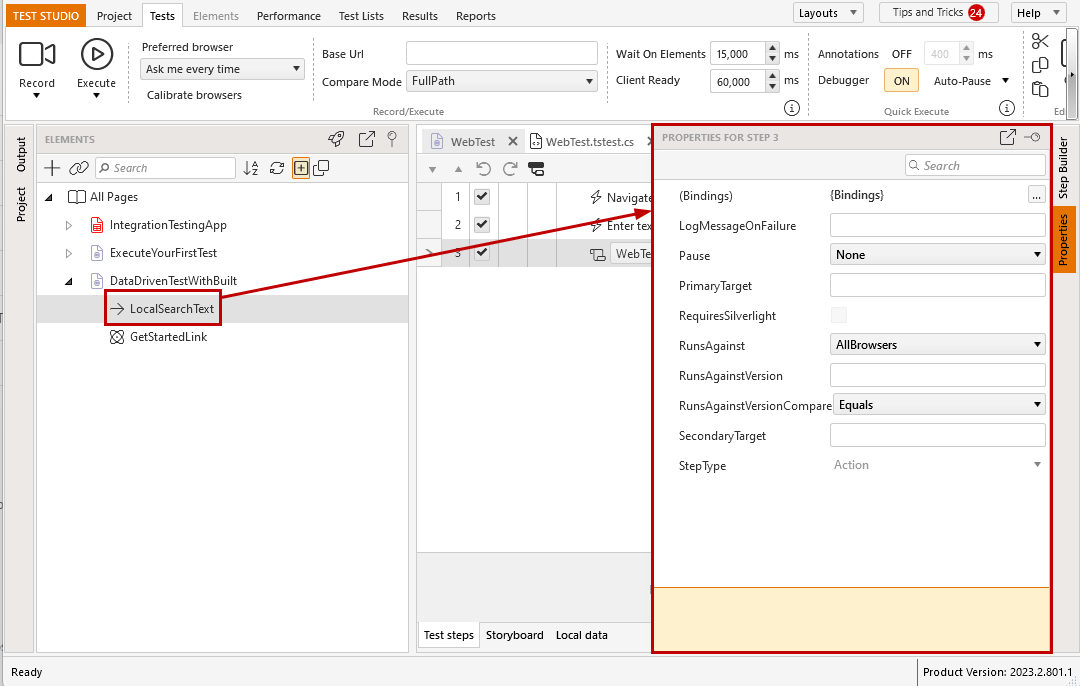
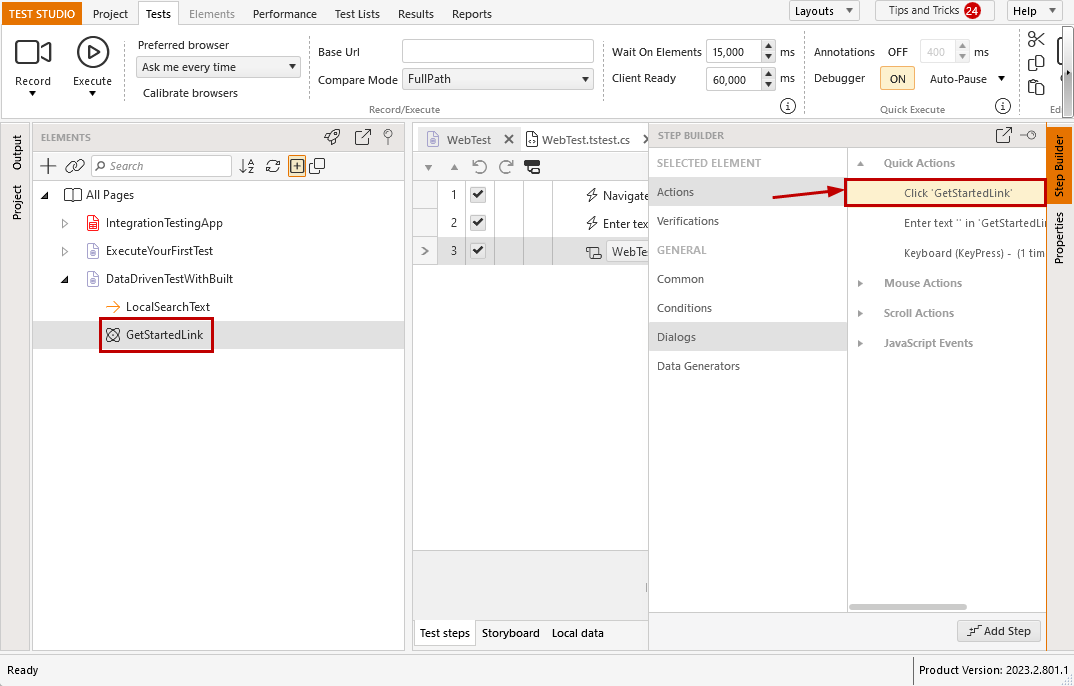
You can also use the Step Builder to create various steps against the element such as actions and verifications:
## Visual Studio Plugin
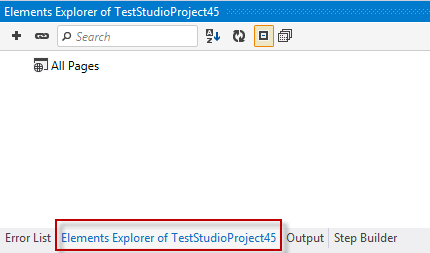
In order to proceed create a Web or WPF test. Navigate to the Elements Explorer of the project:
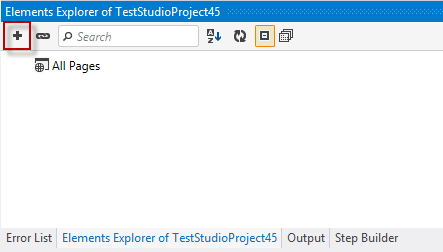
Click on Add Element button:
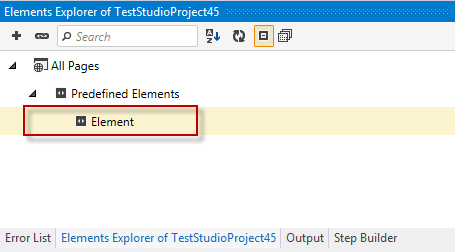
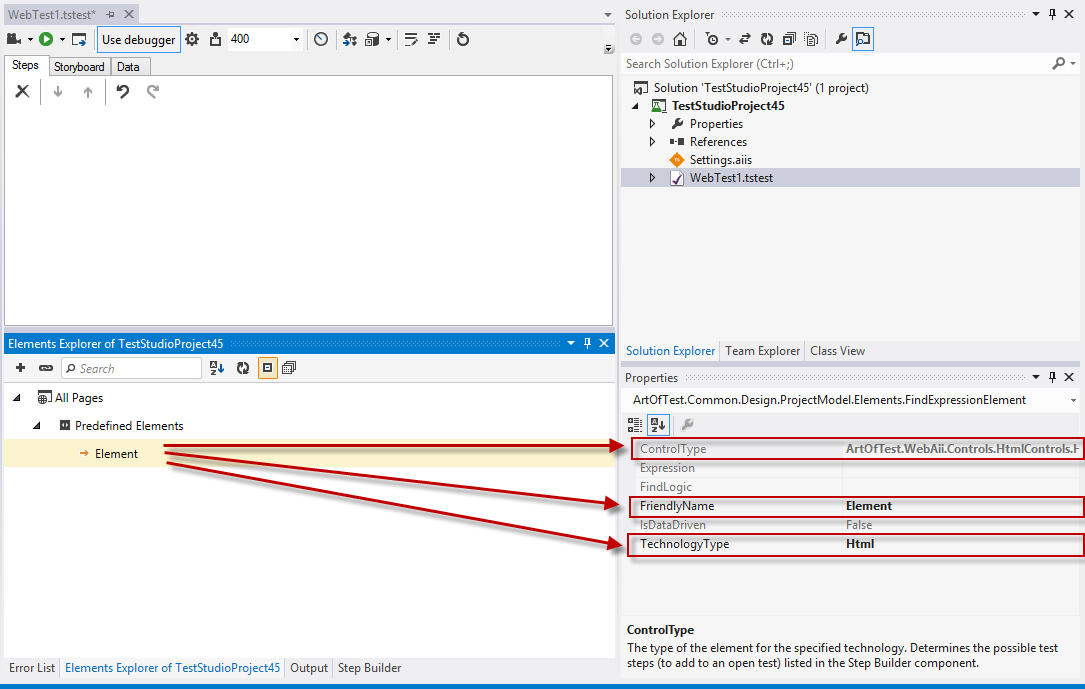
The element gets added in the Predefined Elements section:
Once created you can edit the properties of the element such as ControlType, FriendlyName and Technology type:
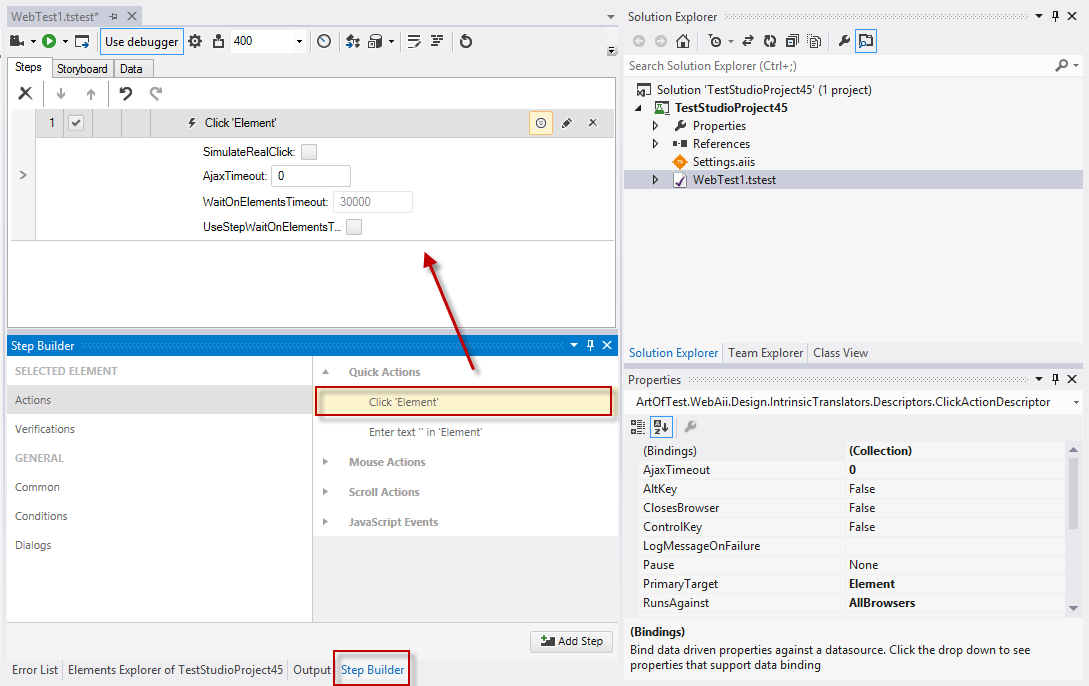
You can also use the Step Builder to create various steps against the element such as actions and verifications:
* See Also: Elements Mapping (IntelliMap)