# Troubleshoot Failing Verification
In some cases when a verification step fails, you only need to check and update the verification condition. Test Studio provides direct access to verification **Sentence Verification Builder** in the Step Failure Details.
The steps to follow for such scenario are listed in this article.
## Update the Failing Verification
Check the step failure details section for the failing verification step and use one of the buttons **Resolve Failure** or **Update Verification** in the 3rd suggestion to open the **Sentence Verification Builder**.
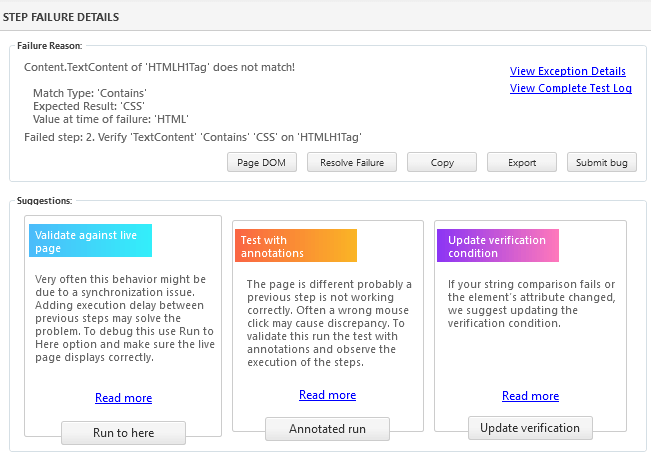
Once **Sentence Verification Builder** is launched, click on the *pen* icon to edit the value.
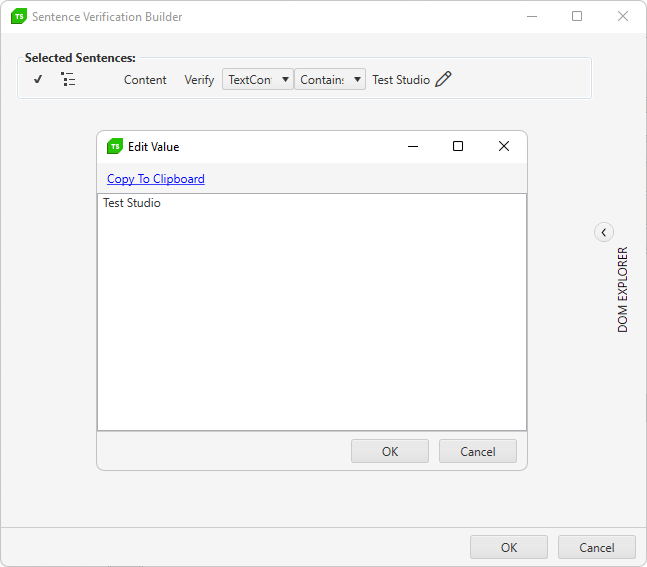
Save and execute to verify the test successfully passes.
> **Note**
>
>
> Keep in mind that if Verify image step fails, **Resolve Failure** and **Update Verification** buttons do not appear. In this case you better re-record the step or update the image associated with the step.