# Installation and Configuration
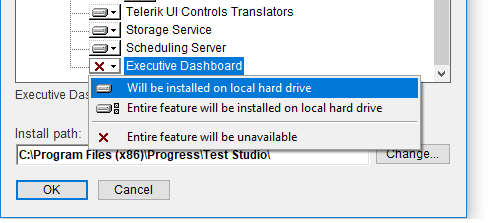
1. Install the Executive Dashboard components in the **Customize Installation dialog** during Test Studio installation for the machine that will host this service. It is not selected by default in the standalone installation and you can add it after that.
2. Start Test Studio and click **Configure** in the Scheduling section of the ribbon bar.

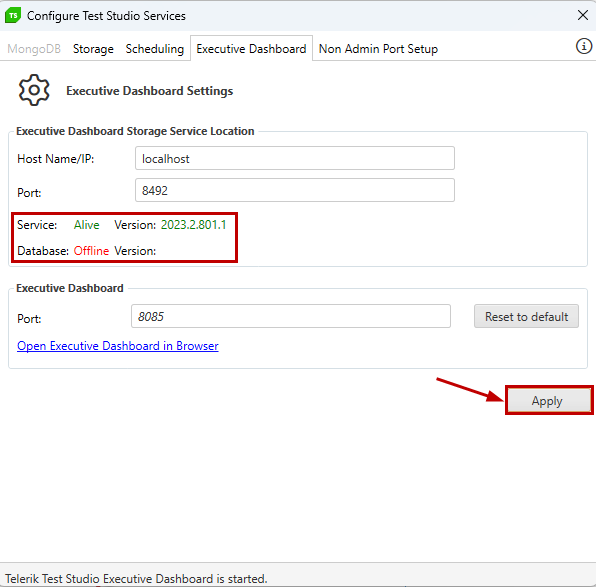
3. In the **Executive Dashboard** tab you can see the current configurations and change them, if necessary. You need to hit the **Apply** button, before the new configurations are set. That will restart the **Executive Dashboard** and show you details about the storage service's status and database version in the **Executive Dashboard Storage Service Location** section. You will also see a message in the lower left corner of the wizard stating *'Telerik Test Studio Executive Dashboard is started'*.