Let's get started with Progress® Kendo UI® Builder and create and deploy a brand-new Angular application without writing a single line of code!
Creating the Web App
Make sure you've got Windows (x64) and Node.js (v6 or later) installed. Run the Windows Installer and install the Builder.
Once launched, the initial page of the Builder, the Dashboard, is loaded. If you start the Builder for the first time, the Dashboard will be empty and the tips will point you to create your first app.
Click the Create App button and then select the Angular platform. On the Create App page, we'll set the properties of the application—name, theme, location, and description—and then save the settings. As a result, the card of the new project is now added to the Dashboard.

Connecting the App to Data
The most important part of an application is its data. We need to add the Data Providers and set the Data Sources for our web project.
On the Design App page, click Add Data Provider. From the dialog box which appears, choose the OData service. For convenience, let's add the URI of this sample service—https://odatasampleservices.azurewebsites.net/V4/Northwind/Northwind.svc.
Click the Add Data Provider button and the Builder will automatically create all the data sources with the fields that are related to the defined Data Provider which are now available to display. To see them, by click the provider box.
Adding the Modules and Views
We can now set the functional units of our application—the modules. The modules are collections of views that are grouped based on their functionalities. Each view represents a single page of our web project.
By default, the Builder provides a built-in App Module for each new project which provides the App Layout, Login, Landing, and Unauthorized views. To access the App Module and add new ones, open the app so that its Design App page loads. The App Module is already there so let's now add a new module. Click Add Module.
It's time to define the pages of our web project by setting its views. The Builder supports a number of ready-to-use predefined views, such as the Grid one. However, let's have a view which can be fully moderated and customized—drag and drop the Blank view. Since the Blank view can contain multiple components bound to different data sources, you need to specify the data sources that are visible in the view.
Click View's Data Sources > Edit Button and add a view data source based on the data sources that are already generated by the OData provider. After clicking the Save button, each data-bound component which is dragged in the view will recognize the defined view data sources and can extract metadata from them during design time.
Including the Components
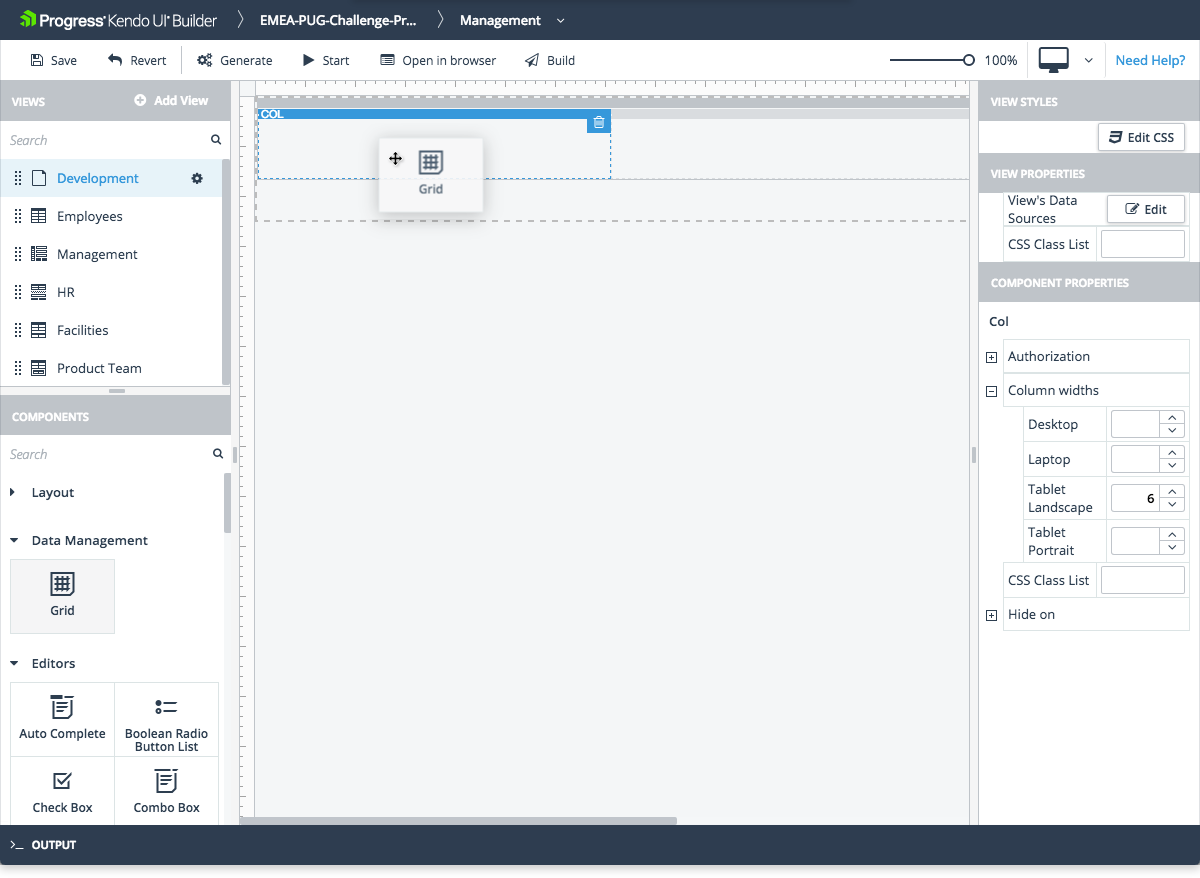
Now, let's add some components to the Blank view so that we customize its look and feel. To provide a full spectrum of customization possibilities, the Builder provides a set of predefined components intended for the custom Blank view only.
Drag and drop the built-in Kendo UI Grid to the Blank view. If the view contains only one defined data source the components will auto-populate the component data source name so that it points to the view data source. When a data source is assigned to the Grid, the component will generate its columns based on data source fields. You can now also change the Grid settings to fit your scenario—for example, hide some columns and set different properties.
Bundling and Deploying
We're almost done! Let's now build our app, run it on the local server, debug, and then deploy it.
On the toolbar, click the Start button to start the dev server and load the app in your default browser. To produce a ready-for-deploy package, click the Build button where you can choose between release or debug builds.
After the build process, access the packages in builder_output/debug or builder_output/release folder. Now the app is ready for deployment with the tools and platforms of your choice.
