# Getting Started with Telerik UI for Blazor
This article explains how to use the Telerik UI for Blazor components in a Blazor web applications. You will set up your Telerik development environment, create a new application from scratch, and finally, add a UI component to a Razor file.
> tip This step-by-step tutorial starts with the basics and is suitable for first-time Blazor or Telerik component users. If you are already familiar with the Telerik license key, NuGet source, components, and Blazor in general, you may prefer the [Telerik UI for Blazor Workflow Details](https://www.telerik.com/blazor-ui/documentation/getting-started/workflow-details) article. It provides more setup options and suggests possible enhancements.
## Prerequisites
To successfully complete the steps in this tutorial, install a [supported .NET version](https://www.telerik.com/blazor-ui/documentation/system-requirements#supported-net-versions).
## Set Up Telerik Development Environment
The fastest way to set up your Telerik development environment is to use the [Telerik CLI](https://www.telerik.com/blazor-ui/documentation/installation/telerik-cli) .NET tool. Run the following commands in your preferred command shell (Visual Studio Terminal, cmd, PowerShell, Bash, macOS Terminal, or other).
> tip If you have already set up your Telerik development environment and it doesn't need updating, skip to [Create New Blazor App](https://www.telerik.com/blazor-ui/documentation/getting-started/web-app#create-new-blazor-app).
1. Install Telerik CLI
```SH.skip-repl
dotnet tool install -g Telerik.CLI --source https://api.nuget.org/v3/index.json
```
2. Run the Telerik CLI `setup` command:
```SH.skip-repl
telerik setup blazor
```
The [`setup` command performs multiple actions](https://www.telerik.com/blazor-ui/documentation/installation/telerik-cli#set-up-telerik-environment) to configure your Telerik development environment:
* Create your Telerik account or log in if you already have one.
* Activate a Telerik UI for Blazor trial if you don't have an active license.
* Download your Telerik license key.
* Configure the Telerik NuGet package source.
* Install the Telerik UI for Blazor MCP server.
* Install the Telerik UI for Blazor project templates.
## Create New Blazor App
This section assumes that you have successfully installed the [Telerik UI for Blazor project templates](https://www.telerik.com/blazor-ui/documentation/installation/project-templates) in the [previous step](https://www.telerik.com/blazor-ui/documentation/getting-started/web-app#set-up-telerik-development-environment).
To create a new Telerik Blazor app, use your preferred approach:
Use the .NET CLI `dotnet new` command to create a new Blazor Web App or WebAssembly Standalone App, depending on your preferences:
* Create a Blazor Web App with interactive Server render mode
```SH.skip-repl
dotnet new telerik-blazor -o TelerikBlazorWebApp1 -int Server
```
* Create a Blazor WebAssembly Standalone App
```SH.skip-repl
dotnet new telerik-blazorwasm -o TelerikBlazorWasmApp1
```
Create a new app by using one of the following project templates:
* Telerik Blazor Web App
* Telerik Blazor WebAssembly Standalone App
Run the following Telerik CLI command to create a new Telerik Blazor app interactively:
```SH.skip-repl
telerik create blazor
```
> A [Telerik Blazor Hybrid App template](https://www.telerik.com/blazor-ui/documentation/getting-started/hybrid-blazor) is also available, but it's outside the scope of this tutorial.
> To manually add Telerik UI for Blazor to an existing Blazor app, follow the [Workflow Details](https://www.telerik.com/blazor-ui/documentation/getting-started/workflow-details) article.
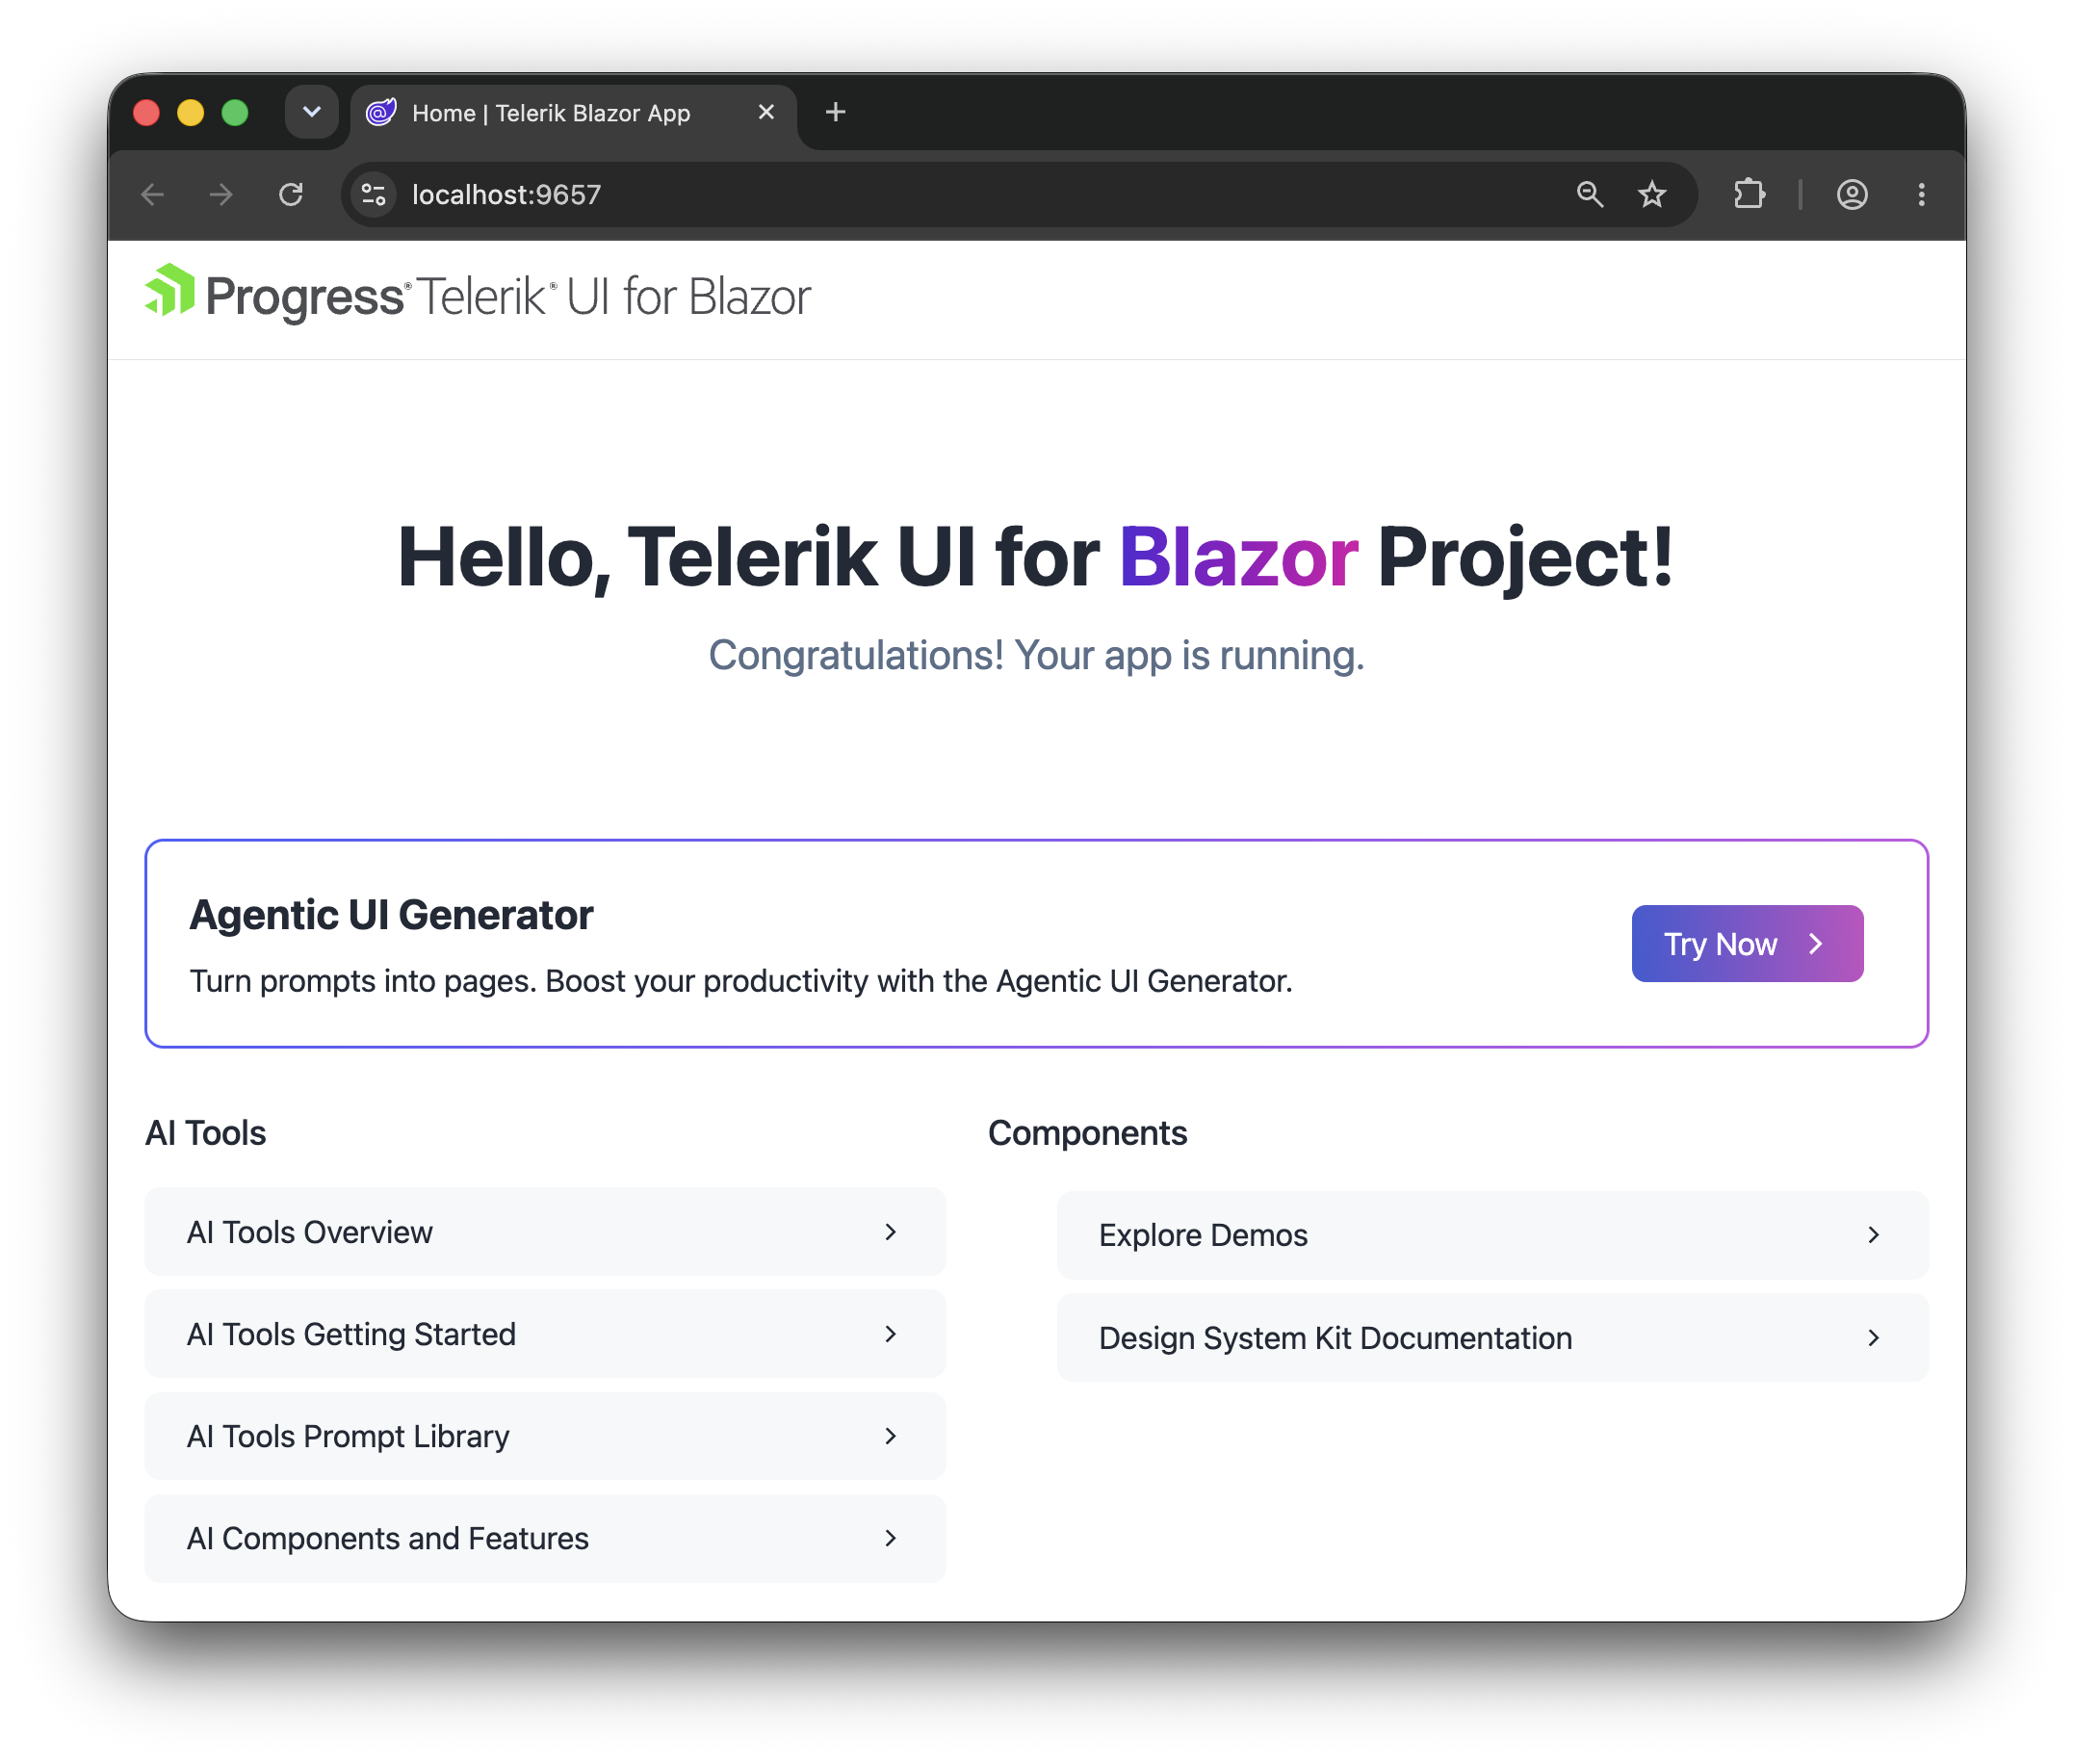
Upon successful run in a web browser, the new Telerik Blazor app looks like this:
## Add Telerik Component
Add a `TelerikButton` component in `Home.razor`:
> caption Home.razor
```RAZOR
Telerik Blazor Button
@ButtonClickLog
@code {
private string ButtonClickLog { get; set; } = string.Empty;
private void OnButtonClick()
{
ButtonClickLog = $"Telerik Button clicked at {DateTime.Now.ToString("HH:mm:ss.fff")}.";
}
}
```
Well done! Now you have your first Telerik UI for Blazor component running in your Blazor app, showcasing the power of front-end development with Blazor.
## Next Steps
## See Also
* [Workflow Details for Telerik UI for Blazor](https://www.telerik.com/blazor-ui/documentation/getting-started/workflow-details)
* [Using Blazor Sections inside Telerik Components](https://www.telerik.com/blazor-ui/documentation/knowledge-base/common-net8-sections)
* [Getting Started Videos for Blazor](https://www.youtube.com/watch?v=aaRAZYaJ4xc\&list=PLvmaC-XMqeBYPTwcm478vs8Rujq2tiVJo)