
Vue Basics: Getting Started with Vue.js and Visual Studio Code

Welcome to the first step of your Vue.js journey!
In this article, we are going to take a look at getting you set up with your development environment using Visual Studio Code as your Integrated Development Environment (IDE) and up and running with your very first Vue application.
Setting Up Visual Studio Code
Visual Studio Code, or VS Code for short, has become a community standard for Vue.js development and web development in general because of how lightweight it is compared to other IDEs like Webstorm, and the simplicity of getting it set up with plugins to suit exactly the type of programming language (JS, HTML, Ruby) and even framework (Vue.js, React, Rails) you are working on. On top of everything else, it’s also free.
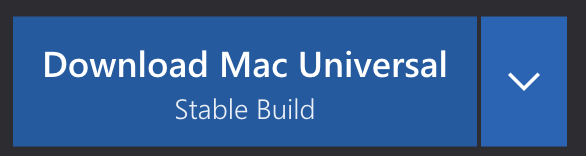
To get started, head over to https://code.visualstudio.com/ and download yourself a copy of the application by clicking on the big blue button that says “Download.” It will try to detect the best installer for you based on your system (Mac, Windows, Linux). If you need to download a different flavor hit the arrow on the right for a dropdown with other builds and options.
Once your download finishes, go ahead and run the installer on your local machine and follow the steps to getting it set up. Once you are done, find it in your applications and start it up.
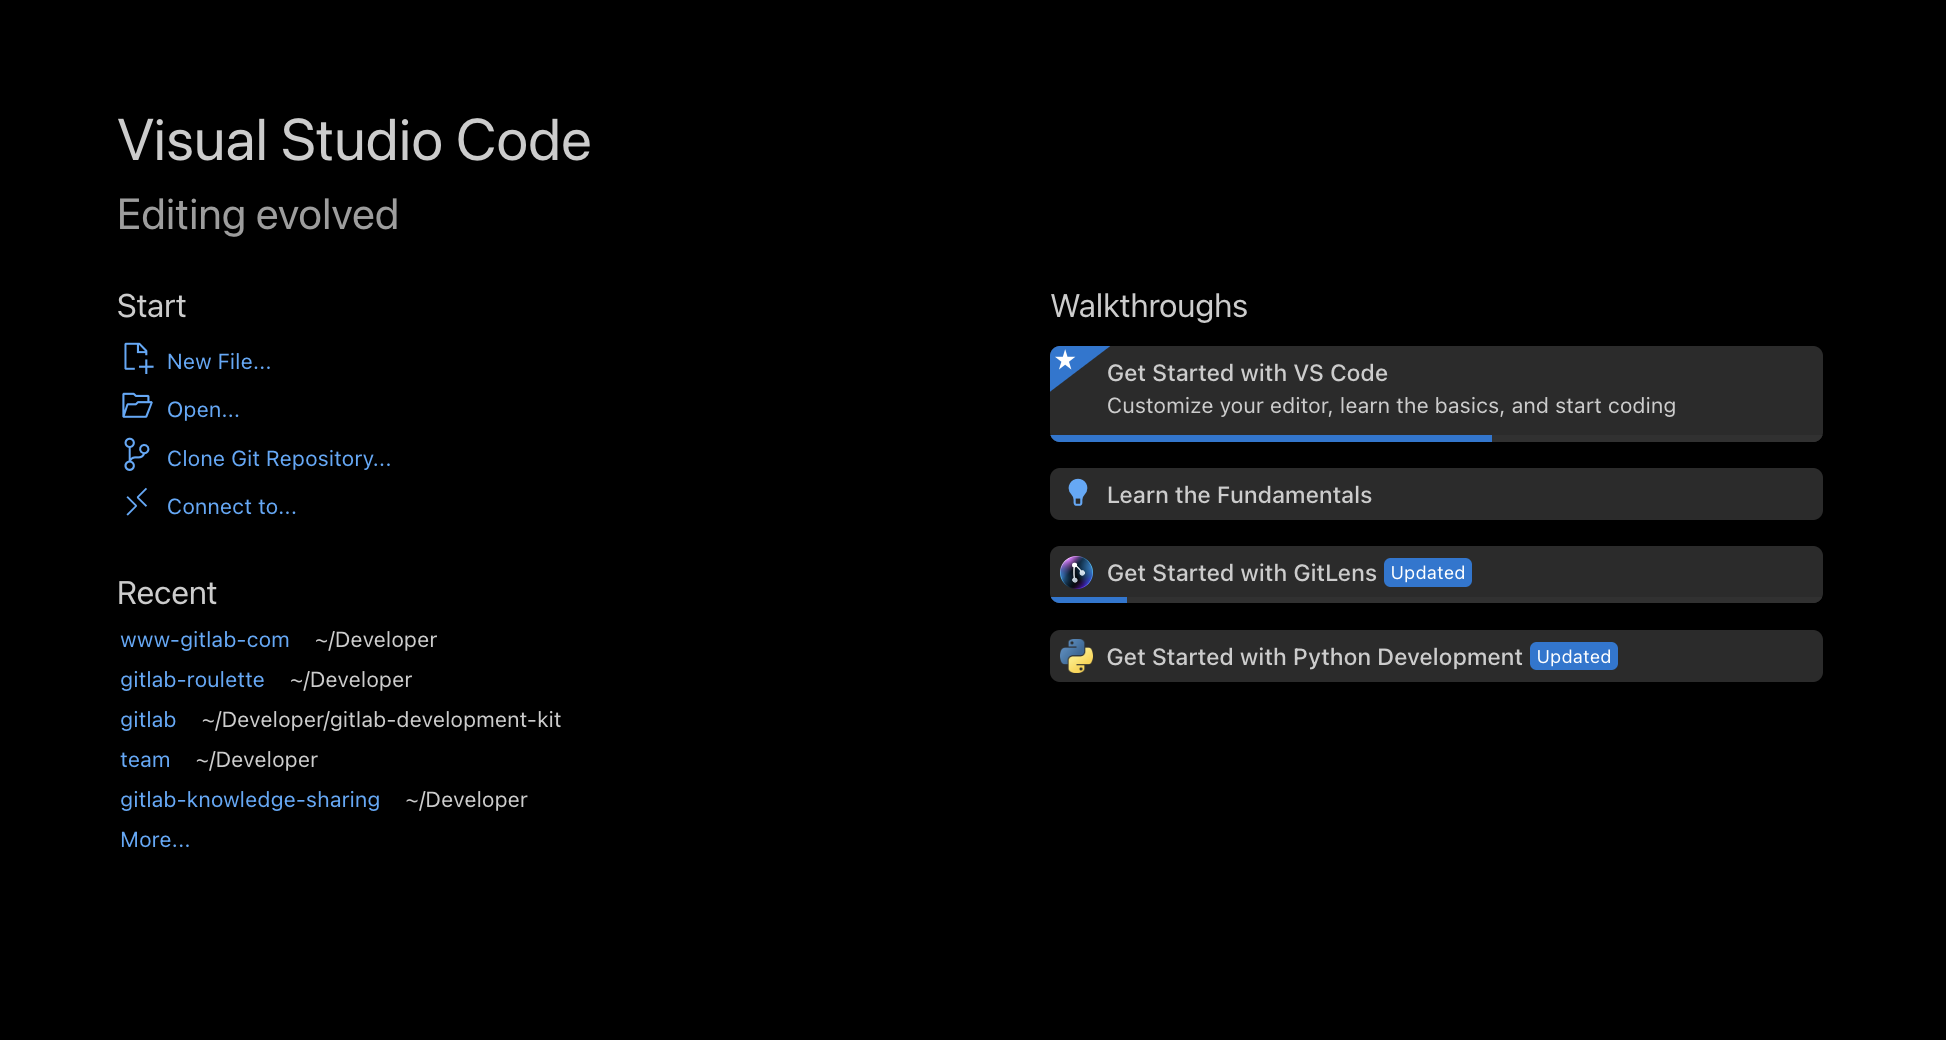
When it opens, you will be greeted by a welcome screen that looks similar to the following image.
 Head over to the left-hand menu where the icon buttons are and find the one that looks like Tetris (three little squares and a fourth one coming in to fill in the missing space). Click it to open the plugins view.
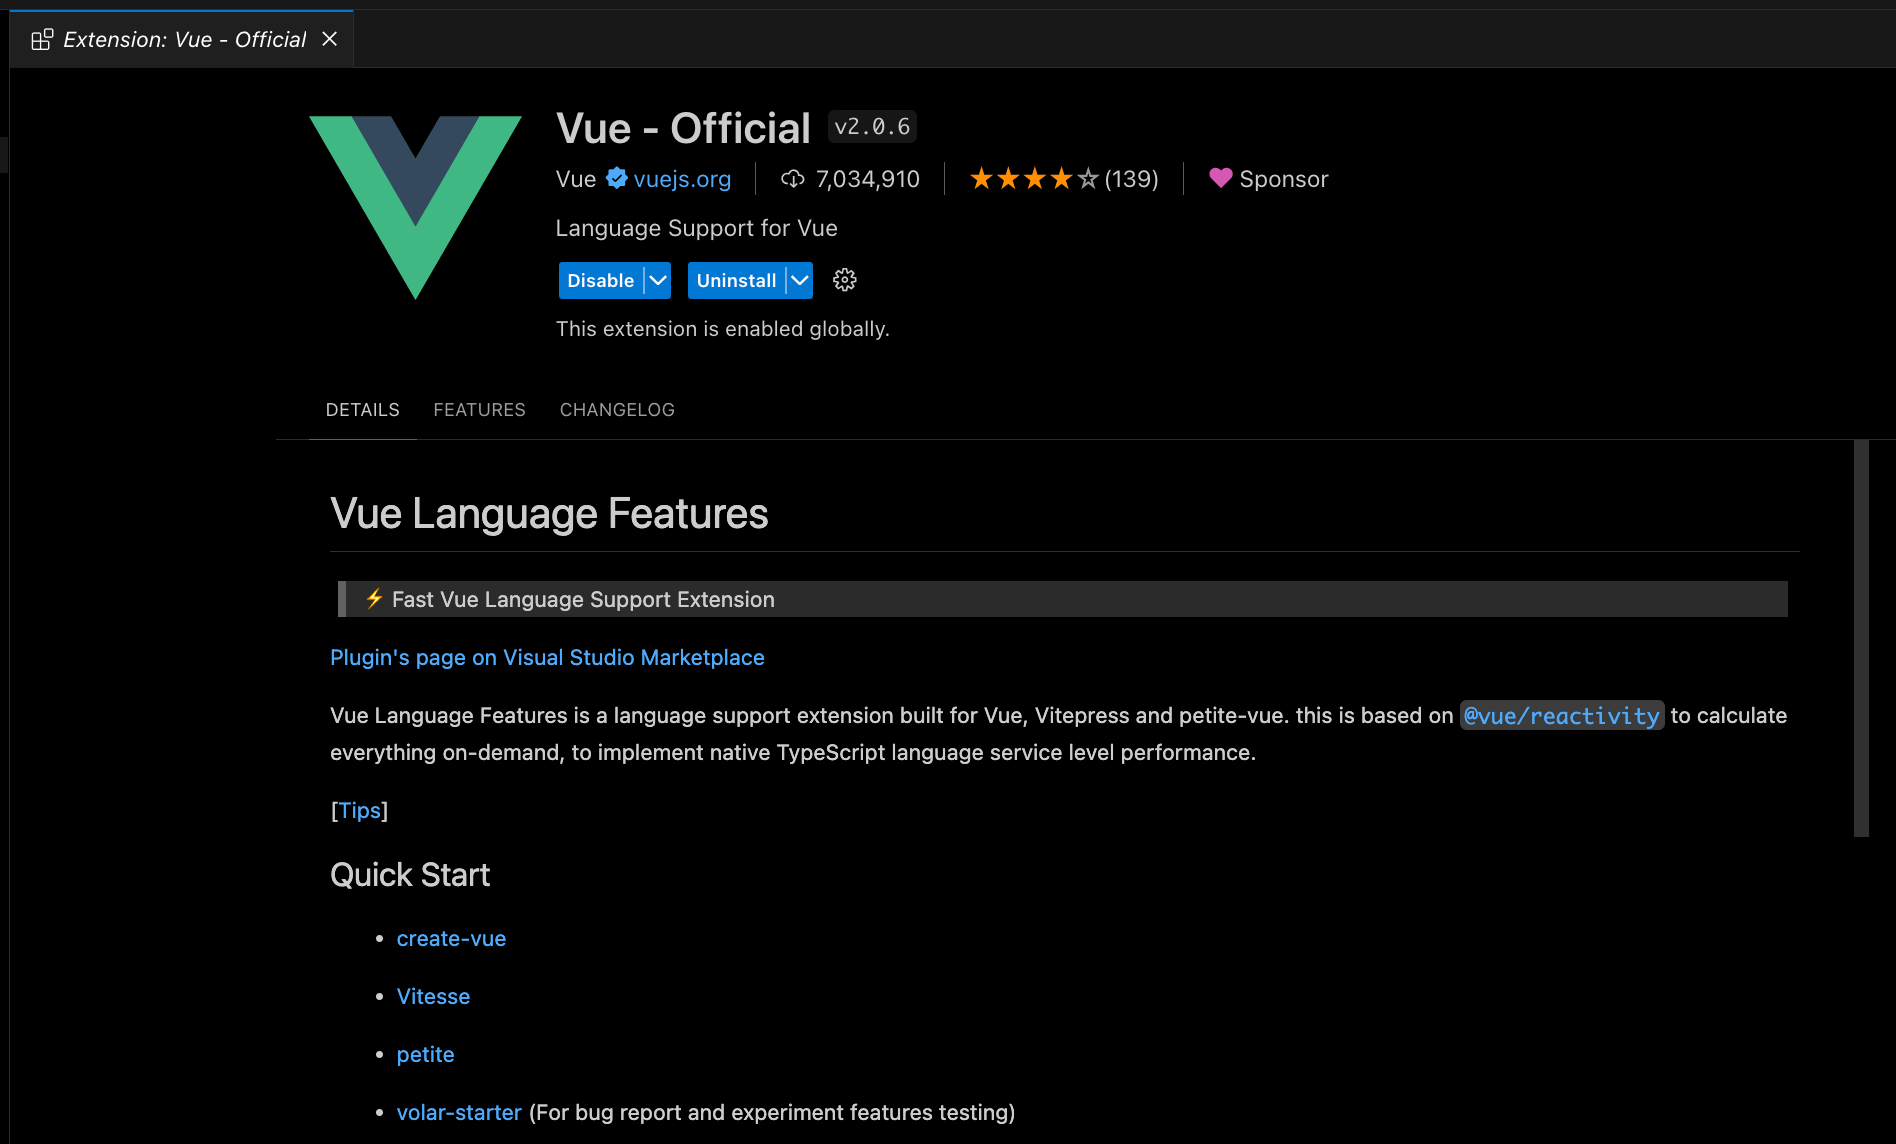
From this panel, you can manage and install plugins for VS Code. As I mentioned earlier, plugins are what really makes VSCode a great IDE. Vue.js has an official plugin that we are going to install. It will help VS Code understand .vue files plus provide helpful hints, highlighting and intellisense (auto-completion and suggestions for code based on current context).
You can install the plugin in two ways: by heading over to the VS Code marketplace on your browser for the Vue - Official extension and installing it from there with the install button, or by searching inside VS Code’s plugin panel for Vue - Official and installing through the IDE itself. Both ways will end up with the same result, so pick whatever feels more comfortable for you. Once it’s installed, you will see a confirmation page with information about the plugin itself.
That’s it for the setup of VS Code! Let’s move on to getting you set up with your first Vue project.
Creating a New Vue Project
First things first, we need to install Node.js (Version 18+). Head over to Node.js and download and install the version that says “Recommended for most users.” This will download an installer for your system which you can then run to get it all set up.

Once you’re done with the installation open up your system’s terminal. Navigating and using the terminal is beyond the scope of this article, so I’m just going to have to assume you have the basic knowledge to navigate it to a folder of your choosing where you want your development projects to live in (😅). I am a Mac user, and prefer to keep mine in ~/Developer (/Users/marina/Developer).
Once you are on your chosen folder inside the terminal, go ahead and run the following command:
npm create vue@latest
You will be prompted with a few questions that will help the script scaffold your Vue app. If you don’t know what a particular option does right now, don’t panic. Select No and you can add that item to your app later on without trouble.
Here is the output from the full command:
npm create vue@latest
Need to install the following packages:
  create-vue@3.10.2
Ok to proceed? (y) y

Vue.js - The Progressive JavaScript Framework

✔ Project name: … MyFirstVueApp
✔ Package name: … myfirstvueapp
✔ Add TypeScript? … No / Yes
✔ Add JSX Support? … No / Yes
✔ Add Vue Router for Single Page Application development? … No / Yes
✔ Add Pinia for state management? … No / Yes
✔ Add Vitest for Unit Testing? … No / Yes
✔ Add an End-to-End Testing Solution? › No
✔ Add ESLint for code quality? … No / Yes
✔ Add Vue DevTools 7 extension for debugging? (experimental) … No / Yes

Scaffolding project in /Users/marinamosti/Developer/MyFirstVueApp...

Done. Now run:

  cd MyFirstVueApp
  npm install
  npm run dev
You can now also open the newly created folder in VS Code to look at all the files that have been created for you.
Go ahead and run the last three commands that the script suggests, this will install the necessary dependencies for the app to run and start the development server.
cd MyFirstVueApp
npm install
npm run dev
Once everything is ready, you will be prompted with a URL that you can use to look at your application.
➜  Local:   http://localhost:5173/
➜  Network: use --host to expose
➜  press h + enter to show help
Go ahead and open that on your browser.
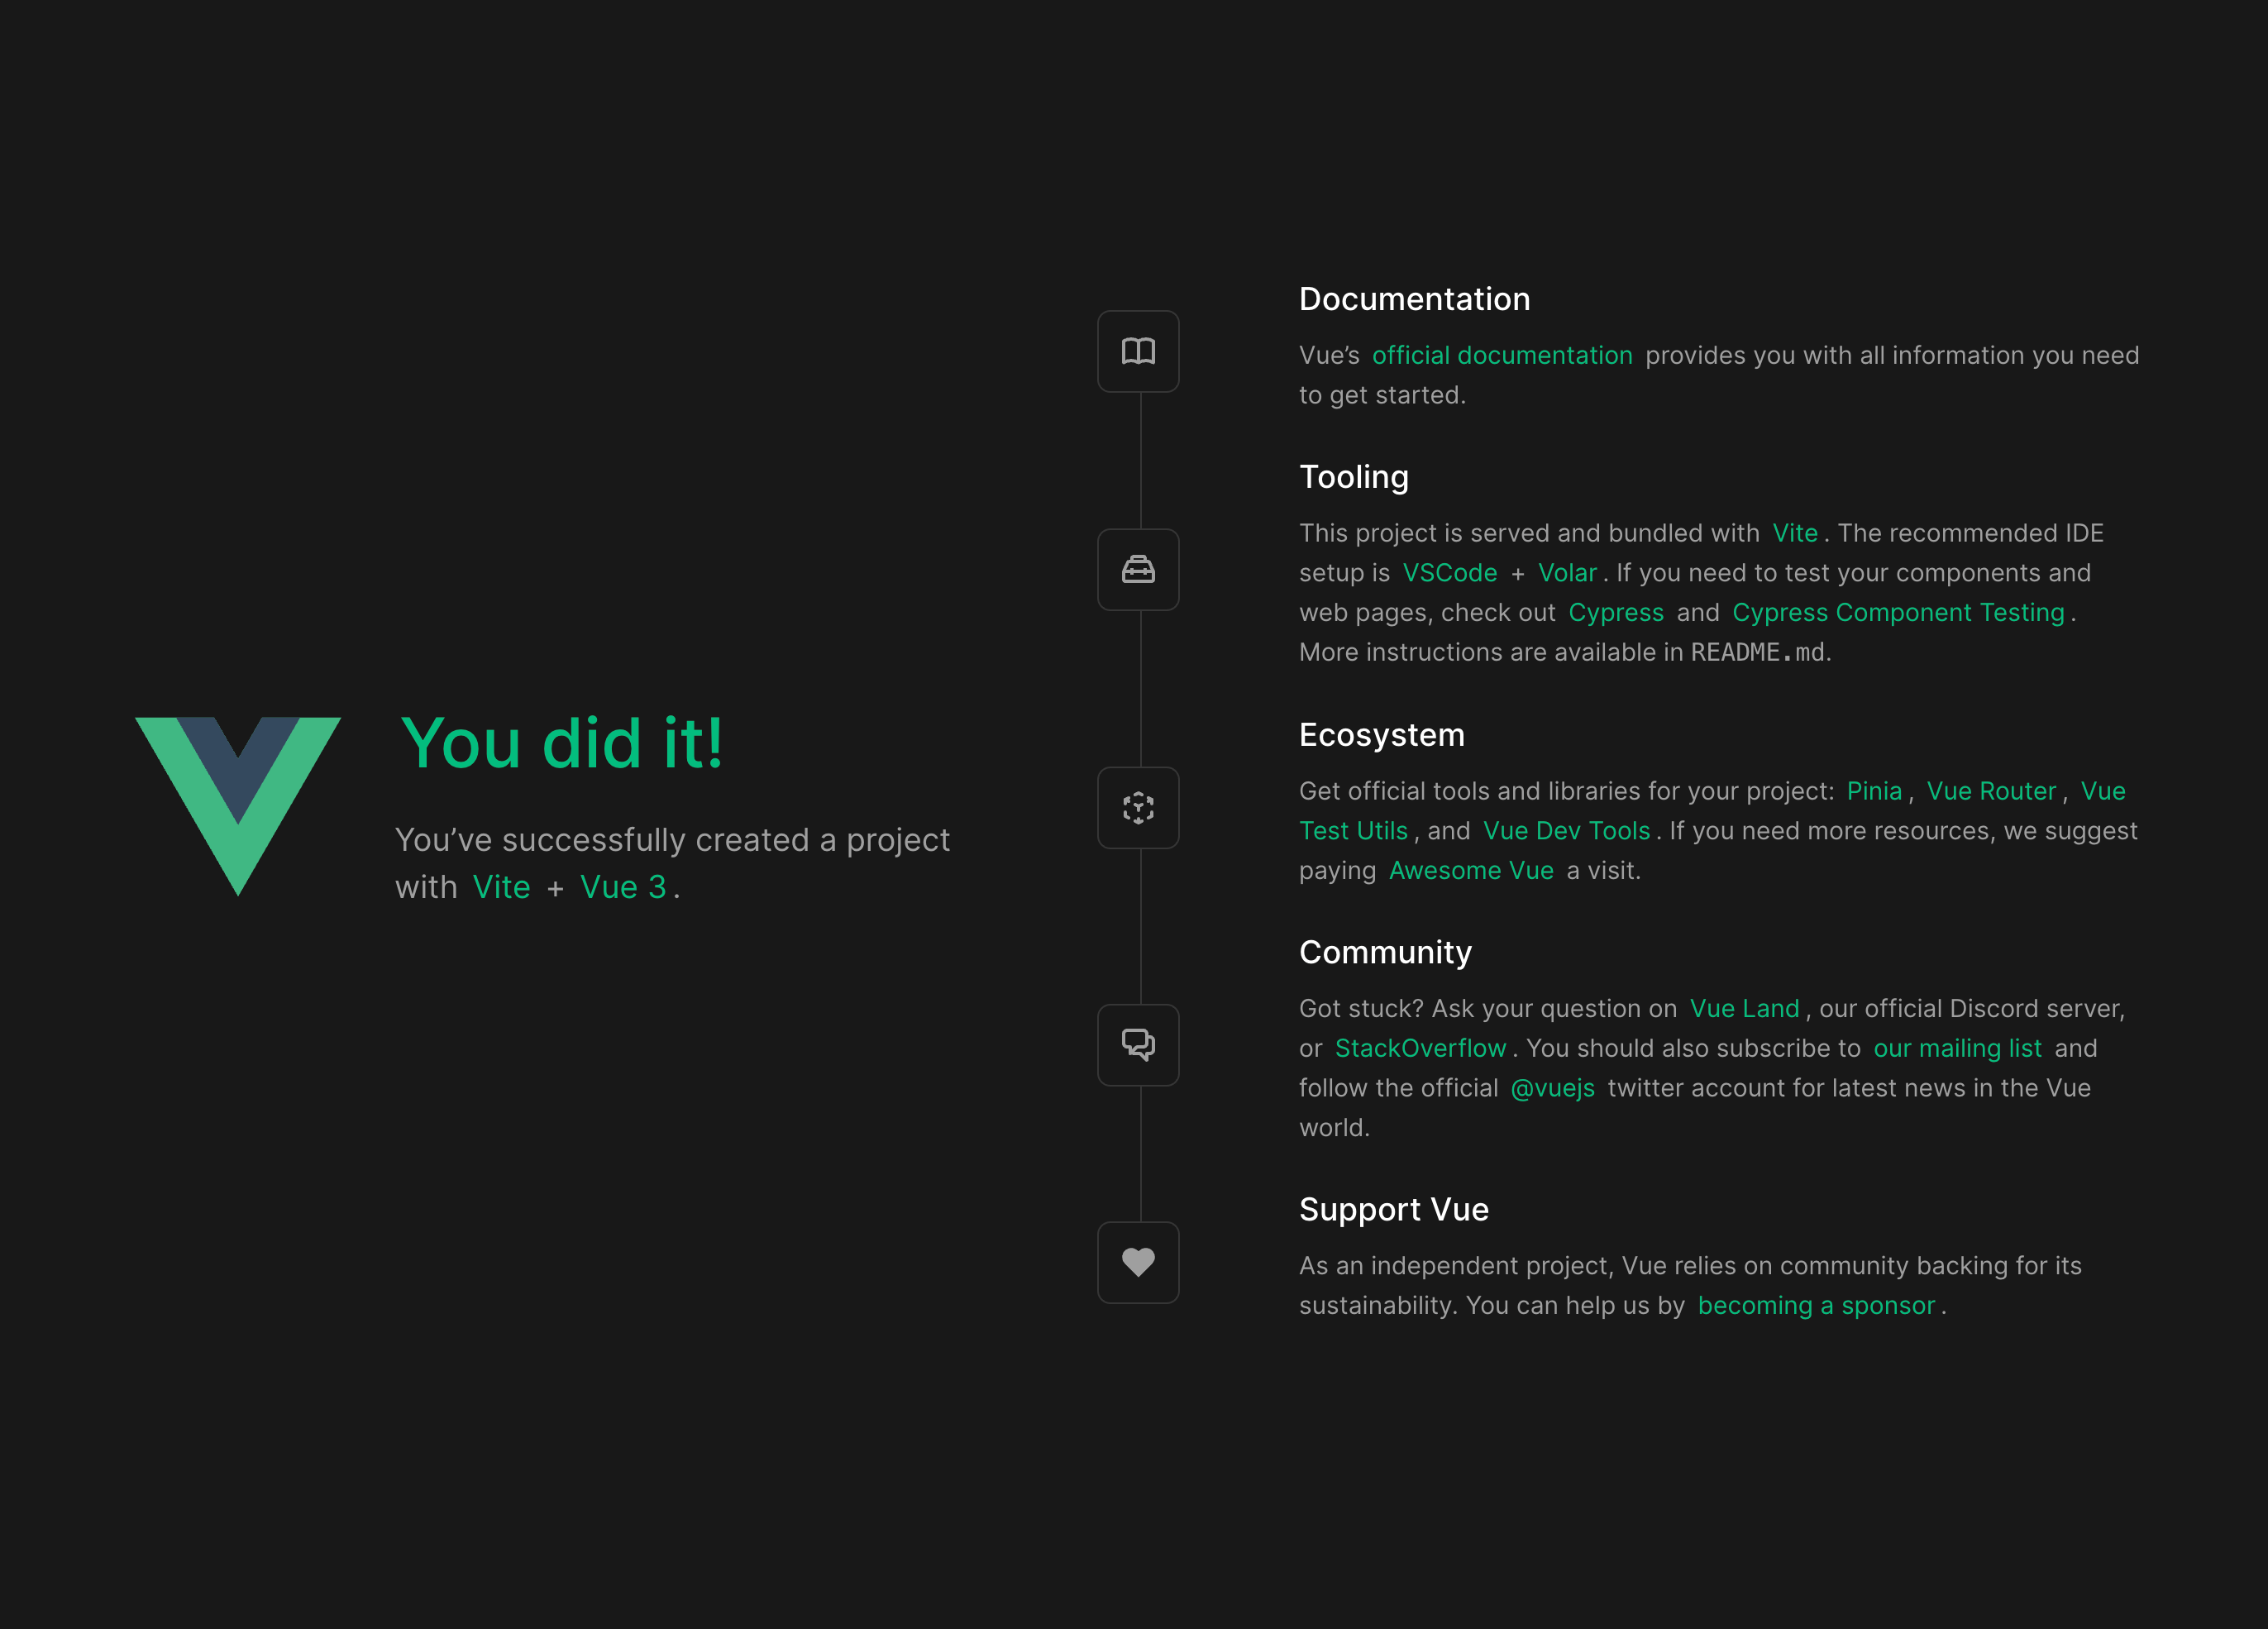
Congrats! You are officially serving and running your first ever Vue app.
The Browser Extension
One more thing before we wrap up. Vue comes with a very handy official browser plugin to help you develop your apps better. I recommend installing the plugin in your browser(s) of choice immediately as they are incredibly helpful for debugging your application.
You can find the official list and links for every available browser here: https://devtools.vuejs.org/guide/installation.html
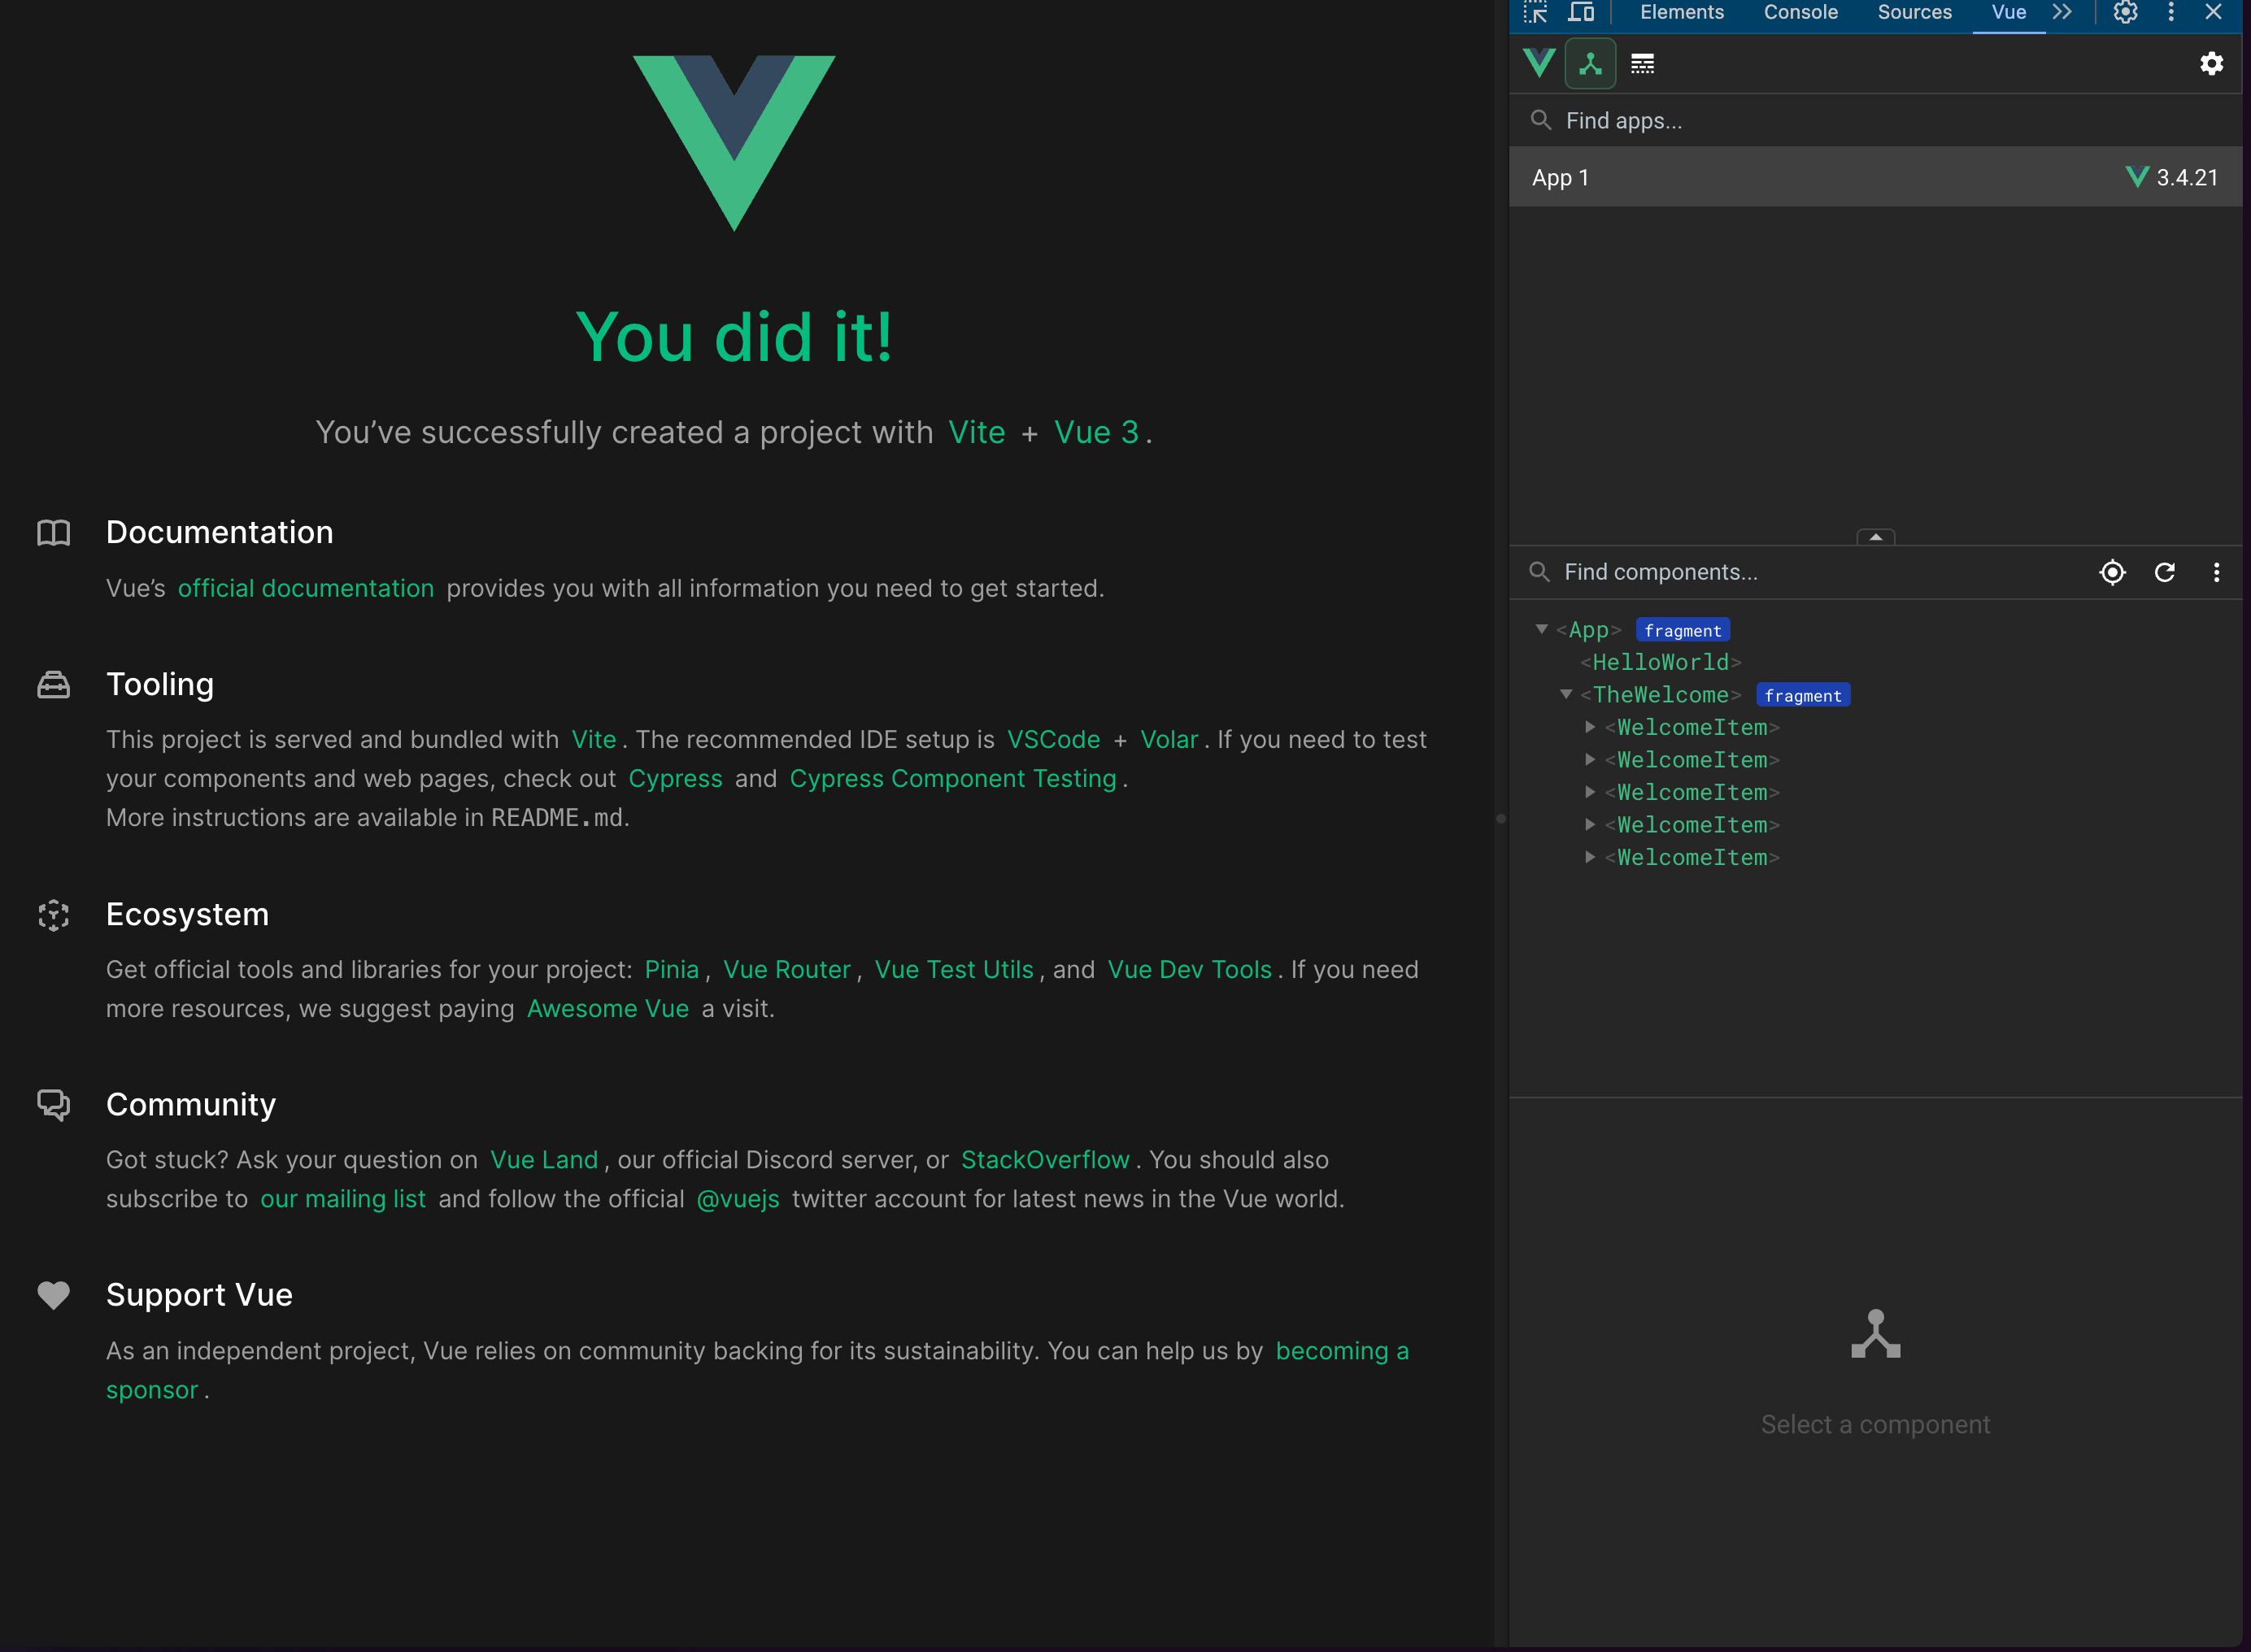
Once you have it installed on your browser, try navigating back to the application tab and opening the developer panel by right clicking the browser and selecting “Inspect element.” Once it opens, go to the new Vue tab.
Wrapping Up
Well done, you are now fully set up to get started creating Vue powered applications!

Marina Mosti
Marina Mosti is a frontend web developer with over 18 years of experience in the field. She enjoys mentoring other women on JavaScript and her favorite framework, Vue, as well as writing articles and tutorials for the community. In her spare time, she enjoys playing bass, drums and video games.
Related Posts
Comments
All articles
Topics

Latest Stories
in Your Inbox
Subscribe to be the first to get our expert-written articles and tutorials for developers!
All fields are required