
Getting Started with Bun for React Developers

Though Bun is in early days, it comes packed with a lot of functionalities to help you build, bundle, test and deploy your application.
Bun is an all-in-one JavaScript software development toolkit. It is blazing fast, with a built-in bundler, package manager and test runner. Its JavaScript runtime is a drop-in replacement for Node.js.
Notably, Bun achieves its incredible speed through its use of Zig and JavaScriptCore and a tremendous optimization:
Zig programming language: Zig is a modern, systems programming language that is designed for performance and efficiency. It features zero-cost abstractions and the ability to compile to native machine code, which Bun takes full advantage of.
JavaScriptCore engine: JavaScriptCore is the high-performance JavaScript engine used by Safari. Bun extends JavaScriptCore with native-speed functionality implemented in Zig, which further enhances its performance.
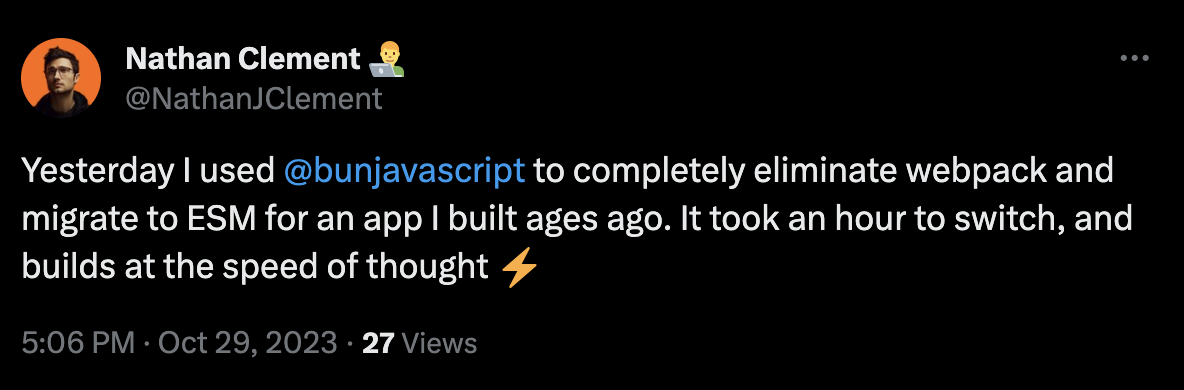
There is a lot of hype around Bun right now. Almost everyone is saying nice things about it, like this one on X:
The purpose of this guide is to explore how React developers can leverage the awesomeness of Bun to improve developer experience from day one to deployment.
Getting Started with Bun
To get started with Bun, you’ll need to install it by running the following command on your MacOS, Windows, and Linux computer:
curl -fsSL https://bun.sh/install | bash
For Windows users, you’ll need Windows Subsystem for Linux (WSL) to run Bun— although not all the features of Bun are available for Windows yet.
You can also just use Docker by running the following commands on your Terminal:
docker pull oven/bun
docker run --rm --init --ulimit memlock=-1:-1 oven/bun
Once your installation is complete, verify that it was successful by running the command below:
bun --version
This post was written running on 1.0.7.

Now that we have Bun installed, let’s proceed to using it to set up the React application. We will see how to both scaffold a new React application with Bun CLI and how to integrate bun into an existing application.
Creating a New React App with Bun
There are several ways to create a React app—from weaving it all together from scratch, to using a template like create-react-app, using Vite or even more so, using production-grade React frameworks like Remix, Next.js or Gatsby. All of these methods come with their build system and are based on the Node.js runtime.
Since Bun runtime is a drop-in replacement for Node.js, you can use it for any of those frameworks—however, you might need to test it properly to ensure that everything works, because there is a chance that some things might not work as expected.
Bun’s bun create command provides a convenient and efficient way to scaffold project templates from the command line.
Here is how the bun create command can be used to create a new project:
bun create <template> [<destination>]
Bun with Vite
Let’s start with creating a React app with Bun and Vite. To create a React App with a Vite template, run bun create vite app-name and follow the prompt as shown below:

After answering the prompts, it should successfully create the project.
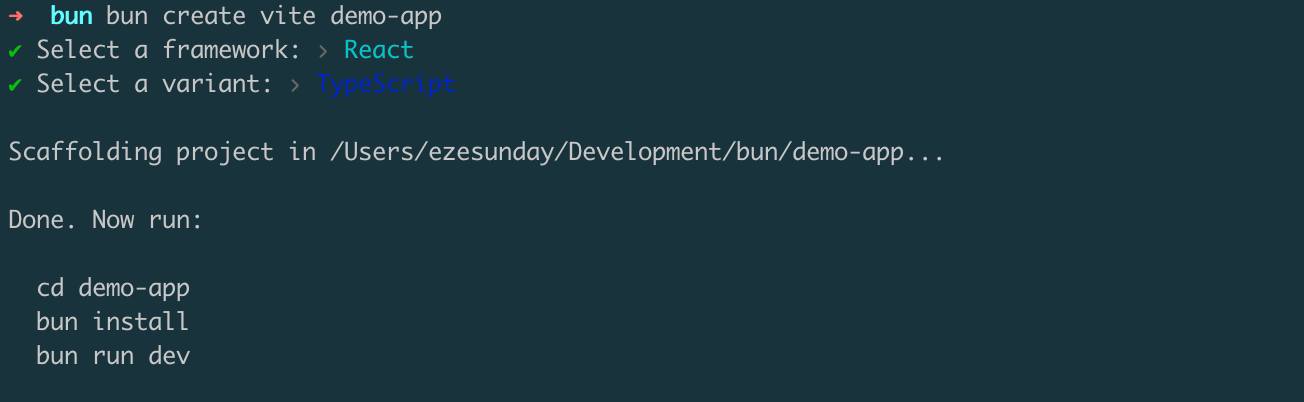
Next, run the bun install to install the dependencies. Here is how your Directory structure should look after the installation is complete:
.
├── README.md
├── bun.lockb
├── index.html
├── node_modules
├── package.json
├── public
│     └── vite.svg
├── src
├── tsconfig.json
├── tsconfig.node.json
└── vite.config.ts
So far, we successfully scaffolded a React.js project with the Vite template and installed all project dependencies with Bun CLI. The generated bun.lockb file is the equivalent of package-lock.json, but for Bun and in a binary format.
You can use the
bun add [package-name]orbun install [package-name]commands to install new NPM packages.
Bun with Create React App
We can also create a new React app with Bun using the react-app bun template. This template creates a new Create React App (CRA) starter. To create a new Create React App starter using Bun, run the following command:
bun create react-app todo-app
The Create React App template unfortunately does not benefit from the performance improvement offered by Bun, so the setup may take some time to complete as it will install your packages with npm. Once the setup is complete, the directory structure will look like this:
├── README.md
├── package-lock.json
├── package.json
├── public
└── src
Delete the package-lock.json file and run bun install to properly set up the project for Bun. This will create a new bun.lockb file in the root directory.
Even though Vite and Create React App do not currently use the Bun runtime by default, a React app created with Bun using the Vite template is significantly faster than one created with the Create React App template. This is because Vite is already fast and uses its own bundler, and Bun provides additional native support and optimization.
Additionally, using Bun with Vite goes even much deeper as the bunx command gives you the chance to run your React app with Bun runtime by adding a --bun flag. Which can accelerate the speed of your application.
bunx --bun vite
But in terms of installing packages with the bun install or bun add command for projects created with Vite and those created with CRA, the performance is the same.
Next, let’s take a look at how to incrementally switch to using Bun in an existing React app.
Integrating Bun into an Existing React App
Making a React app Bun-aware is mostly about creating the bun.lockb file by running bun install. After that, you can use the Bun CLI to manage packages and run other tasks, such as starting the server, running tests and more.
To try this out, clone this repository, remove the package-lock.json file and then run bun install. You can do all of that in one command by running the code below:
git clone https://github.com/pmbanugo/bun--react-example-template.git
cd bun--react-example-template
rm package-lock.json
bun install
Your project directory should now include the bun.lockb file and you can run any script defined in the project using Bun.
Using Bun as a Test Runner
Bun’s performance can be leveraged to run tests, get faster feedback on code and reduce costs. Imagine running tests on a monorepo that takes 30 minutes to finish, but using Bun’s test runner could reduce that time to a few minutes or even seconds. That saves you a significant amount of time and resources.
Bun ships with a fast, built-in, Jest-compatible test runner. This means that you can switch to Bun without having to change your existing tests that use Jest or similar test packages (e.g., Vitest).
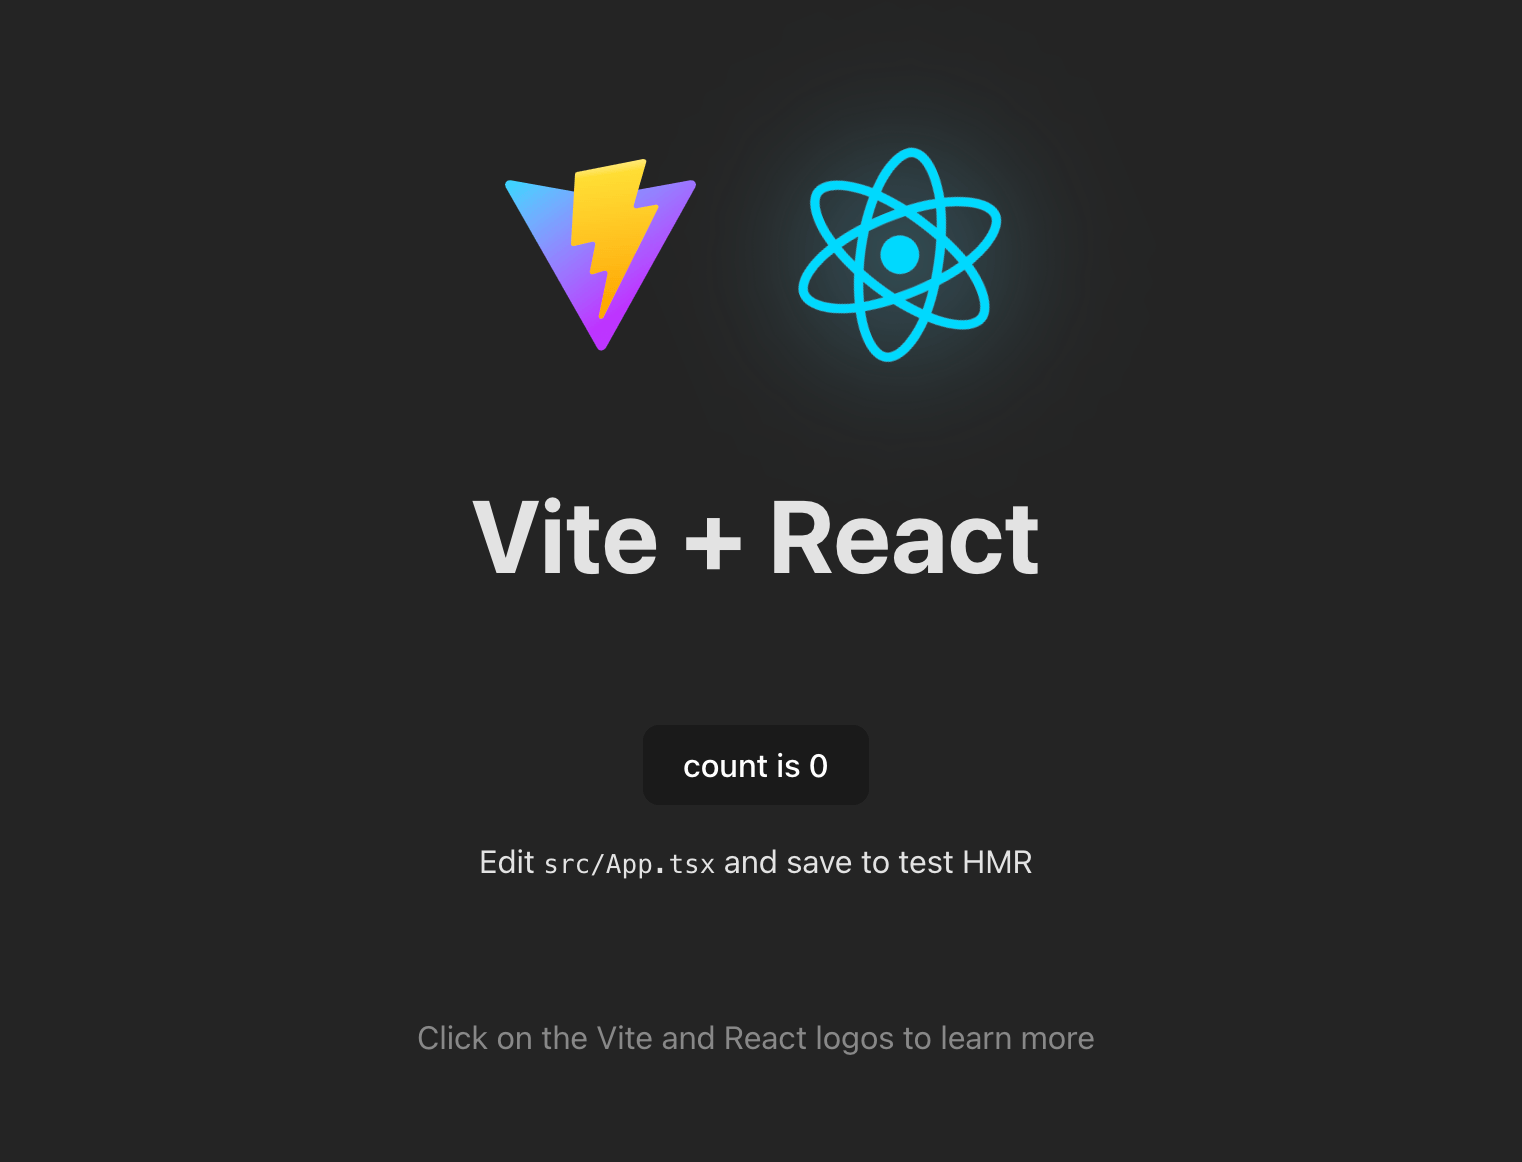
Let’s configure the app we generated initially with Vite to use Bun for the test. The default generated home page contains the code below:
import { useState } from 'react'
import reactLogo from './assets/react.svg'
import viteLogo from '../public/vite.svg'
import './App.css'
function App() {
  const [count, setCount] = useState(0);
  console.log(viteLogo);
  return (
    <>
      <div>
        <a href="https://vitejs.dev" target="_blank">
          <img src={viteLogo} className="logo" alt="Vite logo" />
        </a>
        <a href="https://react.dev" target="_blank">
          <img src={reactLogo} className="logo react" alt="React logo" />
        </a>
      </div>
      <h1>Vite + React</h1>
      <div className="card">
        <button onClick={() => setCount((count) => count + 1)}>
          count is {count}
        </button>
        <p>
          Edit <code>src/App.tsx</code> and save to test HMR
        </p>
      </div>
      <p className="read-the-docs">
        Click on the Vite and React logos to learn more
      </p>
    </>
  )
}
export default App
The rendering should look like this:
Let’s write a test to verify that the counter increases by one when clicked. To do this, we’re going to install React Testing Library and Happy Dom, which allow us to test React components effectively.
ℹ️ JSDom is not yet supported in Bun. You’d have to switch to Happy Dom if you want to use Bun.
To install React Testing Library and Happy Dom, run the following commands:
bun install @happy-dom/global-registrator @testing-library/react -d
Create a test file ./src/counter.test.tsx and then copy and paste the code below into it.
import { fireEvent, render, screen, waitFor } from '@testing-library/react'
import App from './App'
import { describe, expect, test } from 'bun:test' // replaced jest or vitest to bun

describe('App', () => {
  test('counter increments when button is clicked', async () => {
    render(<App />)
    const button = screen.getByText('count is 0');
    fireEvent.click(button);
    // Use waitFor to wait for the DOM to update
    await waitFor(() => {
      // Expect the counter to be 1
      expect(screen.getByText('count is 1')).toBeTruthy()
   });
  });
});
Before running tests that require browser APIs, you must preload Happy DOM’s Global Registrator and create a bunfig.toml file in the root of your project. The bunfig.toml file should contain the following lines:
[test]
preload = "./happydom.ts"
The happydom.ts file should contain the following code:
import { GlobalRegistrator } from "@happy-dom/global-registrator";
GlobalRegistrator.register();
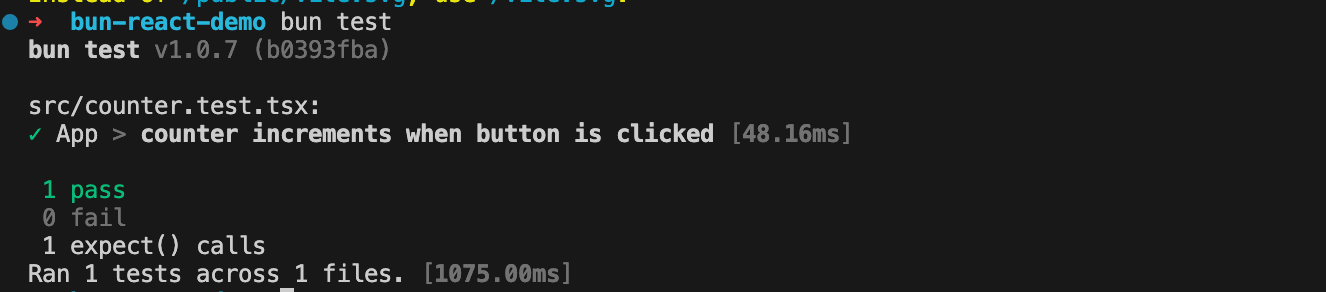
Once you have completed these steps, you can run your tests using the bun test command
Now that we know how to use Bun for testing. Let’s automate that process using GitHub Action.
Using Bun with GitHub Action
You can use Bun in a GitHub Actions workflow to build or run scripts and tests. The Bun team created an official GitHub Action that you can add to your workflow steps. We’re going to use that to automate running the test we wrote when a new commit is pushed to the main branch.
Create a test.yml file in the .github/workflows/ directory and add the following code to it:
name: Test Workflow
on:
  push:
    branches:
      - main
jobs:
  test:
    runs-on: ubuntu-latest
    steps:
      - name: Checkout repository
        uses: actions/checkout@v3

      - name: Install and set up Bun
        uses: oven-sh/setup-bun@v1

      - name: Install packages
        run: bun install

      - name: Run tests
        run: bun test
When the workflow runs, you should see a similar output to what is in the screenshot below.
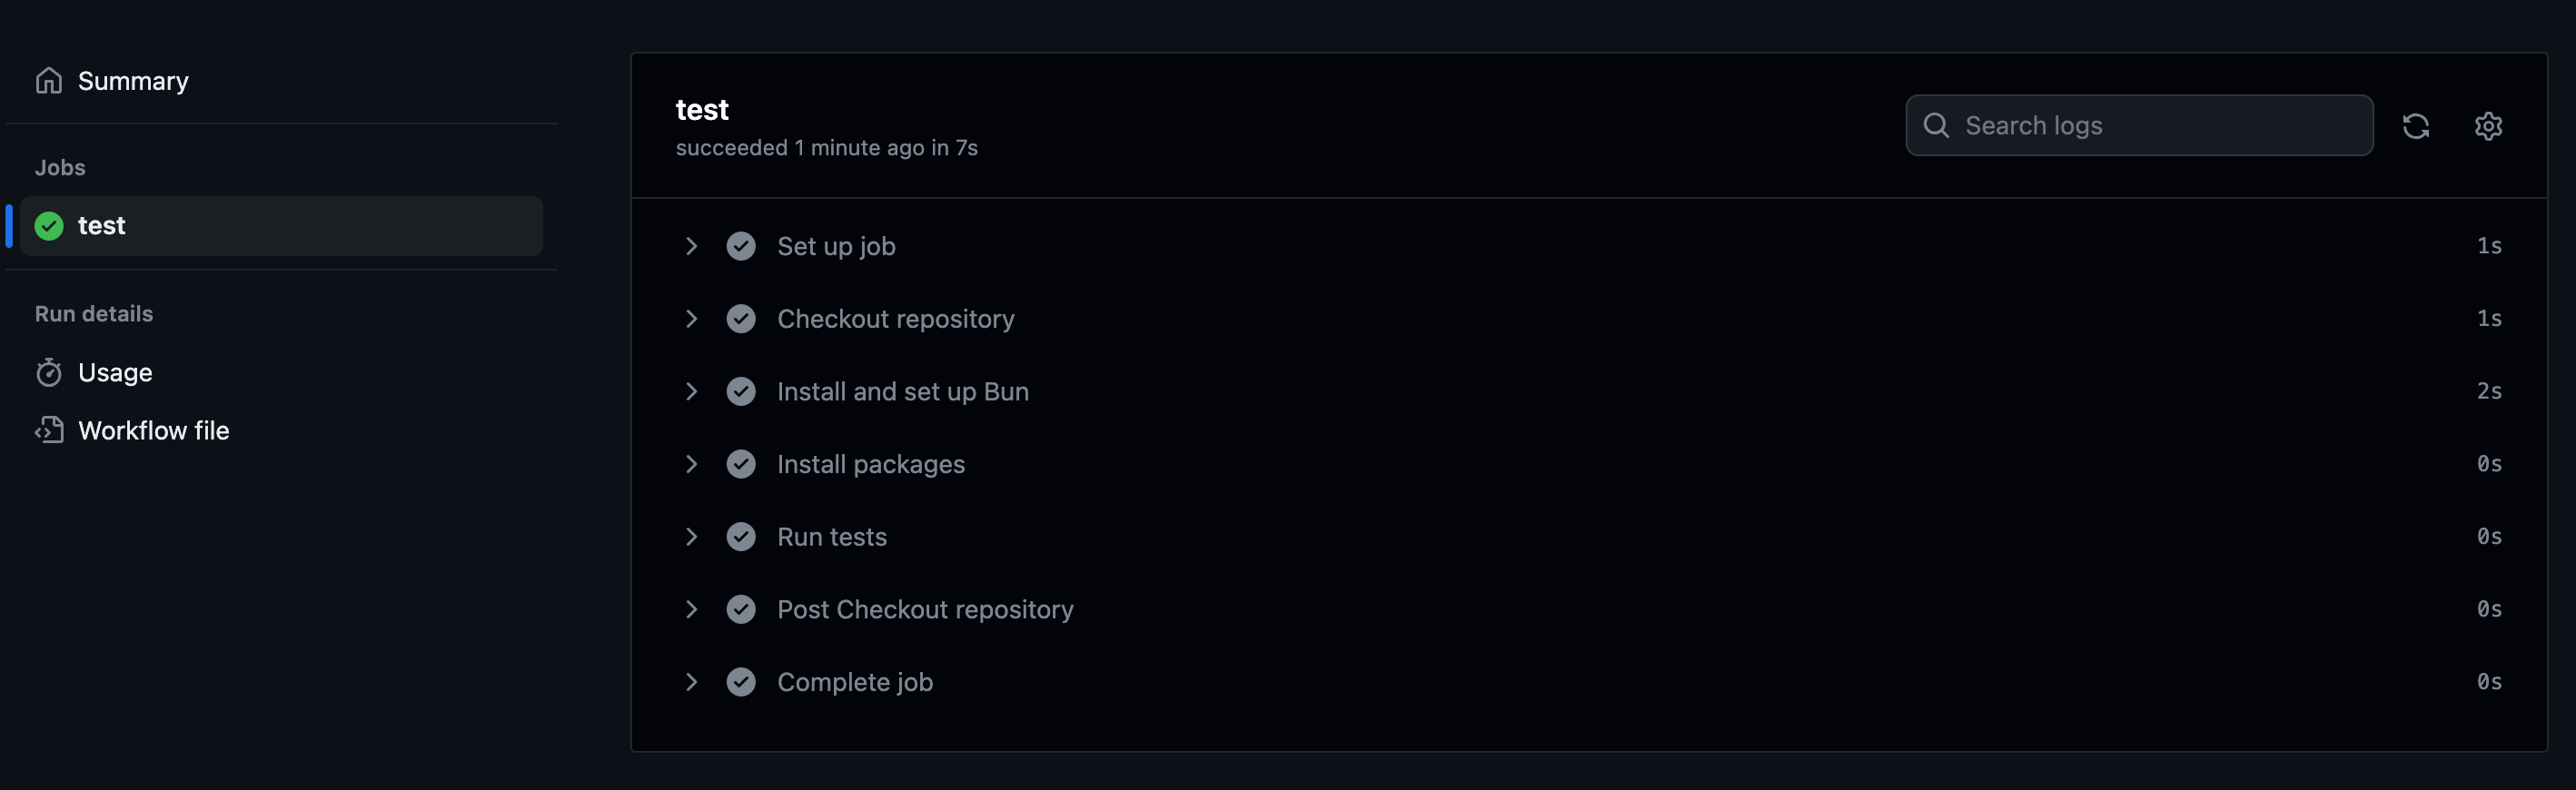
The workflow completed so fast, it feels like it’s broken—you know, it’s just one simple test. 😉 The time it takes to complete can vary depending on the complexity of your tests, network latency, etc.
When you’re done building and testing your React application, you want to deploy it, right? Let’s explore how you can deploy your React application with Bun.
Deploying React Apps with Bun
Deploying a React application varies depending on your preferred host and if you’re running an SPA or SSR app. For a static site, you can bundle and export the application files to any static file host, deploy with Docker, or use platforms like Vercel or FlyCD. Whichever option you choose, Bun CLI makes it a lot easier for you.
Generating a Static Production Build
To generate a build for the Vite app, update the build script in your package.json file to:
"scripts": {
...
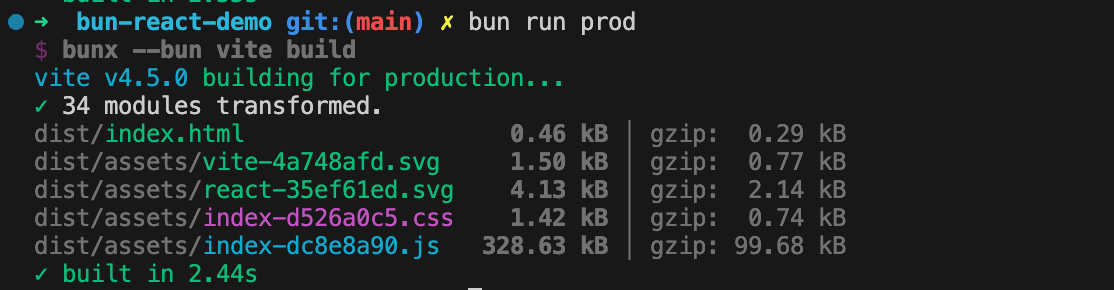
"build": "bunx --bun vite build",
...
},
Then run bun build to create an optimized build for you in the ./dist directory.
You can upload the static build assets to any static hosting platform.
Using Docker
Another option is to deploy as a Docker container. Bun has a Docker image that allows you to build and deploy using Docker.
To do that, create a Docker file (./Dockerfile) in the root of your project and add the following content to it:
FROM oven/bun:1
WORKDIR /app
COPY . .
RUN bun install

ARG PORT
EXPOSE 3000

CMD ["bun", "run", "start"]
This Dockerfile uses the official Docker image to build, install, and run the application in your docker container. Make sure you update your package.json to expose the port and host so that the app can be accessible.
Update the start script with the following:
"scripts": {
     ...
    "start": "vite --port 3000 --host 0.0.0.0",
     ...
},
Build and run the docker container with the following command:
docker build -t bun-example .
docker run --name bun-example -d -p 3000:3000 bun-example
Tips and Gotchas
1. React Query doesn’t work yet with Bun 1.0.7
If your project uses React Query you might want to wait a little bit before migrating, according to this issue comment by Jarred Sumner, the creator of Bun, there is already a PR that will fix it in a future update.
2. Using Bun’s Built-in API in TypeScript
To install the TypeScript definitions for Bun’s built-in APIs, install bun-types.
$ bun add -d bun-types # dev dependency
Then include "bun-types" in the compilerOptions.types in your tsconfig.json:
{
  "compilerOptions": {
+     "types": ["bun-types"]
  }
}
At this point, you should be able to reference the Bun global in your TypeScript files without seeing errors in your editor.
console.log(Bun.version);
You can check Bun’s TypeScript documentation for more info.
Conclusion
Bun is an interesting project, even for React developers—it aims to provide the best tool for modern web development with improved developer experience and performance. Even though it’s still in its early days, it comes packed with a lot of functionalities to help you build, bundle, test and deploy your application.
So far, we’ve just scratched the surface of what is possible with Bun, visit the documentation to learn more.
Happy hacking!

Peter Mbanugo
Peter is a software consultant, technical trainer and OSS contributor/maintainer with excellent interpersonal and motivational abilities to develop collaborative relationships among high-functioning teams. He focuses on cloud-native architectures, serverless, continuous deployment/delivery, and developer experience. You can follow him on Twitter.
Related Posts
Comments
All articles
Topics

Latest Stories
in Your Inbox
Subscribe to be the first to get our expert-written articles and tutorials for developers!
All fields are required